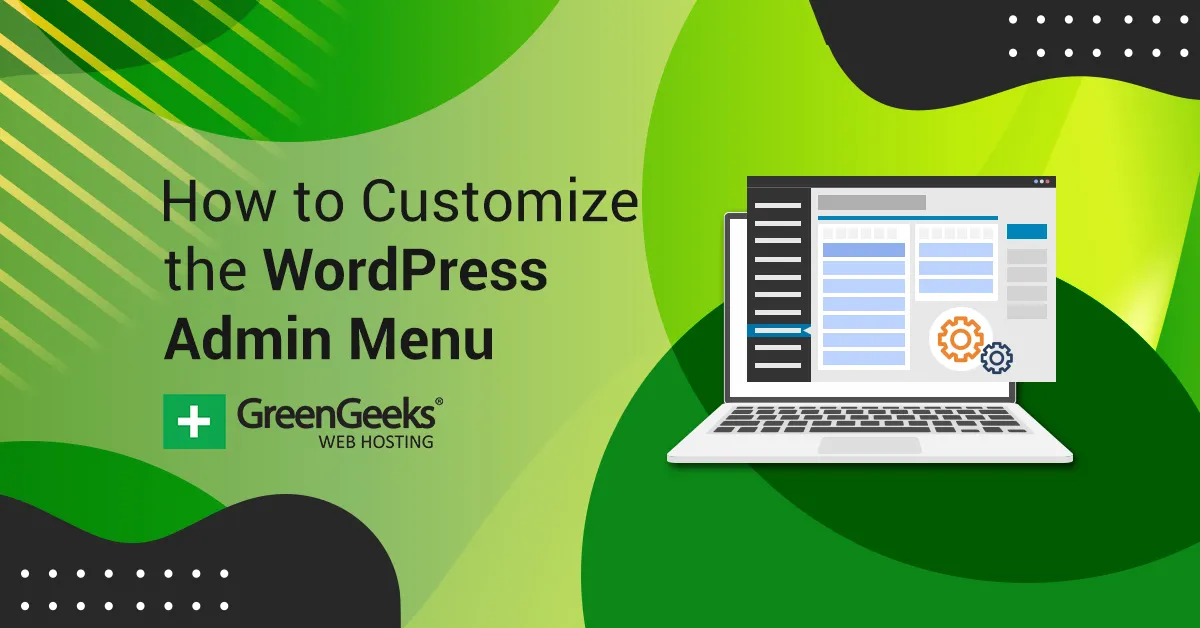
The $menu array is a core feature of WordPress that holds all the information about the items in the admin menu. It is a global variable that developers can use to view, modify, or enhance the default admin menu structure. This array is what dictates how the menu items appear to administrators and users with the right permissions.
Every item in the admin menu is stored as an entry in the $menu array, and each entry includes details like the menu title, URL, capability, icon, and position. By accessing and customizing this array, developers have fine-grained control over the WordPress admin interface.
Using this array, you can tailor the admin experience to your needs, making it more user-friendly for specific roles or hiding irrelevant items to maintain a clean and focused interface.
Why You Might Want to Customize WordPress Admin Menus
Customizing the WordPress admin menus can make your site’s backend more efficient and easier to navigate. Here are some reasons why you might consider customizing:
- Streamlining the Interface: Remove unnecessary menu items to declutter the admin panel for users.
- Role-Specific Menus: Display only the relevant options based on user roles, like editors or contributors.
- Improving Usability: Reorganize or rename menus to make them intuitive for your team or clients.
- Security: Hide sensitive options, such as plugin or theme settings, from unauthorized users.
Custom menus are especially useful when building websites for clients who may find the default WordPress interface overwhelming. A simplified menu improves the user experience and minimizes the chances of accidental errors.
Understanding the Structure of the $menu Array
The $menu array is organized as a multidimensional array, where each menu item is represented by an indexed array. Here’s a basic breakdown of its structure:
| Index | Purpose |
|---|---|
| 0 | Menu Title (e.g., “Dashboard”) |
| 1 | Required Capability (e.g., “manage_options”) |
| 2 | Menu Slug (e.g., “dashboard”) |
| 3 | Displayed Title (e.g., “Dashboard”) |
| 4 | Icon URL or Dashicon Class |
| 5 | Position in the Menu |
For example, the “Dashboard” menu item in the $menu array might look like this:
$menu[2] = array(
    'Dashboard',
    'manage_options',
    'index.php',
    'Dashboard',
    'dashicons-dashboard',
    2
);
Understanding this structure is key to adding, modifying, or removing items effectively. By targeting specific indices, you can make precise changes without affecting the entire admin menu.
Steps to Modify WordPress Admin Menus Safely
When customizing WordPress admin menus, it’s essential to follow safe practices to avoid causing issues with your site. Modifying the menu can impact the user experience, and if done improperly, it could break functionality or lead to unexpected behavior. Here are some steps to help you modify the admin menu safely:
- Backup Your Site: Before making any changes, always backup your WordPress site, especially the database. This ensures you can restore it if anything goes wrong.
- Create a Child Theme: It’s best to use a child theme for making changes. This way, your customizations are not lost when updating the parent theme.
- Use Actions and Filters: WordPress provides actions and filters for customizing the admin menu without directly modifying core files. The
admin_menuaction hook is commonly used. - Test on a Staging Site: Always test your menu changes on a staging or local site before applying them to your live website. This helps catch any issues early.
- Be Mindful of User Roles: Ensure that your changes consider user permissions. If you hide or change menu items, make sure users with the appropriate roles can still access the options they need.
Following these steps ensures that your menu customizations are safe and won’t negatively impact your site’s functionality.
Adding New Items to the WordPress Admin Menu
Adding new items to the WordPress admin menu can be useful when you want to provide shortcuts to custom pages, plugins, or specific settings. You can add items to either the top-level admin menu or as submenus under existing items. Here’s how you can do it:
-
- Use the
add_menu_pagefunction: This function allows you to create a new top-level menu item. You can specify the title, menu slug, capability, icon, and position. Example:
- Use the
add_menu_page(
    'My Custom Page',
    'Custom Menu',
    'manage_options',
    'custom-menu-slug',
    'my_custom_function',
    'dashicons-admin-generic',
    6
);
-
- Use the
add_submenu_pagefunction: This function adds a new submenu item under an existing menu. You can associate it with a parent menu like so:
- Use the
add_submenu_page(
    'tools.php',
    'My Submenu Page',
    'Submenu',
    'manage_options',
    'custom-submenu-slug',
    'my_submenu_function'
);
- Customizing Functionality: Ensure that each menu item is linked to a specific page or function. You can write custom functions to handle the page’s content, such as rendering a settings form or displaying custom data.
By following these simple steps, you can add new items to the WordPress admin menu to improve accessibility and streamline your site’s admin interface.
Removing Unnecessary Menu Items in WordPress
In some cases, WordPress admin menus can become cluttered with unnecessary items. This is especially true when plugins or themes add extra menus that aren’t needed. Fortunately, WordPress allows you to remove these unwanted items with just a few lines of code.
Here’s how you can safely remove unnecessary menu items:
-
- Use the
remove_menu_pagefunction: This function lets you remove a top-level menu item. You just need to know the menu slug to target it. For example, to remove the “Comments” menu:
- Use the
remove_menu_page('edit-comments.php');
-
- Use the
remove_submenu_pagefunction: If you want to remove a submenu item, use this function with the parent menu slug and the submenu slug. For example:
- Use the
remove_submenu_page('options-general.php', 'options-discussion.php');
- Conditional Removal: Sometimes, you may want to remove menu items based on user roles. You can check for specific capabilities before removing menu items to ensure that only authorized users see certain options.
By removing unnecessary menu items, you can streamline the admin interface, making it easier for users to focus on the tasks that matter most. Just make sure not to remove anything important that could affect site functionality.
Tips for Testing and Debugging Menu Customizations
After customizing the WordPress admin menus, it’s crucial to test your changes thoroughly. Testing ensures that your modifications don’t cause unexpected behavior or break any functionality. Here are some tips for testing and debugging your admin menu customizations:
- Enable Debugging Mode: Use WordPress’s built-in debugging functions by setting
WP_DEBUGtotruein yourwp-config.phpfile. This will display any errors or warnings that occur during the process. - Check for Conflicts: If you notice issues with your menu, it might be due to conflicts with other plugins or themes. Deactivate other plugins and switch to the default theme to rule out compatibility issues.
- Test on Different User Roles: Admin menu items might behave differently based on user roles and capabilities. Log in as different types of users (admin, editor, subscriber) to check how your changes appear to each one.
- Use Browser Developer Tools: The developer tools in your browser can help you identify issues with menu layout or missing items. Use the “Inspect” tool to check the HTML structure of your menu and ensure it’s being rendered as expected.
- Clear Caches: If you’re using caching plugins, clear the cache to make sure you’re testing the most up-to-date version of your admin menu customizations.
By following these tips, you can catch potential issues early and ensure that your WordPress admin menu customizations are working smoothly for all users.
Frequently Asked Questions About Customizing Admin Menus
Customizing the WordPress admin menu can be a bit tricky, especially if you’re new to it. Here are some frequently asked questions (FAQs) that can help clarify common concerns:
- Can I hide menu items for certain users? Yes, you can use the
current_user_can()function to hide menu items based on the user’s role or capability. - How can I add a custom icon to a menu item? You can specify a custom icon using the
dashiconsclass or by using the URL of an image in youradd_menu_page()oradd_submenu_page()functions. - What if my custom menu isn’t showing up? Ensure that the function to add your custom menu is hooked to the
admin_menuaction. Also, check if the user role has the required capability to view the menu. - Can I reorder the admin menu? Yes, you can reorder menu items by adjusting the position argument in the
add_menu_page()andadd_submenu_page()functions. - Is it safe to remove menu items? It’s safe to remove unnecessary items, but make sure you’re not removing something critical for site functionality, especially for users with higher privileges.
These FAQs address some common concerns, but feel free to reach out to the WordPress community or consult documentation if you encounter more complex issues.
Key Takeaways for Customizing WordPress Admin Menus
Customizing the WordPress admin menus allows you to tailor the backend experience to better suit your needs. Whether you’re streamlining the interface or adding new functionality, the key is to be mindful of how your changes impact user experience and site security. Here are the key takeaways for customizing admin menus:
- Understand the $menu Array: The $menu array is the foundation of WordPress’s admin menu system. Understanding its structure is crucial for making effective modifications.
- Use Hooks and Functions Properly: Leverage WordPress’s hooks like
admin_menuto modify menus safely without editing core files. - Test Changes Thoroughly: Always test your menu customizations on different user roles and environments to avoid potential issues down the line.
- Prioritize Security: Be cautious when removing menu items. Ensure that you’re not accidentally restricting access to important functions or hiding features from authorized users.
- Maintain a User-Friendly Interface: Keep the user experience in mind by removing unnecessary clutter and ensuring your menu remains intuitive and easy to navigate.
By following these best practices, you’ll be able to create a custom WordPress admin menu that enhances your site’s functionality and overall user experience.


