Hey there! If you’re a WordPress user, you might have found yourself fiddling with various settings, especially when it comes to user registrations and email notifications. One aspect that often gets overlooked is the pesky email change confirmations. While these notifications can be helpful, they can also become a nuisance. This post will walk you through understanding these confirmations and how to turn them off. Let’s dive into it!
Understanding Email Change Confirmations
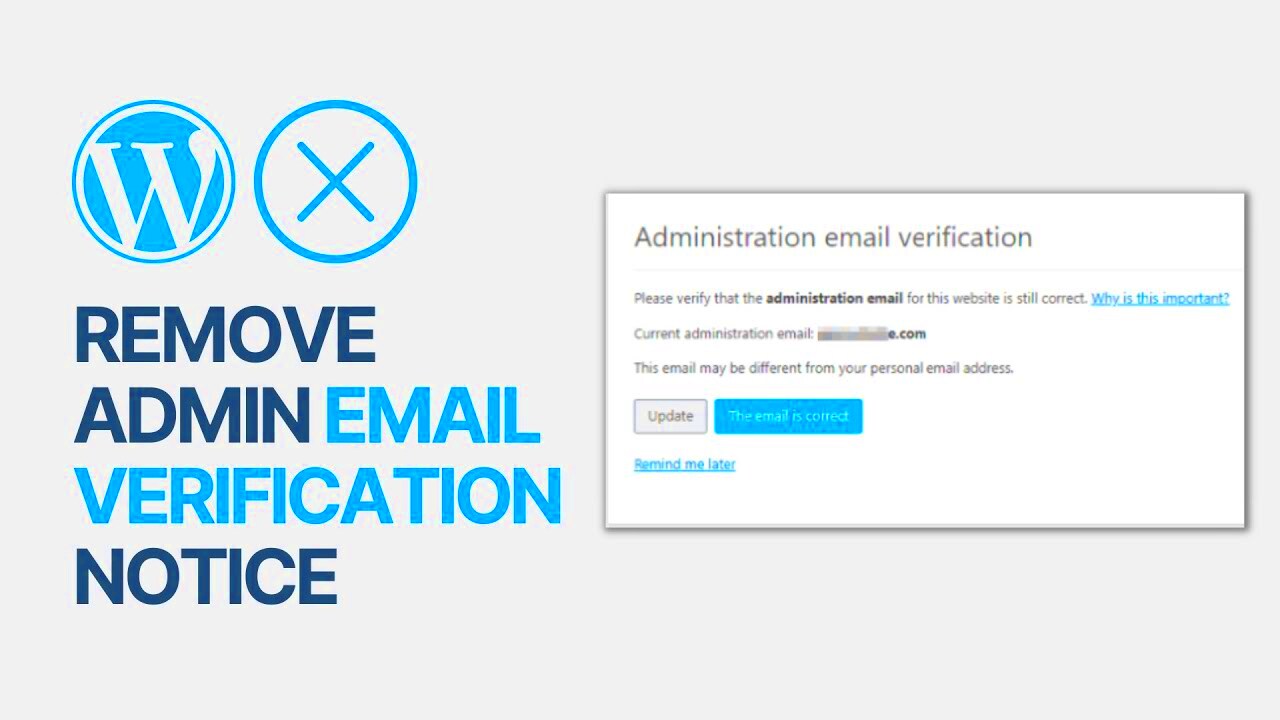
So, what exactly are email change confirmations? Whenever there’s a request to change an email address associated with a user account on your WordPress site, the system sends a verification email. This email contains a confirmation link that the user must click on before the email change goes into effect. It’s essentially a security measure to ensure that the change request is legitimate. But is it always necessary? Let’s break down the key elements:
- Purpose: The main aim of the email change confirmation is to protect users from unauthorized changes. This is especially crucial in cases of account hacking or phishing attempts.
- Process: When a user requests to update their email, WordPress generates an email containing a unique link. This link, when clicked, confirms the new email address.
- User Experience: Although this feature enhances security, it can frustrate users who expect immediate access to their accounts or who are not tech-savvy enough to navigate emails effectively.
Understanding these notifications is essential, especially if you’re considering turning them off in your WordPress settings. While it might streamline the user experience, weigh the risks and benefits of doing so! In the next sections, we’ll explore how to manage this feature. Stay tuned!
Why You Might Want to Disable Email Change Confirmations
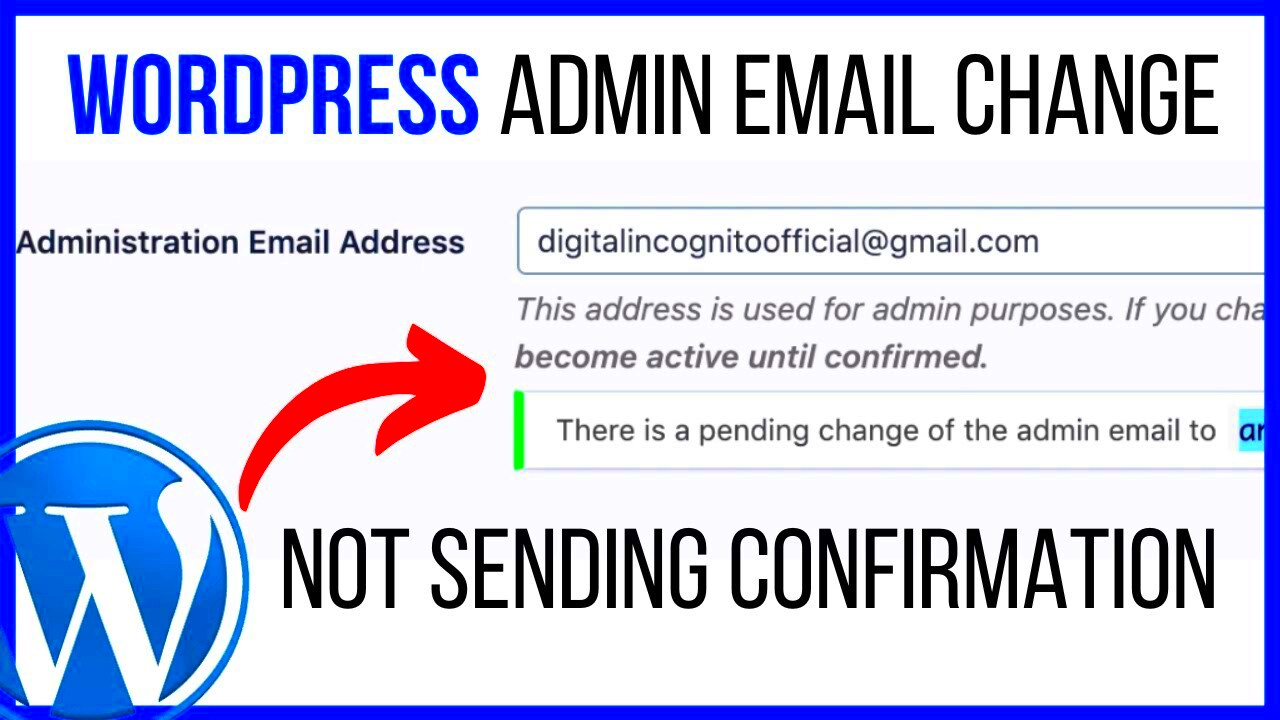
Email change confirmations are a common feature in WordPress, helping to boost security by notifying users of any changes made to their email addresses. However, there are several reasons why you might decide to disable this feature. Let’s break down some of the main points:
- Enhanced User Experience: One of the primary reasons for disabling email change confirmations is to simplify the user experience. If your website often requires users to change their email addresses—whether for updates, username changes, or newsletter subscriptions—constantly bombarding them with confirmation emails can become annoying.
- Reduce Email Clutter: Frequent confirmation emails can lead to inbox overload. Users often overlook important communications, thinking they are all just confirmations. By disabling these messages, you can help keep their inboxes cleaner and more organized.
- Streamline Site Processes: For websites with a focus on quick user interactions, like e-commerce or membership sites, disabling email confirmations can make processes smoother. Instead of waiting for a confirmation email before making further changes, users can quickly proceed without interruption.
- Testing and Development: If you’re working on a website in a staging environment or conducting testing, disabling email notifications can prevent unnecessary clutter in your test emails. This also avoids confusion among your team or testers who may not need to validate changes with confirmation emails.
- Trust in Your Site: Lastly, if you have a well-established and trusted platform, your users might feel secure enough not to require an additional layer of verification with email confirmations. Users already engaged with your site may appreciate a more straightforward process.
Steps to Disable Email Change Confirmations in WordPress
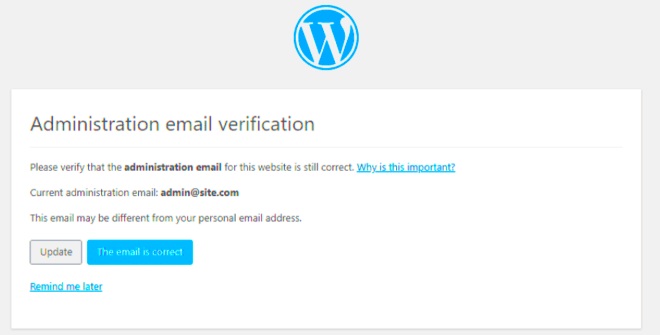
Disabling email change confirmations in WordPress can make your website easier to navigate for users. Follow these simple steps to turn off this feature:
- Log into your WordPress Dashboard: Start by navigating to your WordPress admin area by entering your credentials. From there, you’ll have access to all the settings.
- Install a Plugin (Recommended): While you can modify code to disable these confirmations, using a plugin is simpler and safer. Look for plugins such as Code Snippets or Disable Emails to manage email notifications efficiently. Install and activate your chosen plugin.
- Navigate to the Plugin Settings: Depending on the plugin you chose, go to its settings page. Here, you’ll find options related to disabling email notifications.
- Disable Email Change Notifications: In the plugin settings, look for the specific option that allows you to disable email change confirmations. Uncheck the box or toggle the switch, so users will no longer receive those emails.
- Save Changes: Make sure to hit the save button to apply your changes. Without saving, your preferred settings won’t take effect.
- Test the Changes: After making the changes, it’s a good idea to test the process of changing an email address by creating a test user. Check if they receive any confirmation emails in their inbox.
And that’s it! By following these simple steps, you have successfully disabled email change confirmations in WordPress, making for a smoother user experience on your site!
Using a Plugin to Manage Email Settings
If you’re looking for an easy way to turn off email change confirmations in WordPress, using a plugin is one of the most user-friendly methods. You don’t need to dive deep into code, and you can manage your website settings with just a few clicks. Many plugins are available that cater specifically to email settings, allowing you to customize how your site communicates with users.
Here are some popular plugins you might consider:
- WP Mail SMTP: This plugin improves email deliverability and allows you to manage various email notifications easily.
- Disable Emails: As the name suggests, this plugin allows you to disable all outgoing emails from your WordPress site, including confirmation emails.
- WP Notification Center: This plugin helps you manage notifications effectively and gives you the ability to disable specific email types.
To get started with managing email settings using a plugin:
- Go to your WordPress dashboard and navigate to Plugins > Add New.
- Type in the name of the plugin you want to use in the search bar.
- Click Install Now, and once it’s installed, click Activate.
- Head over to the plugin settings to configure your email management options.
Using a plugin not only saves you time but also ensures that all your email notifications are streamlined according to your preferences without any complex coding involved.
Editing Theme Functions to Disable Notifications
If you’re comfortable with a little coding, editing the theme’s functions.php file offers a more hands-on approach to disabling email change confirmations. This method can provide a more permanent solution without the need to rely on third-party plugins. However, it’s vital to proceed with caution, as incorrect edits could lead to issues on your site.
Here’s how to disable email notifications by editing your theme’s functions.php file:
- First, access your WordPress dashboard.
- Navigate to Appearance > Theme Editor.
- On the right sidebar, find functions.php (often labeled as Theme Functions).
- Before making any edits, it’s best to create a backup of this file by copying its contents.
Next, add the following code snippet to the end of the functions.php file:
add_filter( 'send_password_change_email', '__return_false' );add_filter( 'retrieve_password_message', '__return_false' );This simple code will effectively stop WordPress from sending out password change confirmation emails. Once you’ve pasted it, don’t forget to click the Update File button at the bottom of the page to save your changes.
By editing the functions.php file, you can customize your WordPress experience precisely to your liking. Just remember to always exercise caution while playing with code, as one small mistake can have ripple effects throughout your site.
7. Testing Changes and Verifying Settings
After you’ve turned off email change confirmations in WordPress, it’s crucial to test your changes and verify that everything is functioning as expected. You don’t want to go live with a setting that could potentially confuse your users or lead to issues down the line. Here’s a quick guide on how to go about this:
1. Create a User Account: Start by creating a new user account (you can use a test email if you wish). This ensures that you experience the registration process from a user’s perspective.
2. Change the Email Address: Log into the new account and try changing the email address associated with it. This action should trigger the confirmation process if it’s still enabled.
3. Check Your Email: If you’ve correctly disabled the confirmation email, you shouldn’t receive any email alerts regarding this change. If you do, it’s likely that the settings haven’t taken effect.
4. Review User Role Permissions: Depending on the plugin or method you used to disable the emails, ensure that the roles and permissions haven’t been altered inadvertently.
5. Check Other Related Settings: If you have any other plugins that manage user notifications or interactions, it’s a good idea to verify those settings too. Sometimes, plugins can conflict, leading to unexpected behavior.
6. Document Your Changes: Remember to document any changes you’ve made to the settings. This will help you or anyone else in the future if there’s a need to revisit them.
Finally, always keep your WordPress site updated to ensure compatibility and security as you implement changes. Testing is an essential step; it saves you from potential headaches later on!
8. Conclusion
In the end, disabling email change confirmations in WordPress can significantly enhance user experience, especially for websites that allow frequent updates. While these notifications can serve a purpose, they can also clutter inboxes and lead to frustration for some users. By following the simple steps we discussed, you can gain better control over your site’s user management preferences.
Here’s a quick recap of what we covered:
- Understand your audience: Consider whether your users would prefer a streamlined process without confirmation emails.
- Use the right tools: Utilize plugins or functions to efficiently turn off email notifications.
- Test changes systematically: Verify that your changes work as intended through simple tests.
- Keep an eye on user interactions: Stay aware of how these changes affect user experience and engagement.
Whether you are running a small blog or managing a larger site, applying these changes will create a smoother experience. But always remember: with great power comes great responsibility. Keep your site’s security in mind and ensure that you are not compromising it by minimizing necessary notifications. Happy WordPress managing!

