If you’re into graphic design, you’ve probably heard of Shutterstock and Adobe Illustrator—two powerhouses in the creative world. Shutterstock offers a vast library of high-quality vectors that can really make your projects stand out, whether you’re designing logos, posters, or digital assets. Adobe Illustrator, on the other hand, is the go-to software for creating and editing vector graphics with precision and flair. Combining
Steps to Download Vectors from Shutterstock
Getting your hands on Shutterstock vectors is pretty straightforward, but a few steps will make the process smoother. Here’s a simple, step-by-step rundown:
- Create an Account or Sign In: Head over to Shutterstock’s website and log in or sign up if you’re new. Having an account makes managing your downloads easier and gives you access to your purchase history.
- Search for Vectors: Use the search bar to type in keywords related to the vectors you’re looking for. For example, “floral logo” or “tech icons.” You can filter results by type, orientation, or style to narrow down your options.
- Preview and Select: Browse through the thumbnails to find the perfect vector. Clicking on an image will give you a larger preview, so you can see the details clearly.
- Add to Cart: Once you find a vector you like, click the “Add to Cart” button. You can continue shopping if you want multiple vectors.
- Check Out and Download: When you’re ready, go to your cart and proceed to checkout. You’ll need to choose a subscription plan or pay per download, depending on your needs. After completing the payment, you’ll be able to download the vector file, usually in AI, EPS, or SVG format.
- Save the File: Save the downloaded file to a dedicated folder on your computer. Keep backups if needed!
And that’s it! With your vector file downloaded, you’re all set to open it in Adobe Illustrator and start customizing your design. Next, we’ll look at how to do just that—importing and editing your Shutterstock vectors in Illustrator for maximum creativity.
How to Import Shutterstock Vectors into Adobe Illustrator
So, you’ve found that perfect vector image on Shutterstock and you’re eager to start customizing it in Adobe Illustrator. The good news is, importing these vectors is straightforward, but there are a few steps to keep in mind to ensure everything goes smoothly.
First things first, download your vector file from Shutterstock. Typically, these are in formats like AI, EPS, or SVG. Make sure to choose the right format based on your needs; AI and EPS are generally the safest bets for seamless editing in Illustrator.
Once you’ve downloaded the file, follow these simple steps:
- Open Adobe Illustrator: Launch your program and create a new document or open an existing one where you’d like to place the vector.
- Import the Vector File: Go to File > Place… in the top menu. This opens a dialog box where you can browse your files.
- Select Your Shutterstock Vector: Locate the downloaded file, select it, and click Place.
- Position Your Vector: Click on your document to set the position, or drag to resize as needed.
Alternatively, if you have an AI or EPS file, you can simply open it directly in Illustrator by choosing File > Open…. This method often preserves more of the vector’s original layers and editing capabilities.
Keep in mind, sometimes Shutterstock vectors come with embedded images or linked assets. When you open or place these files, Illustrator might prompt you to embed images or manage links. For a smooth editing experience, embed linked images so everything stays together in your document.
And there you go! Your Shutterstock vector is now imported into Adobe Illustrator, ready for you to tweak and customize as you see fit.
Editing Shutterstock Vectors in Adobe Illustrator
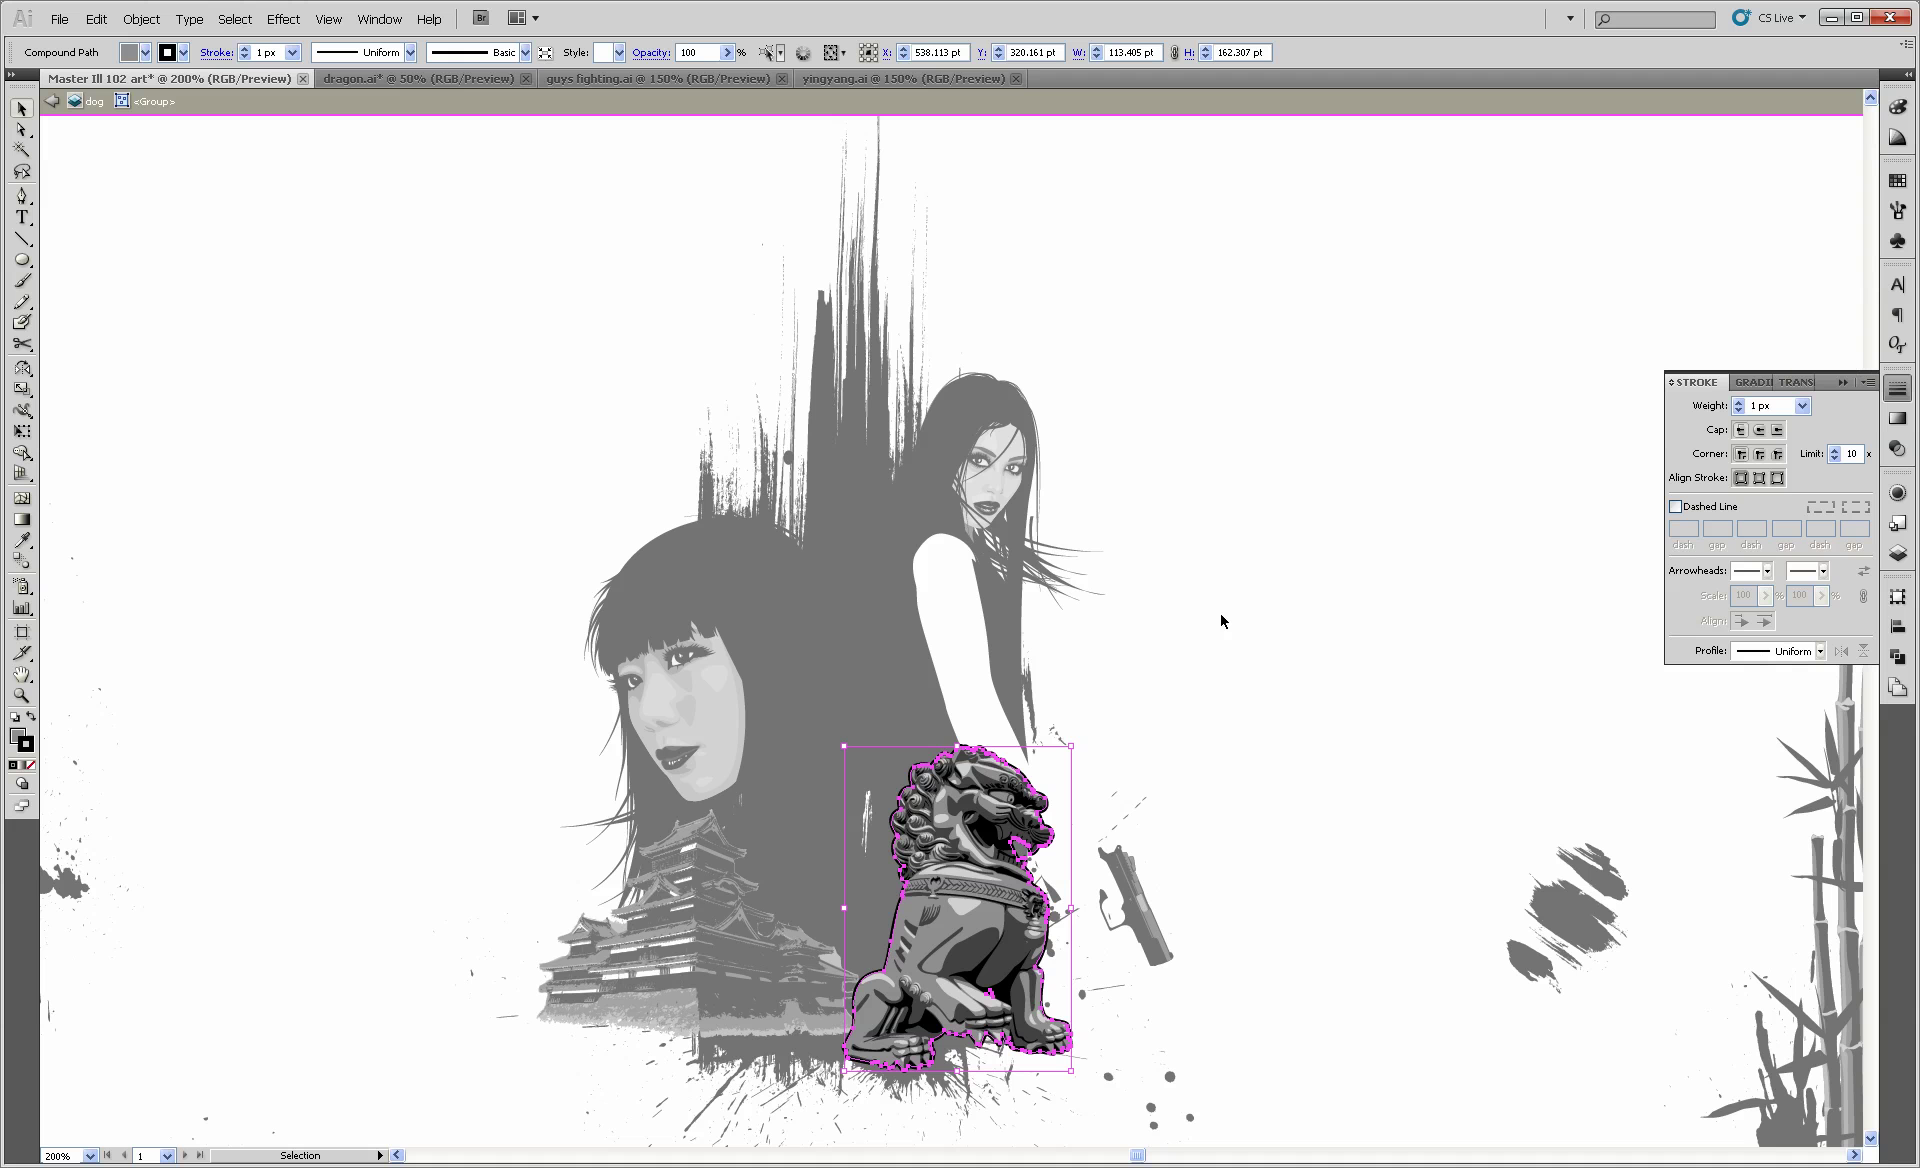
Now that your Shutterstock vector is imported into Illustrator, it’s time to make it your own. The great thing about vectors is their flexibility—you can resize, reshape, recolor, and even completely alter the design without losing quality.
Here are some tips and tools to help you get started with editing:
Using Selection Tools
- Selection Tool (V): Use this to select entire objects or groups. It’s perfect for moving elements around or resizing them.
- Direct Selection Tool (A): Use this to select and tweak individual anchor points or specific parts of a shape. Great for refining curves or adjusting angles.
Modifying Shapes and Paths
Want to change the shape? Use the Pen Tool (P) to add or remove anchor points, or the Anchor Point Tool for more precise adjustments. You can also use the Shape Builder Tool (Shift + M) to combine or subtract shapes easily.
Recoloring and Styling
To change colors, simply select the object and pick a new fill or stroke color from the Swatches panel. For more advanced coloring, try applying gradients or patterns. Illustrator makes it simple to experiment with different looks until you find the perfect style.
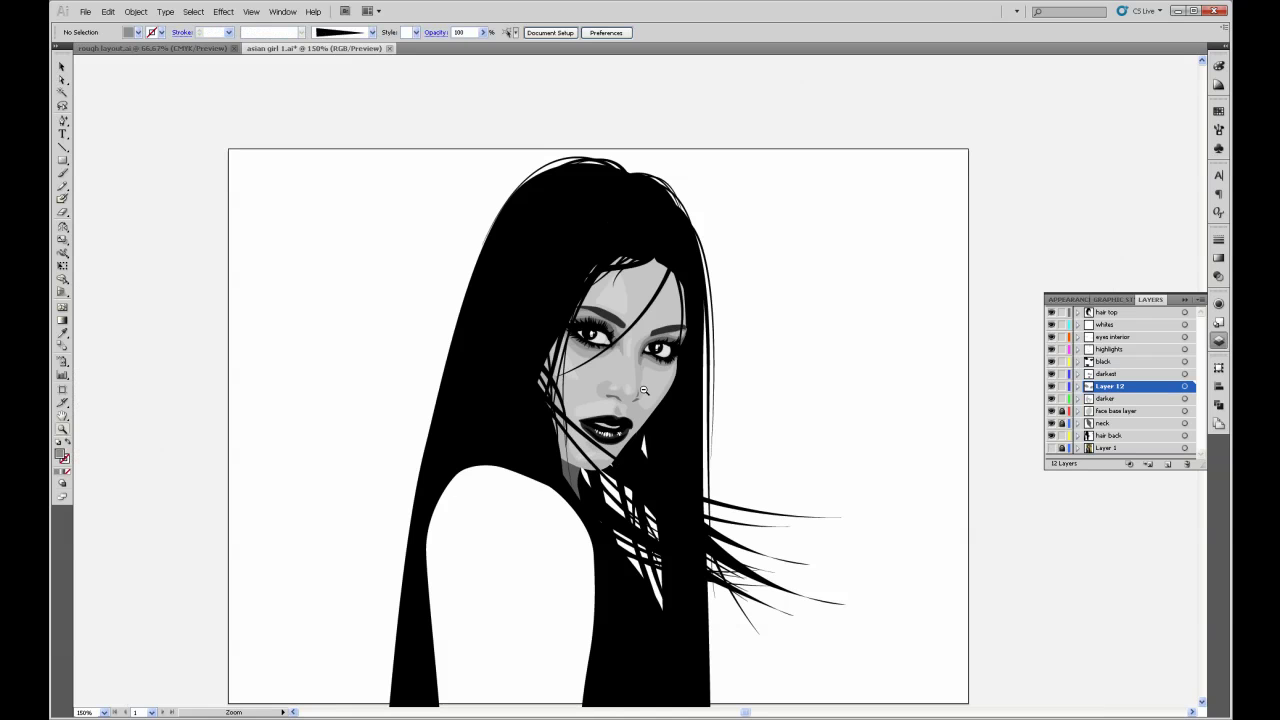
Working with Layers
Organize complex vectors by using the Layers panel. Group related elements together, lock parts you don’t want to accidentally modify, and keep your workspace tidy. This is especially helpful when working with detailed Shutterstock vectors that have multiple components.
Final Touches
If needed, add text, effects, or filters to enhance your design. Remember, since vectors are scalable, you can always resize your artwork without any loss of quality. Save your work regularly, and consider saving different versions so you can revert to earlier edits if needed.
So, editing Shutterstock vectors in Illustrator is all about harnessing the right tools to customize your design to perfection. With a little practice, you’ll be transforming stock vectors into unique, professional-quality artwork in no time!
Tips for Optimizing and Saving Your Vector Artwork
Once you’ve created or imported your Shutterstock vectors into Adobe Illustrator, it’s important to optimize and save your artwork properly. Doing so ensures your files are clean, lightweight, and ready for use in various projects without unnecessary hiccups.
First off, always keep your layers organized. Name your layers clearly and group related objects together. This makes editing much easier down the line and helps if you need to make adjustments later on.
Next, consider simplifying your vector paths. Overly complex paths can increase file size and slow down performance. Use the Object > Path > Simplify feature to reduce anchor points while maintaining the shape’s integrity. This step keeps your artwork crisp and lightweight.
Another tip is to remove hidden or unused elements. Sometimes, when importing vectors, extra layers or objects sneak in. Delete anything you don’t need by selecting and pressing Delete. This cleanup keeps your file lean.
When it comes to saving, choose the right format for your purpose:
- AI (Adobe Illustrator) — best for ongoing edits and high-quality printing.
- SVG — ideal for web use, scalable without losing quality.
- PDF — good for sharing with clients or printing, preserves vector data.
Always save a copy of your original AI file before exporting, so you can easily go back and make changes later. When exporting, check your settings carefully: for instance, in SVG exports, ensure that styling and fonts are correctly embedded or outlined, depending on your needs.
Lastly, consider creating versions of your artwork optimized for different uses. For example, for web, you might reduce the file size further by lowering the resolution or simplifying the design even more. For print, prioritize high resolution and color accuracy.
By keeping your vectors organized, simplified, and properly saved, you’ll streamline your workflow and ensure your artwork always looks professional, whether it’s for digital or print projects.
Common Issues and Troubleshooting Tips
Working with Shutterstock vectors in Adobe Illustrator is generally smooth, but sometimes you might encounter hiccups. Don’t worry—most issues are fixable once you know the common problems and their solutions.
Issue 1: Missing or Incorrect Fonts
When you open a vector file, fonts might not display as intended, especially if the fonts used aren’t installed on your system. To fix this, you can:
- Replace missing fonts with similar ones via the Type > Find Font tool.
- Convert text to outlines (Type > Create Outlines) to make text vector shapes, which eliminates font dependencies but makes edits more difficult later.
Issue 2: Colors Not Displaying Correctly
If colors appear off, check your color modes. For print, you want CMYK; for web, RGB. Always convert your document to the appropriate mode (File > Document Color Mode) before exporting.
Also, ensure that the colors are not set to spot colors unless necessary. Using the Swatches panel helps manage consistent colors across your artwork.
Issue 3: Vector Paths Are Not Smooth or Are Overly Complex
This can happen if the import process introduces unnecessary anchor points. Use the Object > Path > Simplify feature to clean up these paths. Adjust the slider to balance between simplicity and shape accuracy.
Issue 4: Exported Files Are Too Large or Not Scalable
Optimize your artwork by removing unused objects, simplifying paths, and choosing appropriate export settings. For web, consider exporting as SVG with compression; for print, ensure high resolution PDFs.
In summary, most issues with Shutterstock vectors in Illustrator boil down to font handling, color management, path complexity, and export settings. With a little troubleshooting, you can resolve these quickly and keep your projects on track.
Conclusion and Additional Resources
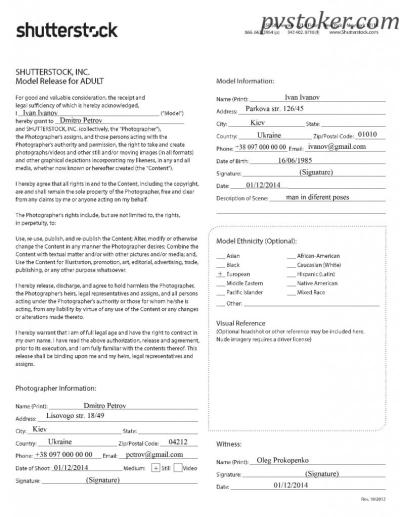
Mastering the use of Shutterstock vectors in Adobe Illustrator can significantly enhance your design workflow and creativity. By understanding how to properly download, import, and customize vector assets, you can create stunning visuals that meet your project requirements. Remember to choose high-quality vectors that align with your design goals and always respect licensing agreements to avoid copyright issues.
To recap, key steps include:
- Downloading vectors from Shutterstock with the appropriate license
- Importing vectors into Adobe Illustrator using the File > Open or Place options
- Using tools like Image Trace to convert raster images or editing vector paths directly
- Customizing colors, shapes, and other attributes to fit your design
For further learning, consider exploring the following resources:
| Resource | Description |
|---|---|
| Shutterstock Blog | Offers tutorials, tips, and industry updates related to stock vectors and imagery |
| Adobe Illustrator Tutorials | Official tutorials covering a wide range of tools and techniques |
| Vectorboom | Community site with free vector resources and design inspiration |
By leveraging these resources and practicing regularly, you’ll become proficient in integrating Shutterstock vectors into your Adobe Illustrator projects, opening up endless creative possibilities.