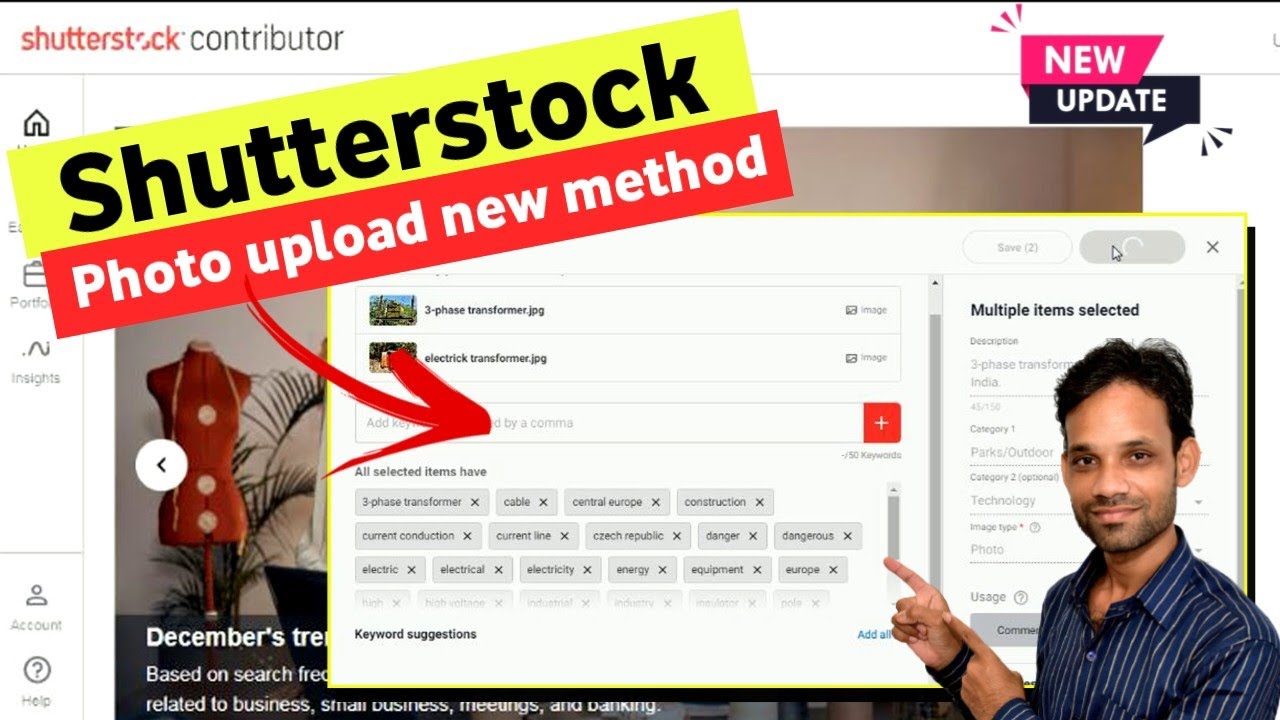
Looking to spice up your projects with high-quality images, videos, or music? Shutterstock is a go-to platform for creatives, marketers, and businesses worldwide. It offers an extensive library of royalty-free assets that make your content stand out. Whether you’re designing a website, creating social media content, or working on a presentation, having access to Shutterstock’s vast collection can save you time and elevate your work. Plus, setting up an account is quick and straightforward, so you can start exploring all the amazing resources right away. Let’s dive into how you can create your
Step-by-Step Guide to Setting Up Your Shutterstock Account

Getting started with Shutterstock is a breeze. Just follow these simple steps, and you’ll be ready to browse and download stunning assets in no time.
- Visit the Shutterstock Website: Open your preferred web browser and go to shutterstock.com. The homepage is user-friendly and welcoming.
- Click on Sign Up: Look for the “Sign Up” button at the top right corner of the page. Click on it to start the registration process.
- Choose Your Registration Method: Shutterstock offers options to sign up with your email address, Google account, or Facebook account. Pick the method that’s most convenient for you.
- Fill in Your Details: If you select email registration, you’ll need to enter your name, email address, and create a strong password. Make sure to use a valid email, as you’ll need it to verify your account.
- Agree to Terms and Conditions: Read Shutterstock’s terms of service and privacy policy. If you’re happy with them, check the box to agree.
- Complete the CAPTCHA: To verify you’re not a robot, complete the CAPTCHA challenge. This step helps keep the platform safe for everyone.
- Verify Your Email Address: After submitting your details, check your email inbox for a verification email from Shutterstock. Click on the link inside to confirm your account.
- Set Up Your Profile: Once verified, you can add additional details like your profile picture, payment information (if you plan to purchase assets), and preferences to personalize your experience.
And that’s it! You now have a Shutterstock account ready to explore. Whether you’re just browsing or planning to subscribe for downloads, your account is the first step towards accessing a world of creative assets that can take your projects to the next level.
Tips for Completing Your Profile Faster

Getting your Shutterstock profile set up quickly doesn’t mean you have to sacrifice quality or accuracy. In fact, a well-completed profile can help you start uploading and selling your images faster, and even attract more buyers. Here are some practical tips to speed up the process:
- Prepare Your Information in Advance: Before diving into the registration, gather all necessary details like your legal name, contact info, payment details, and any tax information required. Having everything ready will save you from scrambling to find info during sign-up.
- Use Clear and Consistent Branding: When uploading profile images or adding branding details, choose clear, professional photos and consistent usernames or branding elements. This makes your profile look trustworthy and helps you stand out.
- Follow the Step-by-Step Instructions: Shutterstock guides you through each section of your profile. Read each step carefully, but don’t overthink it—most fields are straightforward, and you can always update details later if needed.
- Utilize Sample Content for Profile Sections: When filling out descriptions or bios, keep it simple and authentic. Focus on your strengths and style as a creator. Remember, you can refine your bios later, but initial impressions matter.
- Keep Your Portfolio Organized: If you already have images ready, upload them in batches or categories to save time. Properly tagging and categorizing your images during upload also speeds up the process.
- Verify Your Email and Payment Info Promptly: Completing verification steps early on ensures you won’t face delays when you want to start selling or downloading content.
Remember, the goal is to set up a professional profile that accurately represents you and your work, all while keeping the process smooth and quick. Once your profile is complete, you’ll be ready to upload content, explore sales opportunities, and start earning on Shutterstock!
Understanding Shutterstock Membership Plans and Pricing

Getting familiar with Shutterstock’s membership plans and pricing options is essential to choosing the right plan for your needs. Whether you’re a casual photographer, a hobbyist, or a professional creator, there’s a plan that fits your goals and budget.
Shutterstock offers different subscription options, primarily divided into:
| Plan Type | Description | Pricing (approximate) | Best For |
|---|---|---|---|
| On-Demand Packs | Buy a set number of images or videos upfront. No recurring payments, pay as you go. | Starts around $49 for 10 images, with discounts on larger packs | Occasional users who need content sporadically |
| Subscription Plans | Monthly or annual plans that provide a fixed number of downloads each month. | Starts at approximately $29/month for 10 images | Frequent users or businesses needing regular content |
| Enterprise & Custom Plans | Tailored plans with higher download limits, team management, and dedicated support. | Pricing varies based on needs | Large teams, agencies, or organizations with extensive content needs |
Key things to consider:
- Number of downloads needed: Estimate your typical monthly or annual content consumption.
- Type of content: Shutterstock offers photos, vectors, illustrations, videos, and music. Some plans might include all media types, while others focus on specific categories.
- Flexibility: Subscription plans often include unlimited downloads within a set limit, which is great for high-volume needs. On-demand packs are better if your usage is irregular.
- Pricing benefits: Larger packs or longer-term subscriptions often come with discounts, so consider your long-term content strategy.
Keep in mind that Shutterstock also offers free assets and trial options for new users to explore the platform before committing. Understanding these plans helps you make an informed decision, ensuring you get the most value and convenience for your money. Whether you’re just starting out or scaling your content creation, choosing the right plan keeps your workflow smooth and financially efficient.
Frequently Asked Questions About Creating a Shutterstock Account
Getting started with Shutterstock can bring up a few questions, especially if it’s your first time signing up. Don’t worry—we’ve compiled some of the most common questions to help clear things up and make your experience smoother.
Q: Do I need to pay to create a Shutterstock account?
Great news! Creating your account is completely free. You can sign up without any upfront costs. However, if you want to download images or subscribe to a plan, those are paid services. Your free account just gives you access to browse, save favorites, and start exploring what Shutterstock offers.
Q: What information do I need to sign up?
To create an account, you’ll typically need to provide:
- Email address
- Full name
- Password
- Optional: payment details (if you plan to purchase downloads)
Make sure your email is valid, as you’ll need it to verify your account and receive important updates.
Q: Can I use my social media accounts to sign up?
Yes! Shutterstock allows you to sign up using your Google or Facebook accounts, making the process even quicker. Just click the respective button during sign-up, and follow the prompts.
Q: Is my personal information safe on Shutterstock?
Absolutely. Shutterstock takes your privacy seriously and uses secure encryption methods to protect your data. Be sure to use a strong, unique password and enable two-factor authentication if available for added security.
Q: Can I change my account details later?
Yes, you can update your profile information, payment methods, and preferences anytime through your account settings. It’s a good idea to keep your details current, especially if you’re planning to purchase images regularly.
Q: What if I forget my password?
No worries—you can easily reset it by clicking the “Forgot Password?” link on the login page. Just enter your email, and Shutterstock will send you instructions to create a new password.
Conclusion and Next Steps After Account Creation
Congratulations! You now have a Shutterstock account ready to go. Whether you’re here to find stunning images for a project, enhance your creative portfolio, or just explore the vast library, you’re all set to start browsing and downloading.
What’s next?
- Explore the platform: Spend some time browsing categories, searching for specific images, or checking out curated collections. Familiarize yourself with how the site works.
- Create collections: Save your favorite images into personalized collections—perfect for organizing ideas or future projects.
- Start a subscription or purchase credits: If you plan to download multiple images, consider choosing a plan that suits your needs. Shutterstock offers various subscription options and credit packs.
- Download and use images responsibly: Remember to read licensing terms carefully. Shutterstock’s licenses are designed to give you legal peace of mind when using images for commercial or personal purposes.
- Stay updated: Subscribe to newsletters or follow Shutterstock on social media to stay in the loop about new features, promotions, or exclusive content.
Now that your account is set up, the creative possibilities are endless. Dive in, explore, and make the most of everything Shutterstock has to offer. Happy creating!

