Styling your WordPress theme can feel daunting, especially if you’re not a coding whiz. But don’t fret! Using the Classic Editor in WordPress, you can give your site a unique look without diving deep into complex HTML or CSS. This familiar editor allows for more straightforward styling options and gives you the ability to customize layouts and formats in a way that’s intuitive for anyone, whether you’re a seasoned blogger or just starting out. Let’s explore how you can make your
Understanding the Classic Editor

The Classic Editor is essentially the traditional content editor for WordPress, and it’s been beloved by users for years. It offers a simple interface that resembles a word processor, making it easy to use for anyone who’s comfortable with basic text formatting. Here’s a quick rundown of its main features:
- Familiar Interface: If you’ve used programs like Microsoft Word, you’ll appreciate the Classic Editor’s similarity. It minimizes the learning curve.
- Text Formatting Options: You can easily bold, italicize, or underline text, create lists (both bulleted and numbered), and add blockquotes.
- Media Management: Adding images and videos is simple; just click on the “Add Media” button and upload or select from your media library.
- HTML Editing: If you’re feeling adventurous, you can switch to the ‘Text’ tab to access the HTML for more refined control over your layout.
- Easy Shortcodes: Many themes come with shortcodes, and the Classic Editor can easily incorporate these to add features like buttons or columns.
In summary, the Classic Editor is a user-friendly tool that allows WordPress users to craft beautiful, engaging posts and pages. Whether you are looking to style content, insert media elements, or tweak layouts using simple HTML, it has everything you need to get started seamlessly!
Setting Up Your WordPress Environment

Before diving into styling your WordPress theme using the Classic Editor, it’s crucial to set up your WordPress environment correctly. This step will ensure you have a stable and efficient platform to work on. Here’s what you need to do:
- Choose a Reliable Hosting Provider: The first step is selecting a hosting provider. Look for one that offers great uptime, speed, and customer support.
- Install WordPress: Most hosting providers offer one-click WordPress installation. Follow their prompts and get your site running in no time!
- Set Up a Local Development Environment: If you prefer making changes offline before going live, consider using software like XAMPP or Local by Flywheel. This allows you to create a WordPress installation on your computer.
- Install Essential Plugins: While you’re working with the Classic Editor, it’s useful to have a few plugins set up. Consider installing:
- Classic Editor Plugin
- Yoast SEO for optimized content
- Jetpack for security and performance enhancements
- Backup Your Site: Whether on a live website or local environment, always remember to back up your WordPress setup before making significant changes. A plugin like UpdraftPlus works wonders!
By getting your WordPress environment ready with these steps, you’ll create a smoother experience when customizing your theme. It’s like laying a solid foundation before building a house – it’s essential for a successful project!
Choosing the Right Theme for Customization

When it comes to styling your WordPress website using the Classic Editor, the theme you choose plays a critical role. Not all themes are created equal; some are more conducive to customization than others. So, how do you select the right one? Here are some tips:
- Look for Customization Options: Choose a theme that offers built-in customization features, such as the WordPress Customizer. This allows you to adjust colors, fonts, and layout without extensive coding knowledge.
- Responsive Design: Ensure the theme is mobile-friendly. With more users accessing sites via smartphones, having a responsive design is non-negotiable.
- Consider Page Templates: Some themes come with various page templates that can save you time. Look for ones that offer full-width layouts, grids, or sidebars to enhance your design options.
- Check for Compatibility: Make sure the theme is compatible with popular plugins, especially those you plan to use. Compatibility ensures a seamless integration and functionality.
- Read Reviews and Ratings: Look at what other users have to say. High ratings and positive reviews often reflect a reliable and well-supported theme.
In conclusion, choosing the right theme is the cornerstone of your customization journey. A suitable theme not only meets your aesthetic needs but also provides the flexibility required for achieving your desired look. So take your time, explore the options, and make an informed choice for the best outcome!
Accessing the Classic Editor
If you’ve stumbled upon the Classic Editor in your WordPress journey, you’re in for a treat! This user-friendly tool allows you to write and style your posts like a pro. To access the Classic Editor, follow these simple steps:
- Login to Your WordPress Dashboard: Start by entering your credentials on your WordPress site. Once you’re logged in, you’ll find yourself on the dashboard – your gateway to managing your site.
- Navigate to the Posts Section: On the left-hand menu, click on “Posts.” Here, you’ll see options to view all posts, add new ones, or manage categories.
- Add a New Post: To access the Classic Editor, you can either click on “Add New” to start fresh or edit an existing post by clicking on the title of the post you wish to edit.
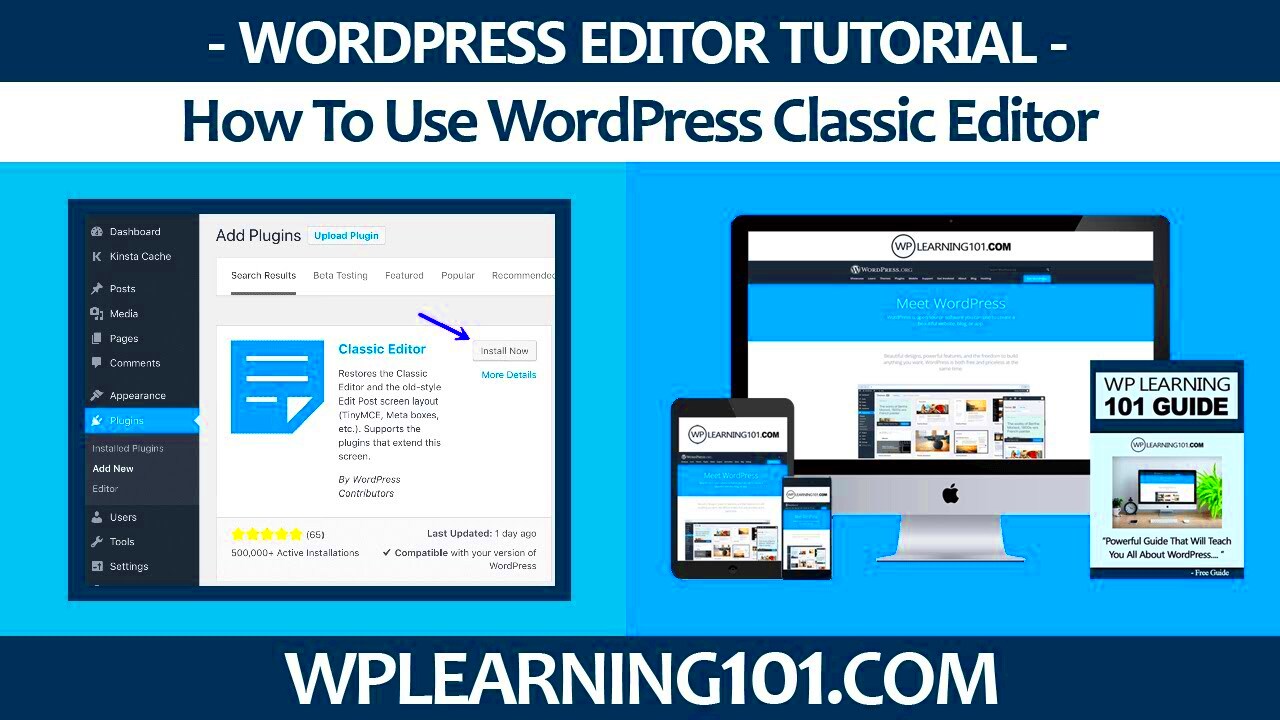
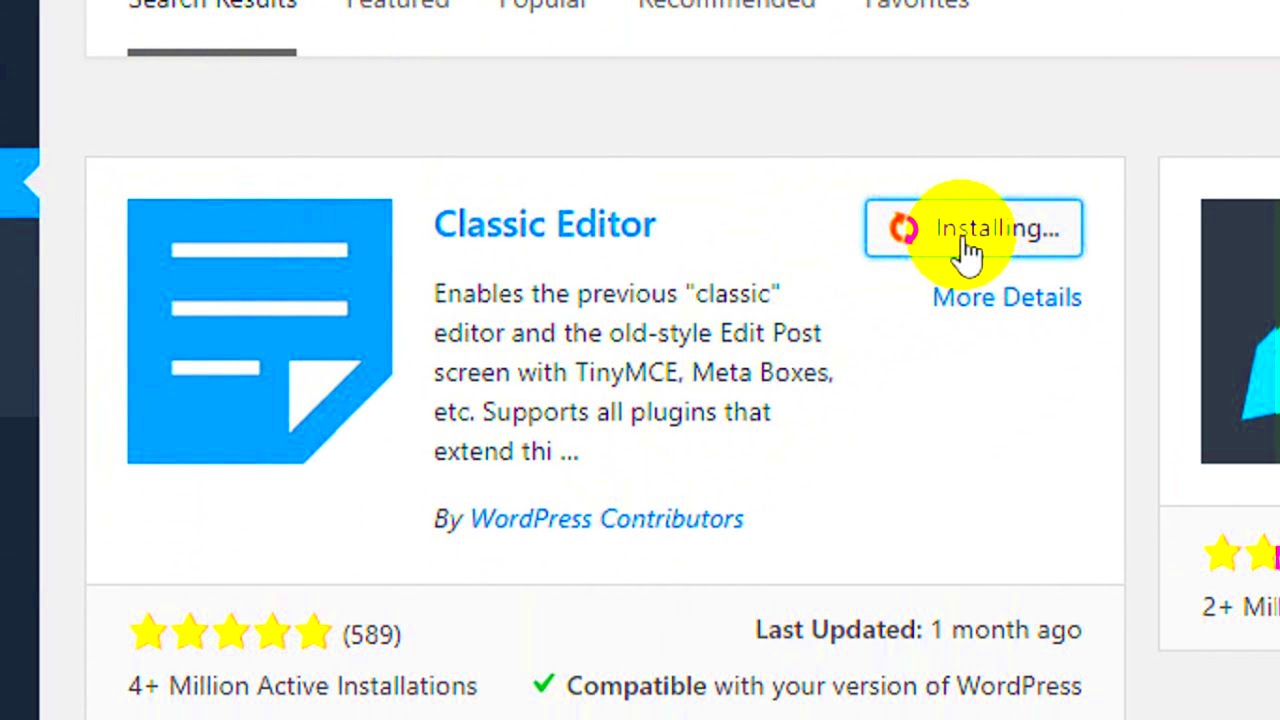
- Choosing the Classic Editor: If your site is set to use the block editor (Gutenberg), you might need to enable the Classic Editor plugin. Simply head to Plugins > Add New, search for the “Classic Editor” plugin, install, and activate it.
And voilà! You should be greeted by the familiar Classic Editor interface. Keep in mind that this tool mirrors the traditional word processor layout, making it particularly welcoming for those who prefer a straightforward writing experience. Now that you’re all set up, let’s dive into styling your content!
Using Basic Formatting Options
Once you have access to the Classic Editor, you’ll want to make your posts visually appealing. Fortunately, the Classic Editor is equipped with a variety of basic formatting options that can help you catch your reader’s eye. Here’s a breakdown of some of the most useful formatting tools available to you:
- Bold and Italics: To emphasize certain words or phrases, use the “B” button for bold and the “I” button for italics. Alternatively, you can use keyboard shortcuts like Ctrl + B for bold and Ctrl + I for italics.
- Lists: Organizing information into bullet points or numbered lists (by clicking the respective buttons) makes your content easier to digest.
- Headings: Utilize headings (H1, H2, H3) to create a hierarchy in your text. This not only enhances readability but also helps with SEO. Select the desired heading from the dropdown menu.
- Links: Want to add a hyperlink? Simply select the text, click the link icon, and paste your URL. This adds value by directing readers to additional resources.
- Text Alignment: Adjust the alignment of your text using the alignment buttons. Center, left, or right – it’s entirely up to your preference!
Experiment with these formatting options to discover what works best for your style. A well-formatted post can greatly enhance the user experience, so don’t shy away from using these tools to make your content stand out! Remember, great writing is not just about the story – it’s about how you present it! Happy styling!
7. Incorporating Custom CSS in the Classic Editor
When it comes to styling your WordPress theme using the Classic Editor, one of the most powerful tools at your disposal is Custom CSS. This feature allows you to tweak the appearance of your site without needing extensive coding knowledge. Custom CSS is a great way to make your site truly yours, adding that personal touch to the default styles.
Here’s how you can incorporate Custom CSS:
- Access the Customizer: Go to your WordPress dashboard, navigate to Appearance, and then click on Customize. This will open the WordPress Customizer.
- Find the Additional CSS Section: In the Customizer sidebar, look for Additional CSS. Click on it to open a text area where you can enter your custom styles.
- Add Your CSS: In this text area, you’re free to write your CSS. Want to change the background color? Use
background-color: #ffffff;. Need to adjust the font size? Tryfont-size: 16px;. It’s that simple! - Preview and Publish: As you write your CSS, you’ll see the changes reflected in the live preview. When you’re happy with your edits, hit Publish to save your changes.
Using Custom CSS doesn’t just help in making aesthetic changes; it can also improve your site’s usability. Remember to keep your CSS organized, possibly using comments for different sections, so you can easily come back and make adjustments in the future. Truly, Custom CSS is a fantastic way to harness your creativity within the Classic Editor!
8. Utilizing HTML for Advanced Styling
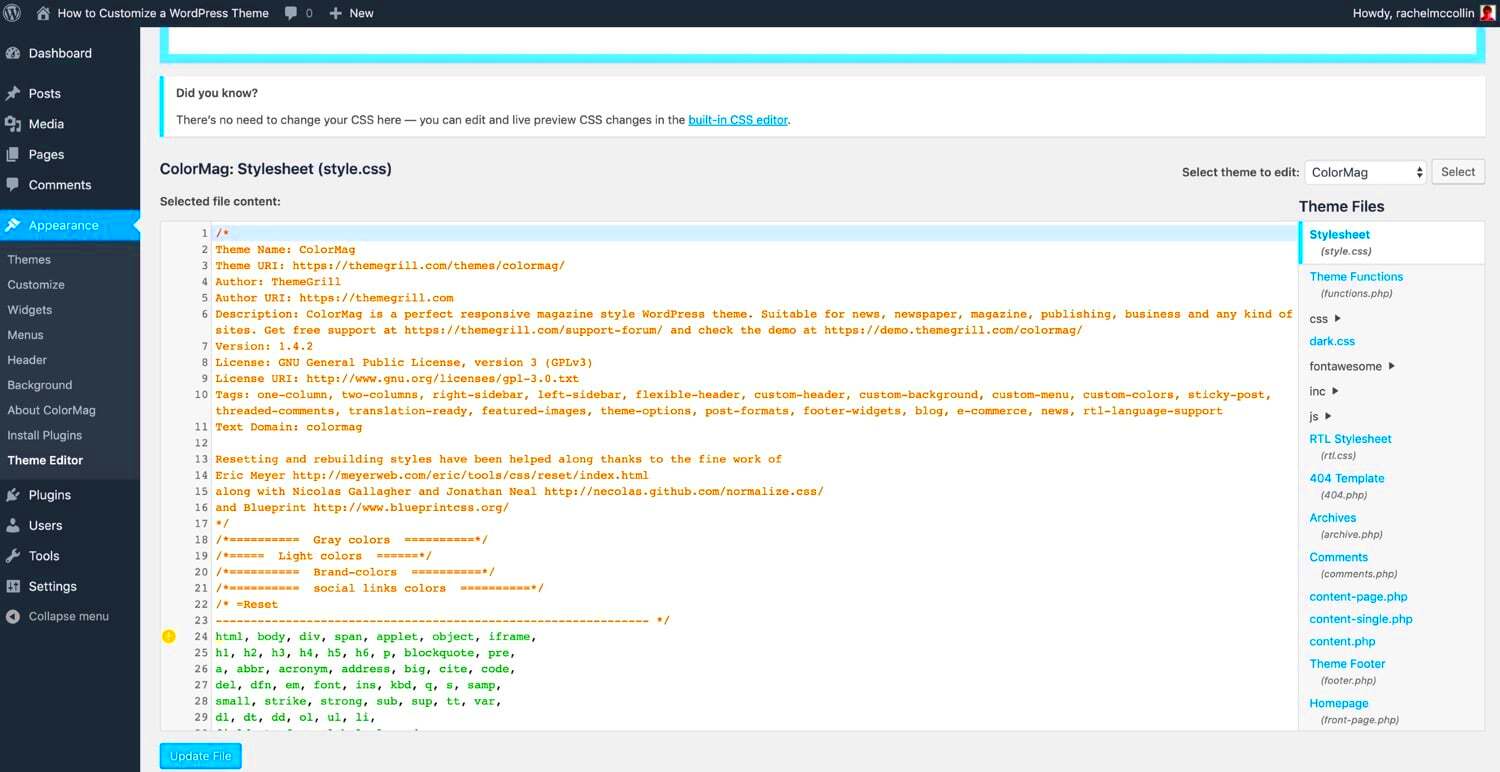
While Custom CSS is an excellent choice for quick styling updates, sometimes you need a bit more control over your webpage layout and design. That’s where utilizing HTML comes in. The Classic Editor allows you to directly input HTML, enabling you to create complex structures and styles that standard visual editing might not be able to achieve.
Here’s how you can leverage HTML for advanced styling:
- Switch to Text Mode: In the Classic Editor, you have two tabs: Visual and Text. Click on the Text tab to write or paste your HTML code directly.
- Use Semantic HTML: By using tags like
<div>,<section>, and<article>, you’re not just telling browsers how things should look, but also conveying meaning. This is especially important for search engines and accessibility tools. - Adding Inline Styles: For quick fixes, you can use inline styles to apply CSS directly on HTML elements. For instance,
<h1 style="color:blue;">My Title</h1>changes the header color to blue. - Tables for Layout: If you’re looking to create a layout with precise control, consider using HTML tables. They can help in arranging content, especially in a structured format. However, be cautious not to use tables for layout purposes – primarily use them for displaying tabular data.
Remember, when you use HTML, a little goes a long way. Focus on enhancing the user experience while keeping your code clean and readable. By effectively utilizing HTML, you can unlock the full potential of your WordPress theme in the Classic Editor. Happy styling!
9. Adding Media for Enhanced Visual Appeal
When it comes to styling your WordPress theme, adding media is one of the most effective ways to enhance visual appeal. Media can range from images and videos to audio files and PDFs. The key here is to ensure that the media elements you choose complement your content and engage your audience.
Here are a few tips for adding media effectively:
- Select High-Quality Images: Always go for high-resolution images that are relevant to your content. A clear and attractive image can make your post more inviting.
- Use the Media Library: WordPress has a handy media library where you can upload and manage all your files. This makes it easier to find and insert media into your posts.
- Optimize for Performance: Large image files can slow down your website. Make sure to optimize images for the web to maintain fast loading times.
- Add Captions and Alt Text: Captions can provide context, while alt text is crucial for accessibility and SEO. Don’t skip this step!
- Incorporate Videos: Videos can significantly increase engagement. Use platforms like YouTube or Vimeo to embed videos directly in your posts or pages.
To insert media, simply use the ‘Add Media’ button when editing a post in the Classic Editor. This will open up your media library, allowing you to choose the files you want to include. With just a few clicks, you can dramatically improve the look and feel of your WordPress theme!
10. Utilizing Shortcodes for Dynamic Content
Shortcodes are a powerful way to bring dynamic content into your WordPress posts and pages without the need for extensive coding. They act as placeholders that can be replaced with specific features when the page is rendered. Essentially, shortcodes allow you to easily add complex elements, such as galleries, buttons, and forms, with minimal effort.
Here’s why and how you should use shortcodes:
- Easy to Use: You only need to type a simple code, like
[button]for a button, to create engaging features. - Customization: Most shortcodes offer parameters that let you customize the appearance, such as size and style, allowing you to tailor the content to fit your theme.
- Consistency: When you reuse shortcodes across multiple posts, they ensure a consistent look and feel. This cohesiveness is key for branding.
- Dynamic Functionality: Some shortcodes can pull in dynamic content, like recent posts or social media feeds, which keeps your site fresh.
To incorporate shortcodes in the Classic Editor, just type or paste the shortcode into the content area where you want it to appear. Once published, WordPress will automatically replace it with the relevant content. It’s as simple as that! Take advantage of shortcodes to add flair and functionality to your WordPress site.
Previewing Your Changes Before Publishing
Before you hit that publish button, it’s crucial to preview how your changes will look on your live site. After all, you want your content to shine, right? WordPress makes it incredibly easy to preview your posts or pages while using the Classic Editor. Here’s how you can ensure everything appears just the way you want:
1. Use the Preview Button:
- Once you’ve made your changes, look for the “Preview” button located in the Publish section on the right side of the Classic Editor.
- This button lets you see your content as it would appear to your audience without actually publishing it.
2. Responsive Design Check:
- When you preview, check how your content looks on different devices. You can resize your browser window or use developer tools to simulate various screen sizes.
- This step ensures that your text, images, and overall layout are appealing both on desktops and mobile devices.
3. Use the ‘Revisions’ Feature:
- If something doesn’t look right after previewing, WordPress has a fantastic Revisions feature. You can go back to previous versions of your post before making changes.
- This provides peace of mind as you edit, allowing you to track and restore earlier drafts!
In conclusion, previewing your changes helps catch mistakes or layout issues before your content goes live. It’s like having a dress rehearsal before the big show. So, take your time to preview – your readers will thank you for it!
Best Practices for Styling with the Classic Editor
Styling your WordPress theme using the Classic Editor can be a rewarding experience. By keeping a few best practices in mind, you can achieve a polished and professional look with ease. Here’s a list of tips to enhance your styling efforts:
1. Utilize HTML Tags:
- Make use of basic HTML tags to format your text. Headers (<h1> to <h6>), paragraphs (<p>), lists (<ul> and <ol>), and links (<a>) can dramatically improve readability.
- Example: Use <h2> for section titles and <h3> for subsections to guide your readers easily through your content.
2. Maintain Consistent Formatting:
- Consistency is key! Choose a style for your headings, body text, and lists, and stick with it throughout your posts.
- Inconsistencies can make your content appear unprofessional, so find a formatting guide that works for you.
3. Leverage the Toolbar:
- The Classic Editor has a handy toolbar for text styling. Use it to apply bold, italics, and other text effects quickly.
- This will save you time and help you avoid the need to write extra HTML.
4. Add Visual Elements:
- Images and media can break up text and make your posts more engaging. Use the ‘Add Media’ button to insert images, videos, and audio files seamlessly.
- Make sure to add alt text for images to improve SEO and accessibility.
By following these best practices, you’ll create beautifully styled posts that not only look great but also provide an enjoyable reading experience. Happy styling!
Troubleshooting Common Issues
When styling a WordPress theme using the Classic Editor, you might encounter a few bumps along the way. But don’t worry! Most issues are straightforward to fix. Let’s take a look at some common problems and their solutions.
- Styles Not Applying: One of the most frequent issues is when changes don’t show up on the front end. Double-check if you saved your changes correctly. If using custom CSS, make sure it’s placed in the right location, usually in Appearance > Customize > Additional CSS.
- Broken Layout: Sometimes, custom styling can break your layout. This may happen if CSS is misconfigured. Use your browser’s inspector tool (right-click and select “Inspect”) to troubleshoot which styles are affecting your layout.
- Plugin Conflicts: Occasionally, plugins can interfere with styling. If you notice issues after installing a new plugin, try deactivating it and see if the problem persists. You can reactivate them one by one to identify the culprit.
- Browser Cache Issues: If changes aren’t appearing, clear your browser cache. Sometimes your browser saves an older version of your site. Use Ctrl + F5 on Windows or Cmd + Shift + R on Mac to refresh your cache.
Lastly, make sure WordPress, your theme, and all plugins are up to date, as updates often come with bug fixes that can resolve underlying issues.
Conclusion and Further Resources
Styling your WordPress theme using the Classic Editor can be both a rewarding and creative endeavor. It’s a unique way to mold your site to reflect your personal or brand identity. While you may run into some challenges along the way, the solutions are often simpler than you might think.
If you’re eager to dive deeper into this subject, here are a few resources you might find useful:
| Resource | Description |
|---|---|
| WordPress Support | The official documentation offers comprehensive guides on customizing and troubleshooting. |
| WordPress Theme Handbook | A must-read guide for anyone looking to learn more about theme development and styling. |
| WPBeginner YouTube Channel | Great for visual learners! This channel features many informative WordPress tutorials. |
By exploring these resources, you will not only enhance your styling skills but also empower yourself as a confident WordPress user. Happy styling!


