Getting the perfect image size for your ads can feel like a bit of a puzzle, especially when you’re working with Shutterstock photos. Whether you’re designing a Facebook ad, a banner, or a social media post, resizing those images correctly is key to making your ads look professional and eye-catching. Luckily, resizing Shutterstock images isn’t as complicated as it sounds. In this guide, we’ll walk through everything you need to know—from basic resizing techniques to best practices—so your ads stand out and perform well. Let’s dive in and make sure your images are just right for your advertising goals!
Understanding the Importance of Correct Image Dimensions in Ads
When it comes to online advertising, image dimensions matter more than you might think. Using images with the wrong size can cause a variety of issues—from blurry visuals and awkward cropping to slow loading times and even ad rejection. Think of your ad images as the first impression; if they’re not properly sized, it can harm your brand’s professionalism and effectiveness.
Here’s why correct image dimensions are so crucial:
- Visual Clarity: Properly sized images ensure your visuals are sharp and clear, not pixelated or stretched.
- Platform Compatibility: Different advertising platforms have specific size requirements. For example, Facebook recommends 1200×628 pixels for link shares, while Instagram prefers square images around 1080×1080 pixels.
- Better Engagement: Well-sized images look more appealing, encouraging users to stop scrolling and engage with your ad.
- Cost Efficiency: Correctly formatted images load faster, which can reduce ad costs and improve your campaign’s overall performance.
It’s tempting to just upload any image and hope for the best, but taking the time to resize your Shutterstock photos properly can make a huge difference in your ad’s success. So, understanding and applying the right dimensions isn’t just a technical step—it’s a strategic move to boost your advertising results.
Step-by-Step Guide to Changing Shutterstock Photo Dimensions
Ready to resize that Shutterstock photo for your ad? Don’t worry—it’s easier than you might think! Here’s a simple step-by-step guide to help you get the perfect dimensions for your project.
Step 1: Choose the Right Image
Start by selecting a high-quality Shutterstock photo that fits your campaign’s theme. Remember, larger images tend to resize better without losing quality. Download the image in the highest resolution available to give yourself flexibility.
Step 2: Determine Your Target Dimensions
Know the exact size your ad requires. Whether it’s a specific pixel width and height or a ratio, having these numbers upfront will guide your resizing process. Common ad sizes include 300×250, 728×90, or 1080×1080 for social media.
Step 3: Open Your Editing Tool
Launch your chosen image editing software. This could be a free online tool or a professional program like Adobe Photoshop. Upload your Shutterstock image to the workspace.
Step 4: Resize the Image
- Locate the resize option—usually under “Image” > “Image Size” or similar menu.
- Enter your target dimensions. Make sure to keep the aspect ratio locked if you want to avoid distortion, or unlock it if you plan to customize width and height independently.
- Check the resolution. For digital ads, 72 or 150 dpi is typically sufficient. For print, higher DPI may be necessary.
Step 5: Crop or Adjust as Needed
If your aspect ratio doesn’t match your target size, you may need to crop the image to fit perfectly. Most editing tools allow you to select the crop area manually to focus on the most important part of the photo.
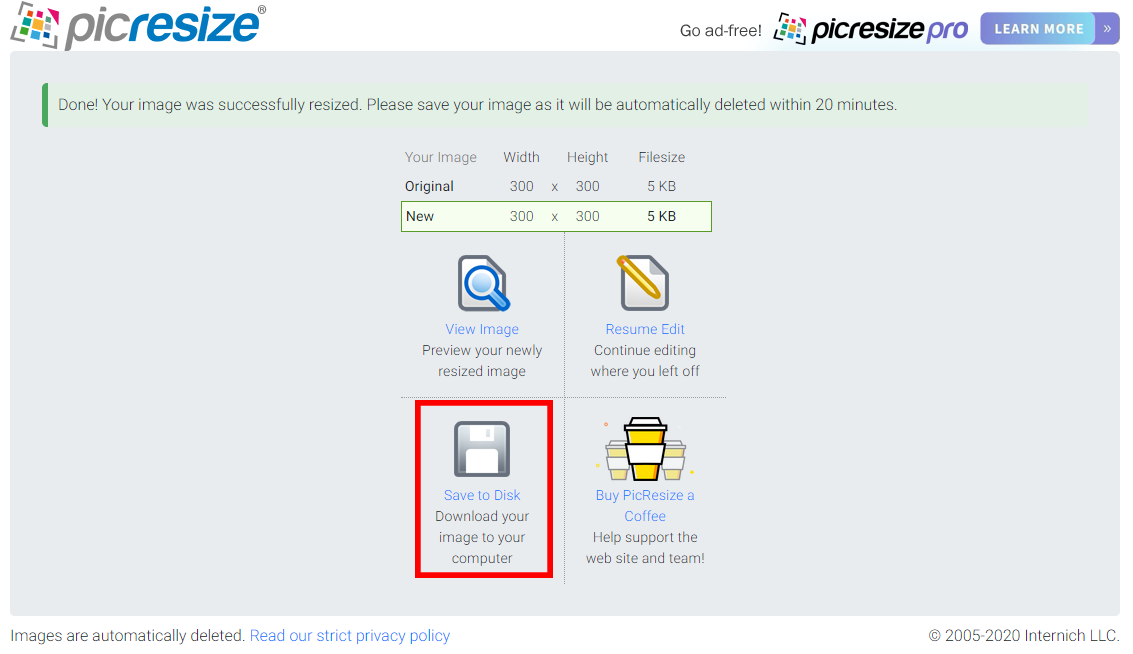
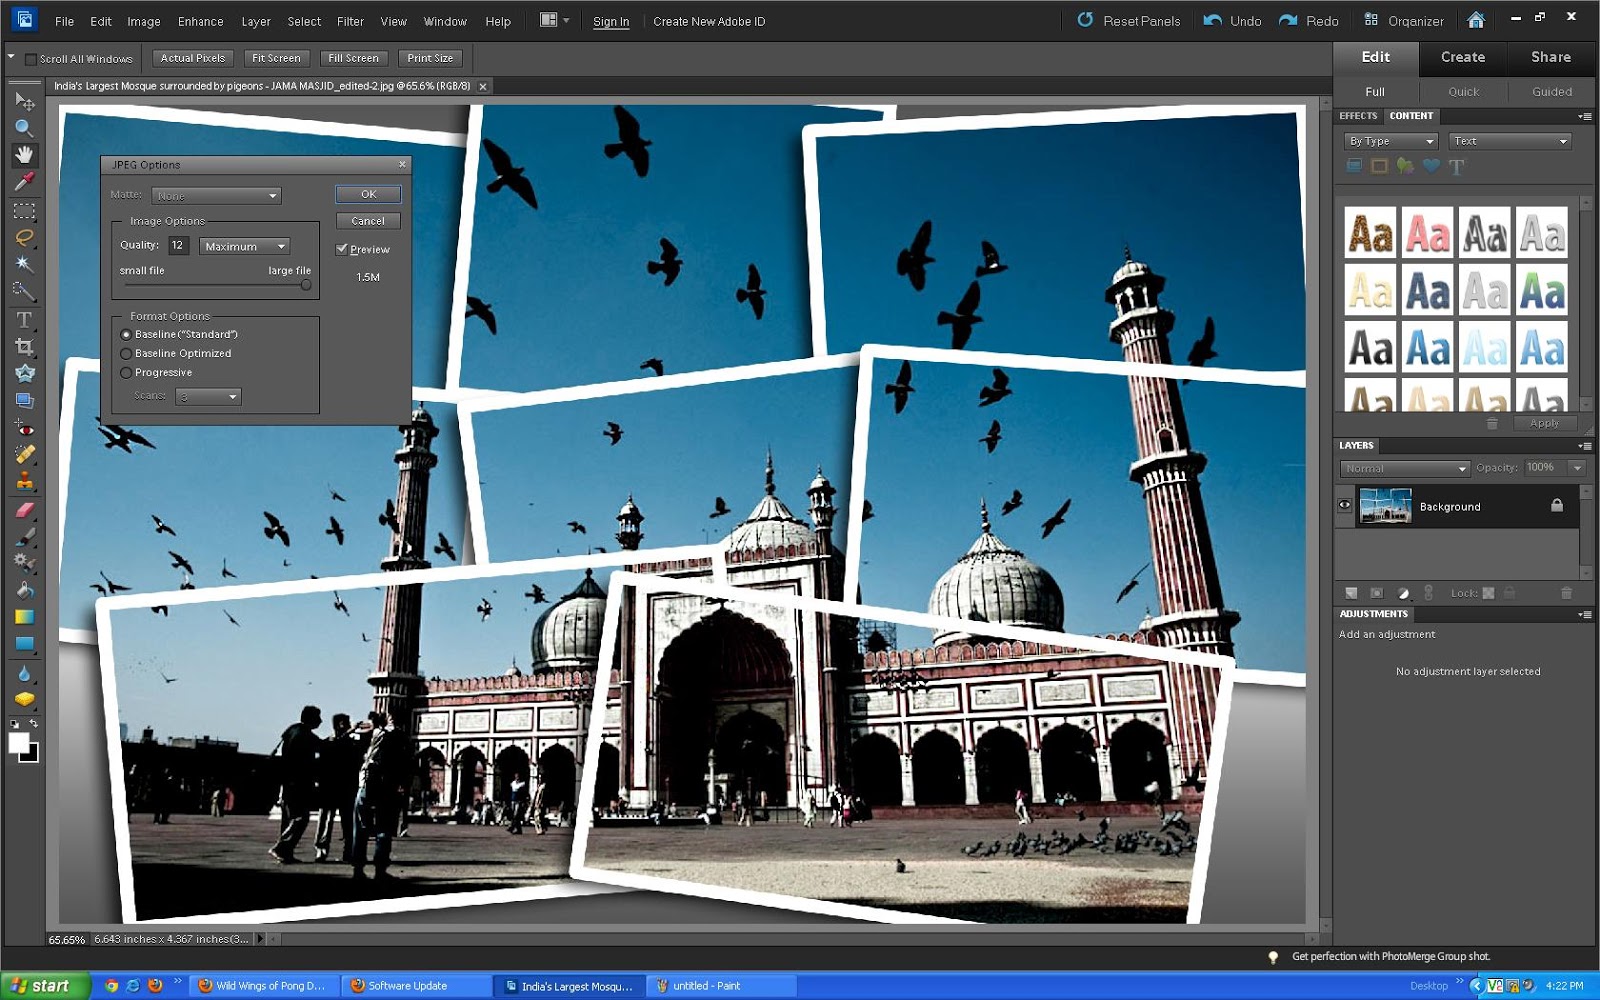
Step 6: Save Your Resized Image
Once satisfied, save your image in the appropriate format—JPEG or PNG are most common for ads. Choose a filename that helps you stay organized, and ensure the quality setting is high enough to avoid compression artifacts.
And voilà! You now have a perfectly resized Shutterstock photo ready to make your ads pop.
Tools and Software Options for Resizing Images
When it comes to resizing images, there’s no shortage of tools out there. Some are free, others paid, but all aim to make your job easier. Let’s explore some of the best options so you can pick the one that fits your workflow.
1. Adobe Photoshop
Best for professionals and those needing precise control. Photoshop offers powerful resizing options, including resampling, cropping, and aspect ratio management. It also allows batch processing if you’re working with multiple images.
2. GIMP (GNU Image Manipulation Program)
A free, open-source alternative to Photoshop. GIMP provides advanced editing features, including image resizing, cropping, and quality adjustments, making it a solid choice for budget-conscious users.
3. Canva
Ideal for quick edits and social media ads. Canva’s intuitive interface allows you to resize images easily using preset dimensions or custom sizes. It also offers templates to streamline your ad creation process.
4. Online Resizer Tools
- Pixlr: A web-based editor with resizing options and filters, no download required.
- ResizeImage.net: Simple tool for quick resizing and cropping.
- Bulk Resize Photos: Perfect if you need to resize multiple images at once.
5. Paint.NET
A free Windows program that’s lightweight yet capable of resizing images with good control over quality and dimensions.
Choosing the right tool depends on your needs—whether you want quick, no-fuss resizing or detailed control. For most marketers, a combination of free tools like Canva or GIMP and professional software like Photoshop offers the best flexibility. Experiment with a few options to see which one feels most intuitive for your workflow.
Remember, no matter what tool you pick, always keep a backup of your original image before making any modifications. Happy resizing!
Best Practices for Maintaining Image Quality During Resizing
Resizing images might seem straightforward, but if you want your Shutterstock photos to look sharp and professional in your ads, there are some best practices to keep in mind. The key is to strike a balance between size and quality, ensuring your images don’t become pixelated or blurry.
Here are some tips to help maintain image quality during resizing:
- Start with high-resolution images: The higher the original image resolution, the more flexibility you have when resizing without losing quality. If possible, choose images with a resolution of at least 300 DPI for print or 72 DPI for web use.
- Use the right tools: Professional photo editing software like Adobe Photoshop, GIMP, or Canva offers advanced resizing algorithms that preserve image clarity. Avoid basic image viewers that might degrade quality.
- Maintain aspect ratio: Always keep the aspect ratio locked when resizing to prevent distortion. Most software provides an option to lock width and height proportions automatically.
- Opt for ‘bicubic sharper’ or similar algorithms: When enlarging images, choose algorithms designed for resizing, such as bicubic sharper, which help retain details and sharpness.
- Resize in small steps: Instead of resizing an image in one big step, do it gradually—small increments help preserve quality and reduce artifacts.
- Sharpen after resizing: Sometimes resizing can soften the image. Applying a slight sharpening filter afterward can help restore some crispness, but be cautious not to overdo it.
- Check the final image: Always zoom in to 100% and review your resized image. Look for pixelation, blurriness, or artifacts. If you notice issues, consider starting with a higher resolution or adjusting your resize parameters.
Remember, the goal is to keep your images looking crisp and professional, whether they’re part of a banner, social media ad, or display. Taking your time with resizing and following these practices can make all the difference in how your ad performs and how your brand is perceived.
Tips for Creating Effective Ad Images with Proper Dimensions
Designing ad images that are both eye-catching and correctly sized can seem tricky, but with a few handy tips, you can make your ads stand out and perform well across platforms.
Here’s what to keep in mind when creating effective ad images:
- Know your platform’s specifications: Different ad platforms have recommended dimensions. For example:
Platform Recommended Dimensions Aspect Ratio Facebook Ad 1200 x 628 px 1.91:1 Instagram Post 1080 x 1080 px 1:1 Google Display 300 x 250 px (Medium Rectangle) Auto - Use the right dimensions: Creating images that match platform specs avoids cropping or stretching, ensuring your message comes through clearly.
- Keep it simple and focused: Use minimal text and bold visuals. Remember, ads are often viewed quickly, so your message should be immediately clear.
- Use high-quality images: Blurry or pixelated images can hurt your ad’s effectiveness. Always start with high-res Shutterstock photos.
- Design with contrast: Make sure your text stands out against the background. Bright colors or overlays can help improve readability.
- Test different sizes and layouts: A/B testing different ad images can reveal which dimensions and designs resonate best with your audience.
- Leave some breathing room: Margins and padding prevent your content from feeling cramped and help your design look polished.
- Optimize file size: Compress your images without losing quality to ensure fast loading times, especially for web ads. Formats like JPEG and PNG are standard, but consider WebP for smaller file sizes.
Ultimately, creating effective ad images is about aligning your visual content with platform requirements and your brand message. When you combine proper dimensions with compelling visuals, your ads are more likely to capture attention and drive results.
Common Mistakes to Avoid When Resizing Shutterstock Photos
Resizing images might sound straightforward, but if you’re not careful, it can lead to some frustrating issues that affect the quality and effectiveness of your ads. Here are some common mistakes to watch out for—and how to avoid them:
1. Ignoring the Original Resolution
One of the biggest pitfalls is resizing images without considering their original resolution. Starting with a low-resolution Shutterstock photo and enlarging it can result in blurry, pixelated images that look unprofessional. Always check the image’s resolution before resizing. If you need a larger version, look for higher-resolution options on Shutterstock or consider purchasing images with higher DPI settings.
2. Forgetting to Maintain Aspect Ratio
Resizing images without locking the aspect ratio can distort the photo, making it look stretched or squished. To keep your image looking natural, always lock the aspect ratio in your editing tool before resizing. This way, you preserve the proportions and avoid unintended distortions.
3. Over-Resizing or Excessive Enlargement
Resizing an image too much—especially enlarging—can cause loss of quality. If you need a significantly larger image, it’s better to choose a higher-resolution photo from Shutterstock initially. Otherwise, you risk ending up with a fuzzy or pixelated ad image that diminishes your brand’s professionalism.
4. Not Considering the Final Platform Requirements
Different ad platforms have specific image size and format requirements. Resizing without checking these can lead to images that don’t display correctly or get rejected. Always review the platform guidelines before resizing, and tailor your image dimensions accordingly.
5. Neglecting to Save the Original
Before making any edits, save a copy of the original Shutterstock photo. This way, if your resizing doesn’t turn out as expected, you can start fresh without losing quality or having to find the image again.
6. Ignoring Compression and File Size
Large image files can slow down your ad load times, affecting user experience and campaign performance. After resizing, optimize your image by compressing it without sacrificing too much quality. Tools like TinyPNG or Adobe Photoshop’s Save for Web feature are great for this purpose.
7. Not Testing the Resized Image
Finally, always preview your resized image on the platform where it will be used. Check how it looks on different devices and screen sizes. This step helps catch any issues before your ad goes live, ensuring your visuals are sharp, clear, and professional.
Conclusion and Final Tips for Optimizing Your Ad Images
Resizing Shutterstock photos for ads doesn’t have to be complicated—if you keep a few key principles in mind. First, always start with high-resolution images to give yourself room to resize without sacrificing quality. Lock the aspect ratio when resizing to maintain natural proportions, and double-check platform requirements to ensure your images fit perfectly.
Remember, less is often more. Don’t enlarge images excessively, and aim for a file size that balances quality with fast loading times. Use compression tools to optimize your images and keep your ads looking sharp without slowing down your website or campaign.
Lastly, always preview your resized images on multiple devices, and don’t hesitate to make adjustments as needed. With these tips, you’ll be well on your way to creating eye-catching, professional-looking ads that attract attention and drive results. Happy resizing!