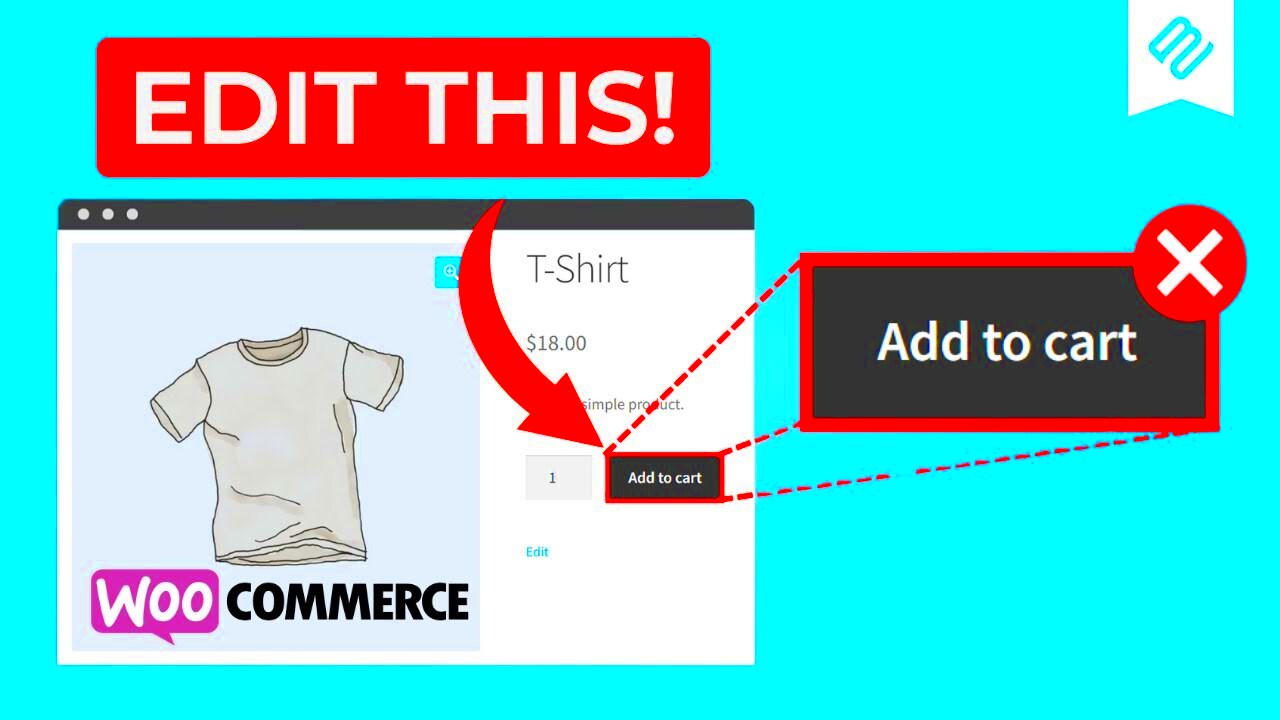
WooCommerce is a powerful tool for building online shops, and Divi is one of the best themes for crafting visually stunning pages. In this post, we’re diving into a simple yet effective way to add an ‘Add to Cart’ button underneath product images in your WooCommerce store using the Divi theme. This not only enhances the user experience but can also help boost your sales conversions. So, let’s get started!
Understanding the Divi Theme and WooCommerce

Before we jump into the how-to, let’s take a moment to understand what Divi and WooCommerce bring to the table.
Divi Theme: Divi is a versatile WordPress theme designed by Elegant Themes. It’s well-loved by web designers and developers for its:
- Visual Builder: A drag-and-drop interface that makes designing a breeze.
- Customizability: Endless options to customize your layout, colors, fonts, and more.
- Pre-built Layouts: Great selection of templates that can be used as-is or adjusted to fit your style.
WooCommerce: A powerful WordPress plugin that turns your site into a fully functional eCommerce store. Its features include:
- Product Management: Easily add, edit, and manage products.
- Payment Options: Supports various payment gateways for global transactions.
- SEO Friendly: Built-in tools and functionalities that boost your shop’s visibility in search engines.
When combined, Divi and WooCommerce allow users to create a stunning shopping experience that is both functional and visually appealing. This integration makes it possible to customize aspects such as the layout of product pages, including the placement of the ‘Add to Cart’ button.
3. Tools Needed for Customizing WooCommerce in Divi

To successfully add an ‘Add to Cart’ button underneath the product image in WooCommerce while using the Divi theme, you’ll need a few essential tools. Don’t worry; most of these tools are quite user-friendly and straightforward to use!
- Divi Theme: Make sure you have the Divi theme installed on your WordPress site. This theme comes packed with customization options that make your life easier.
- WooCommerce Plugin: Since you’re working with WooCommerce, you need to have the WooCommerce plugin installed and activated. It’s the backbone of your e-commerce functionality.
- Child Theme (optional but recommended): Creating a child theme ensures that any customizations you make won’t be lost when you update the main Divi theme. This is an essential step if you plan on doing a lot of customization.
- Custom CSS or PHP Knowledge: While you don’t need to be a coding expert, having basic knowledge of CSS (Cascading Style Sheets) or PHP (Hypertext Preprocessor) will help you enhance your customizations.
- Visual Builder: Utilize the Divi Visual Builder. It’s an intuitive drag-and-drop interface that visually showcases changes, making it easier to see how adjustments will look in real-time.
Once you have these tools ready, you’re all set to personalize your WooCommerce store’s layout. Let’s roll into the step-by-step guide on how to add that all-important ‘Add to Cart’ button under the product image.
4. Step-by-Step Guide to Add ‘Add to Cart’ Button Underneath Product Image
Now, let’s dive into the step-by-step instructions for positioning the ‘Add to Cart’ button right underneath the product image in WooCommerce with the Divi theme. Follow these steps closely, and you’ll have it done in no time!
- Access Your WordPress Admin Dashboard: Log in to your WordPress admin panel. This is where all the magic happens!
- Navigate to Theme Customizer: Go to Divi > Theme Options in the sidebar. Here, you will find different settings to customize your theme.
- Open Product Page Settings: Look for the WooCommerce settings specifically for product pages. This is where you’ll make adjustments to how your products display.
- Add Custom Code: Search for an area to insert your custom CSS code. You’ll want to add a snippet that modifies the position of the ‘Add to Cart’ button.
- Insert CSS: Add the following custom CSS to reposition the button:
/* Custom CSS to position Add to Cart button */ .woocommerce div.product .add_to_cart_button { display: block !important; margin-top: 10px; text-align: center; } - Preview Changes: Use the Divi Visual Builder to preview your changes in real-time. This is a great way to see the impact of your adjustments immediately!
- Save and Publish: Once satisfied with your changes, make sure to save and publish them. Now, your ‘Add to Cart’ button should elegantly sit just below the product image!
In just a few simple steps, you’ve enhanced the user experience on your WooCommerce store by prominently placing that important ‘Add to Cart’ button right where shoppers can easily see it. Keep experimenting with other features—you’ll be amazed at what you can do with Divi!
Customizing the Style of the ‘Add to Cart’ Button
Alright! So you’ve got the ‘Add to Cart’ button nicely positioned underneath your product images in WooCommerce with Divi. Now let’s spice things up by customizing its style. After all, a captivating button can make all the difference in driving conversions!
First things first, you can change the color, size, and font of the button to match your brand’s aesthetic. Here’s how you can do that:
- Access the Divi Builder: Go to the product page and enable the Divi Builder.
- Select the Button Module: Click on the button you want to customize.
- Adjust the Button Settings: In the settings menu, you will find options for design, including:
- Button Text Color: Choose a color that stands out against the background.
- Button Background Color: Select a contrasting color to make the button pop.
- Button Border: Add or remove borders and pick colors for a refined look.
- Button Size: Use padding to increase/decrease the button size according to your preference.
- Font Styling: Change the font family, style, and size to make the text easily readable.
Once you’ve set everything up, don’t forget to preview your changes! A good practice is to reflect on what appeals to your audience and encourages them to click that button. Bright colors for call-to-action buttons are generally preferred to grab attention. Get creative and see what works best for your shop!
Testing Your Changes on Different Devices
After you’ve customized your ‘Add to Cart’ button, it’s time to roll up those sleeves and test! Ensuring that your button looks and works great across all devices is crucial, considering how many shoppers browse on their phones these days.
Here are some steps to help you effectively test your changes:
- Preview on Desktop: Start by checking the button’s appearance on a larger screen. Use the Divi Builder’s built-in preview feature to see how it responds.
- Mobile Preview: Use the responsive editing tool in Divi to toggle between mobile and tablet views. This is super handy for making adjustments on the fly.
- Real Device Testing: Don’t just rely on previews. Grab that smartphone or tablet and visit your site directly. Make sure the button is clickable and clearly visible.
- Ask for Feedback: Sometimes, a fresh pair of eyes can spot something you might have missed. Have a friend or colleague check the button’s functionality.
- Cross-Browser Compatibility: Test your website on different browsers like Chrome, Firefox, and Safari to ensure consistent look and performance.
Lastly, it’s really worth the effort to run a quick test after major changes. This approach makes sure your visitors have a seamless shopping experience, irrespective of the device they’re using. Happy testing!
Troubleshooting Common Issues
Even with a well-structured process for adding the ‘Add to Cart’ button underneath product images in WooCommerce using Divi, you might run into some hiccups along the way. But don’t worry—most issues are pretty easy to fix! Here are some common problems you might encounter and how to troubleshoot them:
- Button Not Showing: If the ‘Add to Cart’ button is missing, first check if your WooCommerce settings are correctly configured. Head to WooCommerce > Settings and ensure that product images and buttons are enabled. Also, verify that your Divi customizations have been saved properly.
- CSS Not Applying: You might find that your custom CSS isn’t reflected on the site. Ensure that you’re adding the CSS in the right place: either in the Theme Options under Divi > Theme Options > General > Custom CSS or in the style.css file of your child theme. Sometimes, clearing your website cache can also help.
- Responsive Design Problems: If the button appears but is positioned incorrectly on mobile devices, you might need to adjust the CSS for different screen sizes. Use media queries to define styles just for mobile views. For example:
@media (max-width: 768px) { .your-button-class { /* Adjust button style here */ }}
Additionally, always check the front-end changes and refresh the page to confirm that your edits are taking effect. If you’re still having trouble, consult the Divi or WooCommerce forums for community advice, or consider reaching out to a professional developer.
Conclusion
Incorporating the ‘Add to Cart’ button underneath product images in WooCommerce while using the Divi theme is not only a great way to enhance user experience but also to boost conversions. By following the steps outlined in this guide, you can create a visually appealing and user-friendly shopping experience for your customers.
Remember, the efficacy of your online store is determined by the ease of navigation and the clarity of actions you want users to take. Here’s a quick summary of the process:
| Step | Description |
|---|---|
| 1 | Access your product page in Divi. |
| 2 | Modify the layout to include the button beneath your product images. |
| 3 | Customize using CSS for the desired button appearance. |
| 4 | Test for responsiveness and functionality across devices. |
Most importantly, keep an eye on any feedback from your customers about their shopping experience. If necessary, don’t hesitate to make further adjustments based on their needs. With the right tweaks, your WooCommerce store can become a seamless and engaging platform for online shopping.


