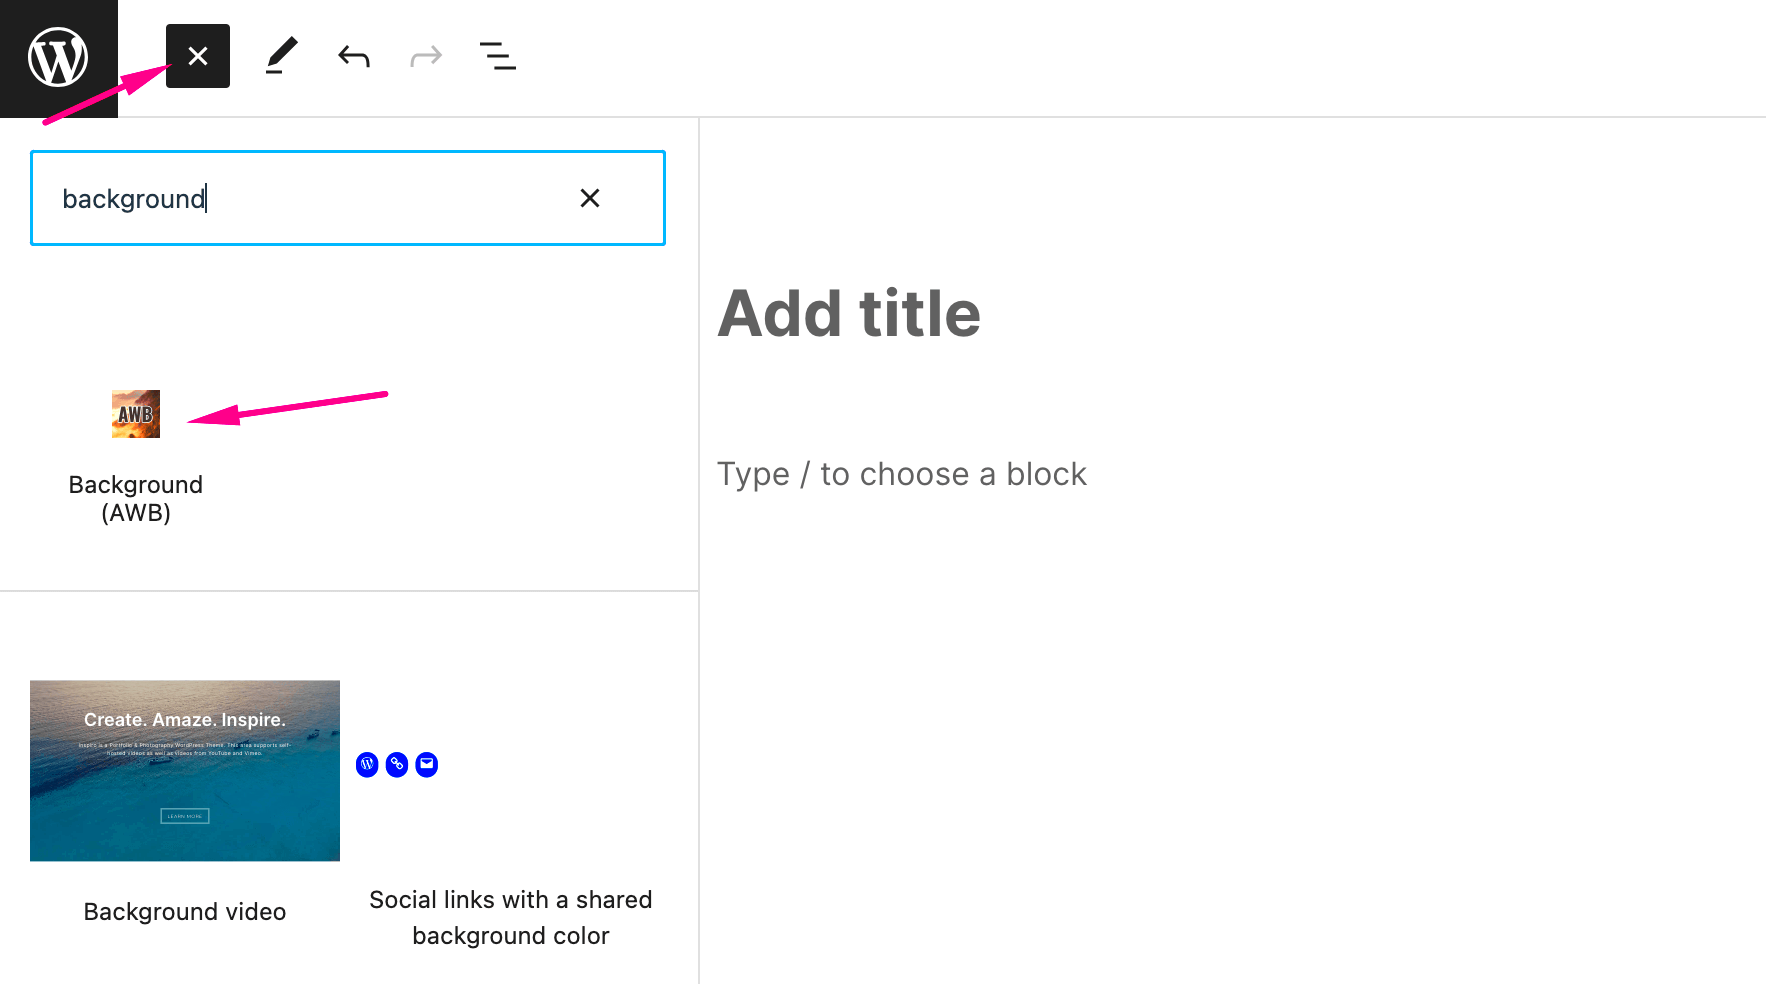
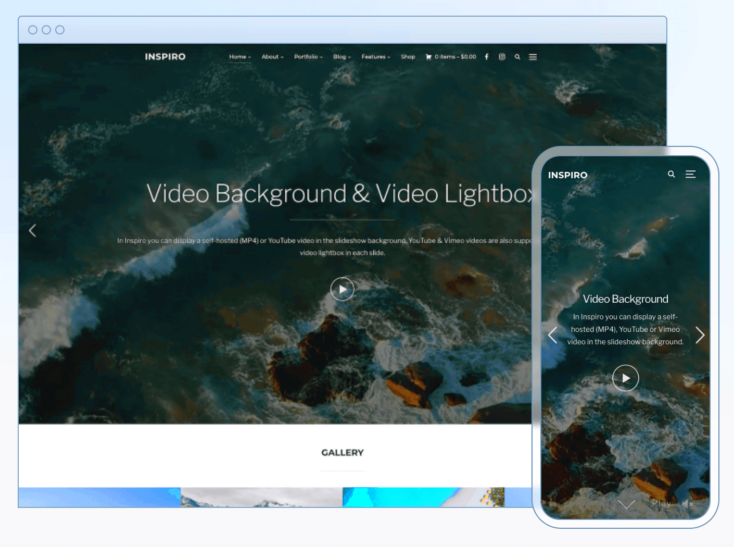
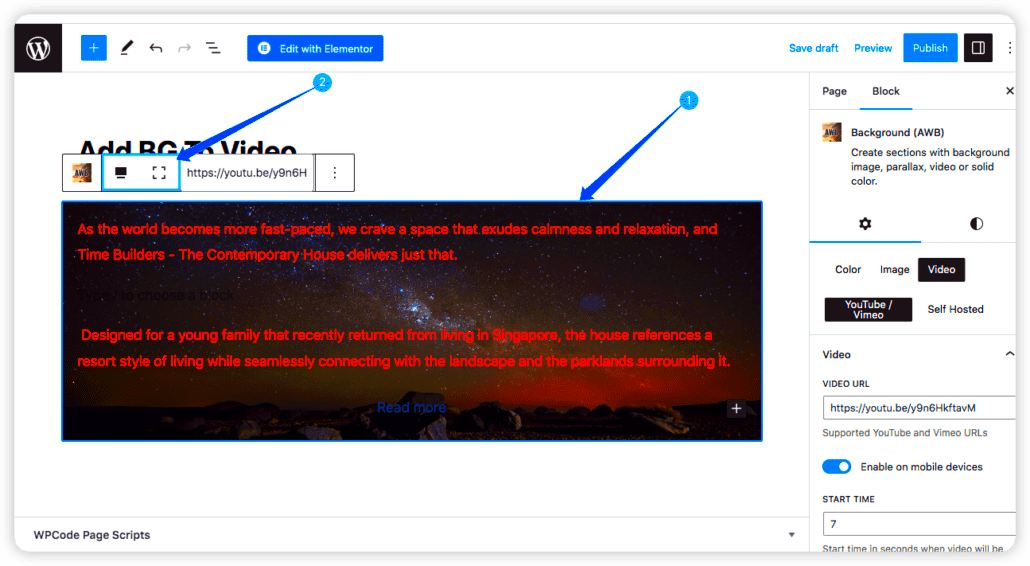
Video backgrounds can add a dynamic and visually appealing element to your website, making it stand out in today’s digital landscape. They effectively capture attention and can convey emotions or narratives that static images often fail to do. Implementing a video background in WordPress might sound technical, but with some basic understanding of HTML and a few simple steps, you can enhance your site’s aesthetic and engagement.
Benefits of Using Video Backgrounds on Your Website

Incorporating video backgrounds into your website comes with a plethora of advantages that can significantly enhance user experience and engagement. Here are some key benefits:
- Visual Appeal: Video backgrounds provide a lively backdrop that can captivate visitors right from their first glance. They add an attractive element that can differentiate your website from competitors.
- Storytelling: Videos can effectively tell a story. They can showcase your brand’s mission, products, or services in a more engaging way than text or images.
- Increased Engagement: Websites with video backgrounds often see higher engagement rates. Users are more likely to interact with content when it’s presented in a captivating format.
- Improved Retention: Visitors are likely to remember information better when it’s delivered through engaging visuals. A video background can help make your content stick.
- Brand Personality: Videos can convey the tone and personality of your brand, enhancing your overall brand message.
However, it’s important to ensure that the videos you choose are relevant to your content and don’t slow down your site’s performance. Selecting the right video and optimizing it for web use can make a world of difference!
Preparing Your Video for WordPress

Before you can set a stunning video background on your WordPress site, there’s a bit of prep work that needs to be done. After all, the last thing you want is a slow-loading website or a video that doesn’t play correctly. Here’s how to get your video ready:
- Choose the Right Format: The most compatible formats to use for web videos are MP4, WebM, and Ogg. Among these, MP4 is widely supported across almost all browsers and devices.
- Optimize Video Size: Large videos can bog down your page load speed, which can ultimately affect user experience. Aim for a file size under 5 MB if possible. Tools like HandBrake can help compress your videos without sacrificing quality.
- Edit Your Video: Trim any unnecessary parts, and consider adding overlays or text if it fits your design. You might also want to mute the audio since it’s a background video. Most users expect motion graphics without sound.
- Add Closed Captions: For accessibility reasons, it’s great practice to add closed captions. This ensures that even users with hearing impairments can understand the message.
After you have your video formatted and optimized, upload it to your media library in WordPress. This will make the integration process a lot smoother when it comes time to add that video background!
Adding Video Backgrounds Using HTML

Now that you’ve prepared your video, let’s dive into the exciting part—adding your video background using HTML! Whether you’re using a custom theme or a page builder, you’ll most likely need to insert some HTML code to make it work. Here’s a simple guide to do just that:
- Open Your Page or Post: Start by going to the page or post where you want your video background. If you’re using a block editor, switch to the HTML editing mode.
- Insert the HTML Code: Use the following code, replacing `yourvideo.mp4` with the link to your video:
- Style the Video: It’s essential to set the video to fill the screen properly. The `object-fit: cover;` style will ensure that the video covers the entire background without stretching.
- Adjust Layering: Make sure that this code is layered correctly beneath any text or content you plan to display on top of it. You might need to adjust z-index properties in your CSS.
Preview your page to see how your video background comes to life! If you’re satisfied, go ahead and publish. Adding video backgrounds can significantly enhance the visual appeal of your WordPress site, making it stand out from the crowd!
Using the WordPress Customizer for Video Backgrounds
When it comes to adding a video background in WordPress, you’d be surprised at just how straightforward it can be, especially if you’re utilizing the WordPress Customizer. This tool is a powerful feature within your theme that allows you to customize a plethora of options, including adding captivating video backgrounds to various sections of your website. Here’s how you can do it!
First things first, navigate to your WordPress dashboard, then go to Appearance and click on Customize. This will open the Customizer interface where you can make real-time changes. Look for the section that mentions “Header” or “Background”, as the terminology may vary based on the theme you’re using.
Once you find that section, keep an eye out for options like “Video Background” or “Background Video.” If your theme supports it, you’ll usually see a field where you can paste the URL of your video. It’ll often support platforms like YouTube or Vimeo. Don’t worry if the video is self-hosted; you can directly link to the video file as well, provided it’s compatible.
After you’ve added your video link, don’t forget to preview the changes. The Customizer allows you to see how your video background looks in real-time. Adjust settings such as height and overlay colors to match your site’s aesthetic! Finally, click on the Publish button to make your video background live.
And there you have it! With just a few clicks, you’ve transformed your site, making it visually engaging and dynamic.
Responsive Design Considerations
With our fast-paced world of mobile internet usage, making sure your video background is responsive is absolutely essential. The last thing you want is for your beautifully designed video to look awkward or, worse, not play at all on various devices. So, let’s talk about a few key considerations!
First off, always think about the aspect ratio. Different devices have different screen sizes and orientations. A video that looks fantastic on a desktop might get cropped awkwardly on a mobile device. Aim for a video dimension that adheres to standard ratios, such as 16:9, to ensure it fits well on most screens. You can also consider a stock video that plays at a lower quality to save on bandwidth for mobile users.
Next on the list is autoplay settings. Many mobile browsers now restrict autoplay features, often requiring user interaction. Make sure your video background either can fallback to a static image or supports the auto-play functionality without sound for a more seamless user experience.
Another crucial aspect is managing load times. Videos can be hefty on data, and slow loading times can push visitors away. Optimize your video files using tools that reduce file size without compromising quality. This is particularly vital for mobile users who may be on limited data plans.
Lastly, consider utilizing media queries in your CSS. This allows for different styles or even different video sources to load, depending on the device’s characteristics. By adding these tweaks, you ensure that your site provides an enjoyable experience across all platforms, keeping visitors engaged and hungry for more!
7. Performance Optimization Tips
Adding a video background to your WordPress site can significantly enhance its visual appeal, but it can also impact performance. Here are some handy tips to ensure that your video doesn’t slow down your site:
- Choose the Right Format: Use modern video formats like MP4, WebM, or Ogg, as they are more efficient and provide a good balance between quality and file size.
- Compress Your Videos: Always compress your videos before uploading them to save bandwidth. Tools like HandBrake or online services such as CloudConvert can help reduce file size.
- Use a CDN: Implement a Content Delivery Network (CDN) to ensure your videos load quickly regardless of your user’s geographical location.
- Limit Autoplay: While autoplay might look appealing, it can drain resources. Consider allowing users to play the video on click instead.
- Lazy Load Videos: Instead of loading videos immediately, consider lazy loading. This means the video only loads when it enters the viewport, reducing initial load time.
- Optimize for Mobile: Ensure videos resize properly on mobile devices. You may want to use a fallback image for mobile users who may not have a great connection.
By following these performance optimization tips, you can enjoy the aesthetic benefits of a video background while keeping your WordPress site performing at its best.
8. Common Issues and Troubleshooting
Adding a video background is not without its challenges. Here are some common issues you might encounter and straightforward troubleshooting steps to resolve them:
- Video Not Playing: If your video isn’t playing, ensure that the video format is supported by all browsers. Actually, MP4 is the safest choice. Also, check if the video link is functioning correctly.
- Slow Loading Times: If your site is slow, revisit the performance optimization tips mentioned earlier. Check if your video is too large or if it’s hosted on a slow server.
- Incompatible with Mobile: If the background video doesn’t appear on mobile devices, consider implementing a static fallback image instead, as some mobile browsers may not support autoplay.
- Audio Issues: Often, background videos can come with sound, which can be annoying or inappropriate. Ensure the video is muted to provide a better user experience.
- Play Button Missing: If users can’t find the play button, ensure it is clearly visible. Adjust the CSS styles to improve visibility if necessary.
By recognizing these common issues and their troubleshooting tips, you can enhance the user experience of your video background on WordPress, making sure your site remains both beautiful and functional.
Conclusion
Incorporating a video background in your WordPress site can dramatically enhance its visual appeal and user engagement. By following the steps outlined in this article, you can easily add a dynamic and impactful video background without sacrificing performance or functionality.
To summarize the process:
- Choose a Suitable Video: Ensure that the video aligns with your content, fits your branding, and is optimized for web use.
- Upload the Video: Use the WordPress media library to upload your video, making it accessible for embedding.
- Add HTML Code: Insert the appropriate HTML code into your theme’s files or a custom HTML block in the editor.
- Adjust Settings: Modify CSS properties such as `z-index`, `position`, and `width/height` to ensure the video displays correctly.
- Optimize for Performance: Utilize tools such as lazy loading and ensure the video is not bogging down your site’s load time.
| Best Practices | Notes |
|---|---|
| Keep Video Short | Long videos may distract visitors. Aim for a brief duration. |
| Use Muted Audio | Most users prefer background videos without sound. |
| Test Across Devices | Ensure compatibility with different screen sizes and devices. |
By adding a video background, you can create a more immersive experience for your visitors, making your website stand out in a crowded digital landscape. Remember to regularly assess the impact of the video on your site’s performance and user engagement to keep your content fresh and relevant.


