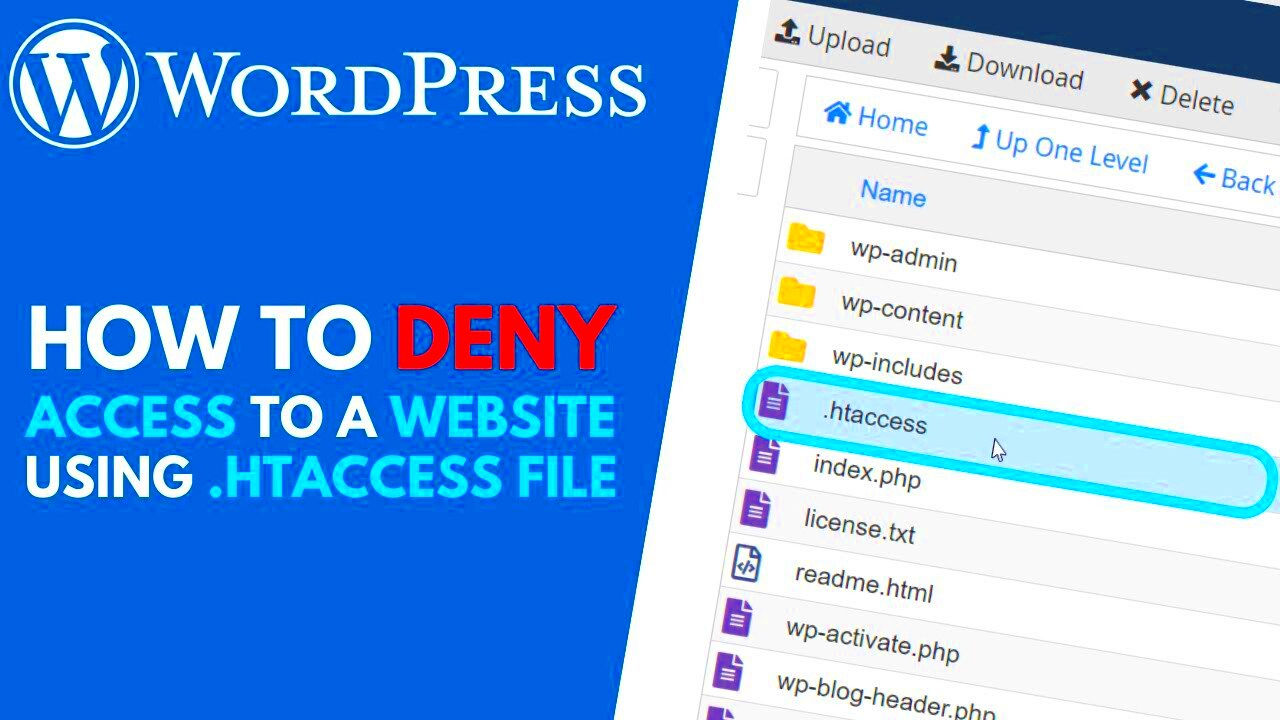
The .htaccess file is a powerful configuration file used on Apache web servers, which is the most common server type for WordPress hosting. This file controls how your server behaves in various situations. It’s commonly used for tasks like URL redirection, security enhancements, and access control. By default, WordPress uses this file to manage permalinks, but it can do much more if customized properly.
Editing the .htaccess file may seem intimidating, especially for beginners. However, with a bit of caution, it can be a valuable tool for optimizing and securing your WordPress website. Just remember to back up your original file before making any changes. This way, you can easily revert if something goes wrong.
Why Restricting IP Addresses is Important for WordPress Sites?
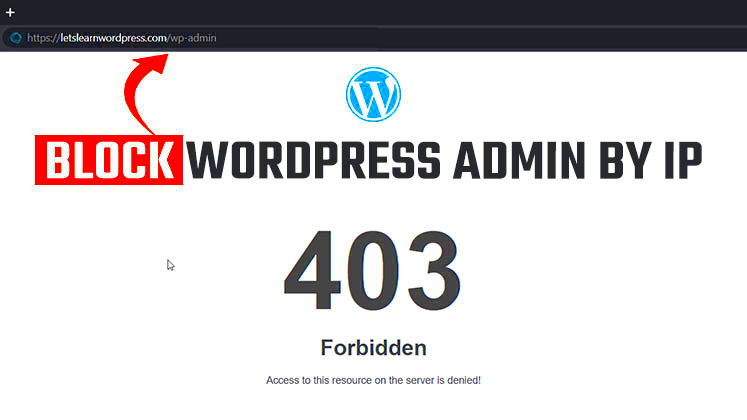
Restricting IP addresses is a proactive way to protect your WordPress site from unauthorized access. There are several reasons why this approach can enhance your website’s security:
- Prevent Brute Force Attacks: Hackers often use automated tools to try multiple password combinations. Blocking suspicious IP addresses can stop these attacks in their tracks.
- Reduce Spam and Unwanted Traffic: If you notice spammy comments or strange activity on your site, it might be coming from specific IP addresses. By restricting them, you can reduce unwanted traffic.
- Protect Sensitive Areas: You can block access to sensitive parts of your website, like the WordPress admin dashboard, ensuring only trusted users can reach them.
By restricting access at the server level, you add an extra layer of security that doesn’t rely on plugins. This not only makes your site safer but also helps improve performance by blocking unwanted traffic before it even reaches your WordPress installation.
How to Access Your .htaccess File
Before you can restrict IP addresses using .htaccess, you need to access this file. Here are the steps to locate and edit it:
- Connect to Your Server: You can use an FTP client like FileZilla or access your server through your hosting provider’s file manager.
- Navigate to Your WordPress Root Directory: The
.htaccessfile is usually located in the root folder of your WordPress installation (typically/public_html/or/www/). - Show Hidden Files: Since
.htaccessis a hidden file, make sure your file manager is set to display hidden files. For example, in cPanel, click on “Settings” and check the option to show hidden files. - Download a Backup: Before making any changes, download a backup of your current
.htaccessfile. This ensures you can revert back if something goes wrong. - Edit the File: Use a plain text editor like Notepad++ or your server’s built-in editor to make changes. Avoid using word processors like Microsoft Word, as they can add unwanted formatting.
By following these steps, you’ll be ready to safely modify your .htaccess file to restrict IP addresses or make other server-level optimizations.
Steps to Restrict Specific IP Addresses in .htaccess
Blocking specific IP addresses using the .htaccess file is a straightforward process. This method is highly effective for preventing unwanted users or malicious bots from accessing your WordPress site. Here’s how you can do it step-by-step:
- Open Your .htaccess File: Use an FTP client or your hosting provider’s file manager to access your
.htaccessfile. It’s usually located in the root folder of your WordPress installation. - Add the Blocking Code: To block a specific IP address, add the following code at the end of your
.htaccessfile:
Order Deny,Allow
Deny from 123.456.789.000
Replace 123.456.789.000 with the actual IP address you want to block.
- Save Your Changes: Once you’ve added the code, save the file and upload it back to your server if you’re using an FTP client.
- Test Your Site: It’s always a good idea to test your website after making changes to the
.htaccessfile. Use a different device or IP address to ensure that the blocked IP can no longer access your site.
This method is useful if you’ve identified specific IP addresses causing trouble, like repeated login attempts or spam. Blocking them directly in .htaccess adds an extra layer of security without relying on plugins.
Blocking Multiple IP Addresses or IP Ranges
If you’re dealing with a series of problematic IP addresses, blocking them one by one can be time-consuming. Luckily, you can easily block multiple IP addresses or even entire IP ranges using the .htaccess file. Here’s how:
- Block Multiple IPs: To block several IP addresses, use the following code:
Order Deny,Allow
Deny from 123.456.789.000
Deny from 111.222.333.444
Deny from 555.666.777.888
This will restrict access for all the listed IP addresses.
- Block an IP Range: If you want to block an entire range, use:
Order Deny,Allow
Deny from 123.456.789.
By adding a partial IP, such as 123.456.789., you block any address starting with those numbers. This is helpful when blocking large groups of malicious users from a specific network.
Remember, blocking entire IP ranges can sometimes restrict legitimate users, so use this option carefully. It’s best for targeting known sources of spam or attacks.
How to Allow Specific IP Addresses While Blocking Others
There may be cases where you want to block most IP addresses but still allow access to a few trusted ones, like your own or your team members. The .htaccess file makes this possible by using a combination of Deny and Allow directives:
- Set Up the Rules: Add this code to your
.htaccessfile:
Order Deny,Allow
Deny from all
Allow from 123.456.789.000
Allow from 111.222.333.444
In this example, all IP addresses are blocked except for the ones you explicitly allow. Replace the IP addresses with those you want to grant access to.
- Save and Upload: After adding the rules, save the file and upload it back to your server. Double-check to ensure the syntax is correct to avoid accidentally blocking yourself.
- Test Access: To confirm that only the allowed IPs can access your site, try visiting it from different devices and networks. This is particularly useful for securing your WordPress admin area or other sensitive sections.
Using this method gives you full control over who can access your site. It’s a great way to lock down sensitive areas while still allowing trusted users to get through.
Common Mistakes to Avoid When Editing .htaccess
The .htaccess file is powerful but also quite sensitive. A small mistake can lead to your entire website going offline. To help you avoid headaches, here are some common mistakes to watch out for when editing .htaccess:
- Not Backing Up the Original File: Always make a backup of your existing
.htaccessfile before making any changes. This way, you can easily restore it if something goes wrong. - Incorrect Syntax: The
.htaccessfile follows specific syntax rules. For instance, even a missing space or extra character can break the file. Double-check your code for typos and correct formatting. - Using the Wrong Order: The order of commands like
Order Deny,Allowmatters. Getting the sequence wrong can block legitimate users or allow unwanted access. Ensure yourAllowandDenyrules are in the correct order. - Forgetting to Save Changes: If you’re editing the file directly through your hosting panel, make sure to click ‘Save’ after editing. Otherwise, your changes won’t take effect.
- Overwriting WordPress Rules: WordPress uses
.htaccessfor permalinks. Be careful not to delete or modify the WordPress-generated section unless you know what you’re doing. Here’s what it looks like:
# BEGIN WordPressRewriteEngine On RewriteBase / RewriteRule ^index\.php$ - [L] RewriteCond %{REQUEST_FILENAME} !-f RewriteCond %{REQUEST_FILENAME} !-d RewriteRule . /index.php [L] # END WordPress
Always leave this section intact to avoid breaking your site’s permalinks.
FAQs for Restricting IP Addresses in WordPress
If you’re new to restricting IP addresses in WordPress, you might have a few questions. Here are some frequently asked questions to help clarify the process:
| Question | Answer |
|---|---|
| Can I block an IP address using a plugin? | Yes, there are several security plugins available that allow you to block IP addresses without editing the .htaccess file. However, using .htaccess is a more efficient, server-level solution. |
| Will blocking IP addresses affect my website’s performance? | No, blocking IP addresses through .htaccess is handled by your server before it loads WordPress, so it won’t slow down your site. |
| How can I unblock an IP address? | Simply remove the IP address from the deny list in your .htaccess file, save the changes, and upload the file back to your server. |
| What if I accidentally block my own IP? | If you lock yourself out, you can use FTP or your hosting file manager to access and edit the .htaccess file, removing the blocking code. |
| Is it possible to block countries using .htaccess? | Yes, but it requires a list of IP ranges for each country. This can make your .htaccess file very large, which isn’t always recommended. |
Final Thoughts on Securing Your WordPress Site with .htaccess
Using the .htaccess file to restrict IP addresses is a simple yet effective way to boost your WordPress site’s security. It allows you to block malicious traffic, reduce spam, and control access to sensitive areas—all without relying on third-party plugins. This server-level security measure can save your site from potential threats while keeping its performance intact.
However, it’s essential to handle the .htaccess file with care. Always back up your file before making any changes, and take your time to understand the rules you’re adding. A small mistake can have big consequences, but with the right approach, you can easily enhance your site’s defenses.
Remember, security is not a one-time setup but an ongoing process. Regularly monitor your traffic, update your WordPress core and plugins, and consider additional security measures like firewalls and SSL certificates. Taking these steps will ensure your WordPress site remains safe and secure in the long run.

