Thinking about turning your photography hobby into a source of income? Shutterstock is one of the most popular platforms where photographers like you can sell their images to a global audience. It’s a great way to showcase your work, earn royalties, and reach millions of potential buyers. But before you start uploading, it’s good to understand how the process works, what kind of photos are in demand, and how to set yourself up for success. Don’t worry—it’s pretty straightforward, and with a little guidance, you’ll be on your way to making money from your photos in no time!
Preparing Your Images for Upload

Before you hit the upload button, taking some time to prepare your images will make a big difference in how well they sell. First things first, quality is key. Shutterstock is quite strict about image quality, so ensure your photos are sharp, well-exposed, and free of noise or blemishes. Use editing tools to enhance colors, contrast, and clarity, but avoid over-processing—buyers want authentic, eye-catching visuals.
Next, pay attention to the technical specifications:
- Resolution: Upload images with a minimum of 4 megapixels; higher resolutions are better.
- File Format: JPEG is the standard format for Shutterstock uploads.
- Color Mode: Use sRGB color space for consistency across devices.
- File Size: Keep files under 50MB for smooth uploading and browsing.
Now, let’s talk about the content of your images. Shutterstock welcomes a wide variety—landscapes, people, business scenes, lifestyle shots, and more. However, always be mindful of:
- Model Releases: If your photo features recognizable people, have their permission in writing (a model release) to sell images with identifiable individuals.
- Property Releases: For private property or trademarks, securing the proper permissions is crucial.
- Originality: Avoid heavily edited or copyrighted content unless you have rights or licenses.
Finally, add descriptive and accurate keywords to your images. Think like a buyer—what words would they use to find your photo? Good keywording increases visibility and chances of sales. Take your time to craft relevant tags, including related themes, colors, locations, and concepts.
In summary, preparing your images involves ensuring high quality, technical compliance, proper releases, and effective keywording. When all these elements come together, your photos will be ready to attract buyers and generate income on Shutterstock.
Creating a Shutterstock Contributor Account

So, you’re ready to start selling your photos on Shutterstock? Awesome! The first step is setting up your contributor account. It’s a straightforward process, but there are a few things to keep in mind to make sure everything goes smoothly.
First, head over to the Shutterstock Contributor page. Click on the “Join now” or “Sign up” button, and you’ll be prompted to fill out some basic information like your name, email address, and creating a strong password. Make sure to use an email address you check regularly—this will be your main point of contact.
Next, you’ll need to agree to Shutterstock’s terms and conditions. It’s always a good idea to read through these so you understand what rights you’re granting and the platform’s policies. Once you’ve accepted, Shutterstock will send a verification email. Click the link in that email to verify your account.
After verification, you’ll be asked to fill out your profile details, including your location, payment preferences, and tax information. This part is crucial because it determines how you get paid and ensures you’re compliant with legal requirements. Keep your payment details accurate to avoid delays in receiving your earnings.
One thing to keep in mind: Shutterstock prefers contributors to have a portfolio of high-quality images ready to upload. While you can start with just a few, having a variety of well-shot photos increases your chances of getting accepted and earning more.
Finally, before you start uploading, take a moment to review Shutterstock’s content guidelines. They have specific standards for image quality, model releases, and intellectual property rights. Understanding these rules upfront will save you time and help you avoid rejections later on.
And that’s it! Your contributor account is now set up. You’re officially on your way to turning your photography hobby into a potential income stream. Next up: let’s walk through how to upload your photos to Shutterstock and set yourself up for sales success.
Uploading Your Photos to Shutterstock
Great! You’ve got your Shutterstock contributor account ready. Now, it’s time to upload your photos. Don’t worry—it’s pretty simple once you get the hang of it. Here’s a step-by-step guide to help you upload your images like a pro.
Step 1: Log in to your Contributor Dashboard. Use your email and password to access your account. Once logged in, you’ll see a dashboard that offers various options, including uploading new images.
Step 2: Click on “Upload”. This button is usually prominently displayed. Shutterstock allows batch uploads, so you can upload multiple images at once—perfect if you have a collection ready.
Step 3: Select your photos. Choose the high-resolution images you want to upload from your device. Make sure your photos meet Shutterstock’s technical requirements: JPEG format, sRGB color space, and at least 4 megapixels in size. Avoid heavily compressed or pixelated images, as quality is key.
Step 4: Add titles and descriptions. For each image, you’ll need to provide a clear, descriptive title and detailed description. Think about what a buyer might search for—use relevant keywords naturally. For example, “Sunset over mountain range” or “Happy family enjoying picnic.”
Step 5: Tag your images. Keywords help your images appear in searches. Be specific and include both broad and niche terms. Shutterstock allows up to 50 keywords per image, so make good use of this space to maximize discoverability.
| Tip | Advice |
|---|---|
| Use relevant keywords | Think like a buyer. What words would you search for? |
| Be specific | Include details like location, mood, or activity. |
| Avoid spammy tags | Stick to accurate, relevant keywords to prevent rejections. |
Step 6: Choose the right categories. Assign your images to appropriate categories to help users find them easily. Shutterstock offers a variety of categories; pick the most relevant ones.
Step 7: Set release options. If your images feature recognizable people or private property, you’ll need model or property releases. Shutterstock provides options to upload these documents during the process. Without proper releases, your images won’t be approved for sale.
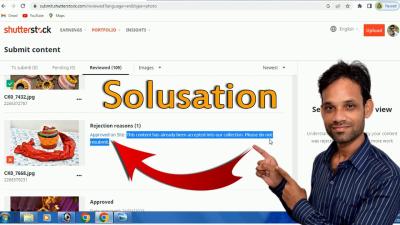
Step 8: Submit for review. Once everything looks good, click “Submit.” Your images will go into Shutterstock’s review queue, which typically takes a few days. They’ll check for quality, compliance with guidelines, and copyright issues.
Remember, if your images are rejected, don’t get discouraged. Use the feedback to improve your future uploads. Keep shooting, tagging well, and following Shutterstock’s guidelines, and you’ll be on your way to building a successful portfolio. Happy uploading!
Adding Titles, Descriptions, and Keywords
Alright, you’re almost there! Once your photo is uploaded, the next step is to help buyers find your image easily. That’s where titles, descriptions, and keywords come into play. Think of it as giving your photo a detailed label so it can be discovered when someone searches for similar images.
Titles should be clear, concise, and descriptive. Instead of something vague like “Picture1,” try to specify what’s in the photo. For example, “Golden Sunset Over Mountain Range” gives a better idea of what the image shows.
Descriptions are your chance to add context. Explain what’s happening in the photo, the mood, or any special details. Keep it natural and engaging—think of it as telling a quick story about the picture. For instance, “A breathtaking view of the sun setting behind rugged mountains, casting a warm orange glow.”
Keywords are crucial because they act like tags that make your image searchable. Choose relevant, specific words that describe the content, mood, colors, and setting. For example, for a beach photo, keywords might include: beach, ocean, waves, sunset, summer, vacation, tropical.
| Tip | Example |
|---|---|
| Use relevant keywords | “city skyline at night” |
| Avoid keyword stuffing | Don’t overuse unrelated words like “car, dog, mountain” if they don’t fit the image |
| Be specific | “red vintage car” rather than just “car” |
Remember, the goal is to make your image discoverable without sounding spammy. Be honest, accurate, and descriptive—this will help your images find the right audience and increase your chances of making sales.
Reviewing and Submitting Your Photos for Approval
Almost there! Before you hit the submit button, take a moment to review everything. Shutterstock has strict quality standards, so it’s important to double-check your image and metadata to make sure everything’s in tip-top shape.
First, preview your uploaded image. Make sure it looks sharp and well-edited. Check for any technical issues like blurriness, poor lighting, or distracting elements. Remember, high-quality images sell better!
Next, review your titles, descriptions, and keywords. Read them over to ensure they accurately describe your photo and are free of typos or mistakes. Clear, professional language helps build credibility.
Here are some quick tips for a smooth review process:
- Ensure your image meets Shutterstock’s technical requirements (resolution, format, etc.).
- Remove any watermarks, logos, or borders that aren’t part of the shot.
- Check that your keywords are relevant and not misleading.
- Verify that your title and description are descriptive but not overly stuffed with keywords.
- Preview your submission from the user’s perspective—does it accurately represent the image?
Once everything looks good, it’s time to submit. Click the Submit for Review button. Shutterstock’s review team will then evaluate your image based on their quality and content guidelines. This process can take anywhere from a few days to a couple of weeks, so hang tight!
While waiting, keep an eye on your email or Shutterstock account dashboard for updates. If your image is rejected, don’t get discouraged! Shutterstock usually provides feedback, and you can revise and resubmit. Keep refining your images and metadata, and you’ll get better at the process over time.
And that’s it! Once approved, your photo will be available for sale, and you’ll be on your way to earning passive income from your photography. Good luck, and happy uploading!
Tips to Increase Your Photos’ Visibility and Sales
So, you’ve uploaded some fantastic photos to Shutterstock—great! But now, the big question is: how do you get your images noticed among the millions of other photos out there? Increasing visibility is key to boosting sales, and a few smart strategies can make a big difference.
First, optimize your keywords. Think about what a buyer might search for when looking for images like yours. Use relevant, specific keywords and avoid generic terms. For example, instead of just “dog,” try “golden retriever puppy playing.” The more precise your keywords, the higher the chances your photo will show up in search results.
Next, write compelling descriptions. Your description should accurately describe the image and include relevant keywords naturally. This not only helps with search algorithms but also provides context to potential buyers.
Another tip is to upload high-quality, eye-catching images. Shutterstock favors sharp, well-exposed photos with good composition. Focus on unique perspectives or subjects that stand out. Remember, the more professional your images look, the more likely they are to get noticed and purchased.
Consider the trending topics and seasonal themes. Keep an eye on current events, holidays, or popular themes. Uploading images related to trending topics can give you a visibility boost.
Engage with the Shutterstock community and share your portfolio on social media. Sometimes, simply sharing your work can lead to more views and potential sales. Use platforms like Instagram, Pinterest, or LinkedIn to showcase your best shots.
Finally, consistency is key. Regularly uploading new images keeps your portfolio fresh, increases your chances of being featured, and improves your visibility overall. Remember, patience and persistence pay off in the long run!
Managing Your Portfolio and Earnings on Shutterstock
Once you’ve started uploading and selling images, it’s important to keep track of your portfolio and earnings. Managing these aspects effectively can help you grow your income and stay organized.
Shutterstock provides a user-friendly dashboard where you can view your sales, earnings, and portfolio stats. Make it a habit to check your dashboard regularly to see which images are performing best and identify trends.
Organize your portfolio by categorizing your images into themes or styles. This makes it easier to update, select, and promote your work. Plus, a well-organized portfolio looks professional and can attract more buyers.
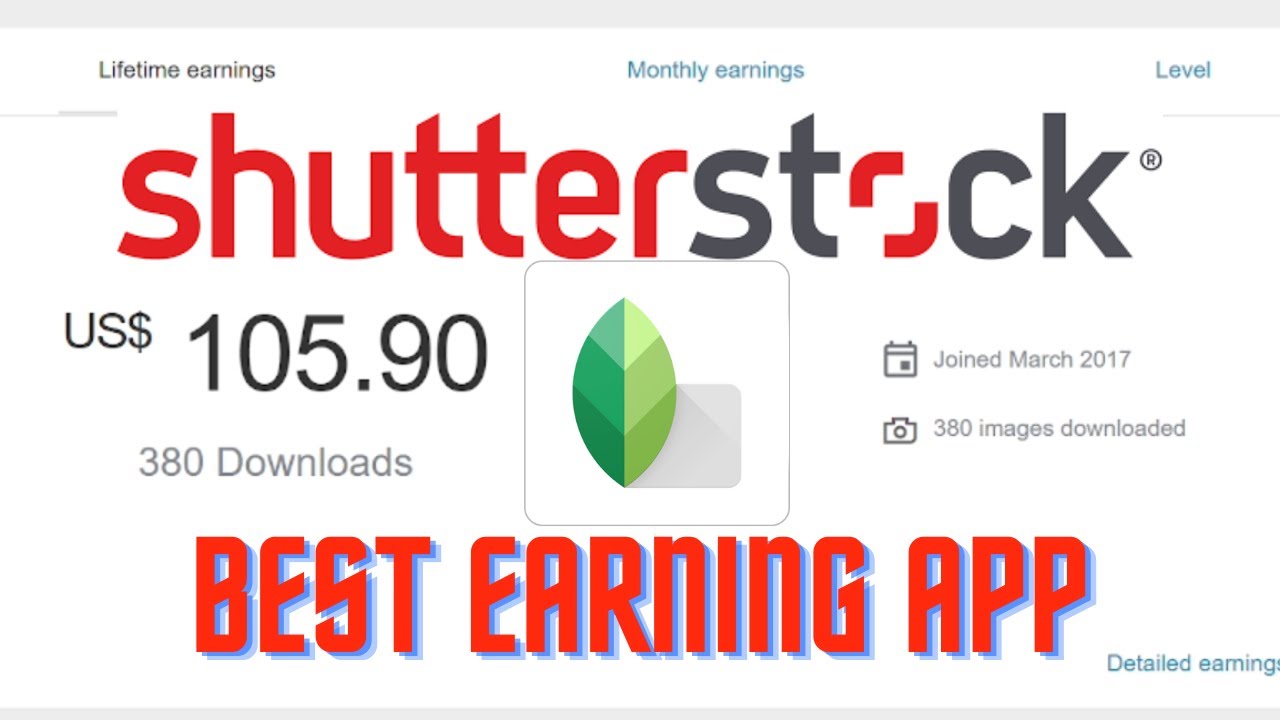
Keep an eye on your earnings and payout schedule. Shutterstock typically pays out monthly once you reach the minimum threshold. You can choose your preferred payout method, such as PayPal or bank transfer. Monitoring your earnings helps you understand your most profitable images and plan future uploads.
If you notice some images aren’t performing well, consider updating their keywords, descriptions, or even replacing them with new shots. Don’t be afraid to experiment—sometimes a small tweak can significantly improve visibility and sales.
Additionally, stay informed about Shutterstock’s policies and updates. They occasionally change their licensing options, royalty rates, or submission guidelines. Being aware of these changes ensures you remain compliant and maximize your earnings.
Finally, consider diversifying your portfolio. Upload different types of images—such as vectors, illustrations, or videos—to reach a broader audience and increase your income streams.
Managing your portfolio and earnings might seem overwhelming at first, but with a little organization and consistency, it becomes second nature. Keep learning, adapting, and most importantly—enjoy the creative journey!
Conclusion and Additional Resources for Shutterstock Contributors
Uploading your pictures to Shutterstock can be a rewarding way to earn passive income from your photography. By following the proper steps—such as preparing high-quality images, understanding licensing options, and adhering to Shutterstock’s guidelines—you increase your chances of success and sales. Remember to optimize your submissions with accurate keywords and compelling descriptions to make your images easily discoverable.
As you continue to grow as a contributor, consider exploring additional resources to enhance your skills and maximize your earnings:
- Shutterstock Contributor Tutorials: Official tutorials that provide step-by-step guidance on uploading, keywording, and managing your portfolio.
- Community Forums: Engage with other photographers and contributors to share tips, ask questions, and stay updated on platform changes.
- Photography Courses: Online classes that can help improve your technical skills and creative composition.
- Blog and Newsletters: Subscribe to industry blogs and newsletters for the latest trends, best practices, and platform updates.
By leveraging these resources, you can streamline your submission process, improve the quality of your images, and increase your sales potential. Keep practicing, stay informed, and enjoy the journey of turning your photography into a profitable venture on Shutterstock.