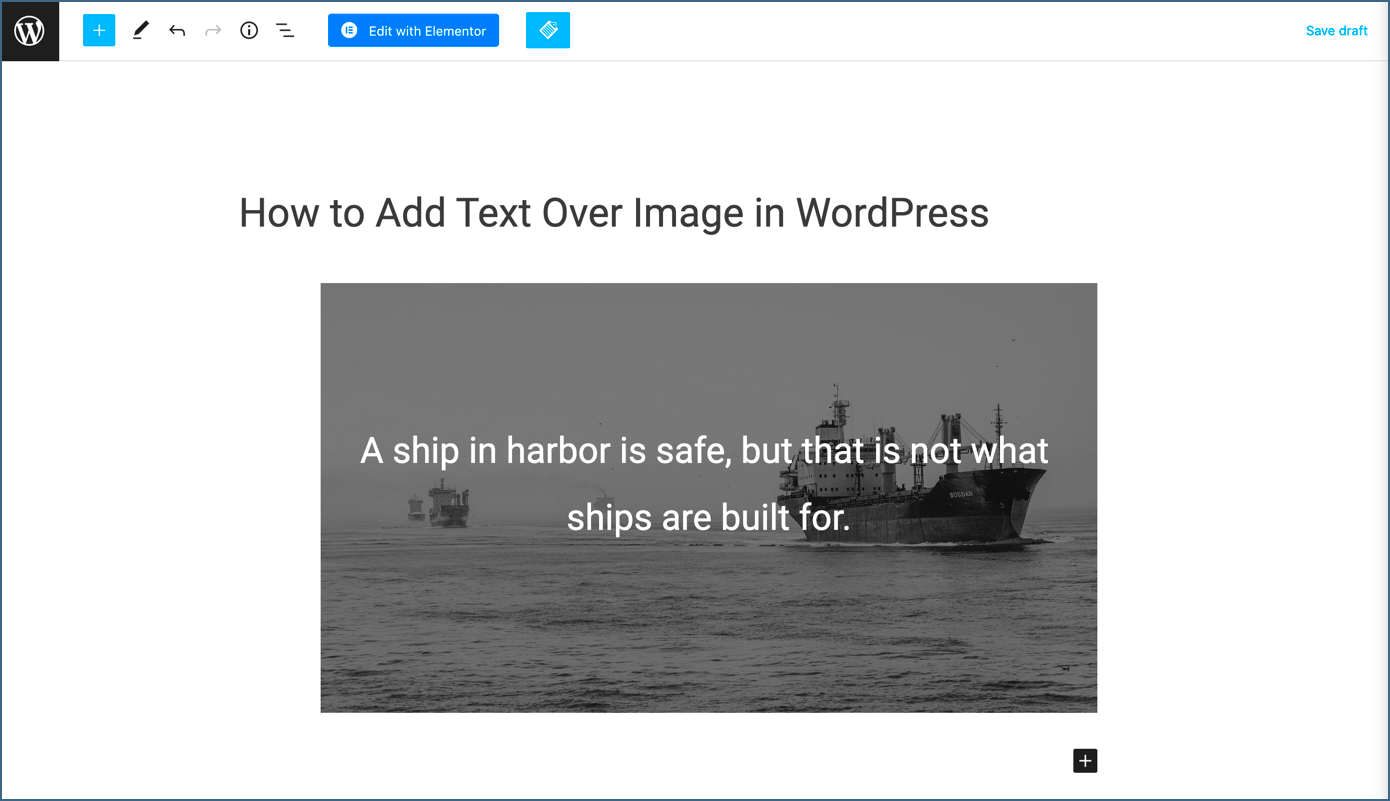
Overlaying text on images has become a popular technique in web design, especially for bloggers and businesses looking to make their content more engaging. When applied effectively, it can enhance storytelling and draw attention without compromising the integrity of your images. This post will guide you through the process of adding text over images in WordPress while ensuring that your image quality remains top-notch. Let’s dive into the reasons why this technique is not just a trend but a powerful tool for anyone wishing to elevate their website’s aesthetic and functionality.
Why Overlay Text on Images?
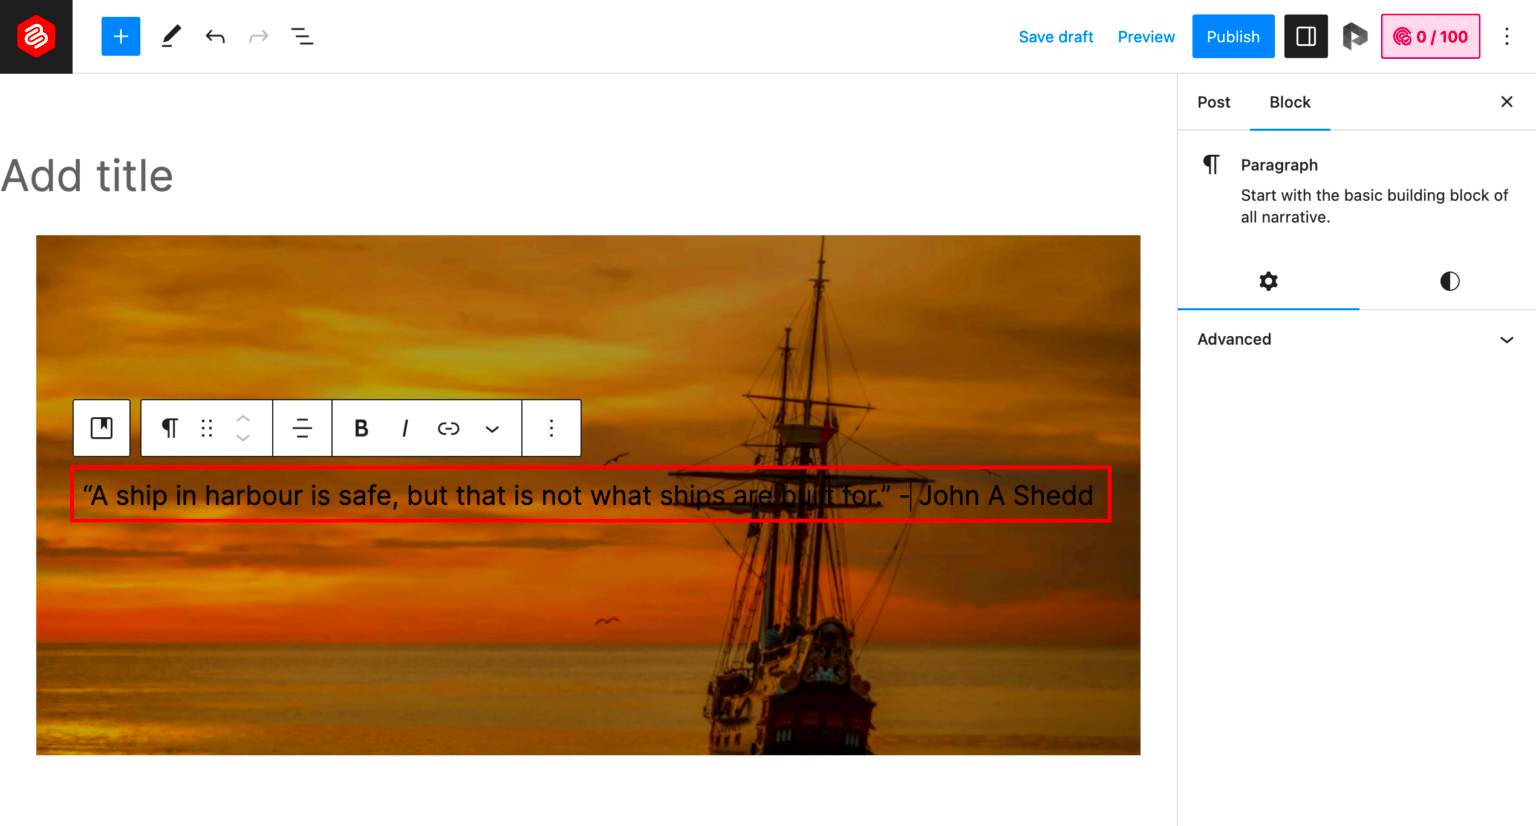
There are several compelling reasons to overlay text on images. It can add context, enhance storytelling, and create a more visually appealing design. Here are some key benefits:
- Visual Clarity: Adding text can help clarify the message of the image. This is especially useful for featured images or background images where the main message may not be immediately apparent.
- Brand Promotion: Overlaying your logo or a catchy tagline on images can strengthen brand visibility and leave a lasting impression on viewers.
- Attention-Grabbing: A well-placed text can make viewers pause to read, increasing the chances that they’ll engage with your content.
- Enhanced Aesthetics: A stylish text overlay can transform a simple image into an eye-catching graphic, contributing to a more polished overall design.
- Mobile Responsiveness: Text overlays can be designed to be responsive and easily readable across devices, ensuring that visitors have a consistent experience.
Not only does text overlay add immediate value, but it also offers a unique opportunity to personalize your images, thereby resonating more deeply with your audience.
Understanding Image Quality in WordPress
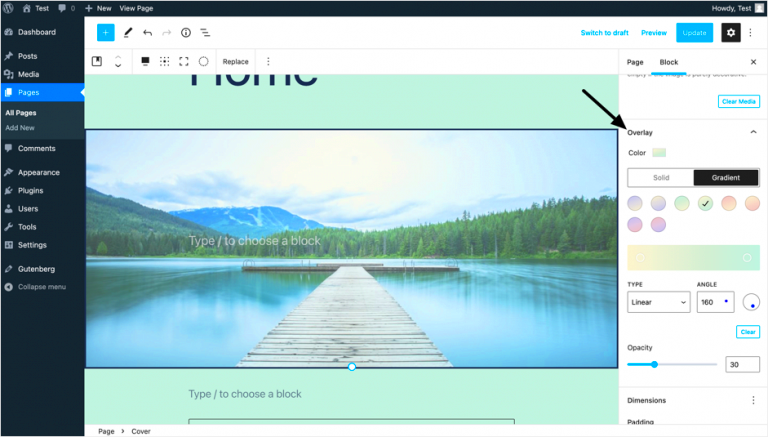
When it comes to web content, image quality plays a significant role in user engagement and influence. In WordPress, understanding how image quality works can help you make informed decisions regarding image optimization and text overlays. Let’s break down the key components related to image quality:
- File Format: Different formats like JPEG, PNG, GIF, and WebP serve varied purposes. JPEG is ideal for photographs due to its compression abilities without significant loss in quality. PNG, on the other hand, is great for graphics with sharp edges, such as logos, since it supports transparency.
- Resolution: The resolution refers to the detail an image holds. The higher the resolution, the better the clarity. For web usage, a resolution of 72 DPI (dots per inch) is standard to ensure faster loading times while maintaining decent visual quality.
- Compression: This is a technique used to reduce the file size of images. While compression can enhance loading speed, over-compressing can lead to pixelation and a loss of essential detail.
- Dimensions: The pixel dimensions (width x height) of your images should match the area where they’ll be displayed to avoid distortion or quality loss when resizing.
- Retina Display: For devices with high pixel density, using images with higher resolutions (2x or 3x) ensures they appear sharp and clear.
Keeping these factors in mind can significantly enhance the overall experience for your visitors. After all, your images are the first thing customers notice, and maintaining high quality is crucial for traction.
Choosing the Right Method for Text Overlay
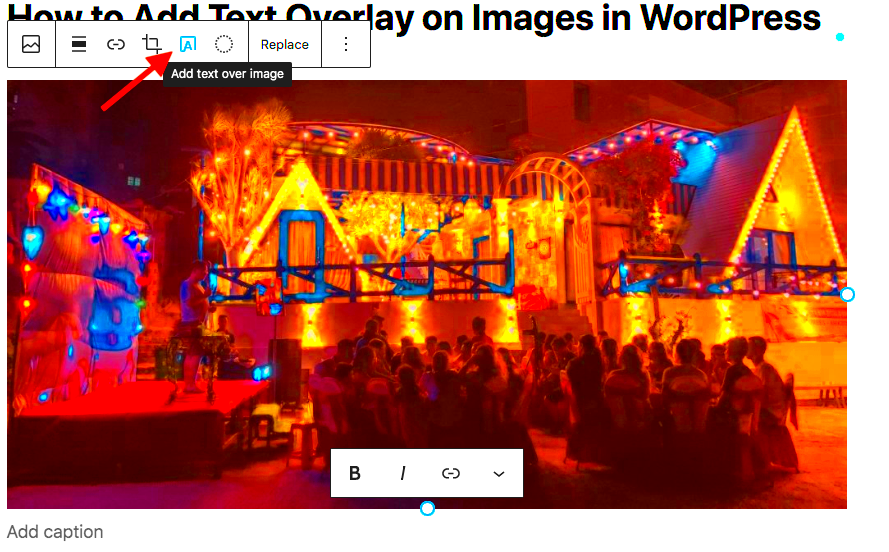
Once you’ve grasped the importance of image quality, it’s time to discuss how to add text overlays without compromising that quality. There are several methods you can choose from, depending on your level of expertise and the look you’re aiming for. Here’s a breakdown to help you decide:
| Method | Description | Best For |
|---|---|---|
| Using CSS | Applying CSS to position text directly over an image within the HTML. You can control font size, color, and more. | Users comfortable with coding and need precise placement. |
| Using WordPress Block Editor | The block editor allows you to easily add images and text overlays using the image block and custom CSS styles. | Beginners wanting ease of use without coding. |
| Using Page Builders | Page builders like Elementor or WPBakery offer drag-and-drop interfaces, letting you add text overlays efficiently. | Intermediate users looking for design flexibility. |
| Image Editing Software | Adding text using tools like Photoshop or Canva before uploading can provide a polished look. | Users who prioritize custom graphics and have experience with design software. |
Ultimately, the method you choose will depend on your specific needs, skills, and desired aesthetics. It’s worth experimenting with different approaches to find the one that feels right for you. Happy designing!
Using CSS for Text Overlays
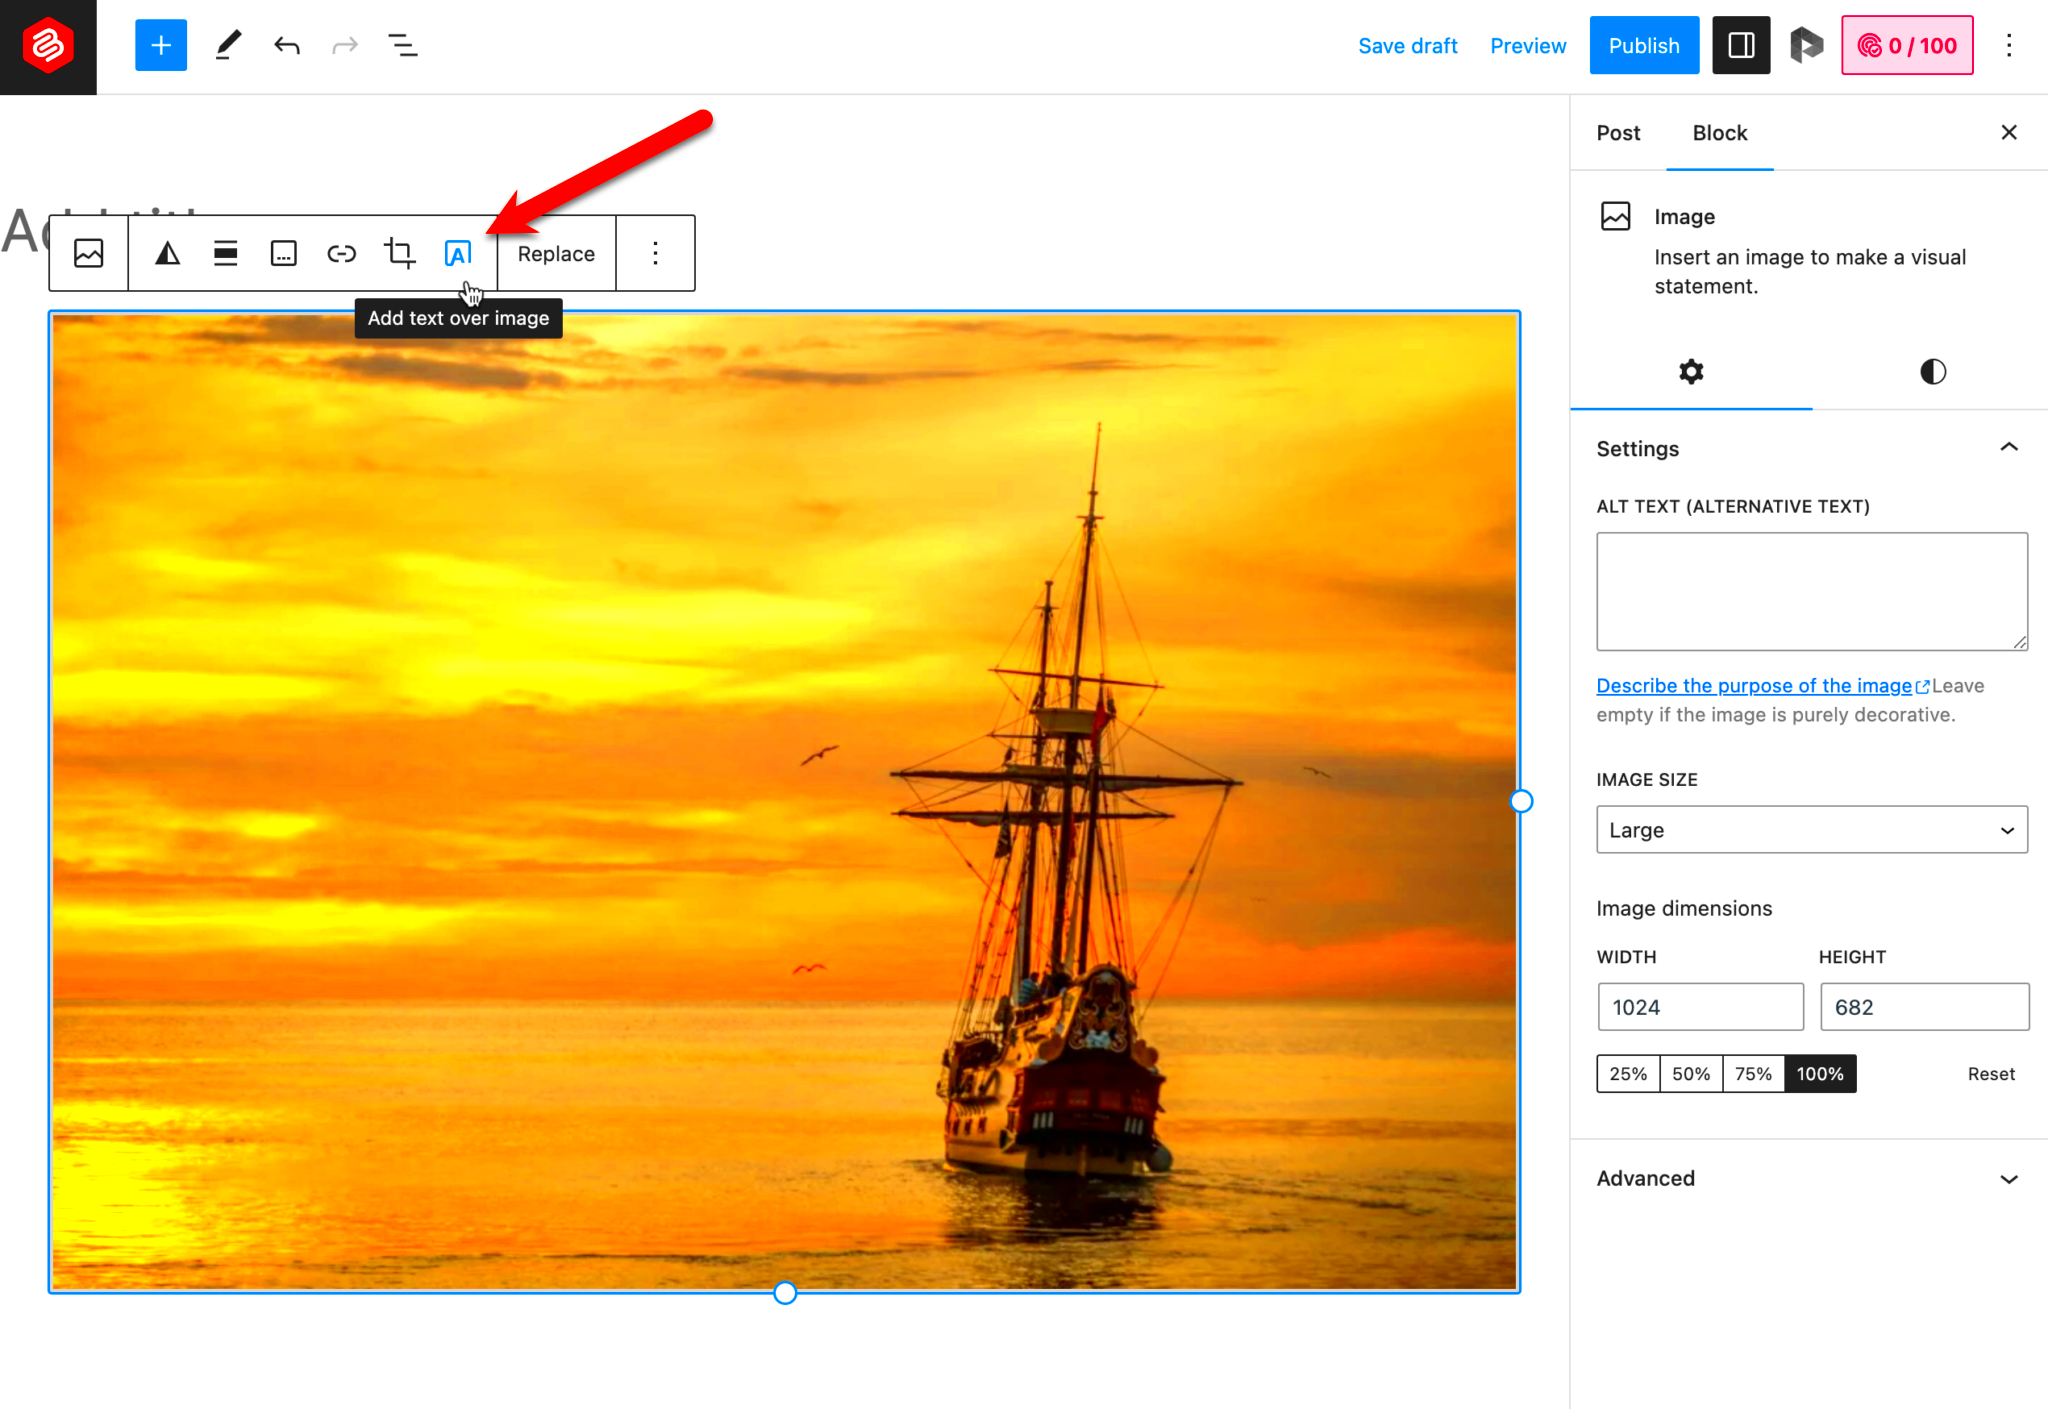
When it comes to adding text overlays on images in WordPress, CSS is your best friend. It allows you to position text precisely where you want it without compromising the quality of the underlying image. This method is especially useful for those who are a bit tech-savvy and like to tinker with code.
To start with, you’ll need to ensure that your image has a container. Here’s a simple step-by-step guide:
- Create a div element to contain your image.
- Set the position of your container to relative.
- Place your image inside this div and set its position to absolute with width and height set to 100%.
- Add another div for your text overlay, and again set its position to absolute.
Here’s a quick example of what the CSS might look like:
.container { position: relative;}.image { width: 100%; height: auto;}.overlay-text { position: absolute; top: 50%; left: 50%; transform: translate(-50%, -50%); color: white; text-shadow: 2px 2px 4px rgba(0, 0, 0, 0.8);}
This method not only gives you full control of the text positioning but also keeps your image’s quality intact. Just remember to adjust the text-shadow for better visibility depending on your image’s background. With CSS, the only limit is your imagination!
Utilizing Page Builders for Text Overlays
If coding isn’t your cup of tea, don’t worry! WordPress page builders are a fantastic way to add text overlays without any hassle. Tools like Elementor, WPBakery, and Beaver Builder come equipped with intuitive interfaces that allow you to add text to images effortlessly.
Here’s how to use a page builder for this task:
- Install and activate your preferred page builder plugin.
- Create a new section and add an Image widget or module.
- Upload your chosen image and customize its settings.
- Next, drag in a Text widget and position it over your image.
- Adjust the padding, margin, and other styles to ensure the text appears exactly where you want.
Most page builders also allow you to tweak the text styles, such as font size, color, and even animations that can add a nice touch. Plus, you can preview changes in real-time, making it easier to achieve the desired look.
Another cool feature is the ability to set responsive options, ensuring your text looks great on both desktop and mobile devices. In short, if you’re looking for a quick and visually appealing way to overlay text on images, page builders are definitely worth your time.
Using WordPress Plugins for Text Overlays
One of the easiest ways to add text over images in WordPress without compromising image quality is by using plugins specifically designed for this purpose. Plugins can offer user-friendly interfaces and various customization options, allowing you to add overlays effortlessly. Let’s take a closer look at some popular WordPress plugins that can help you achieve stunning text overlays:
- WPBakery Page Builder: This plugin provides a drag-and-drop interface where you can easily overlay text on images while maintaining the original image’s integrity.
- Elementor: Known for its versatile features, Elementor lets you add text on top of images with a few simple clicks, offering responsive design settings as well.
- Slider Revolution: If you’re looking to create dynamic slideshows with text overlays, this plugin is a fantastic choice. It’s perfect for creating visually appealing content while retaining image quality.
- Advanced Custom Fields: With ACF, you can create custom fields for images and text overlays, making it ideal for developers who want precise control over the presentation.
Using any of these plugins is straightforward. Simply install your chosen plugin, add your image, and customize your text overlay. Don’t forget to play with typography settings, colors, and positioning to find the best fit for your design.
Best Practices for Overlaying Text
When it comes to overlaying text on images, following best practices can ensure that your content remains readable while maintaining a polished aesthetic. Here’s how you can make sure your overlays are effective:
- Contrast is Key: Make sure the text color contrasts well against the background image. High contrast improves readability and draws attention to your message.
- Font Size and Style: Choose fonts that are easy to read, and ensure the font size is adequate. Avoid overly decorative fonts, especially for lengthy text.
- Keep It Short: Less is more! Use short, impactful phrases rather than lengthy paragraphs. This way, you capture attention without overwhelming the viewer.
- Text Background: Sometimes, adding a semi-transparent background behind the text can significantly enhance readability without detracting from the image.
- Responsive Design: Make sure your overlays look great on all devices. Test how your text appears on desktops, tablets, and mobile devices to ensure it remains user-friendly.
By incorporating these best practices, you can create stunning text overlays that resonate with your audience and elevate your WordPress content without losing image quality.
9. Testing and Adjusting Your Design
Once you’ve added text over your images in WordPress, the next crucial step is to test and adjust your design. Think of this phase as the fine-tuning of an artwork; you want to make sure everything aligns just right.
Start by previewing your changes on various devices. You know how frustrating it can be to beautifully design something only to find out it looks distorted on a phone or tablet? Always check the responsiveness of your design. Here’s a quick checklist of devices to consider:
- Desktop
- Tablet
- Smartphone
Next, focus on the readability of your text. The ultimate aim is to ensure that your message is clear without sacrificing the image. You can adjust:
- Font Size: Ensure it’s large enough to read on all devices.
- Font Color: Choose high-contrast colors against your background for better visibility.
- Text Shadow: Adding a subtle shadow can enhance readability against busy backgrounds.
Feedback is also invaluable. Share your design with a friend or colleague and ask for their opinion. Sometimes, a fresh pair of eyes can spot issues you might have overlooked.
Ultimately, testing and adjusting your design is all about finding that perfect balance between aesthetics and functionality. Keep iterating until you’re satisfied with the final result!
10. Conclusion
Adding text over images in WordPress doesn’t have to compromise your image quality. With the right techniques and tools, you can create eye-catching designs that maintain clarity and professionalism. Remember, the key is to strike a balance. You want your images to tell a story, and the text to enhance that story without getting lost in the mix.
Throughout this guide, we’ve covered everything from the importance of image optimization to advanced techniques like layering and shadows. Here’s a quick recap of what you’ve learned:
- Choose high-quality images that are optimized for web use.
- Utilize built-in WordPress features or plugins designed for overlaying text without losing quality.
- Test your design across different devices to ensure the text is always readable and visually appealing.
- Continuously adjust and refine your design based on feedback and personal insight.
Now, armed with these insights, you’re ready to go out there and create stunning visuals that not only attract attention but also convey your message effectively. So, why wait? Start experimenting today and watch your WordPress site transform!

