Have you ever felt the need to strengthen the security of your website? If you’re hosting your WordPress site on Google Cloud Platform (GCP), adding your own Certificate Authority (CA) is a fantastic way to elevate that security. In this article, we’ll explore the ins and outs of setting up a private CA for your GCP WordPress hosting. Whether you’re a seasoned developer or just dipping your toes into web development, integrating a custom CA can streamline your operations and give your users an extra layer of trust.
Understanding Certificate Authorities
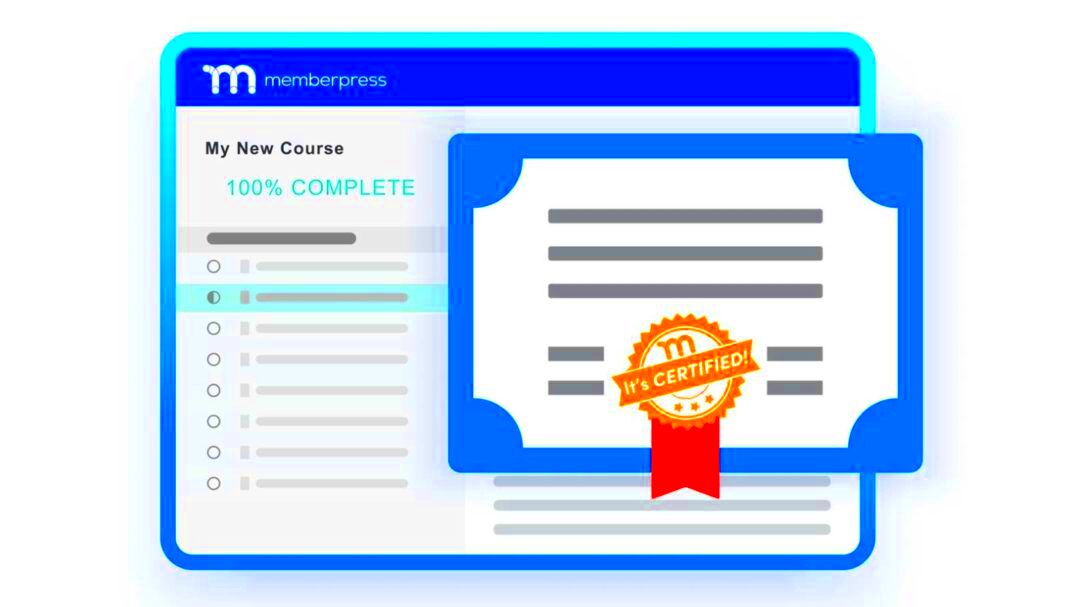
Before we dive into the process of adding your own CA, it’s crucial to grasp what a Certificate Authority actually does. In a nutshell, a Certificate Authority is an entity that issues digital certificates. These certificates verify the ownership of a public key and are essential for establishing secure connections over the internet. Here’s how it works:
- Identity Verification: A CA verifies the identity of the entity requesting a certificate, ensuring they are who they claim to be.
- Certificate Issuance: Once verified, the CA issues a digital certificate that contains the entity’s public key along with other identifying information.
- Trust Establishment: Browsers and devices trust certificates from reputable CAs. This trust is what keeps users feeling secure while browsing your site.
Let’s break down further the types of CAs:
| Type of CA | Description |
|---|---|
| Public CA | These are widely recognized and trusted by web browsers. Common examples include Let’s Encrypt and DigiCert. |
| Private CA | This is a CA that is used internally within an organization. It’s great for securing private applications and internal communication. |
Overall, understanding these concepts is crucial to implementing your own CA in your GCP WordPress hosting environment. So, let’s roll up our sleeves and get started!
Advantages of Using Your Own Certificate Authority

Using your own Certificate Authority (CA) in Google Cloud Platform (GCP) for WordPress hosting comes with a plethora of advantages that can significantly enhance your site’s security and control. Let’s dive into some of the key benefits:
- Full Control Over Certificates: When you operate your own CA, you have complete authority over the issuance and revocation of certificates. This means you can manage the lifecycle of your SSL/TLS certificates without relying on third parties, streamlining the process significantly.
- Customization: A personal CA allows for a tailored approach. You can decide the specifications, such as key sizes and algorithms, and even customize the certificate lifespan according to your needs.
- Enhanced Trust: By having your own CA, you establish your own trust hierarchy. This can be particularly useful for internal applications or secure environments where you want to assure users that they are interacting with trusted entities.
- Cost Efficiency: While setting up your own CA may come with initial costs, it can save you money in the long run if you manage many certificates, eliminating the need for repetitive purchases from external CAs.
- Learning Opportunities: Managing a CA provides a chance to learn about various PKI concepts, encryption methods, and digital certificate management, which can be beneficial if you are looking to expand your IT knowledge.
In summary, running your own Certificate Authority not only enhances your website’s security but also gives you unprecedented control over your digital assets. With complete oversight, tailored solutions, and a cost-effective approach, it’s a viable option for those serious about their digital infrastructure.
Prerequisites for Adding Your Own Certificate Authority
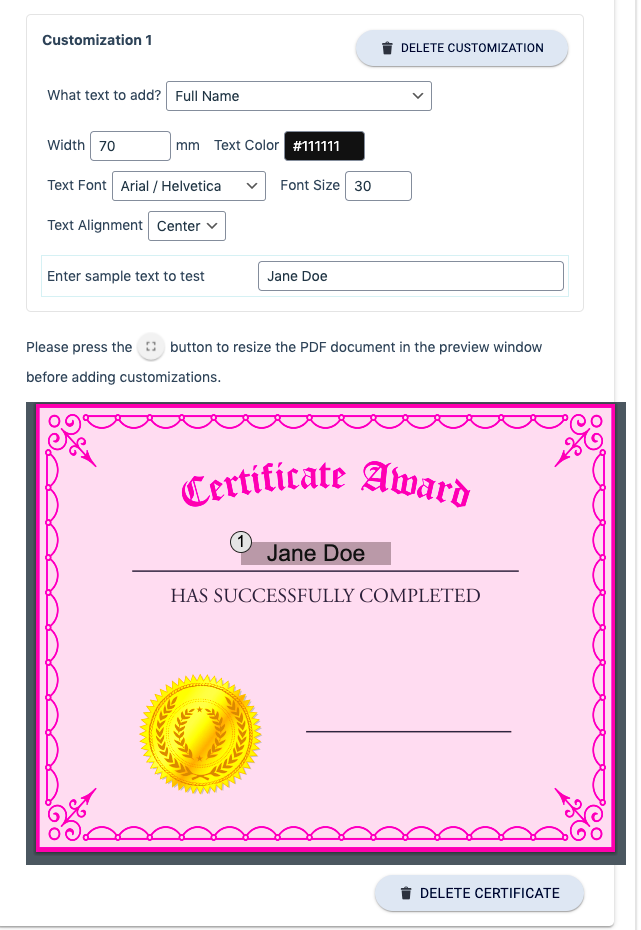
Before diving into the process of adding your own Certificate Authority in GCP for your WordPress hosting, it’s essential to ensure you have met certain prerequisites. These prerequisites will help you avoid potential pitfalls and ensure a smooth implementation:
- Google Cloud Platform Account: First and foremost, you need a GCP account. Take the time to set up your project and familiarize yourself with the console.
- Understanding of Certificate Management: A basic grasp of how SSL/TLS certificates work, along with concepts like public and private keys, is crucial. Consider brushing up on encryption standards and PKI concepts.
- Proper Permissions: Ensure that you have the required IAM (Identity and Access Management) roles for managing certificates. Having the right permissions is vital for configuring and managing the CA within GCP.
- Access to Domain Names: You should possess control over the domain names for which you intend to issue certificates. This often includes access to DNS settings for verification purposes.
- Infrastructure for the CA: Preparing the necessary infrastructure is important. This includes setting up secure storage for your CA keys and ensuring that your environment is compliant with security best practices.
Once you’re confident that you’ve covered these prerequisites, you’re well on your way to successfully integrating your own Certificate Authority into your WordPress hosting on GCP. Prepare for a rewarding journey that will enhance both your learning and your site’s security!
5. Step-by-Step Guide to Adding Your Certificate Authority in GCP
Alright, let’s dive into the nitty-gritty of adding your own Certificate Authority (CA) in Google Cloud Platform (GCP). By following this step-by-step guide, you can ensure that your WordPress site is both secure and compliant with your unique security protocols. Here’s how to do it:
- Access GCP Console: Start by logging into your GCP account. Head over to the GCP Console. This is your launching pad for all things GCP.
- Navigate to Certificate Manager: In the left navigation panel, look for “Network Services” and then click on “Certificate Manager.” That’s where the magic begins.
- Add Certificate Authority: Click on “Create Certificate.” You’ll see options for public certificates or private/internal. Select the option that best suits your needs for your CA.
- Upload CA Bundle: Here’s where you’ll upload your CA certificate. It’s crucial that you have the certificate in a PEM format. You may also need to upload the intermediate certificates if applicable.
- Define Certificate Details: Fill in the required fields such as name, description, and lifecycle policies. Choose your key management options wisely!
- Review and Save: Double-check all your entries and configurations. Once everything looks good, click on “Create.” Give yourself a pat on the back; you’ve just added your CA!
And voila! You’ve successfully added your own Certificate Authority in GCP. This will empower your WordPress hosting environment with a level of security tailored to your specifications.
6. Configuring WordPress to Use Your Certificate Authority
Now that your Certificate Authority is up and running in GCP, it’s time to configure your WordPress site to use it. This crucial step will ensure that all the traffic is encrypted, giving your site a trusted and secure connection. Let’s walk through the configuration!
- Access WordPress Admin Panel: Log in to your WordPress dashboard. Go to your website’s backend; this is where you’ll handle the heavy lifting.
- Install SSL Plugin: If you haven’t already, consider installing an SSL plugin like Really Simple SSL or WP Force SSL. These plugins can help streamline SSL configuration.
- Configure Plugin Settings: Once you’ve installed the plugin of your choice, navigate to its settings. You’ll usually see an option to enable SSL for your entire site. Toggle it on!
- Update WordPress Address: Go to “Settings” and then “General.” Ensure that both the WordPress Address (URL) and Site Address (URL) start with
https://. - Check HTTP to HTTPS Redirection: To ensure that all your site traffic is securely redirected, check the redirection settings on your plugin. If your plugin supports it, implement 301 redirects.
- Test Your SSL Configuration: Finally, visit your website and ensure it loads with a green padlock symbol in the address bar. Websites with SSL should not show warnings about security!
And there you have it! Your WordPress site is now configured to utilize your Certificate Authority from GCP. This not only elevates your site’s security but also reinforces trust with your visitors. Happy blogging!
7. Testing Your Configuration
Once you’ve added your own Certificate Authority (CA) to your Google Cloud Platform (GCP) WordPress hosting, it’s crucial to test the configuration to ensure everything works as intended. Testing helps uncover potential issues before they affect your website’s performance or security.
Here are some effective steps you can follow to test your CA:
- Check SSL/TLS Certificate Installation: Utilize online tools like SSL Checker to verify that your SSL certificate is properly installed. Simply enter your domain name, and the tool will provide details about the certificate chain.
- Use cURL for Quick Testing: Run a command like
curl -Iv https://yourdomain.comin your terminal. Look for the line that says “Server certificate” to confirm that it’s pointing to your custom CA. - Browser Testing: Open your website in multiple browsers, including Chrome, Firefox, and Safari. Check for any security warnings or alerts. A properly installed certificate should show a padlock in the address bar.
- Check Expiration Dates: Ensure your certificate hasn’t expired. You can view the expiration date by clicking on the padlock icon in your browser’s address bar.
Lastly, monitor the performance and behavior of your website under different conditions. It can be beneficial to set up alerts to notify you if any certificate issues arise in the future. Ensuring everything is correctly set up not only protects your site but also builds your visitors’ trust.
8. Troubleshooting Common Issues
Even with careful configuration, you might encounter some hurdles when adding your own Certificate Authority in GCP WordPress hosting. Here’s a rundown of common issues and effective solutions to get you back on track.
- Certificate Not Trusted: If your browser warns that the certificate is not trusted, check if your CA certificate is properly installed and linked in the certificate chain. Make sure to include any intermediate certificates as well.
- Mixed Content Warnings: Sometimes, your site may still load resources over HTTP. To fix this, search for “http” links in your site’s HTML and change them to “https.” Consider using plugins like Really Simple SSL to automate this process.
- Certificate Expiry: Keep an eye on your certificate’s expiration date. Setting calendar reminders for renewals can help avoid unexpected downtime. GCP offers monitoring tools you can leverage for this.
- Server Configuration Errors: Review your server configuration files, such as
apache2.confornginx.conf. Make sure you’ve referenced the correct file paths for your certificates. - Firewall Issues: If your website is unreachable, check your firewall settings in GCP to ensure that it allows HTTPS (port 443) traffic.
Remember, troubleshooting is often about trying different approaches. Keep experimenting with one issue at a time, and you’ll soon have your CA configuration running smoothly!
Conclusion
Adding your own Certificate Authority (CA) in Google Cloud Platform (GCP) for WordPress hosting can significantly enhance the security and integrity of your web applications. By utilizing a custom CA, you maintain greater control over your SSL/TLS certificates, allowing you to designate trusted certificates tailored to your specific organizational needs. This can prove beneficial in various scenarios, such as when you need to manage multiple internal services or when you wish to implement stricter security policies. With the step-by-step guide provided, you can confidently navigate the processes involved, ensuring your WordPress site is both secure and compliant with your internal protocols. Embracing a custom CA not only fosters a more secure environment but also showcases your commitment to safeguarding your users’ data and maintaining high levels of trust.

