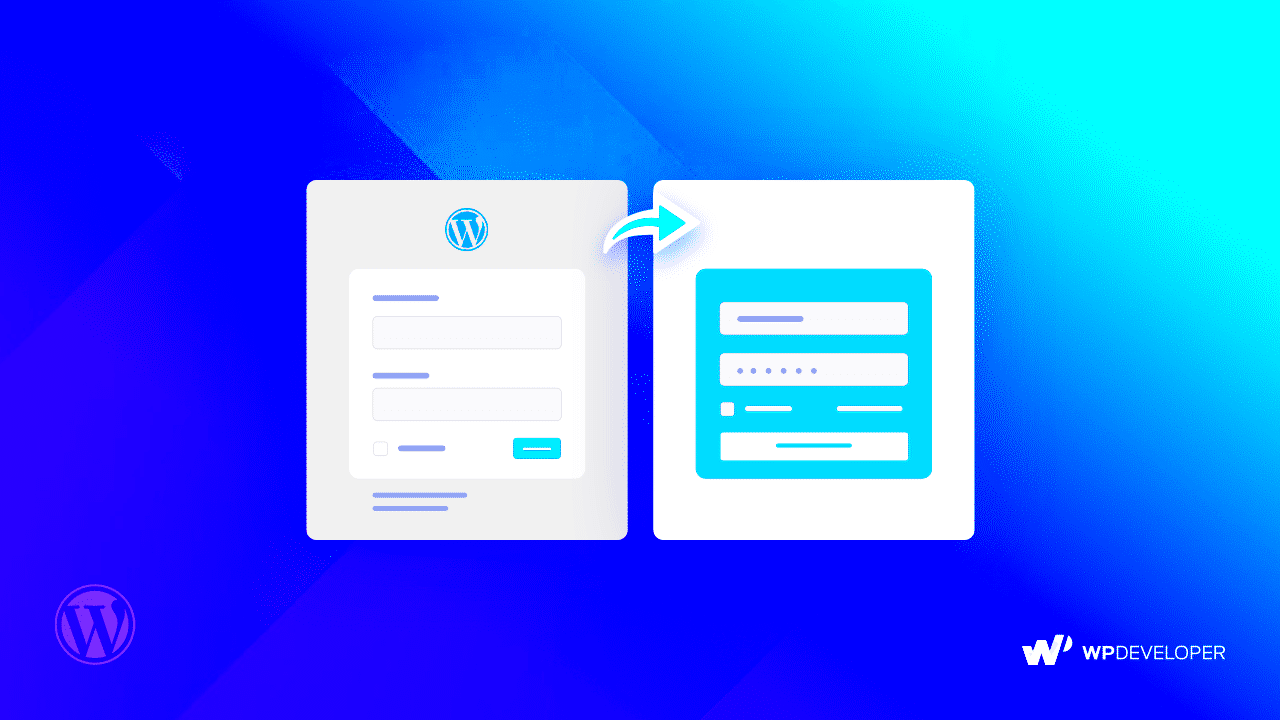
Welcome to the exciting world of WordPress customization! One of the first things your visitors encounter when accessing your site is the login screen. While it may seem like a simple gateway, customizing your WordPress login screen can significantly enhance user experience. In this blog post, we will explore what a custom login screen is, why it matters, and how to customize it effectively. Whether you’re a developer, a site owner, or someone looking to add a unique touch to your WordPress site, understanding this aspect of customization can improve your brand image and user engagement.
Why Customize Your WordPress Login Screen?
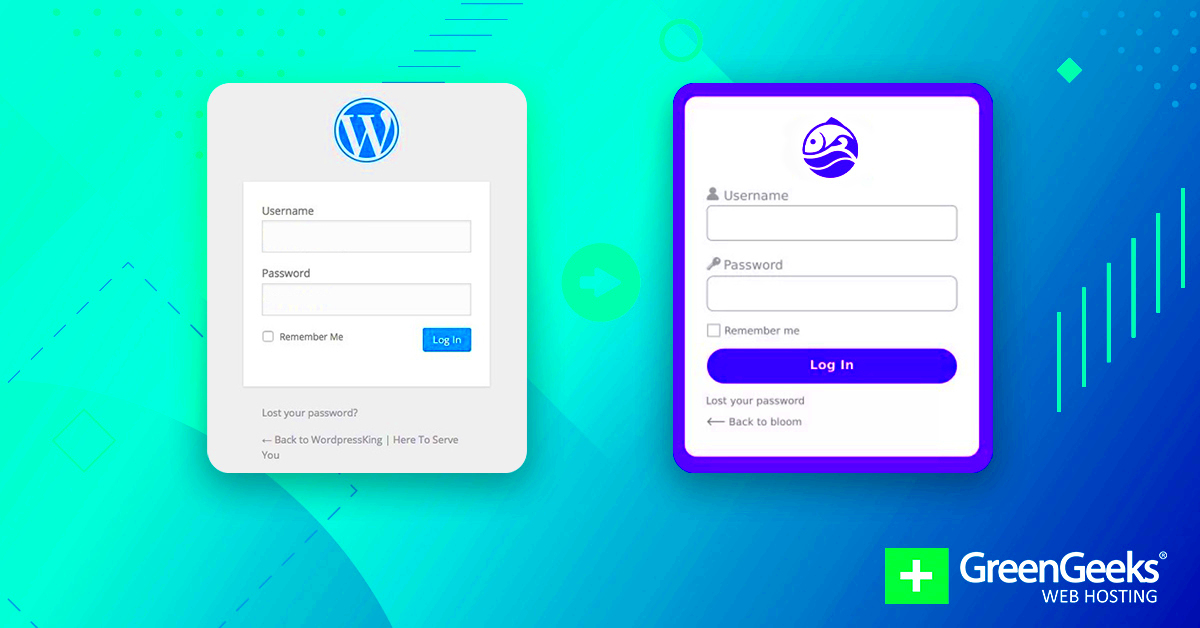
Now that we know what a custom login screen is, let’s dive into reasons why you might want to customize yours. Think of your login screen as a digital handshake—it’s your guests’ first impression and sets the tone for their entire experience on your site. Here are some compelling reasons to give it a fresh look:
- Branding: A custom login screen allows you to integrate your logo, colors, and design elements. This consistency enhances brand recognition and builds trust with your users.
- User Experience: A well-designed login screen is intuitive and user-friendly. A clutter-free design with easy navigation saves time for your users and reduces frustration.
- Security: Customization can also help improve security. You can remove WordPress-branded elements that attackers might exploit, making it less recognizable and more challenging for them to target.
- Reduction of Spam: By personalizing the login URL and adding specific elements, you can minimize the chances of spam registrations and brute-force attacks.
- Increased Engagement: A visually appealing login screen can encourage users to log in more often and feel more connected to your brand.
By customizing your WordPress login screen, you can create a unique touch that resonates with your audience, reinforces your brand message, and elevates the browsing experience.
Essential Tools for Customizing the Login Screen
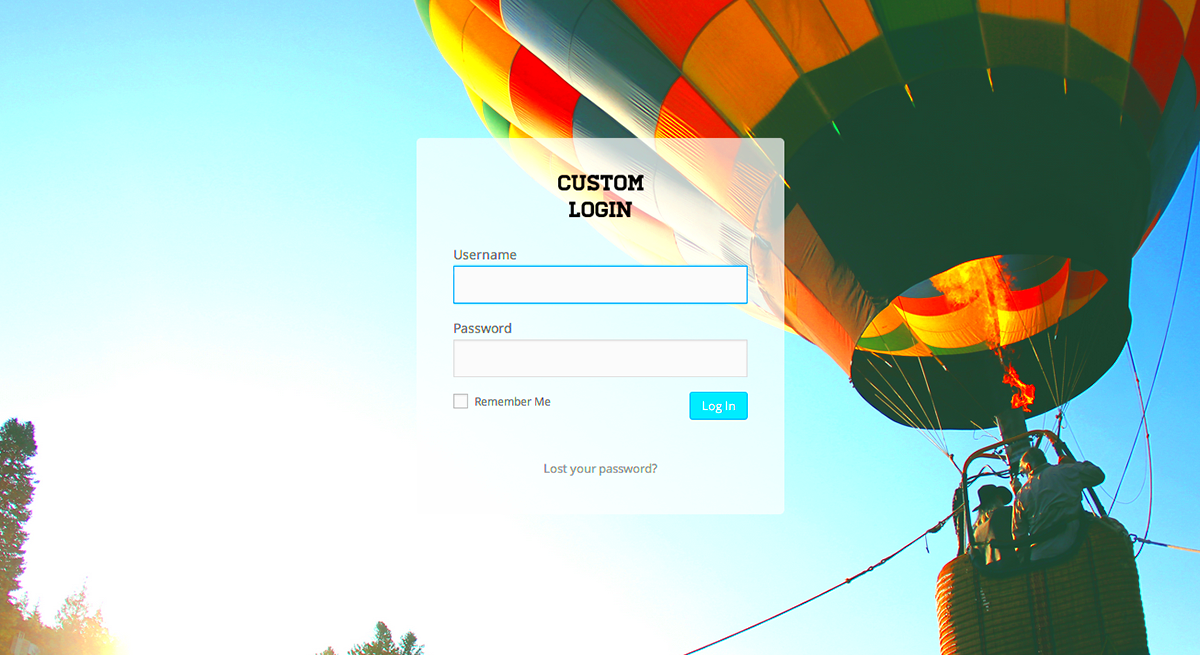
When it comes to customizing your WordPress login screen, having the right tools can make all the difference. It’s not just about aesthetics; it’s about enhancing user experience and reinforcing your brand. Here are some essential tools you can use to make this process smoother:
- Custom Login Page Customizer: This plugin allows you to change the background, logo, and colors of your login page easily. It provides a live preview, which is super handy for visualizing your changes in real-time.
- Theme My Login: This plugin creates a login page that matches your theme and allows for extra functionalities like social login. It’s perfect if you’re after cohesive branding.
- LoginPress: A powerful customization tool with drag-and-drop features, LoginPress enables you to edit the login page layout easily and offers various free and premium templates to choose from.
- WPForms: While typically used for forms, WPForms allows you to create user registration and login forms that can be embedded anywhere on your site, creating a seamless experience.
- CSS Hero: If you have some coding knowledge, CSS Hero is an excellent tool that provides a visual interface for editing the CSS of your login page, allowing for fine-tuned customization.
Using these tools not only makes the customization process efficient but also empowers even beginner users to tailor their login screens to their liking.
Step-by-Step Guide to Customizing the Login Screen
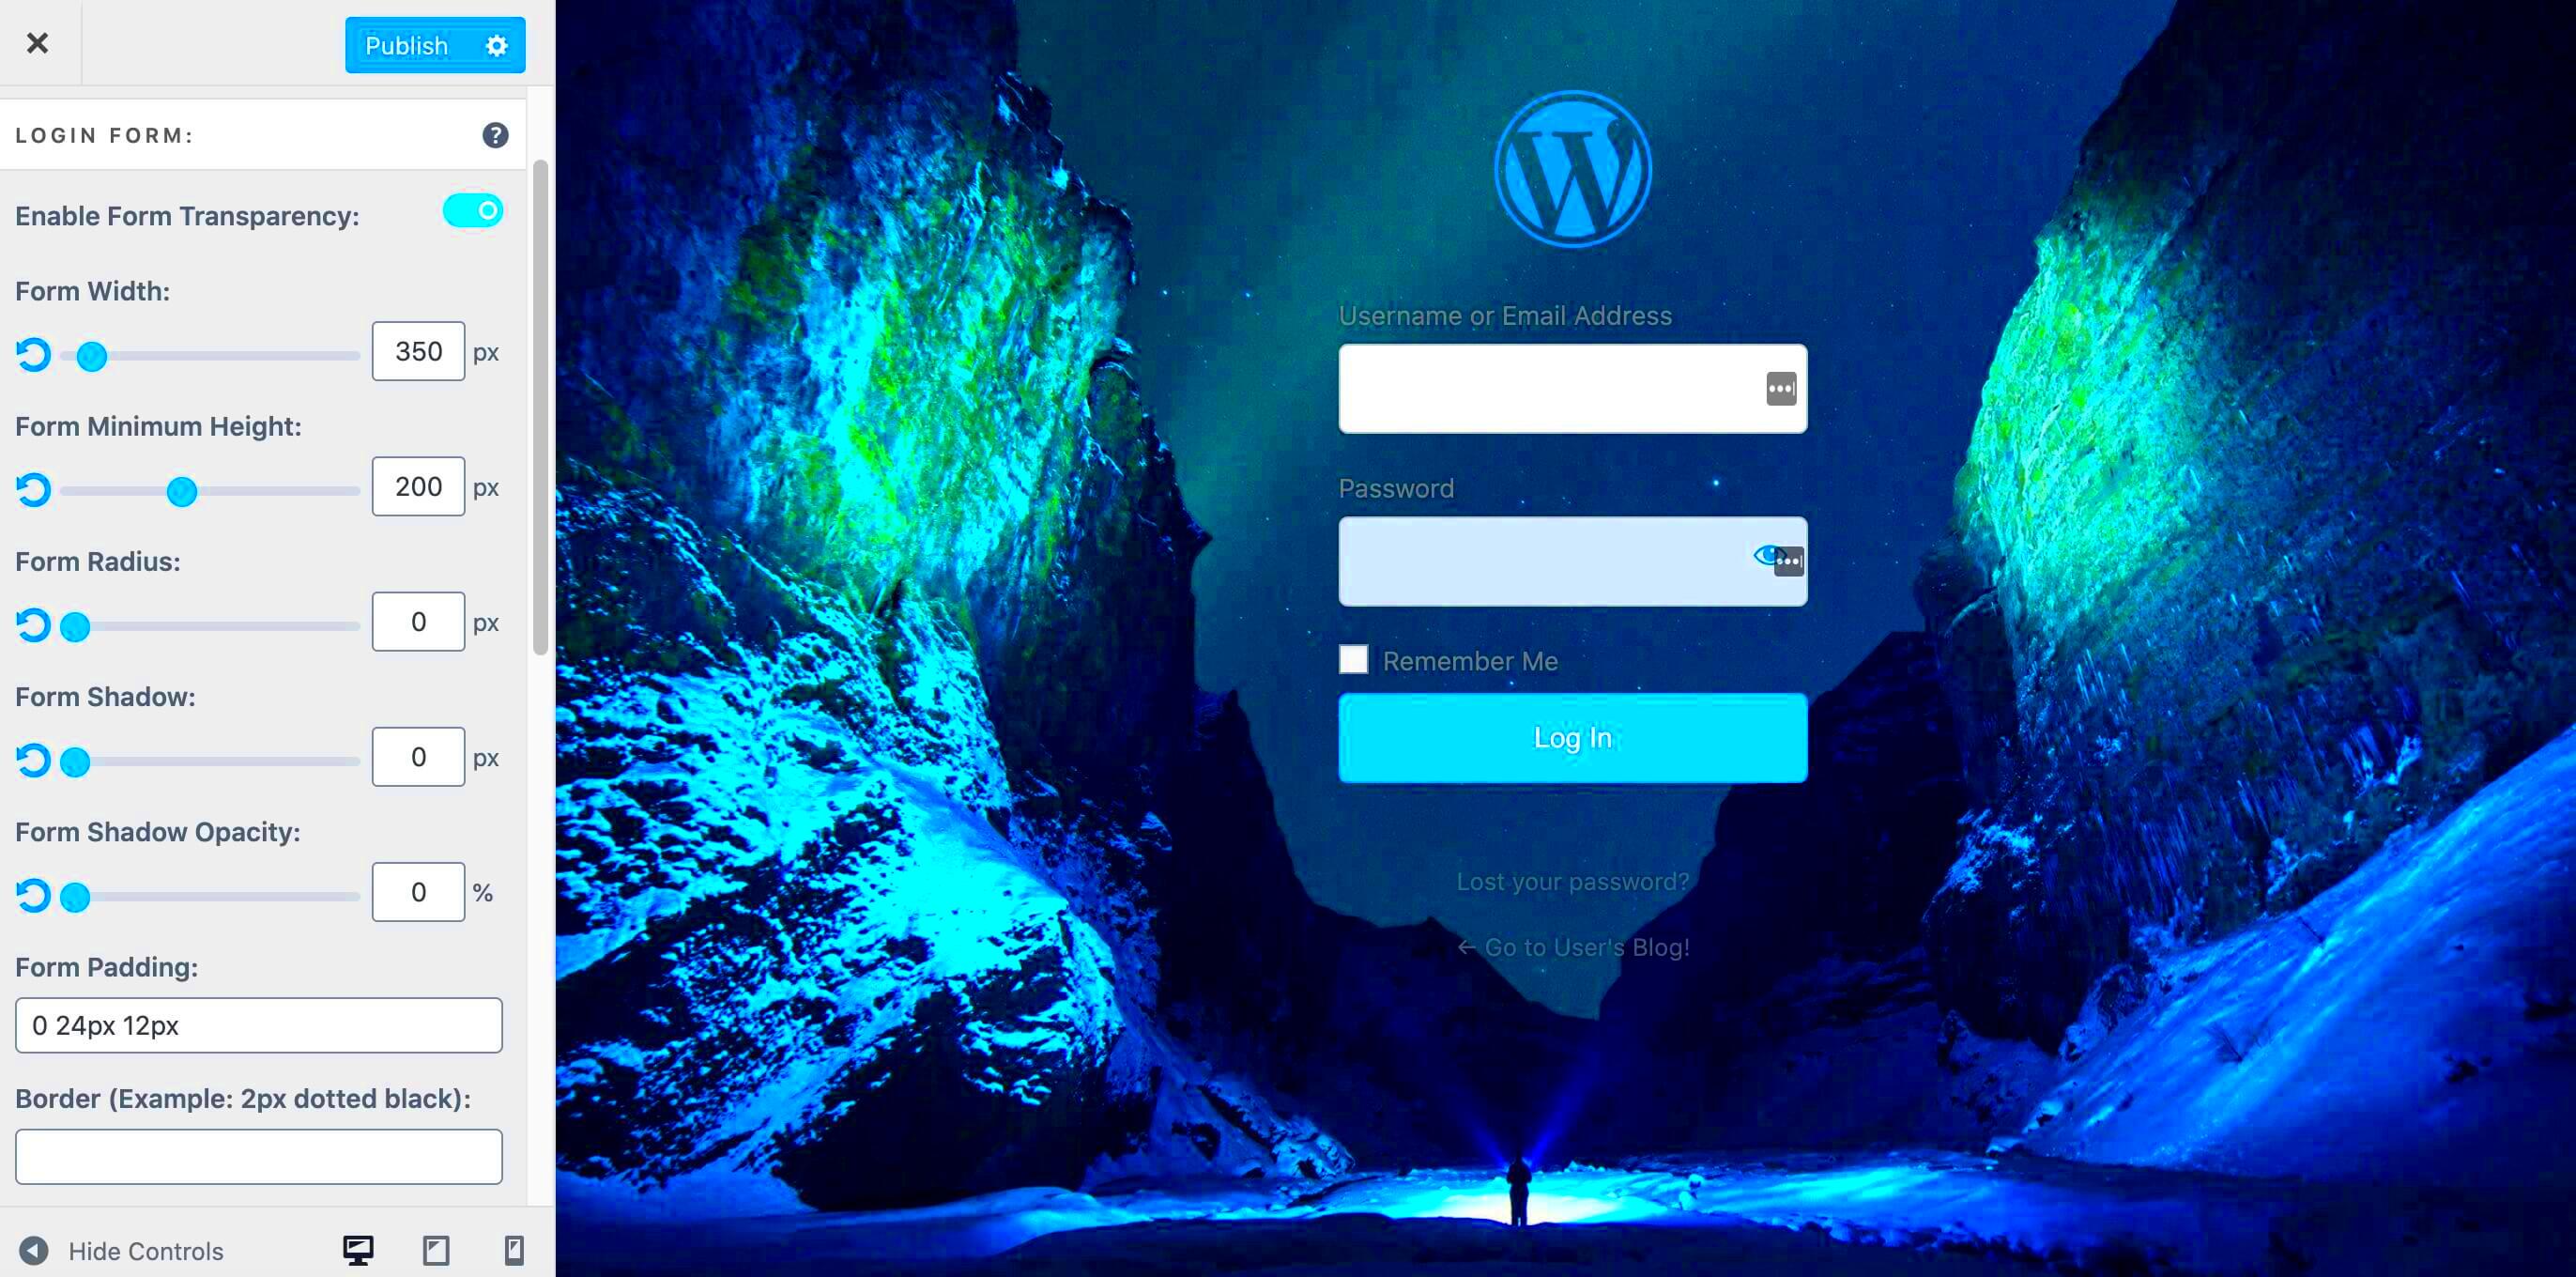
Now that we’ve covered essential tools, let’s dive into how to customize your WordPress login screen step by step! This is a practical guide, so grab your laptop, and let’s get started.
Step 1: Install and Activate a Plugin
Choose a plugin from the essential tools list above. For this guide, let’s say you picked Custom Login Page Customizer. Install and activate it by navigating to Plugins > Add New in your dashboard.
Step 2: Access the Customizer
Once your plugin is active, go to Appearance > Customize from the WordPress dashboard. Look for the login customization option provided by your chosen plugin.
Step 3: Customize Your Login Screen
Within the customizer, you’ll find various options. Here’s what you can typically edit:
- Logo: Upload your brand logo to replace the WordPress default.
- Background Color/Image: Set a color or choose an image that reflects your brand.
- Form Fields: Change the colors and fonts of the input fields to enhance readability.
- Button Styles: Customize the login button’s appearance for better UX.
Step 4: Preview and Save
After making your changes, take a moment to preview how the login screen looks. Once satisfied, hit the Publish button to make your customization live!
Step 5: Test the Login Screen
Finally, always test your new login screen by logging out of your WordPress account and navigating to the login page. Check if everything looks good and functions smoothly. Trust me, a streamlined login process goes a long way in enhancing user experience!
And that’s it! You’ve successfully customized your WordPress login screen for better user experience. Enjoy your newly branded login area!
5. Adding Custom Logos and Branding
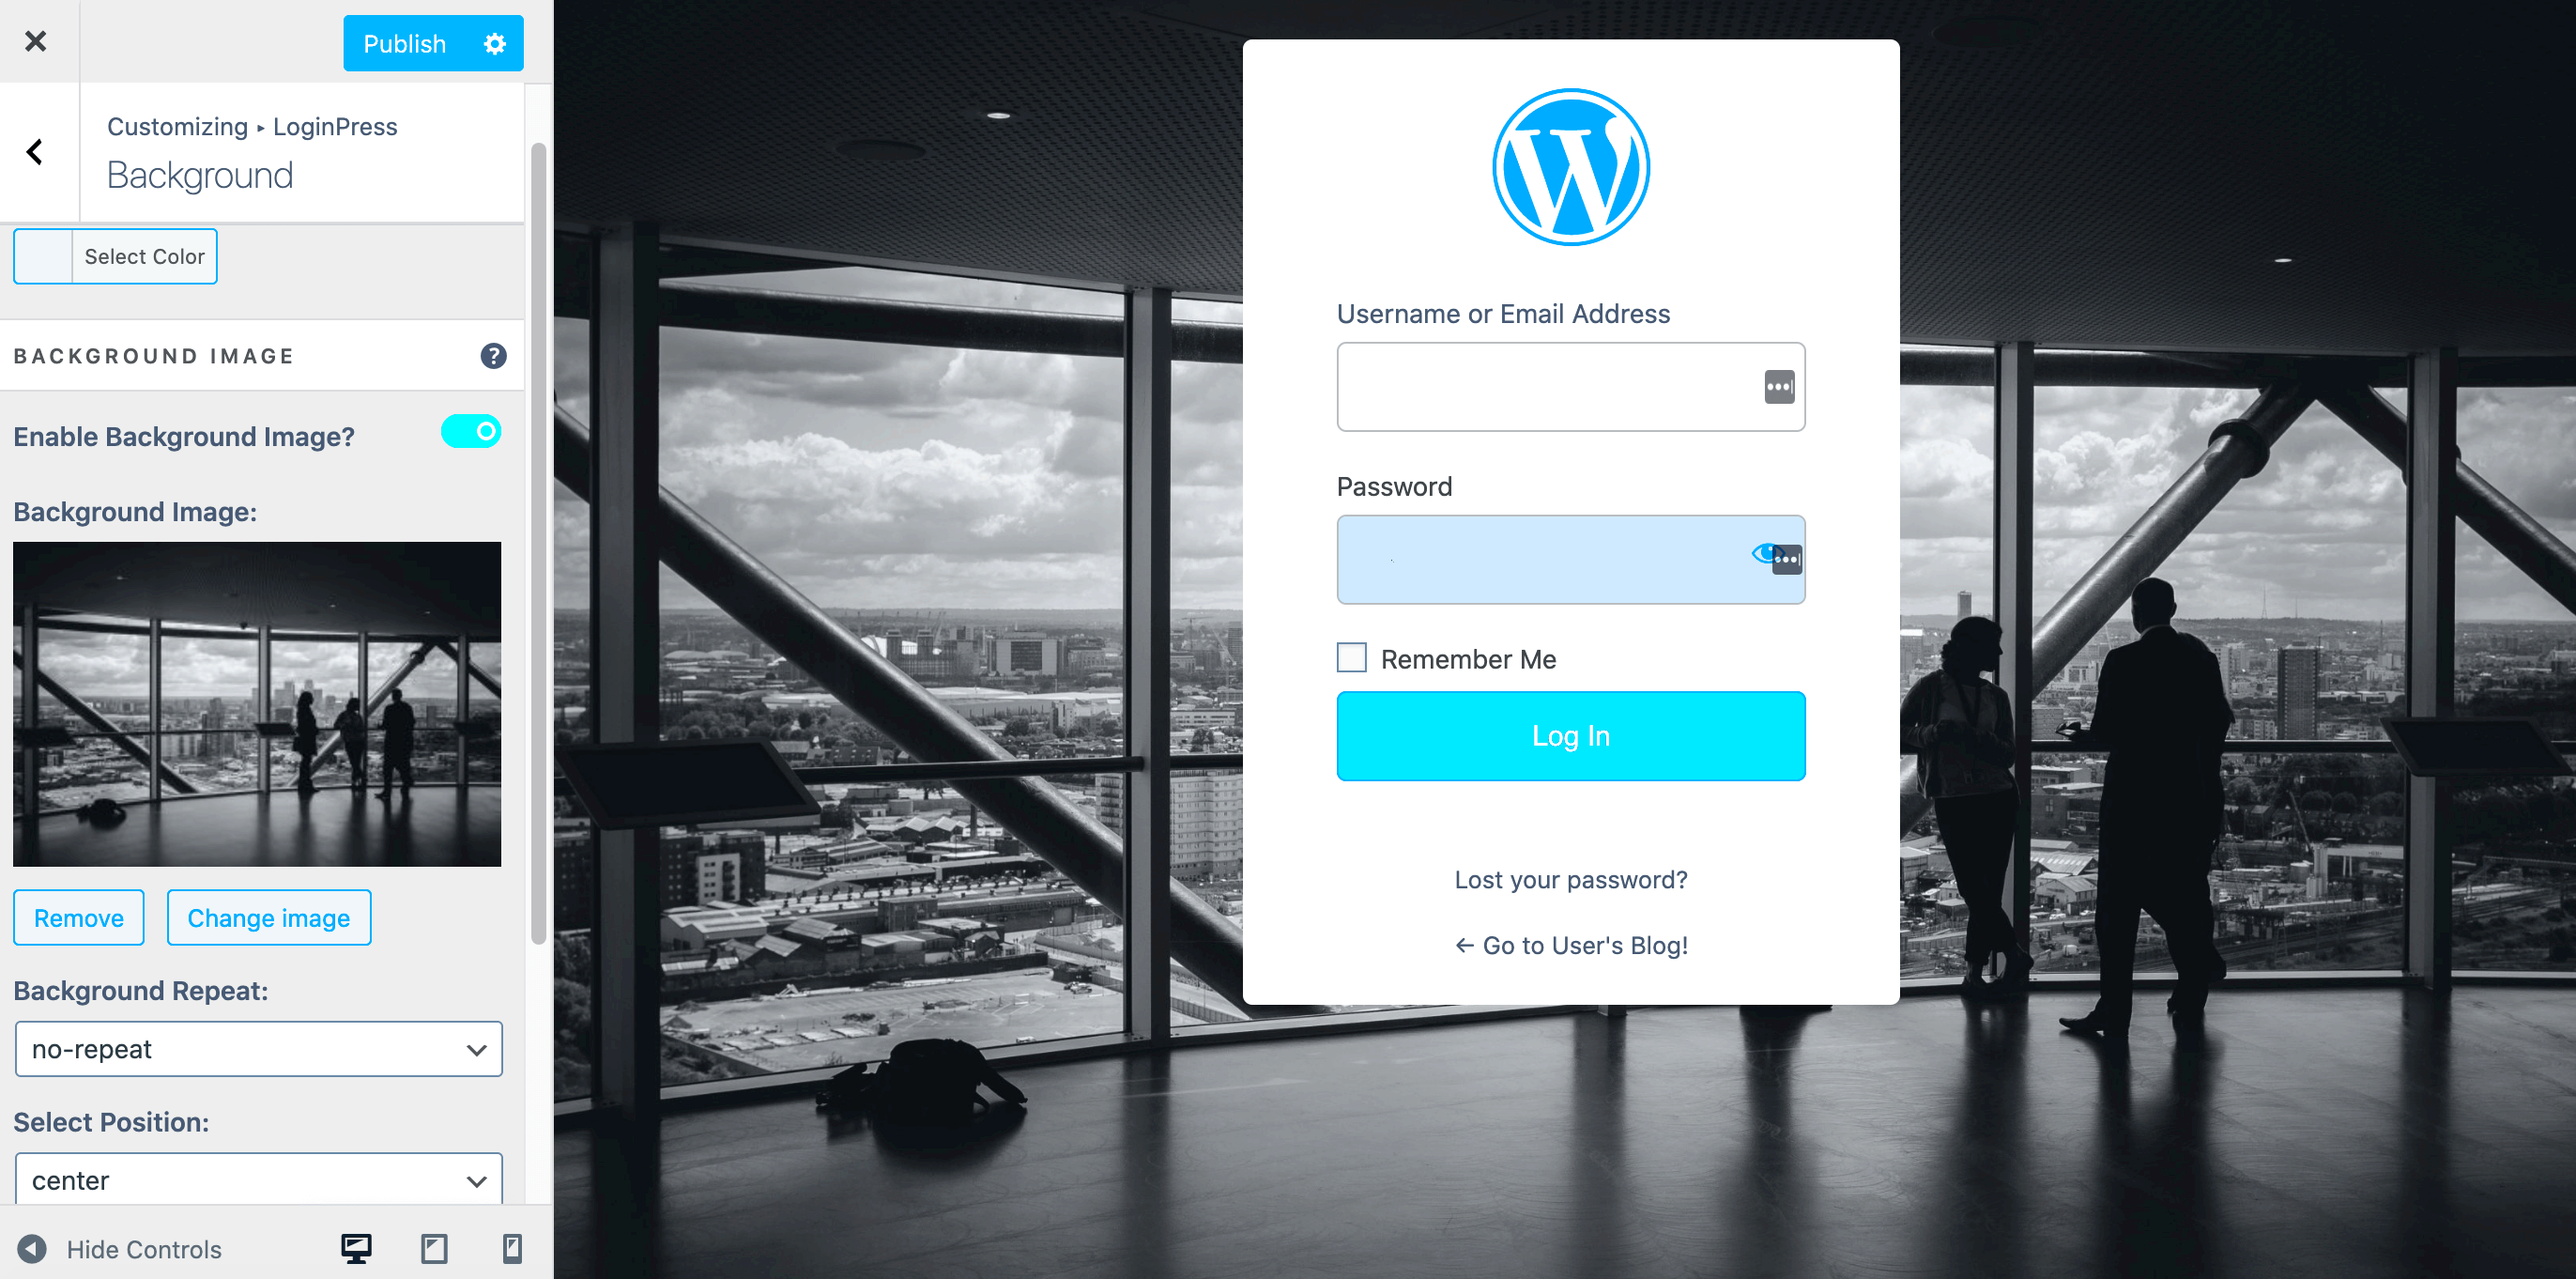
When it comes to customizing your WordPress login screen, one of the most impactful ways to enhance user experience (UX) is by adding a custom logo and incorporating branding elements. Imagine a user landing on your login page and instantly recognizing it as part of your brand—it’s a great way to build trust and provide a seamless experience.
To get started, follow these simple steps:
- Select Your Logo: Choose a logo that reflects your brand’s identity. It should be clear, recognizable, and not overly cluttered.
- Upload Your Logo: You can use a custom login plugin like Custom Login Page Designer or the Login Logo plugin. These tools allow you to easily upload your logo without any coding knowledge.
- Positioning: Experiment with the size and positioning of your logo. Ensure it doesn’t crowd other elements. Be mindful of spacing to maintain a polished look.
- Testing: Once you’ve applied the changes, log out and view the page as a user would. This helps ensure everything looks great on different devices.
Incorporating branding into your login screen isn’t just about aesthetics—it sends the message that the login process is a secure extension of your website. Keep in mind that a cohesive and well-branded login page enhances user confidence and connection to your overall digital presence.
6. Changing Background Colors and Styles
The background of your WordPress login page plays a significant role in the overall aesthetic and user experience. By customizing the background colors and styles, you can create a warm and inviting environment that aligns with your brand’s theme or simply makes the login process a bit more enjoyable.
Here’s how you can easily change the background:
- Choose Your Color Palette: Start by selecting colors that resonate with your brand. Use tools like Coolors or ColorHexa to find complementary colors.
- Using Custom CSS: If you’re comfortable with some coding, you can add custom CSS. For example:
body.login { background-color: #f0f0f0; /* Your preferred background color */ } - Implementing Background Images: Want to step it up? Background images can add depth. Ensure the image is high-quality and doesn’t distract from the login fields.
- Utilize Plugins: If coding isn’t your strength, you can leverage plugins like Custom Login Page Designer that allow you to change backgrounds with just a few clicks.
Remember, the main goal here is to ensure that the login page is not just functional but visually aligned with your brand’s identity. A well-designed background can reduce users’ anxiety while logging in and make the entire experience feel more personal.
Customizing Login Form Fields
When it comes to enhancing the user experience on your WordPress site, customizing the login form fields is an essential step. A standard login form typically includes just a username and password, but you can enrich this experience by adding or altering fields to better align with your site’s purpose and user needs.
First, let’s talk about the basic fields you can customize. Here’s a list of common modifications:
- Email Address: Instead of a username, ask for an email address, which most users find easier to remember.
- Custom Fields: Add fields like “Company Name” or “Referral Source” to gather more relevant information upon registration, tailoring the experience to your offerings.
- Remember Me Option: Ensure the checkbox for ‘Remember Me’ is visible—they’ll appreciate not having to log in every time.
Customizing these fields not only makes your login area more user-friendly but can also enhance the relevance of the data you collect. You can use plugins like Custom Login Page Customizer or Profile Builder to easily modify your login forms without touching a line of code. These tools provide a straightforward way to customize each field, ensuring that they fit seamlessly into your existing theme and branding.
Remember, while customizing login fields, keep usability in mind. Avoid overwhelming users with too many fields or overly complex requirements. A simple, intuitive login form goes a long way in making users feel welcomed and valued.
Enhancing Security with Custom Login Features
Security is paramount, especially when it comes to the login process. A secure login screen not only protects your site from unauthorized access but also gives users confidence in your site’s reliability. Here’s how you can use customization to bolster your site’s security.
First up, consider implementing two-factor authentication (2FA). This adds an extra layer of protection by requiring users to validate their identity with a secondary code sent to their mobile device. It’s simple to set up with plugins like Google Authenticator or Wordfence Security.
Next, think about customizing your login URL. By changing the standard login path from ‘wp-login.php’ to something unique, you can significantly reduce the likelihood of brute-force attacks. Use plugins like WPS Hide Login to achieve this.
Another useful feature is to limit login attempts. This can deter bots trying to guess passwords by locking a user out after a certain number of failed attempts. You can easily implement this via plugins like Limit Login Attempts Reloaded.
Here’s a summary of effective custom login features to enhance security:
| Feature | Description |
|---|---|
| Two-Factor Authentication | Requires a secondary code for access. |
| Custom Login URL | Changes the default login path. |
| Limit Login Attempts | Locks users out after failed logins. |
Implementing these security measures not only protects your site but also builds trust with your users—they’ll appreciate knowing that you take their security seriously. Taking these steps can lead to a more satisfying overall user experience, which is what every site should aim for.
Mobile Responsiveness and User Experience
In today’s world, where mobile devices dominate internet usage, ensuring your WordPress custom login screen is mobile-responsive is crucial for a better user experience (UX). Not only does a mobile-friendly design cater to users on various devices, but it also enhances the overall functionality and accessibility of your site.
First off, let’s talk about why mobile responsiveness matters. Did you know that over half of all web traffic comes from mobile devices? If your login screen isn’t easy to navigate on smaller screens, you risk frustrating users and potentially losing them. A few key elements to focus on include:
- Viewport Meta Tag: This small piece of code ensures that your site’s layout adjusts according to the screen size.
- Touch-Friendly Elements: Buttons should be large enough, spaced well, and easy to tap without misclicking.
- Optimized Images: Use compressed images to reduce load times on mobile networks.
Testing your layout on multiple devices and browser types is essential. Use responsive design tools or simply check on your smartphone and tablet to see how it looks. Remember, aesthetics aside, the goal is to make logging in as effortless as possible. Overall, a smooth mobile experience makes your visitors feel valued and likely encourages them to stay on your site longer.
Testing and Troubleshooting Your Custom Login Screen
Once you’ve successfully crafted a custom login screen for your WordPress site, it’s crucial to ensure everything functions smoothly—hence the importance of thorough testing and troubleshooting. Let’s dive into some effective methods that can help you identify potential challenges and fix them swiftly.
Start with functionality testing. This involves trying out all features of your custom login screen, like:
- Login Credentials: Test various combinations and check the login feedback messages.
- Password Recovery: Make sure users can easily retrieve forgotten passwords.
- Responsive Design: Try accessing your login screen on various devices and screen sizes.
If you encounter any issues, troubleshooting can vary from simple to complex. Here are a few common steps to ensure a smooth process:
| Issue | Solution |
|---|---|
| Login error messages | Check your user authentication settings and custom error messages in your code. |
| Broken CSS/JS files | Ensure all necessary files are enqueued properly in your theme or plugin. |
| Inconsistent styling | Review your CSS rules for specificity and overrides that might be causing clashing styles. |
By being proactive—testing your custom login screen, identifying bug issues, and implementing fixes—you’ll create a seamless, enjoyable user experience that welcomes your visitors right from the start!
Wrapping Up: Best Practices for WordPress Login Customization
Customizing the WordPress login screen is an effective way to enhance user experience (UX) and brand identity. By implementing a tailored login experience, website owners can not only make the process more visually appealing but also ensure a more user-friendly interaction. Here’s how to successfully customize the login screen, along with best practices to keep in mind.
When it comes to customizing the login screen, consider the following key aspects:
- Branding: Incorporate your logo and use your brand colors to create a cohesive look.
- Accessibility: Ensure that the custom login screen is accessible to all users, including those with disabilities.
- Security: Enhance security features by enabling two-factor authentication and captcha to prevent unauthorized access.
- User-Friendly Design: Simplify the form with clear labels and an intuitive layout.
- Mobile Responsiveness: Ensure the login screen is mobile-friendly for users accessing on smartphones and tablets.
Additionally, using a consistent custom stylesheet will help maintain a uniform look across different devices. Regularly testing the login functionality is crucial to identify any potential issues before users encounter them. Below is a simple checklist for customizing your login screen:
| Aspect | Checklist Item |
|---|---|
| Branding | Add your logo and brand colors |
| Accessibility | Use readable fonts and color contrasts |
| Security | Implement strong password policies |
| Design | Keep the layout simple and intuitive |
| Responsiveness | Test functionality on multiple devices |
In conclusion, the right customization of the WordPress login screen not only improves user interaction and satisfaction but also reinforces brand identity. By adhering to best practices, you can create a secure and visually appealing login experience that users will appreciate.

