Welcome to the world of WooCommerce order management! If you’re running an online store, you know how essential it is to keep track of your orders. Exporting orders from WooCommerce is a game-changer for streamlining your operations. Whether you need to generate reports, manage inventory, or fulfill shipping, understanding how to export your orders can save you time and effort. In this guide, we’ll take you through the steps of order export, ensuring you can navigate this feature like a pro.
Why Export Orders from WooCommerce?

So, why is exporting orders from WooCommerce such a big deal? Let’s break it down:
- Data Analysis: Exporting orders allows you to analyze sales trends, customer behaviors, and product performances, helping you make informed business decisions.
- Reporting: Need to prepare financial statements, tax reports, or performance metrics? Having your order data at hand simplifies this process.
- Inventory Management: Keep your stock in check by exporting orders to assess what sells and when you need to reorder products.
- Fulfillment Efficiency: If you’re working with a third-party fulfillment service, exporting orders lets you share details easily, ensuring timely shipping.
- Backup Records: Exporting serves as a great way to back up your order data, just in case something goes wrong.
In essence, exporting orders is not just about numbers; it’s about empowering you to analyze and optimize your business for better growth and satisfaction, both for you and your customers.
Pre-Requisites for Exporting Orders

Before diving into the nitty-gritty of exporting your WooCommerce orders, it’s essential to get a few things squared away. Think of this as laying the groundwork for a successful export process. Here’s what you’ll need to have in place:
- WooCommerce Plugin Installed: Ensure that the WooCommerce plugin is installed and activated on your WordPress site. Without it, you won’t be able to manage orders.
- Access to WordPress Dashboard: You will need administrative access to your WordPress dashboard. This ensures that you have all the necessary permissions to export the orders.
- Backup Your Data: Always a good practice to back up your site before making any significant changes. Consider using plugins like UpdraftPlus or BackupBuddy to ensure you don’t lose any data.
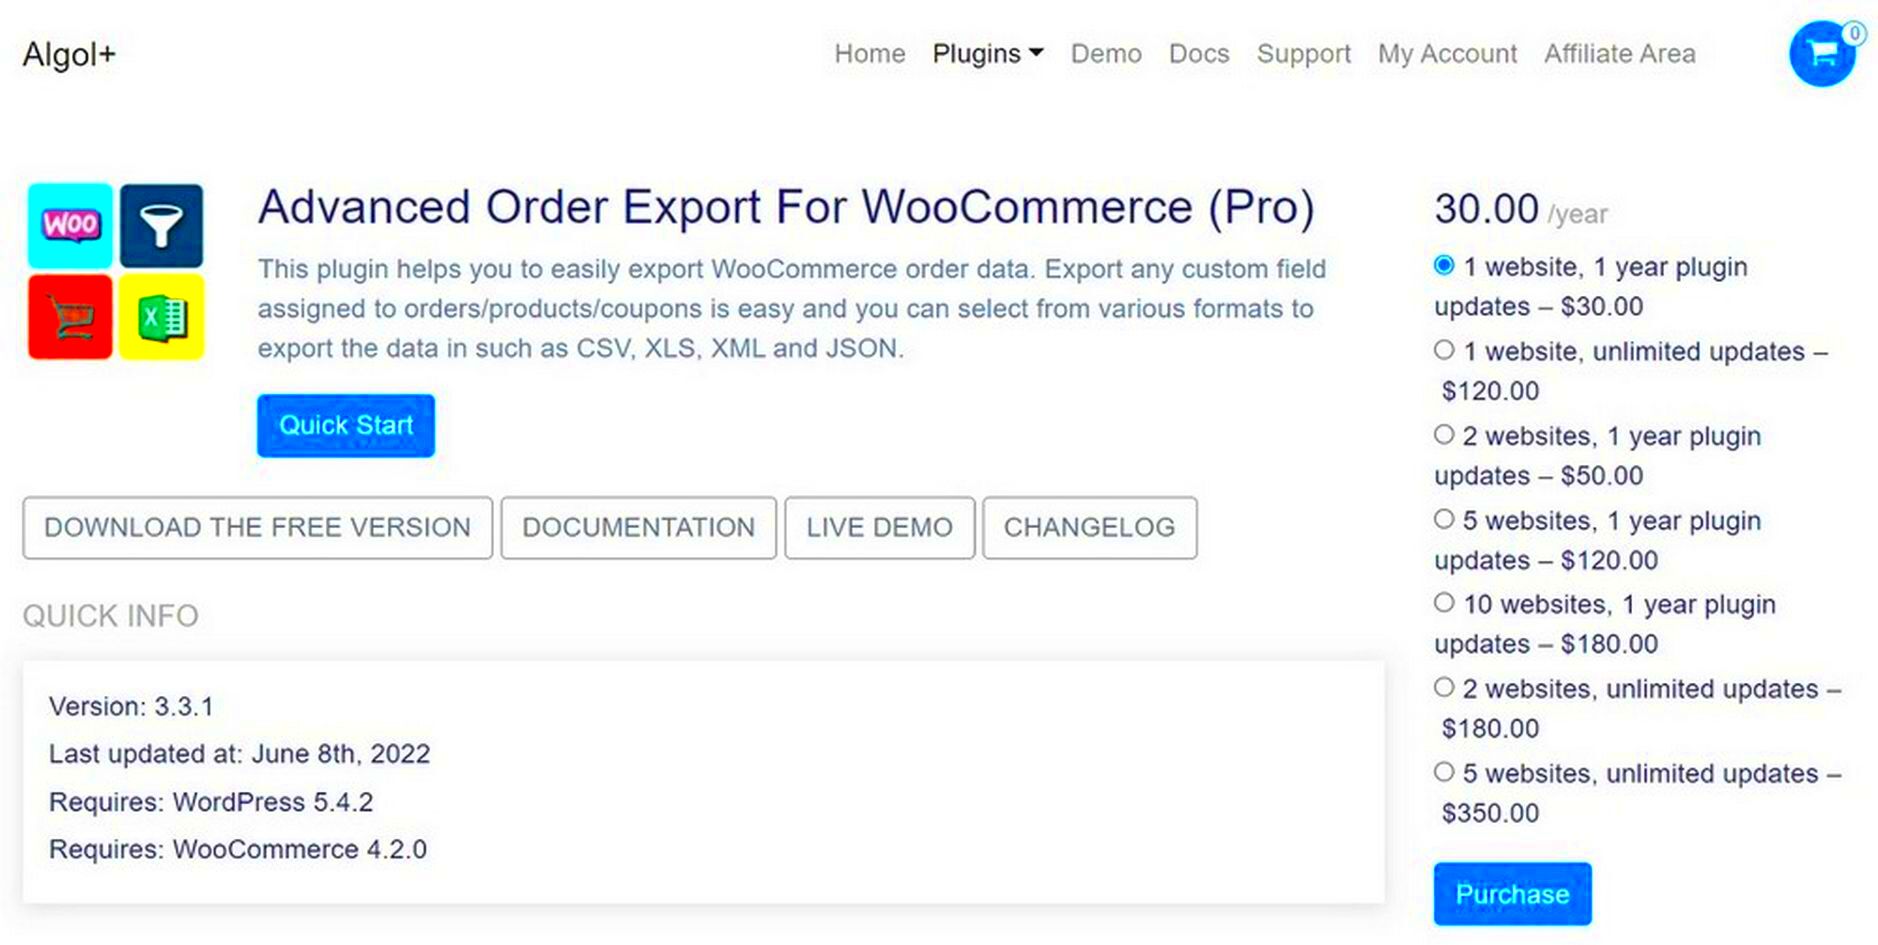
- Export Tool (Optional): Depending on your needs, you might want an export-specific plugin, like ‘WooCommerce Customer/Order CSV Export.’ This can enhance the export functionality beyond the default options.
Having these prerequisites in check will not only make your exporting task smoother but also safeguard your data. So take a moment to ensure that everything is in order, and let’s move on!
Step 1: Accessing the WooCommerce Orders Section

Alright, it’s time to roll up your sleeves and get into the WooCommerce orders section. This is where all the magic happens! Here’s a simple step-by-step guide to help you access the orders:
- Log In to Your WordPress Dashboard: Start by logging into your WordPress site. You’ll need your admin credentials—easy peezy!
- Navigate to WooCommerce: Once you’re in the dashboard, look for the ‘WooCommerce’ option in the left-hand menu. It’s pretty hard to miss!
- Click on ‘Orders’: Under the WooCommerce tab, you’ll see a submenu. Click on the ‘Orders’ option. This action will take you to a comprehensive list of all your orders placed within your online store.
Once you’re here, you’re all set to explore the various orders you’ve received. You’ll see essential information like order status, customer details, and total amounts. This section serves as the starting point for any export activities, so familiarize yourself with it!
Step 2: Choosing the Required Filters for Your Orders
Now that we’ve set the stage for exporting your WooCommerce orders, it’s time to dive into the second step: selecting the filters. This step is crucial because filtering your orders can help you extract only the data you really need. Nobody wants to sift through a mountain of information to find what they’re looking for, right?
First off, you’ll see a variety of filters that allow you to hone in on specific orders. Here are some of the most common filters you’ll encounter:
- Date Range: This filter enables you to specify the time period for which you want to export orders. You can opt for recent orders, monthly, or any custom time frame.
- Order Status: Select which statuses you want to include in your export. For instance, you might choose “Completed,” “Pending,” or “Cancelled” orders, depending on what data is most relevant to your needs.
- Product IDs: If you only want orders that include specific products, this filter lets you specify their IDs.
- Customer Details: Filter orders based on customer profiles. This could include email addresses or user IDs, which is particularly useful for targeted marketing.
Once you’ve applied your filters, take a moment to double-check that everything looks correct. Do you remember what you need? Because it’s all too easy to get sidetracked. After confirming your choices, you’re ready to move on to the next step: selecting the export format!
Step 3: Selecting the Export Format
Okay, we’re cruising along. The next step in exporting your WooCommerce orders is about choosing the format in which you’d like to download your data. This step is where you determine how you’ll be able to handle and manipulate the information once it’s exported. Let’s break down some popular options:
- CSV (Comma-Separated Values): This format is super versatile and can be opened in various applications, including Excel and Google Sheets. It’s compact and easy to manage.
- Excel: If you’re a fan of working within Microsoft Excel, this is a good choice. This format will let you maintain all the formatting and formulas associated with your data.
- XML (Extensible Markup Language): For developers or tech-savvy users, XML is perfect for importing data into web applications or for further customization.
- PDF: If you need a readable version of your orders for presentations or reports, exporting as a PDF is a smart choice.
Once you’ve selected your desired format, click that export button with confidence! The exported file will capture your specified filters, ensuring you have all the relevant data at your fingertips. Happy exporting!
Step 4: Exporting Orders to CSV/Excel
Now that you’ve familiarized yourself with your order data and have set your filters, it’s time to actually export those orders. WooCommerce makes this step straightforward and surprisingly simple!
First, navigate to your WooCommerce admin panel. Here’s a breakdown of the steps you need to follow:
- Access the Orders Section: On the left sidebar, click on ‘WooCommerce’ followed by ‘Orders’ to bring up the list of all your orders.
- Configure Your Export: Once you’re in the orders section, look for the “Export” button or link. This might appear at the top of the orders list or in a dropdown menu, depending on your WooCommerce version. You can also select specific orders by using the checkboxes next to them if you don’t want to export everything.
- Choose Your File Format: WooCommerce typically allows you to export in CSV format, but some plugins may also offer Excel options. Select the format that best suits your needs.
- Select Fields: If you have the need to customize your export, choose which fields you want to include in your exported file. For instance, you might want to include order ID, customer email, date, total amount, etc. This flexibility ensures you get exactly what you need!
- Hit the Export Button: Once you’ve made your selections, click the export button. WooCommerce will start processing the export and prepare your file.
And there you go! You’ve taken the vital step of extracting your order information from WooCommerce into a manageable file format.
Step 5: Downloading the Exported File
Congratulations on successfully exporting your WooCommerce orders! The next step is to download the file so you can get to work analyzing or sharing the data.
Downloading your exported file is usually a smooth process, and here’s how to do it:
- Check for Notification: After hitting that export button, WooCommerce will typically display a notification indicating that your file is ready for download. Keep an eye out for this alert!
- Locate the Download Link: The notification will include a link to download your file. It might also direct you to a specific ‘Downloads’ page. Simply click on that link.
- Save the File: When prompted, choose a location on your computer to save the exported file. You can opt for a specific folder or your desktop – it’s all about what works best for you!
- Open and Review: Once the file is downloaded, navigate to your specified location and open the file using a spreadsheet application like Microsoft Excel or Google Sheets. Take a moment to review the data and ensure everything looks good.
And voila! You have successfully downloaded your WooCommerce orders into a CSV or Excel file. Now you’re all set to dive into analysis, reporting, or whatever else you have in mind!
How to Import Orders Back into WooCommerce
Importing orders back into WooCommerce can be vital for a variety of reasons, whether you’re migrating from another platform, restoring previous data, or handling any order-related updates. Thankfully, the process is fairly straightforward, and I will break it down for you in simple steps.
First off, you need to ensure that your orders data is in the correct format. WooCommerce typically utilizes CSV (Comma Separated Values) files for imports, so you’ll want to have your order data neatly organized in this format. If you’re unsure how to create a CSV file, don’t worry! You can export your existing orders first as a template and then populate it with the new data.
Here’s a step-by-step approach to importing orders:
- Prepare Your CSV File: Create a CSV file with the required fields such as order ID, customer details, product details, order status, and billing/shipping information.
- Navigate to WooCommerce: Go to your WordPress dashboard, and from the left-hand menu, select WooCommerce and then Orders.
- Use a Plugin (optional): While WooCommerce does not have a built-in order import feature, you can utilize plugins like WP All Import and WooCommerce Importer to facilitate the process.
- Importing the File: In the plugin settings, follow the prompts to upload your CSV file and map the fields as necessary.
- Review and Confirm: Once you’ve mapped the fields, review the data and click ‘Import’ to finalize the process.
And voila! Your orders should now be imported into WooCommerce. Keep in mind to double-check the orders post-import to catch any inconsistencies!
Troubleshooting Common Issues with Order Exports
While exporting orders from WooCommerce is generally a smooth ride, there can be hiccups from time to time. No worries! I’ve got your back with some common issues you might face and how to tackle them.
Here’s a list of troubleshooting tips:
- File Format Errors: Ensure that your export file is in CSV format if you face import issues. If you’ve edited it in a spreadsheet tool, be cautious that it hasn’t saved in a different format.
- Missing Data: If your exported file is missing certain order details, double-check your export settings. You may need to adjust the selected fields before exporting.
- Connection Issues: Sometimes, slow internet or server issues can hinder exports. Make sure your hosting server is responsive and try again.
- Plugin Conflicts: Conflicting plugins can cause problems. Disable other plugins temporarily to check if they are causing the issue and re-enable them afterward.
- Permissions: Check for permission settings on your WordPress user roles. Ensure that the user you’re logged in as has permission to export orders.
Remember, troubleshooting is all about patience and trying different solutions. Most of these issues can be resolved with a little persistence!
Conclusion: Streamlining Your WooCommerce Order Management
Managing orders effectively is vital for any e-commerce business, and WooCommerce provides various tools to help streamline this process. Exporting orders is one of the significant capabilities that enhance your order management experience. By adopting the steps outlined in this guide, you can efficiently export your WooCommerce orders and simplify your data handling.
Here is a quick recap of the key points covered:
- Understanding the Requirements: Familiarize yourself with the WooCommerce environment and prerequisites for exporting orders.
- Selecting the Right Plugin: Choose a reliable and robust plugin suitable for your export needs.
- Setting Up Your Export: Configure the export settings according to your specific requirements for data accuracy.
- Running the Export: Execute the export process carefully and ensure all orders are captured correctly.
- Checking Data Integrity: Review the exported data for any discrepancies and make necessary adjustments.
Additionally, there are some best practices to keep in mind:
| Best Practice | Description |
|---|---|
| Regular Backups | Always keep backups of your order data to prevent loss in case of errors during export. |
| Export Formats | Choose formats that are compatible with your other tools and processes, such as CSV or Excel. |
| Stay Updated | Regularly update your WooCommerce and plugins for the latest features and security fixes. |
Implementing these practices will help you streamline your order management process and enhance your overall operational efficiency.


