WooCommerce API is a powerful tool that allows developers and store owners to interact programmatically with their WooCommerce stores. By leveraging the API, you can perform various operations such as adding products, managing orders, and, yes, getting detailed information about fees and charges. This ability can streamline your eCommerce processes and enhance your store’s functionality. Whether you’re looking to automate tasks, integrate with third-party applications, or create custom reports, the WooCommerce API is here to help you achieve these goals with ease.
Understanding Fees and Charges in WooCommerce

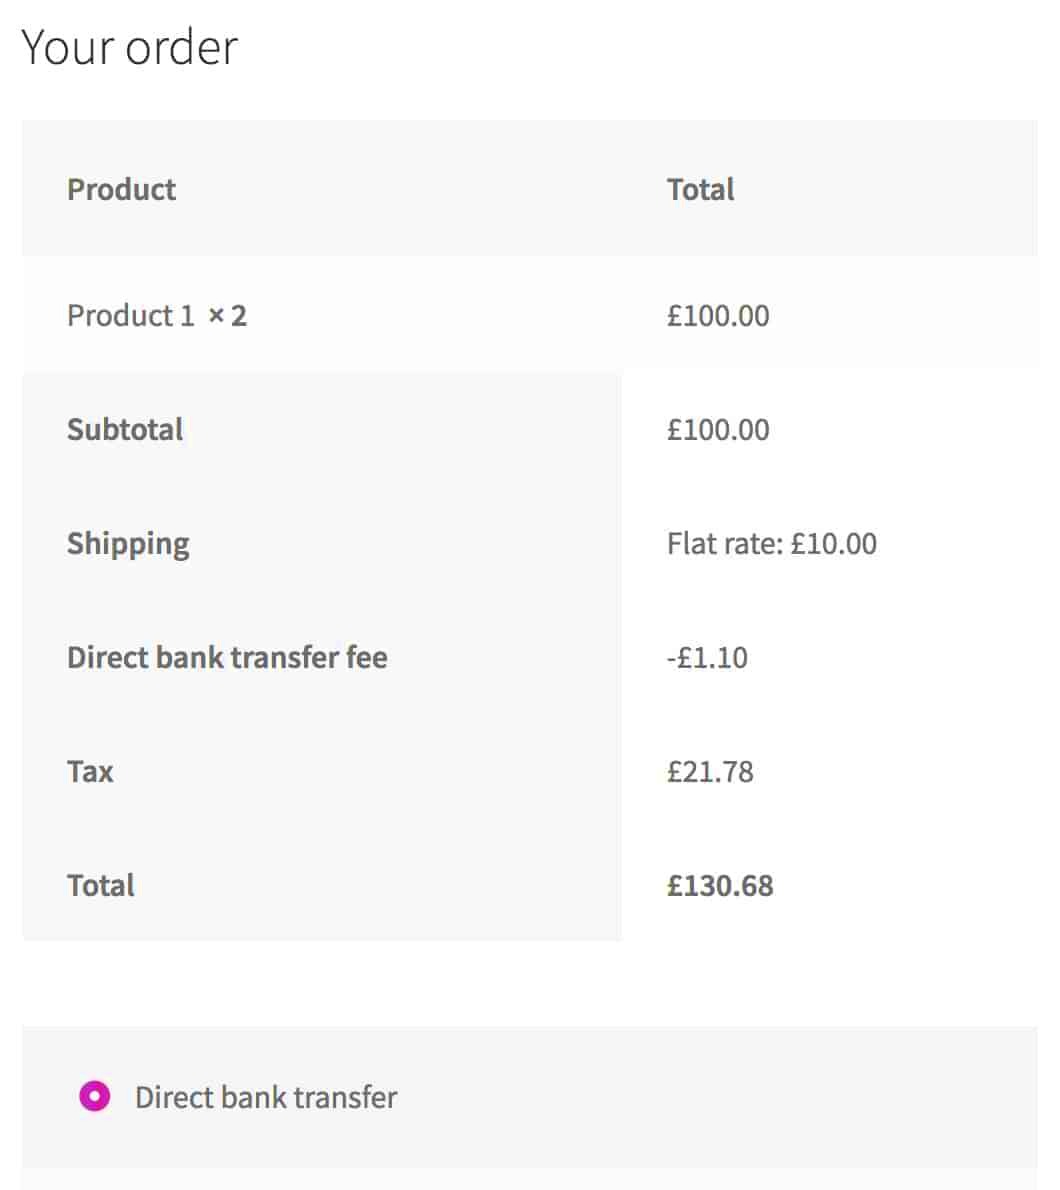
When it comes to eCommerce, understanding fees and charges is crucial for both store owners and customers. In WooCommerce, these fees can include a variety of elements such as:
- Shipping Costs: Charges associated with delivering products to customers.
- Tax Rates: Taxes applied based on the customer’s location and the product type.
- Payment Processing Fees: Additional costs incurred when processing payments through gateways.
- Discounts and Coupons: Adjustments made to item costs that can also impact overall fees.
- Handling Fees: Extra charges for packaging or special handling of products.
To gain insights into how these fees affect your profitability, it’s essential to fetch this data through the WooCommerce API. By using the API, you can easily retrieve information on:
| Fee Type | Description |
|---|---|
| Shipping Fee | The cost associated with shipping products to customers. |
| Tax Amount | The calculated tax based on current regulations. |
| Payment Fee | Fees charged by payment processors for transaction services. |
| Total Order Cost | The final amount that includes products, fees, and taxes. |
Being aware of these fees not only helps in pricing your products effectively but also enables you to provide transparent pricing to your customers, enhancing their shopping experience.
Setting Up the WooCommerce API

Getting started with the WooCommerce API can feel like a daunting task, especially if you’re new to it. But don’t worry! I’m here to break it down step-by-step. The WooCommerce API allows you to seamlessly connect your website to various applications, helping you manage your store’s fees and charges efficiently.
First things first, you’ll need to ensure that your WooCommerce plugin is installed and activated on your WordPress site. Once that’s done, follow these steps:
- Navigate to WooCommerce Settings: Go to your WordPress dashboard, hover over ‘WooCommerce’, and click on ‘Settings’.
- Enable the API: Click on the ‘Advanced’ tab and select ‘REST API’. Here, you can add keys for your API access.
- Create API Keys: Click on ‘Add Key’. Fill in the details such as description, permissions (Read, Write, or Read/Write), and then generate the key.
- Save Your Keys: You will see a consumer key and consumer secret generated for you. Make sure to copy these as they’ll be used in your API calls.
Now that you have your API keys, you’re ready to start making requests! Remember, you can use tools like Postman or cURL to test your API requests before integrating them into your application. With this setup, your WooCommerce API is ready to help you manage your store’s operations effortlessly.
Authentication Methods for WooCommerce API
When diving into the WooCommerce API, robust security is paramount. Authentication ensures that only authorized users can access your store’s valuable data. WooCommerce primarily uses two authentication methods: Basic Authentication and OAuth 1.0a. Let’s break them down:
| Authentication Method | Description | Use Case |
|---|---|---|
| Basic Authentication | This method involves sending your API keys (consumer key and consumer secret) as part of the request headers. | Ideal for testing environments or quick setups where simplicity is key. |
| OAuth 1.0a | This is a more secure method that involves a complex signing process, ensuring that data is sent securely. | Best for production environments where security is a critical concern. |
Regardless of which method you choose, always keep your API keys confidential. Never expose them in client-side code or public repositories. By understanding these authentication methods, you’ll be well on your way to effectively managing fees, charges, and more with the WooCommerce API!
How to Retrieve Fees and Charges Data
Retrieving fees and charges data through the WooCommerce API is a straightforward process, once you know your way around the tools and endpoints. To begin, you need to ensure that your WooCommerce store has the REST API enabled, which you can do directly from your WordPress dashboard. Here’s a step-by-step guide to help you get started:
- Generate API Keys: First, navigate to your WooCommerce settings and go to the “Advanced” tab where you’ll find the “REST API” submenu. Here, you can create new API keys. You’ll want to make sure that you assign the necessary permissions, such as “read” access for retrieving data.
- Choose Your Endpoint: WooCommerce has a dedicated endpoint for fees and charges. The base endpoint looks like this:
https://yourstore.com/wp-json/wc/v3/orders/{order_id}/fees. Replace{order_id}with the ID of the order you’re investigating. - Make the HTTP Request: Use a tool like Postman or your preferred programming language (like PHP or Python) to make a GET request to the endpoint. Make sure to include the API keys in the headers for authentication.
- Analyze the Response: The API will respond in JSON format, providing details about all the fees and charges applied to that specific order. If you encounter any errors, check the API documentation for troubleshooting tips.
Getting familiar with these steps will empower you to efficiently access the financial metrics that are essential for your business operation.
Common API Endpoints for Fees and Charges
When it comes to managing fees and charges through the WooCommerce API, knowing the common endpoints can save you a lot of time and hassle. Here are some of the most critical API endpoints related to fees and charges:
| API Endpoint | Description |
|---|---|
GET /wp-json/wc/v3/orders/{order_id}/fees |
Retrieve all fees associated with a specific order by its ID. |
POST /wp-json/wc/v3/orders/{order_id}/fees |
Add a new fee to an existing order. |
PUT /wp-json/wc/v3/orders/{order_id}/fees/{fee_id} |
Update a specific fee associated with an order. |
DELETE /wp-json/wc/v3/orders/{order_id}/fees/{fee_id} |
Remove a fee from an order. |
Each of these endpoints allows you to manipulate and retrieve fees efficiently, empowering you to keep track of financial aspects with ease. Always refer to the official WooCommerce API documentation to check for any updates or additional parameters that you might need for your requests.
7. Filtering and Paginating Results
When working with the WooCommerce API, especially when retrieving fees and charges, filtering and pagination are crucial for efficient data management. Imagine sifting through a mountain of data to find that one gem; not fun, right? Luckily, WooCommerce provides tools that let you zoom in on exactly what you need!
Filtering allows you to narrow down the results you receive from the API. For example, if you only want to view fees applied during a specific date range or fees associated with particular products, you can use query parameters in your API requests. Here are a few common filtering options:
- date_created: Filter results based on when the fee was created.
- status: Retrieve results based on the status of the fees.
- product_id: Get fees associated with a specific product.
All you need to do is add these parameters to your API request. For instance, a request may look something like this: /wp-json/wc/v3/orders?date_created=2023-01-01.... This way, you get just the information you want, keeping things neat and tidy.
Now, let’s chat about pagination. When you have a lot of data, pagination helps break it up into manageable chunks, preventing overload. The WooCommerce API uses parameters like page and per_page. For example, if you want to retrieve results page by page, your request would look similar to: /wp-json/wc/v3/orders?page=1&per_page=10. This simple trick gives you control over how much data you see at once.
8. Handling Errors and Troubleshooting
Working with APIs isn’t always smooth sailing, and you might encounter errors along the way. But don’t worry! Understanding how to handle these hiccups can make your life a whole lot easier. The WooCommerce API does a pretty stellar job at providing error messages, which give insight into what went wrong.
One of the first steps to troubleshoot is to check the HTTP status codes in the response. Here’s a quick rundown of some common codes you might see:
| Status Code | Meaning |
|---|---|
| 200 | Success! The request was processed successfully. |
| 400 | Bad Request. This often means there’s something wrong with the input parameters you sent. |
| 401 | Unauthorized. You might need to check your API credentials. |
| 404 | Not Found. The resource you’re trying to access doesn’t exist. |
| 500 | Internal Server Error. This suggests a server-side issue. |
Whenever you receive an error, it’s a good practice to read the response body. Often, you’ll find more detailed information that can lead you to a solution. Additionally, check if your API keys are valid and ensure your WooCommerce settings allow API access.
Remember, troubleshooting is like detective work; gathering clues from the error codes and messages helps you solve the puzzle! If you run into a persistent issue, the WooCommerce community forums and documentation can be a treasure trove of solutions. Happy coding!
Sample Code for Fetching Fees and Charges
If you’re keen to dive into fetching fees and charges from your WooCommerce store via the API, we’ve got you covered! Below is a simple and straightforward example in PHP that demonstrates how to retrieve this information. Let’s walk through the code together:
array( 'Authorization' => 'Basic ' . base64_encode($consumer_key . ':' . $consumer_secret), ),));// Checking for errors in the responseif (is_wp_error($response)) { echo 'Error retrieving order: ' . $response->get_error_message();} else { $order = json_decode($response['body']); echo 'Fees and Charges for Order ID: ' . $order_id . '
'; foreach ($order->fees as $fee) { echo '' . $fee->name . ': $' . $fee->total . '
'; }}?>This code snippet makes use of the WooCommerce REST API to fetch the fees related to a specific order. Here’s a quick breakdown:
- URL: This points to your WooCommerce API endpoint.
- Credentials: Make sure to replace the consumer key and secret with your own.
- Order ID: Specify the order you want to investigate.
- Response Handling: It checks for errors and retrieves the fees successfully.
Best Practices for Using the WooCommerce API
When working with the WooCommerce API, ensuring efficiency and security is key. Here are some best practices to keep in mind as you navigate the exciting world of WooCommerce integrations:
- Use API Keys Securely: Always keep your API keys private. Avoid exposing them in public repositories or client-side code.
- Limit API Permissions: When generating API keys, assign the minimum permissions necessary to carry out your tasks. This reduces exposure.
- Rate Limiting: Be aware of rate limits that may be applied to the API calls to avoid temporary bans. Optimize your requests to use as few calls as possible.
- Error Handling: Implement comprehensive error handling in your code to gracefully manage unexpected responses from the API.
- Logging: Log API requests and their responses. This helps in troubleshooting issues and understanding usage patterns.
- Regular Updates: WooCommerce, and its APIs, are constantly evolving. Stay updated with the latest changes to ensure compatibility and security.
- Test in a Safe Environment: Before deploying any changes, test your API interactions in a staging environment to avoid disrupting your live store.
- Utilize Caching: If you find yourself making repetitive calls for the same data, consider caching responses for faster access and reduced load on the server.
By adhering to these practices, you’ll enhance the reliability and security of your WooCommerce API integrations, providing a seamless experience for both you and your customers!
Conclusion
In conclusion, understanding how to leverage the WooCommerce API for retrieving fees and charges is essential for optimizing your e-commerce business. By using the appropriate API endpoints, you can gain insights into your store’s financial transactions, manage operational costs, and improve overall profitability. Utilizing the WooCommerce API not only streamlines your transaction processing but also enhances your ability to analyze and report on fees, commissions, and other charges associated with your products and services.


