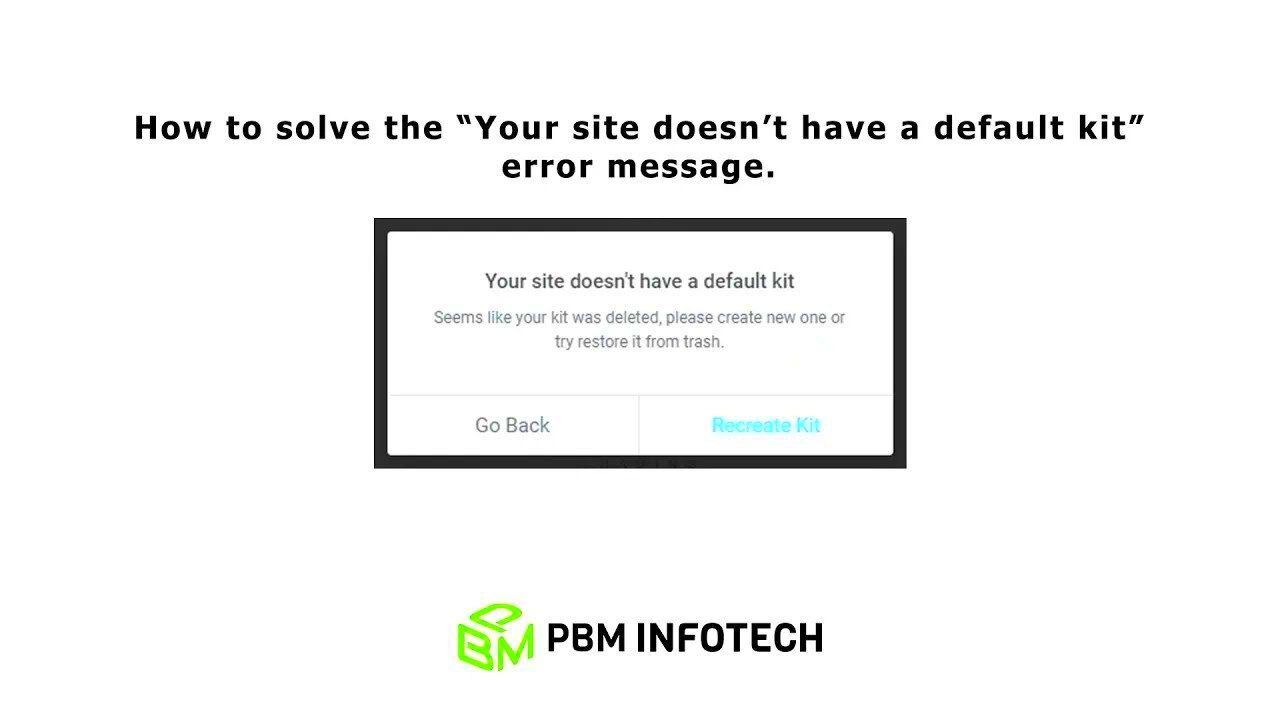
Have you ever stumbled upon the pesky message, “Your site does not have any default kit”? It can be puzzling, especially if you’re not sure what it means or how to fix it. This error commonly hits users of website-building platforms that rely on a design kit or template to display content properly. If you’re encountering this error, don’t worry—you’re not alone! In this post, we’ll explore what this error signifies and unpack the reasons behind it so you can get back to creating a stunning site.
Understanding the Causes of the Error

First off, let’s dive into the primary causes of the “Your site does not have any default kit” error. By understanding these reasons, you can quickly address the issue and get your site back online.
- Missing Default Kit: The most obvious cause is simply that your website hasn’t been assigned a default kit. This can happen when templates or kits are not properly linked to your site in the platform settings.
- Accidental Deletion: If you accidentally deleted or removed the default kit from your site, it would result in this error popping up. It’s easy to do this while managing templates, especially if you’re not familiar with the system.
- Updates or Changes: Sometimes, a software update or changes made to your site’s settings can lead to the default kit being unset. Ensure that all updates are compatible with your current design kit.
- Plugin Conflicts: If you have installed new plugins or extensions, they might conflict with your existing design kits, causing the “default kit” error. It’s essential to check compatibility before adding new features.
- Configuration Issues: Incorrect configurations in your site’s settings can also lead to this error. Always review your settings after making changes.
By pinpointing these causes, you can take actionable steps to resolve the error swiftly. Let’s tackle this together!
Step-by-Step Troubleshooting Guide

Encountering the “Your Site Does Not Have Any Default Kit” error can be frustrating, but don’t worry—it’s often quite fixable! Here’s a straightforward guide to help you troubleshoot this issue step by step.
Follow these simple steps:
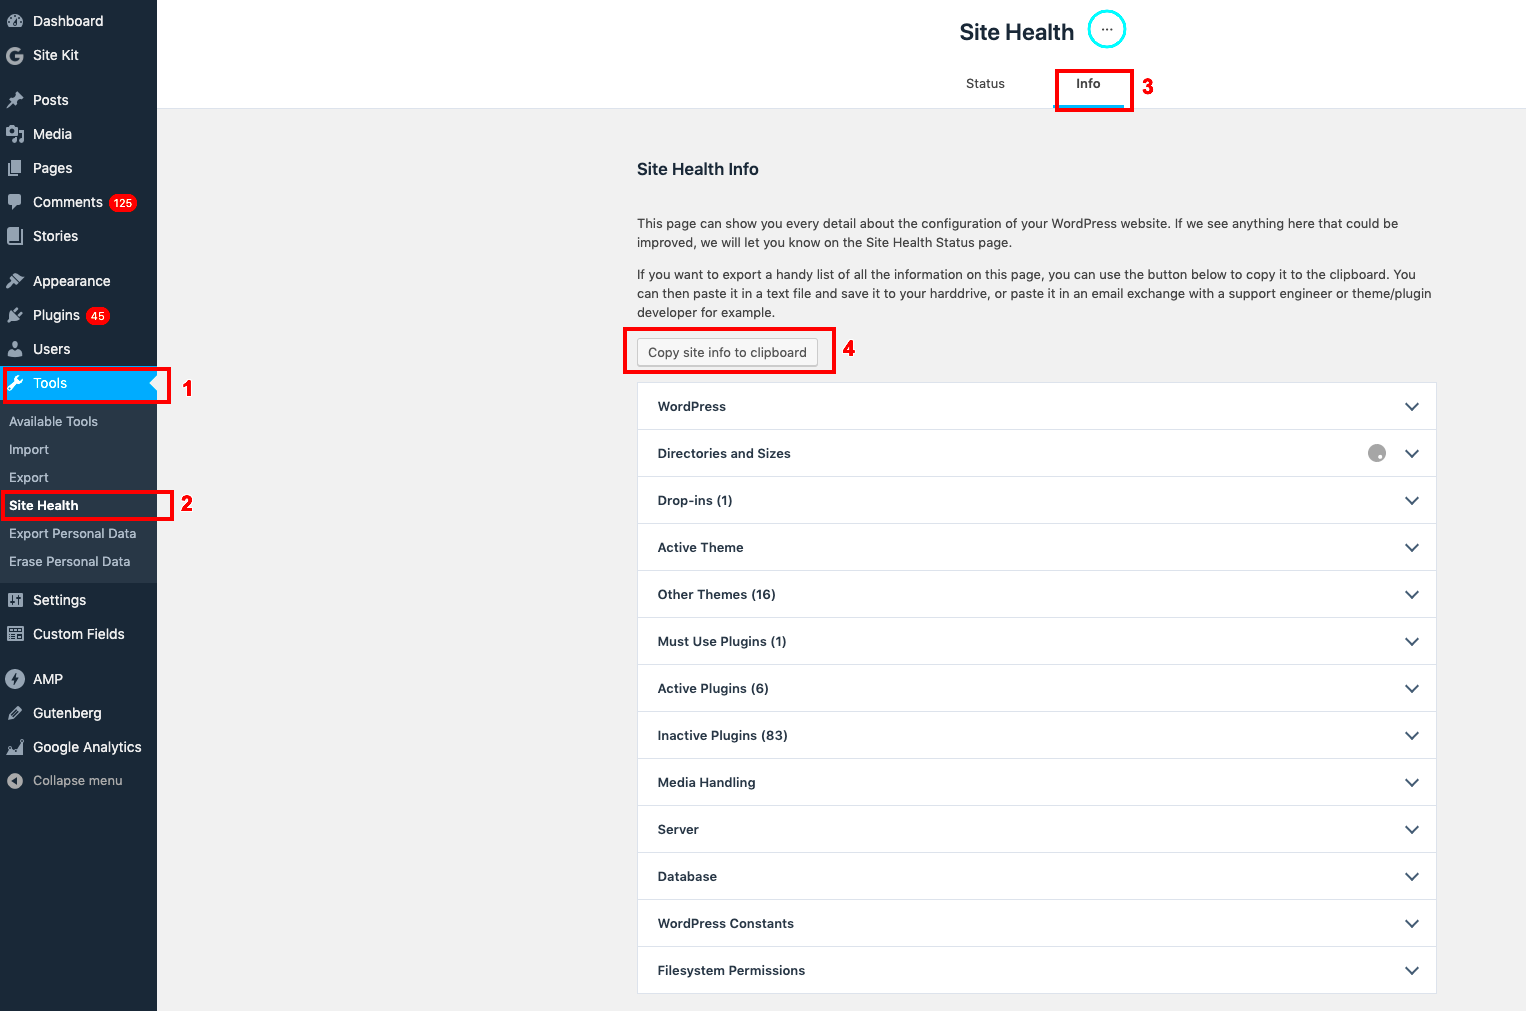
- Check Your Site Settings: Start by checking the general settings of your site. Navigate to the admin panel and see if there are any missing configurations relating to your default kit.
- Review the Kit Configuration: Access the section that deals with kits. Ensure that a kit has been created and that it’s set as the default. If you don’t have a kit, you might need to create one.
- Clear Cache: Sometimes, your browser cache can interfere with site settings. Clearing your cache can help resolve the issue. Use the shortcut Ctrl + Shift + Delete on most browsers or reference your specific browser’s help section.
- Check for Updates: Ensure that your platform is up-to-date. Software bugs may cause errors, and developers often release patches to fix these issues. Update your plugins and themes as needed.
- Revisit Documentation: Consult the platform’s documentation or support forum. There might be known issues or additional steps specifically catered to your error.
- Contact Support: If all else fails, don’t hesitate to reach out to customer support. They usually have the expertise needed to help solve the problem efficiently.
By following this guide, you’ll likely be able to resolve the error and get your site back in action!
Configuring Your Default Kit Settings
Once you’ve identified that the issue is related to your default kit settings, it’s time to configure them properly. Proper configuration can prevent future errors and streamline your site’s operation.
Here’s how to effectively configure your default kit settings:
- Access Kit Management: Go to your admin panel and find the “Kit Management” or similar section. This is where you can create, edit, or delete kits.
- Create a New Kit: If there’s no default kit, click on the “Create New Kit” button. You’ll need to name the kit and specify its main features. This includes choosing elements such as templates, colors, and fonts.
- Set as Default: Once your kit is configured, look for the option to make it the “Default Kit.” This ensures it’s automatically used for new content.
- Review Kit Elements: Take a moment to review all elements within the kit. Ensure that all components are accurate and fulfill your site’s needs. Adjust any that don’t fit well.
- Save Your Changes: After all configurations have been made, save your kit settings. Make sure you receive a confirmation notification to guarantee your changes are stored.
- Test It Out: Create a new page or content using the new default kit settings. This helps you confirm that everything is functioning smoothly without errors.
By following these steps, you’ll successfully configure your default kit settings and help maintain a well-functioning site.
Verifying Your Site’s Integration Settings
When you’re faced with the daunting “Your Site Does Not Have Any Default Kit” error, one of the first things you should do is verify your site’s integration settings. This might sound a bit technical, but it’s a crucial step to ensure everything is running smoothly.
To get started, follow these steps:
- Check Your Account Settings: Log in to your account where you manage your site or the service linked to your site. Ensure all credentials and necessary integrations are correctly set up.
- Inspect API Keys: Many sites rely on API keys for integration. Make sure your API keys are present, valid, and have the necessary permissions.
- Review Integration Documentation: Refer to the official documentation for the platforms you’re using. Different services have specific requirements for integrations. Look for sections related to setup and troubleshooting.
- Confirm Kit Settings: If you’re using kits or software packages, ensure that the default kits are configured correctly. Sometimes, they may need to be created or selected explicitly.
- Re-save Settings: After making adjustments to your settings, click save. Sometimes minor changes can clear up integration issues.
If, after checking all these items, you still encounter the error, then it might be time to reach out to customer support for further assistance. A fresh perspective can often shed light on problems you may not have considered.
Common FAQs About the Error
When dealing with the “Your Site Does Not Have Any Default Kit” error, it’s common to have questions. Here are some frequently asked questions that can help clarify the issue:
| Question | Answer |
|---|---|
| What does this error mean? | This error indicates that your site is not configured with a default kit, which is necessary for certain functionalities to work. |
| How can I fix the error? | Start by verifying your site’s integration settings and ensuring that a default kit is set up. Consult documentation for specific instructions. |
| Is this error common? | Yes, many users encounter this during setup or after changes in their site’s configuration. |
| Do I need technical skills to resolve it? | Basic understanding of web configurations is helpful, but you can often resolve it with clear guidance from documentation. |
| When should I contact support? | If you’ve tried troubleshooting and the error persists, contacting customer support usually helps identify specific issues. |
Addressing these questions can set you on the right path to resolving the error and getting your site back on track. Remember, it’s all about ensuring the right configurations are in place!
Conclusion and Best Practices
Encountering the “Your Site Does Not Have Any Default Kit” error can be frustrating, but it’s essential to approach the situation methodically to resolve it effectively. Here are some best practices you can implement to prevent this error from appearing in the future and to ensure a seamless experience for your users:
- Check Your Kit Configuration: Regularly review your kit settings in your web development tools or services to ensure everything is properly linked and configured.
- Verify Your Domain: Ensure the domain you are using is correctly registered and matches the one in your kit settings.
- Keep Software Updated: Regularly update any CMS, plugins, or themes to ensure compatibility and avoid potential conflicts.
- Backup Your Site: Always maintain a regular backup schedule for your site to easily restore functionality in case of errors.
- Seek Professional Help: If troubleshooting the issue proves complicated, don’t hesitate to reach out to developers or online support communities.
By following these best practices, you can minimize the risk of encountering the “Your Site Does Not Have Any Default Kit” error and enhance the overall stability of your website.


