If you’re looking to boost your WordPress website’s functionality and design, Elementor and Contact Form 7 are two powerful tools you need to know about! Elementor is a popular page builder that makes designing beautiful, responsive websites simple and intuitive. It allows you to create stunning layouts using a drag-and-drop interface, with a plethora of customizable widgets and features.
On the other hand, Contact Form 7 is a widely used plugin for managing multiple contact forms on your site. It’s lightweight, flexible, and enables you to tailor forms to fit your specific needs—whether it’s a simple contact form, a survey, or a booking form. When combined, these two plugins can really elevate your website’s user experience and functionality.
Why Use Elementor with Contact Form 7?

Combining Elementor with Contact Form 7 offers a myriad of advantages that can enhance your website’s performance. Here are just a few reasons why this combo is a match made in heaven:
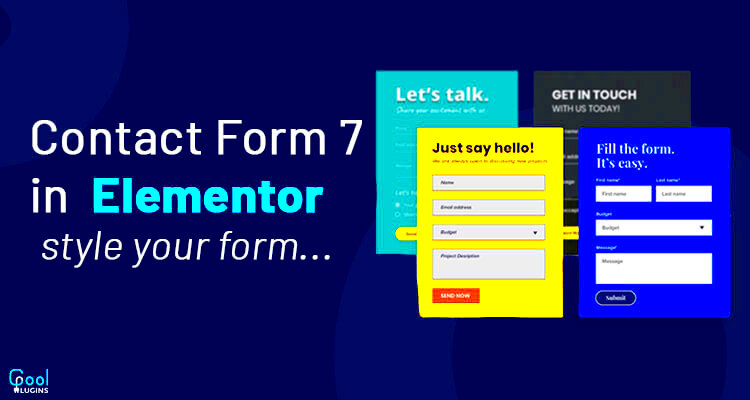
- Design Flexibility: Elementor provides a visually rich design environment. You can style your Contact Form 7 forms to match your site’s theme effortlessly. Use fonts, colors, and layouts that reflect your brand identity.
- Enhanced User Experience: With Elementor’s real-time editing capabilities, your forms can be interactive and visually appealing. This leads to a seamless user experience, encouraging more visitors to fill out your forms.
- Custom Widgets: Elementor offers several custom widgets like buttons, icons, and even animations that can complement your Contact Form 7 forms. This versatility helps create an engaging form layout.
- Mobile Responsiveness: With Elementor’s responsive controls, you can ensure that your forms look great on all devices—desktop, tablet, and mobile!
- Custom Shortcodes: Elementor makes it simple to insert Contact Form 7 shortcodes directly into your designs, keeping things organized and professional.
All in all, using Elementor with Contact Form 7 enables you to maximize your website’s potential while providing an exceptional experience for your users. Why settle for basic when you can create something extraordinary?
Installing Elementor and Contact Form 7

Before we dive into the creative aspects of building forms with Elementor and Contact Form 7, we first need to get our hands on these tools. Installing both of them is fairly straightforward, and in this section, I’ll walk you through the necessary steps. Just grab a cup of coffee, and let’s get started!
Step 1: Access Your WordPress Dashboard
First, log in to your WordPress website. You’ll find yourself on the Dashboard, where all the magic happens. If you haven’t created your website yet, you’ll need to set one up before proceeding.
Step 2: Install Elementor
- Click on the Plugins option on the left sidebar.
- Select Add New from the plugins menu.
- In the search bar, type Elementor.
- Locate the Elementor Page Builder plugin and click Install Now.
- Once installed, click Activate to start using Elementor!
Step 3: Install Contact Form 7
- Again, go to Plugins on the sidebar.
- Click Add New.
- Enter Contact Form 7 in the search bar.
- Find the Contact Form 7 plugin and click Install Now.
- After installing, click Activate.
And voilà! Both Elementor and Contact Form 7 are now installed and activated on your WordPress site. You’re all set to create stunning forms with ease. So let’s move on to crafting your very first form!
Creating Your First Form with Contact Form 7
With Elementor and Contact Form 7 happily coexisting on your site, it’s time to unleash your creativity. In this section, we’ll cover how to create your very first contact form using Contact Form 7, which is known for its simplicity and flexibility. Let’s get into it!
Step 1: Create a New Form
- Navigate to Contact in your WordPress Dashboard.
- Click on Add New to create a new form.
Step 2: Customize Your Form Fields
Contact Form 7 provides you with default fields, but you can easily customize these:
- Text Fields: Great for names, email addresses, or phone numbers.
- Text Area: Use this for longer messages or comments.
- Checkboxes: Perfect for options where multiple selections are possible.
- Radio Buttons: Ideal for single choices from a set.
To add a field, simply click the buttons provided above the form editor, customize it according to your needs, and add any validation rules you’d like.
Step 3: Save Your Form
Once you’re satisfied with the fields, make sure to click the Save button. You’ll see a shortcode for your new form. Copy this shortcode as you’ll need it soon for inserting your form into an Elementor page.
Now that you have your form created, we’re ready to harness the power of Elementor to visually edit our pages. Just a few more steps, and you’ll have a functional contact form up and running in no time!
Integrating Contact Form 7 with Elementor
Integrating Contact Form 7 with Elementor is a seamless process, allowing you to enhance your website’s functionality without sacrificing design. Whether you’re a seasoned developer or a beginner, the integration is straightforward. First, ensure that both Elementor and Contact Form 7 are installed and activated on your WordPress site. Once that’s done, you’re ready to create your custom form!
To start, head over to your WordPress dashboard and create or select the contact form you wish to use. You’ll find this option under the “Contact” section of the dashboard. After creating your form, make sure to copy the shortcode provided; it looks something like this: [contact-form-7 id=”1234″ title=”Contact form 1″]. This shortcode is crucial as it enables Elementor to pull in your Contact Form 7 form.
Next, navigate to the Elementor page where you want to include your contact form. In Elementor, search for the “Shortcode” widget in the sidebar. Drag and drop this widget onto your desired section of the page. Once you’ve placed it where you want, simply paste your previously copied shortcode into the provided field.
Don’t forget to click on “Update” to save your changes! It’s a good idea to preview your page to see how the form looks and ensure it’s functioning properly. You’re now all set! Your Contact Form 7 is integrated with Elementor, and you’re on your way to enhancing user interaction on your site.
Styling Your Contact Form with Elementor
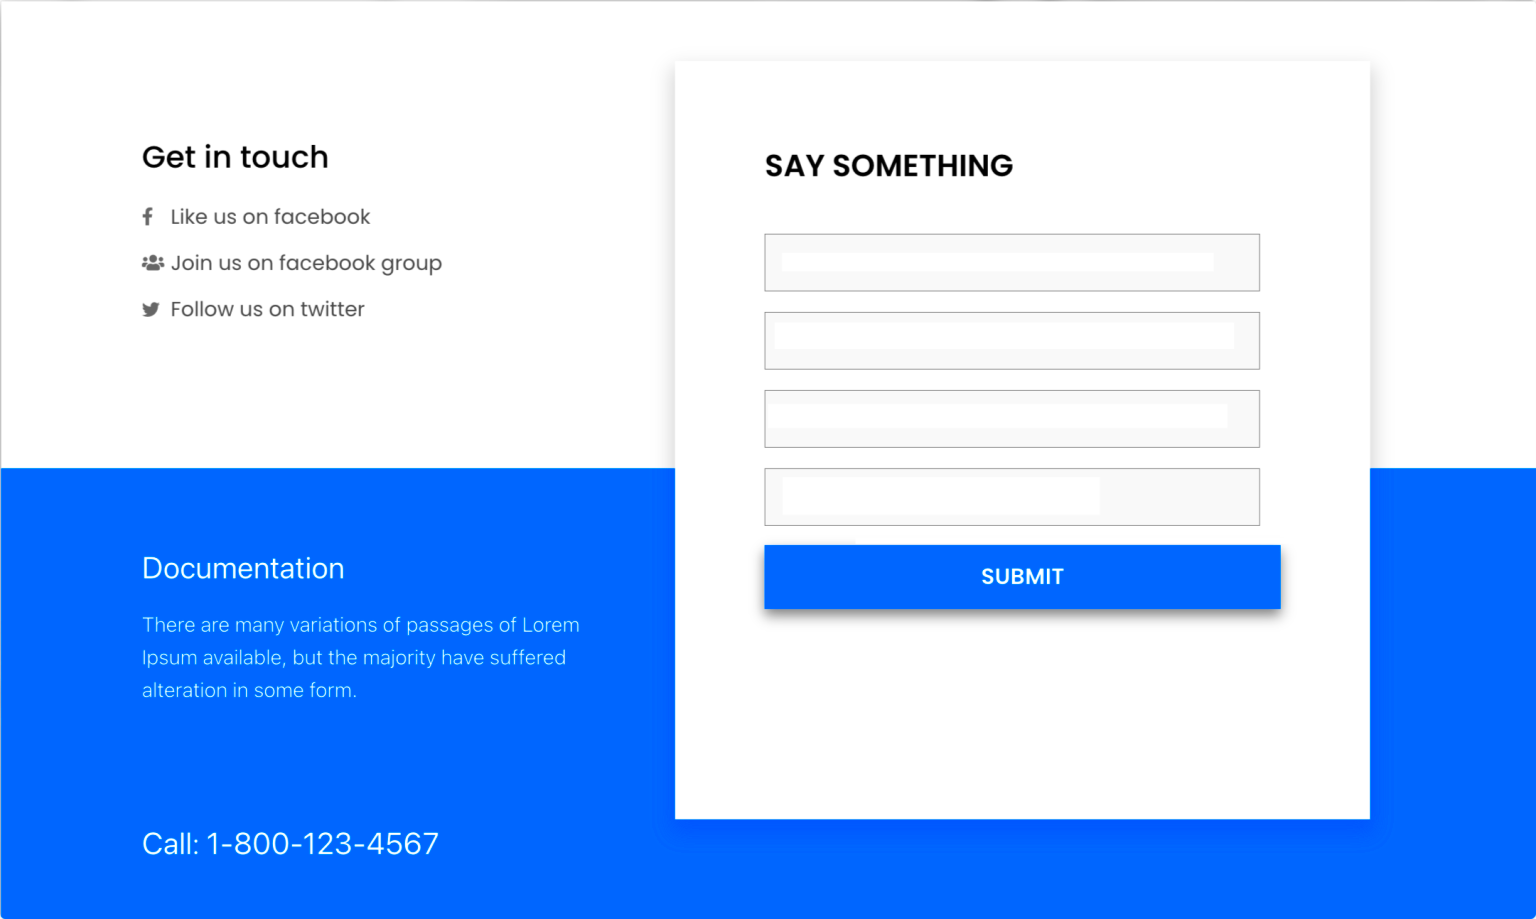
Once you’ve successfully integrated Contact Form 7 with Elementor, the fun really begins: styling it! Elementor gives you incredible flexibility and creativity to tailor the appearance of your contact form to fit your website’s aesthetics. Let’s dive into how you can style your form effectively.
First, click on the contact form to open up the Elementor editor. Here are several ways to style your form:
- Custom Fonts: Change the font type, size, and color to align with your branding.
- Background Color: Set a background color that differentiates your form from other sections of the page.
- Button Styling: Create a standout button with hover effects by adjusting its color, border-radius, and shadows.
- Padding & Margins: Play with padding and margins to ensure adequate spacing and make the form feel approachable.
- Error Messages: Customize error messages so they’re easily readable and visually coherent with your form’s design.
Additionally, consider using a few advanced styling options. Elementor allows you to add custom CSS—if you’re comfortable with coding—which can unlock even more unique design options.
Once you’ve applied the desired styles, remember to review your changes on both mobile and desktop views. The responsiveness of your form is crucial in today’s mobile-first world. After perfecting the look, hit “Update” to save your stylings. Enjoy a beautifully designed contact form that not only captures leads effectively but also complements your website’s overall design!
Advanced Features of Contact Form 7
Contact Form 7 is not just a basic form plugin; it packs a punch with plenty of advanced features that can help you create highly customized forms to suit your specific needs. Let’s dive into some of these functionalities!
- Mail Integration: One of the standout features is its sophisticated mail integration. You can set up custom email templates that not only define what gets sent but also how it appears. This means you can personalize the emails you receive for each form submission.
- Conditional Fields: Conditional fields allow you to show or hide fields based on user input. For instance, if a user selects “Yes” to a question, additional questions can appear, keeping your forms clean and focused.
- File Uploads: Need to receive documents or images? Contact Form 7 allows users to upload files directly via the form, making it simple for clients to send files when they need to.
- Integration with Other Plugins: It works seamlessly with numerous plugins like WooCommerce, Elementor, and others to expand its capabilities. You can integrate it with payment gateways or email marketing services to enhance functionality.
- Spam Protection: With features like CAPTCHA, reCAPTCHA, and Akismet support, this plugin ensures that your forms are not plagued by spam, keeping your inbox tidy and relevant.
By leveraging these advanced features, you can create dynamic forms that engage users and streamline communication, making Contact Form 7 a favorite among WordPress users.
Common Issues and Troubleshooting
While Contact Form 7 is a robust plugin, you might encounter a few hiccups along the way. Understanding common problems and their solutions can save you time and frustration. Let’s take a look at some of these issues!
| Issue | Possible Solution |
|---|---|
| Emails Not Sending | Check your mail settings, or consider using an SMTP plugin. Sometimes server settings may block outgoing emails. |
| Form Validation Errors | Make sure all required fields are filled out correctly. Misconfigured or outdated field settings can cause validation errors. |
| Missing Shortcode Output | Verify that you have correctly inserted the shortcode into your page or post. Also, ensure that your theme supports shortcodes. |
| Styling Issues | Customize your form via CSS to match your site’s design. Sometimes Elementor can override styles, so ensure the right settings are applied. |
| ReCAPTCHA Not Working | Check that your API keys are correctly entered in the Contact Form 7 settings. Mismatched keys can prevent ReCAPTCHA from functioning. |
Whenever you run into an issue, don’t panic! Most problems have straightforward solutions. Always remember to check for plugin conflicts and perform regular updates to maintain optimal performance.
Conclusion
Integrating Elementor with Contact Form 7 can significantly enhance the user experience on your WordPress site. By utilizing these powerful tools together, you can create attractive, functional, and highly customized forms that capture user information effectively. Below is a summary of why using Elementor with Contact Form 7 is beneficial:
- Easy Customization: Elementor offers a simple drag-and-drop interface that allows users to customize form layouts without the need for coding.
- Responsive Design: Forms designed using Elementor automatically adapt to any device, ensuring a seamless experience for mobile users.
- Advanced Styling Options: Utilize Elementor’s wide range of styling features to make your forms visually appealing and consistent with your site’s branding.
- Enhanced Functionality: By combining the capabilities of Contact Form 7 with Elementor’s widgets, users can leverage additional functionalities like conditional logic and customizable email responses.
- Easy Integration: Effortlessly blend Contact Form 7 into your Elementor layouts, ensuring quick and hassle-free setup.
Quick Comparison Table
| Feature | Elementor | Contact Form 7 |
|---|---|---|
| Customization | High | Moderate |
| User Interface | Drag-and-drop | Shortcodes |
| Responsive Design | Yes | Yes |
| Advanced Features | Yes | Limited |
By leveraging the tools available in Elementor and Contact Form 7, you can take your website’s forms to the next level, enriching user engagement and improving conversion rates.


