When you’re diving into website performance or security, understanding server tokens is essential for managing your WordPress site. You might be wondering—what exactly are server tokens? Well, you’re in the right place! In this section, we’ll give you a quick overview of how server tokens function within WordPress, why they matter, and where they show up in your site’s configuration. Keeping your website secure and efficient starts with knowing what these tokens are all about!
What Are Server Tokens?

Server tokens are essentially bits of information that web servers include in HTTP headers when they respond to a request. They can tell users important details about the server, such as its name and version. In the context of WordPress, server tokens can be particularly important because they may reveal information that could be useful to potential attackers. Here’s a deeper dive:
- Purpose: The primary purpose of server tokens is to provide information about the server that’s handling requests. This includes software versioning that can help in troubleshooting or understanding server capabilities.
- Sensitivity: Many server tokens expose valuable information. For instance, a token might reveal that you are using Apache or Nginx, along with the specific version. This information can potentially make your site more vulnerable to attacks if misused.
- Default Behavior: By default, most web server configurations will send out these tokens. Therefore, unless you actively turn them off, they continue to present this information to anyone who looks.
- Security Risks: Knowledge of your server’s type and version can help hackers identify vulnerabilities specific to that software. This is why many security experts recommend hiding server tokens.
In summary, server tokens can be helpful for developers and administrators, but unnecessary exposure of this information can be a security risk. Now that we understand what server tokens are, let’s explore how to effectively turn them off in your WordPress setup!
Why Server Tokens Can Be a Security Concern
Server tokens in WordPress refer to the HTTP headers generated by your web server that provide specific information about the server environment and the technologies in use. While these tokens can be useful for development and troubleshooting, they also pose notable security risks. Here’s why you should be cautious:
- Disclosure of Sensitive Information: Server tokens can leak critical information about your server’s configuration, such as the type of web server being used (like Apache or Nginx), the version of PHP, and other technologies you might be running. This information can be invaluable to potential attackers who seek to exploit known vulnerabilities.
- Targeted Attacks: Armed with knowledge of your specific server setup, attackers can tailor their attacks. For instance, if your server is running an outdated version of software with known weaknesses, an attacker can exploit those vulnerabilities more easily.
- Brute Force Aid: Exposed server tokens can assist attackers in designing brute-force attacks or other strategies, knowing exactly what software and versions are in play, thus increasing their chances of success.
- Exposing WordPress Version: If a token reveals which version of WordPress you are using, attackers can exploit vulnerabilities specific to that version, especially if it is outdated.
In summary, while server tokens can serve a purpose, keeping them enabled can inadvertently make your site more appealing to cybercriminals. Thus, understanding how to turn them off is crucial for maintaining your site’s security.
How to Identify Server Tokens in WordPress
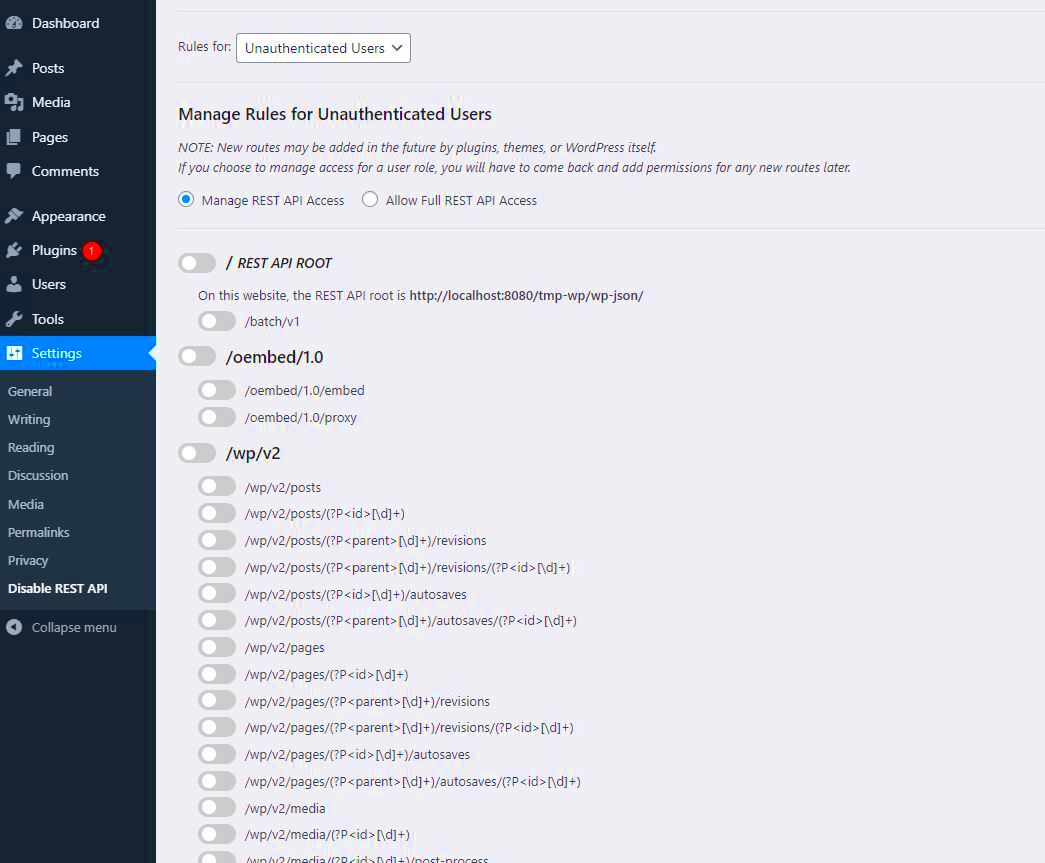
Identifying server tokens in WordPress is quite straightforward, and it’s an excellent practice for enhancing site security. Here’s how you can check for these tokens:
- Using Browser Developer Tools:
- Open your WordPress site in a browser.
- Right-click anywhere on the page and select Inspect or press Ctrl + Shift + I.
- Navigate to the Network tab.
- Reload the page while keeping the developer tools open.
- Click on the first request (usually your homepage) and look for the Headers section.
- Check the list for any server tokens present, such as Server and X-Powered-By.
- Using Online Tools: Utilize third-party services like SecurityHeaders.com or PHP Security Checker. Simply enter your website URL, and these tools will scan and report back on the server tokens present.
- Server Configuration: If you have access to your server’s configuration files (like .htaccess for Apache), you can manually check for any directives that might be generating server tokens.
After identifying server tokens, consider whether they expose any sensitive information and follow up on how best to disable them if necessary. Knowing how to identify these tokens is your first step toward better securing your WordPress site!
5. Steps to Turn Off Server Tokens in WordPress
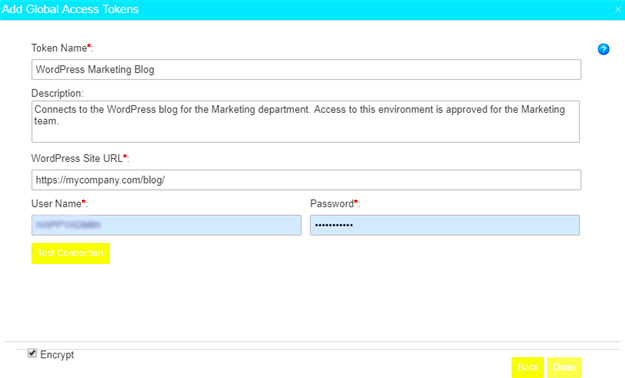
Turning off server tokens in WordPress can enhance your site’s security by reducing the information exposed to potential attackers. Here’s a simple step-by-step guide to help you get it done:
- Access Your Server Configuration:
First, you need to log in to your hosting account. This could be done via a control panel like cPanel or directly through SSH (Secure Shell) if you have a more advanced setup.
- Edit the .htaccess File:
If you’re using Apache as your web server, look for the .htaccess file in your WordPress root directory. This file can control your website’s behavior considerably. You can access it through your file manager or an FTP client.
- Add the Necessary Code:
Once you find the .htaccess file, add the following lines to it:
# Remove server tokensServerTokens ProdServerSignature OffThis code tells the server to limit the information given to clients, effectively disabling server tokens.
- Save Changes:
After adding the code, don’t forget to save the changes. This is as simple as hitting the “Save” button in most text editors.
- Test Your Changes:
Finally, you’ll want to confirm that the server tokens have been successfully disabled. You can use tools like What’s My DNS or a similar service to check your HTTP headers.
6. Using Plugins to Disable Server Tokens
If you’re not comfortable with editing files like .htaccess directly, that’s perfectly fine! WordPress has a vast repository of plugins designed to make your life easier, including ones that can help you disable server tokens without digging into code.
Here’s a quick overview of how to utilize plugins for this purpose:
- Choose a Suitable Security Plugin:
Look for reputable security plugins that offer options to manage server tokens. Some popular choices include:
- Wordfence Security: A comprehensive security plugin that can manage many aspects of your site’s security.
- Sucuri Security: This plugin not only monitors your server but also allows you to configure server headers.
- iThemes Security: Another solid choice for improving your site’s security significantly.
- Install and Activate the Plugin:
Once you’ve chosen a plugin, install it from the WordPress plugin repository. Just go to your dashboard, click on “Plugins,” then “Add New,” and search for your chosen plugin. Click “Install” and then “Activate” to enable it.
- Configure the Settings:
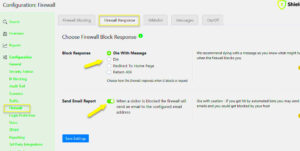
After activation, head to the plugin’s settings page. Look for security options related to HTTP headers or server tokens. You may find an option that explicitly allows you to turn off server tokens with the click of a button!
- Save Your Changes:
Don’t forget to save your configuration changes. Most plugins will have a “Save Changes” button, so keep an eye out for it.
- Verify Your Settings:
Just like with the manual method, it’s essential to verify that your server tokens are indeed turned off. Check the HTTP headers using online tools, and you should see the changes reflected there.
So, whether you prefer to go the DIY route or leverage the power of plugins, turning off server tokens in your WordPress site is pretty straightforward. Cheers to a more secure website!
Testing If Server Tokens Are Disabled
So, you’ve taken the crucial step of disabling server tokens in WordPress, but how can you be sure it worked? Testing is a vital part of reaffirming your security practices. Here’s a step-by-step guide to check if server tokens are indeed turned off.
First off, using a web browser’s developer tools can be an easy way to check the headers. Here’s how you can do it:
- Open Developer Tools: Right-click on your website and select “Inspect” or press F12 to open Developer Tools.
- Go to the Network Tab: Click on the “Network” tab to see all the requests made to your server.
- Refresh the Page: Reload your website while keeping the Network tab open to capture the traffic.
- Select an Item: Click on one of the requests (usually the main page) to view the details.
- Check the Response Headers: Look for the “Response Headers” section and see if it contains server tokens like “Server” or “X-Powered-By.”
If you don’t see any of these tokens listed, congratulations! You’ve successfully disabled them.
Alternatively, you can use online tools like WhatsMyDNS or SecurityHeaders.com to analyze your website’s security headers. These tools will give you a comprehensive overview of your site’s headers and show any potential security gaps.
Conclusion and Best Practices for WordPress Security
Disabling server tokens is just one of the many steps you should take to harden your WordPress site against potential attacks. Security is like building a fortress; you need multiple layers to keep the intruders at bay. Here’s a quick recap of best practices:
| Practice | Description |
|---|---|
| Keep WordPress Updated | Always ensure you’re using the latest version of WordPress, themes, and plugins securely. |
| Use Strong Passwords | Utilize complex passwords and change them regularly to minimize risks. |
| Limit Login Attempts | Protect against brute-force attacks by limiting the number of login attempts. |
| Install a Security Plugin | Security plugins like Wordfence or Sucuri can monitor your site for vulnerabilities. |
| Regular Backups | Maintain regular backups to restore your site quickly in case of an attack. |
By following these best practices, you can enhance your WordPress security and keep your website safe from malicious threats. Remember, the goal is not just to be reactive but proactive in protecting your digital presence!

