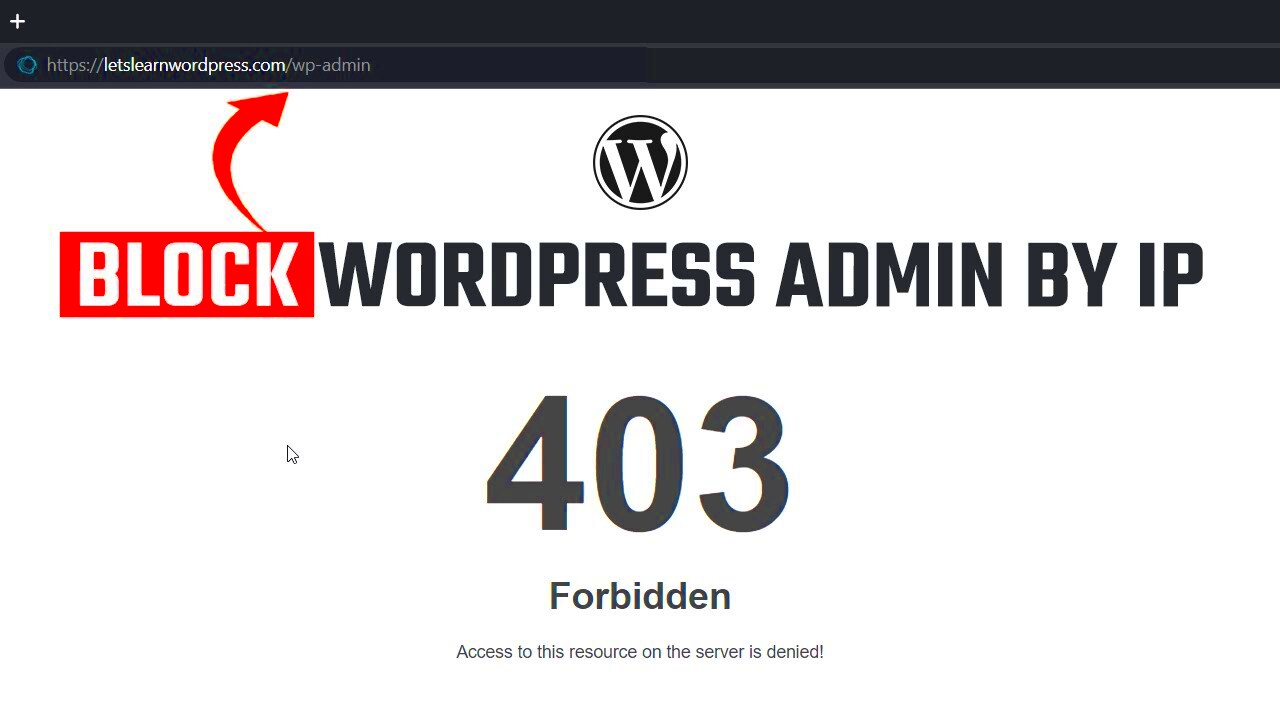
The .htaccess file plays a crucial role in your WordPress site’s security. It’s a configuration file used on Apache servers to control various aspects of your website, like redirects, security, and access permissions. One powerful feature of .htaccess is its ability to restrict access based on IP addresses. By using specific rules, you can block unwanted traffic and protect sensitive areas of your site, like the admin dashboard.
However, configuring IP restrictions isn’t always straightforward. Many users face issues where these rules don’t work as expected, leaving their sites vulnerable. Understanding how .htaccess and IP restrictions work can help you secure your WordPress site more effectively. Let’s dive into why these restrictions might fail and how you can troubleshoot them.
Common Reasons Why .htaccess IP Restrictions Fail
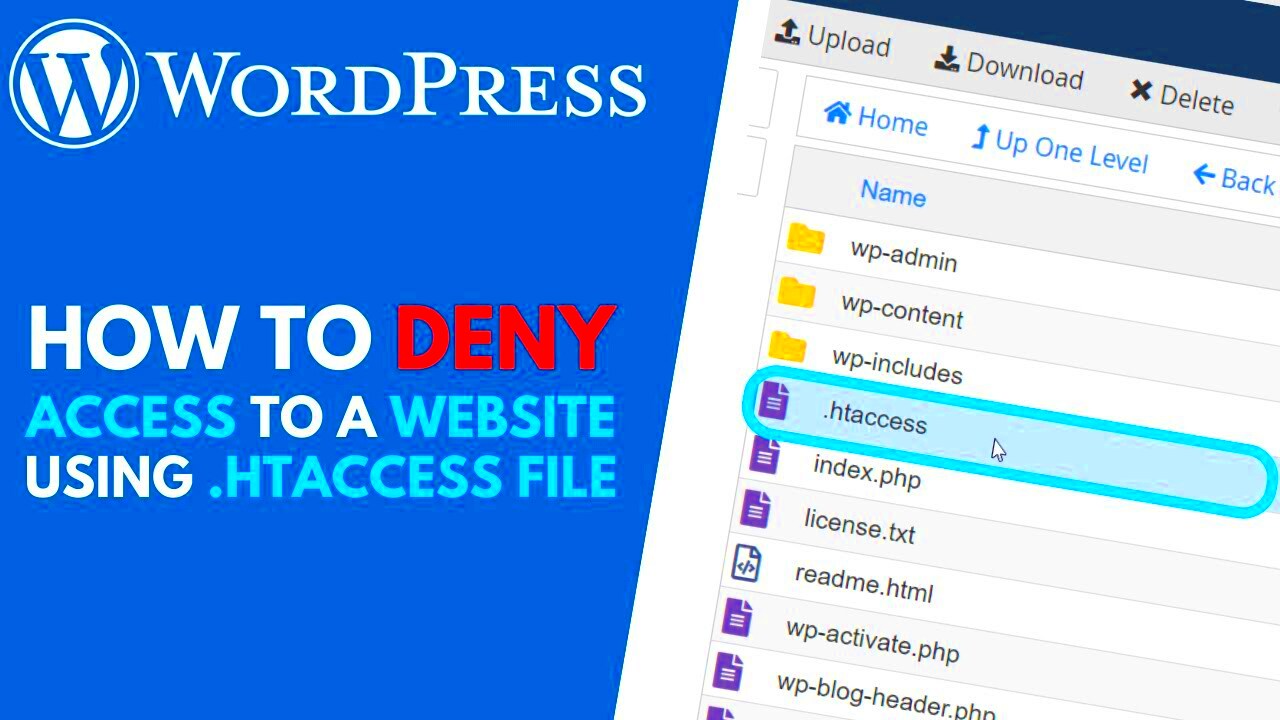
There are several reasons why your .htaccess IP restrictions might not be working as intended. Here are some of the most common causes:
- Incorrect IP Address: Using the wrong IP address format or entering the IP incorrectly can cause restrictions to fail. Make sure to double-check the IP you’re blocking or allowing.
- Server Configuration: Your hosting server might be using Nginx instead of Apache, which means it doesn’t recognize .htaccess rules. In this case, you’ll need to configure IP restrictions differently.
- Conflicting .htaccess Rules: If your .htaccess file has multiple directives, they can conflict with each other, causing your IP rules to be ignored. It’s important to review your file for any overlaps.
- Cache Issues: Browser or server caching can sometimes cause old .htaccess rules to persist, making it seem like your new IP restrictions aren’t working. Clear your cache to ensure your changes take effect.
- Cloudflare or Proxy Services: If you’re using a CDN or proxy service like Cloudflare, your server might not see the real visitor IP address. You’ll need to adjust your configuration to handle IP restrictions properly.
By understanding these potential pitfalls, you can better diagnose why your .htaccess IP restrictions might not be functioning as expected.
How to Verify Your IP Address for Proper Configuration

Before applying IP restrictions, it’s essential to verify that you’re using the correct IP address. Sometimes, users accidentally block their own access due to incorrect IP settings. Here are some steps to ensure you’re using the right IP:
- Check Your IP Address: Visit a site like WhatIsMyIPAddress.com to find your public IP. Make sure you’re not using a VPN or proxy that could change your IP.
- Confirm Server IP: If you’re setting up IP restrictions for server-to-server connections, log in to your hosting dashboard or use SSH to find your server’s IP address.
- Use Multiple Sources: Sometimes, the IP detected by your browser might differ from what the server sees, especially if you’re behind a proxy or firewall. Cross-check with another tool like IPInfo.io.
Once you have the correct IP, you can update your .htaccess file with accurate rules. Here’s a quick example of how to block a specific IP:
<IfModule mod_authz_core.c>
Require all granted
Require not ip 192.168.1.1
</IfModule>
Remember, a small typo can break your .htaccess file, so double-check every entry. Testing your changes is crucial to avoid accidentally locking yourself out of your WordPress site.
Steps to Fix .htaccess IP Restrictions Not Working
If your .htaccess IP restrictions aren’t working as expected, don’t panic. There are several troubleshooting steps you can follow to get them working again. These steps focus on identifying common issues and fixing them systematically to secure your WordPress site.
Here are the steps to fix your .htaccess IP restrictions:
- Check for Syntax Errors: The first thing to do is verify that the syntax in your .htaccess file is correct. A small mistake, like a missing space or incorrect command, can cause the rules to fail. Here’s a basic syntax for blocking an IP:
    <IfModule mod_authz_core.c>
    Require all granted
    Require not ip 192.168.1.1
    </IfModule>
By following these steps, you should be able to fix common issues with .htaccess IP restrictions and improve the security of your WordPress site.
Testing Your .htaccess IP Restrictions for Effectiveness
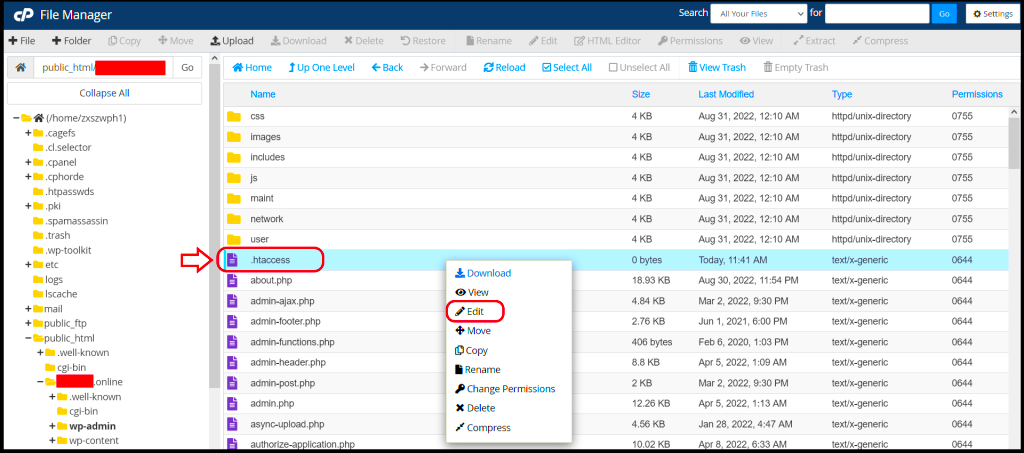
Once you’ve set up IP restrictions in your .htaccess file, it’s essential to test them to ensure they’re functioning as expected. Testing helps confirm that your site is properly secured and prevents unauthorized access.
Here’s how to effectively test your .htaccess IP restrictions:
- Use a Different IP Address: If you’ve blocked a specific IP, try accessing your site from a different IP address. You can use tools like ProxySite or Hide.me to test how your site behaves with blocked IP addresses.
- Check the HTTP Response: After applying IP restrictions, you can check the HTTP response code using tools like WebConfs HTTP Header Check. A 403 Forbidden error indicates that the restrictions are working.
- Verify Access from Your IP: Ensure that your own IP is still allowed. You can do this by checking your site from your regular network. If you’re still able to access it, your own IP address is correctly permitted.
- Inspect Logs for Errors: You can also check your server’s error logs to see if any IP blocks were triggered. Most hosting providers offer access to server logs via their control panels.
By thoroughly testing the restrictions, you can be sure that the IP access controls you’ve set up are working correctly, protecting your WordPress site from unwanted visitors.
Best Practices for Securing Your WordPress Site with .htaccess
Your .htaccess file is one of the most powerful tools for securing your WordPress website. By following best practices, you can use it to enhance your site’s security and prevent common attacks. Here are some key strategies to help secure your WordPress site using .htaccess:
- Block Access to Sensitive Files: Prevent unauthorized users from accessing important WordPress files like wp-config.php and wp-login.php. Use the following code in your .htaccess file:
    # Block wp-config.php
    <Files wp-config.php>
    Order Deny,Allow
    Deny from all
    </Files>
    # Limit login attempts
    <Files wp-login.php>
    SetEnvIf Referer ".*" limitlogin
    Order Deny,Allow
    Deny from all
    Allow from env=limitlogin
    </Files>
    # Disable directory browsing
    Options -Indexes
    # Restrict access to wp-admin by IP
    <Directory /wp-admin>
    Order Deny,Allow
    Deny from all
    Allow from 192.168.1.1
    </Directory>
    # Redirect HTTP to HTTPS
    RewriteEngine On
    RewriteCond %{HTTPS} off
    RewriteRule ^ https://%{HTTP_HOST}%{REQUEST_URI} [L,R=301]
By following these best practices, you can significantly enhance your WordPress site’s security and protect it from common vulnerabilities and attacks.
Frequently Asked Questions About .htaccess IP Restrictions
When dealing with .htaccess IP restrictions, there are often common questions that arise. Let’s go over some of the most frequently asked questions to help clarify how to properly use and troubleshoot these restrictions.
- What is the purpose of IP restrictions in .htaccess?
IP restrictions in .htaccess are used to control access to specific parts of your website based on the visitor’s IP address. You can allow or deny access to your site or certain directories, improving security by blocking unwanted traffic. - Can I block multiple IPs at once?
Yes, you can block multiple IP addresses at the same time by adding multiple “Require not ip” lines. For example:
    Require not ip 192.168.1.1
    Require not ip 203.0.113.5
If you only want to allow specific IP addresses, use the “Require ip” directive. Here’s an example to allow only a specific IP address to access your site:
Require ip 192.168.1.1
Yes, by default, IP restrictions apply to the entire site unless specified for certain directories or pages. However, you can tailor the restrictions to specific areas of your site by defining the directory in the .htaccess file.
Yes, sometimes security plugins may override or conflict with the .htaccess rules. If you’re using plugins like Wordfence or iThemes Security, make sure their settings don’t interfere with your .htaccess rules.
.htaccess files work on Apache servers, but not on other web servers like Nginx. If you’re using Nginx, you’ll need to configure server-level access control rather than using .htaccess.
Final Thoughts on Troubleshooting .htaccess IP Issues
Fixing issues with .htaccess IP restrictions can be a bit tricky, but with the right approach, you can ensure your WordPress site is secure. Always start by verifying your .htaccess syntax, checking server configurations, and testing your IP restrictions thoroughly. Don’t forget to clear your cache and check for conflicts with other plugins. If all else fails, seek support from your hosting provider or a WordPress expert to troubleshoot server-related issues. With these troubleshooting steps, you’ll have your IP restrictions working in no time, keeping your site safe and secure.

