SVG (Scalable Vector Graphics) is a widely used format for images on the web. Unlike traditional image formats like JPEG or PNG, SVG images are vector-based, which means they rely on mathematical formulas rather than pixels. This results in a highly scalable image that maintains clarity and sharpness at any size. For websites, especially WordPress sites, SVG images are a great way to enhance design without compromising on quality.
Some of the key benefits of using SVG images include:
- Scalability: SVG images do not lose quality when resized, making them perfect for responsive designs.
- Lightweight: SVG files are usually smaller in size compared to raster images, which helps improve website loading speed.
- Editable: You can easily modify SVG files using text editors or design tools, allowing for customization without needing to recreate the entire image.
- Accessibility: SVG files are accessible and can be read by screen readers, improving your website’s accessibility.
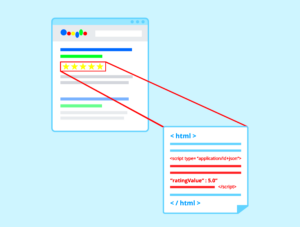
- SEO Friendly: SVG images are indexed by search engines, which can help boost your website’s SEO performance.
How WordPress Handles SVG Files
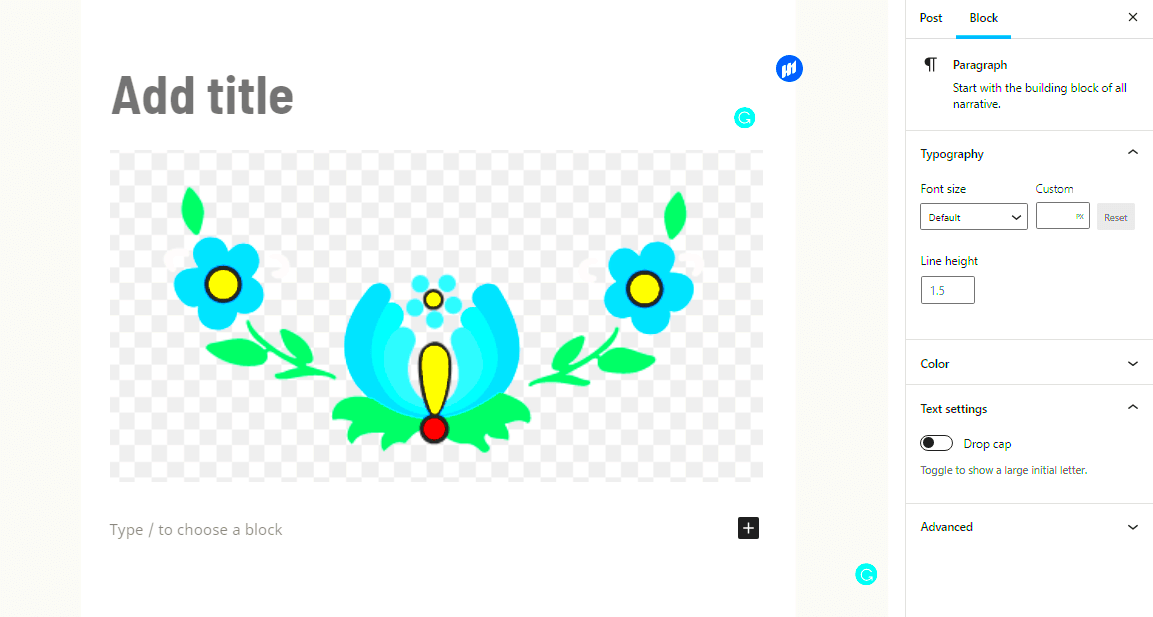
By default, WordPress does not support SVG file uploads due to security concerns. Unlike traditional image formats, SVG files can contain embedded scripts that might pose security risks if not handled properly. WordPress restricts SVG uploads to protect websites from potential vulnerabilities.
However, many developers and designers still prefer using SVG images due to their benefits. If you attempt to upload an SVG file directly into the WordPress media library, you’ll typically encounter an error message like “Sorry, this file type is not permitted for security reasons.” This can be frustrating, but it’s a precautionary measure to ensure your website remains secure.
Despite these restrictions, there are ways to safely enable SVG support in WordPress. By implementing certain safeguards, you can unlock the potential of SVG images without compromising your website’s security.
Enabling SVG Support in WordPress Safely
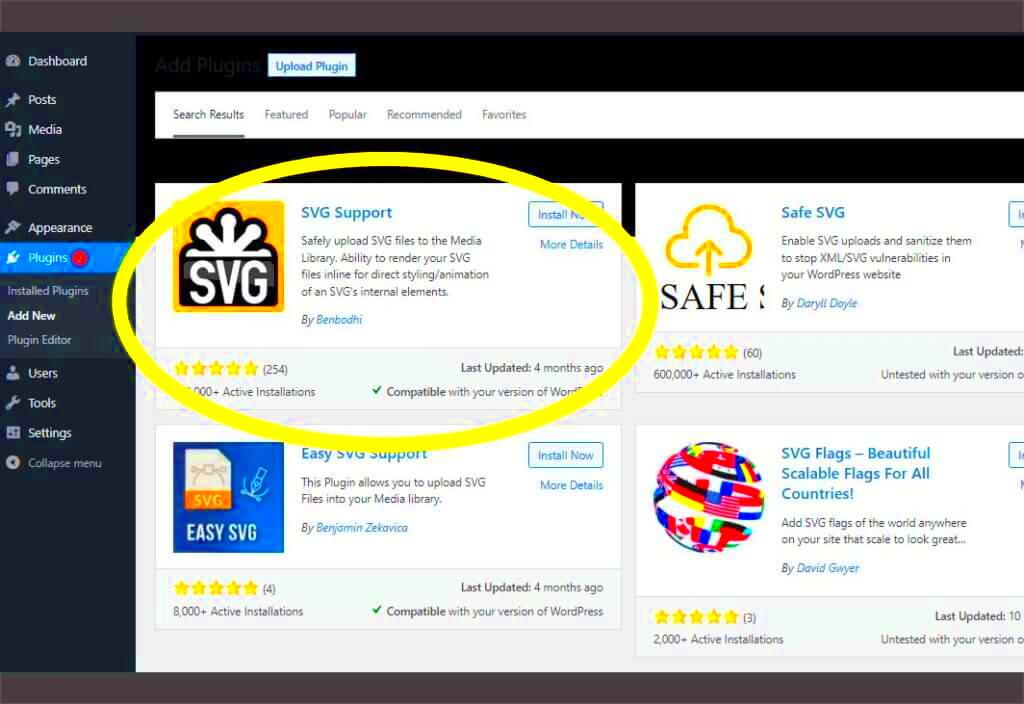
To use SVG images in WordPress, you need to enable support for SVG files. Here are some methods to safely allow SVG uploads:
1. Adding Code to functions.php
You can enable SVG support by adding a few lines of code to your theme’s functions.php file. This method is suitable for developers who are comfortable editing theme files:
function allow_svg_upload($mimes) {
    $mimes['svg'] = 'image/svg+xml';
    return $mimes;
}
add_filter('upload_mimes', 'allow_svg_upload');
This code snippet will allow SVG uploads but won’t sanitize the files, so it’s essential to only upload trusted SVG files.
2. Using SVG Plugins for Extra Security
If you’re looking for a safer option, consider using WordPress plugins that enable SVG support with built-in sanitization. Here are some popular plugins:
| Plugin | Features |
|---|---|
| SVG Support | Allows SVG uploads and inline SVG rendering with optional sanitization. |
| Safe SVG | Sanitizes SVG files on upload, reducing security risks. |
3. Restricting SVG Uploads to Admins Only
For added security, you can restrict SVG uploads to admin users only. This way, you minimize the risk of unauthorized or potentially harmful SVG files being uploaded by regular users.
function restrict_svg_upload($user) {
    if (!current_user_can('administrator')) {
        unset($user['svg']);
    }
    return $user;
}
add_filter('upload_mimes', 'restrict_svg_upload');
This ensures that only trusted users can upload SVG files, further safeguarding your WordPress site.
How to Set Auto Width and Height for SVG Images
One of the major advantages of SVG images is their ability to scale without losing quality. However, setting the width and height for SVG images can sometimes be tricky, especially if you want them to automatically adjust based on the container they are placed in. In WordPress, you can easily set auto width and height for SVG images using CSS.
Here are some common methods to achieve auto width and height for SVGs:
1. Using CSS for Auto Width and Height
The simplest way to make your SVG images responsive is by using CSS. You can use the max-width property to ensure that the image resizes automatically while maintaining its aspect ratio. Here’s an example of how you can achieve this:
img.svg-image {
    max-width: 100%;
    height: auto;
}
This code ensures that the width of the SVG image does not exceed the width of its container, and the height adjusts accordingly to maintain the correct aspect ratio.
2. Using ViewBox Attribute
Another way to control the size of your SVG images is by using the viewBox attribute inside the SVG file. The viewBox defines the aspect ratio and coordinates of the SVG, allowing the image to scale proportionally. Here’s an example:
In this example, the SVG will scale based on the width of its container while maintaining the aspect ratio.
3. Wrapping SVG Images with Containers
If you want more control over your SVG’s width and height, you can wrap it inside a div container. This method allows you to use CSS flexbox or grid layouts to control the image’s size dynamically based on the surrounding elements.
Using Plugins to Enable SVG Uploads in WordPress
If you’re not familiar with coding or want a hassle-free method to enable SVG image uploads, using a WordPress plugin is a great option. Plugins not only enable SVG uploads but also add extra layers of security to ensure that your site remains safe from potentially harmful files.
Here are some popular plugins that make it easy to upload SVG files to your WordPress site:
1. SVG Support Plugin
The SVG Support plugin is one of the most popular options for enabling SVG image uploads in WordPress. It allows you to upload SVG files through the media library and displays them inline on the page. The plugin also includes basic sanitization, ensuring that your SVG files are safe to use.
- Features: Inline SVG rendering, basic sanitization, and customizable settings for SVG file uploads.
- Pro Version: Offers advanced sanitization, security features, and premium support.
2. Safe SVG Plugin
The Safe SVG plugin focuses on ensuring the safety of uploaded SVG files by sanitizing them before they are added to the WordPress media library. It’s a good choice if security is your primary concern.
- Features: Automatic SVG sanitization, whitelist for safe SVG files, and inline rendering support.
3. WP SVG Icons Plugin
If you’re looking for an easy way to add SVG icons to your site, WP SVG Icons is a great option. It allows you to upload and manage SVG icon sets and provides various customization options.
- Features: Includes customizable icons, SVG upload support, and integration with the WordPress media library.
Each of these plugins makes it easy to enable SVG support in WordPress, with some offering additional features like sanitization and enhanced security to ensure safe uploads.
Common Issues When Using SVG in WordPress and Their Solutions
While SVG images are a powerful tool for improving website design, they come with their own set of challenges when used in WordPress. From security concerns to display issues, here are some common problems that users face when working with SVG files and how to solve them.
1. SVG Files Not Uploading
If you’re unable to upload SVG files in WordPress, it’s likely due to WordPress’ default restrictions on file types. To fix this, you need to enable SVG support using one of the methods discussed earlier, such as adding code to the functions.php file or using a plugin.
2. Security Risks with SVG Files
SVG files can contain JavaScript or other scripts that could potentially harm your site. To mitigate these risks, always use trusted plugins that sanitize SVG files before upload, such as the Safe SVG plugin or SVG Support plugin.
3. SVG Images Not Displaying Correctly
If your SVG image is not displaying properly, the issue could be related to its size, viewBox settings, or incorrect CSS styling. Check the viewBox attribute to ensure the SVG has a defined aspect ratio and use CSS to adjust the width and height properties as needed.
4. Scaling Issues on Mobile Devices
Sometimes SVG images might not scale properly on smaller screens. To fix this, make sure that your SVG is responsive by using CSS rules like max-width: 100%; and height: auto; to make the image resize correctly on different screen sizes.
5. Inconsistent Rendering Across Browsers
Different browsers can render SVG images in slightly different ways. If you notice inconsistencies, try testing your website on multiple browsers and ensure that your SVG files are properly optimized. Tools like SVGOMG can help optimize SVG files for better cross-browser compatibility.
By addressing these common issues, you can ensure that your SVG images are displayed correctly and securely on your WordPress website.
Best Practices for Optimizing SVG Images
While SVG images are incredibly versatile and lightweight, they can still be optimized further to ensure your website runs smoothly. By following a few simple best practices, you can improve both the performance and the security of your SVG files in WordPress.
1. Minimize SVG File Size
One of the main advantages of SVG is its small file size, but unnecessary metadata and extra code can still increase file size. To optimize your SVG images, use online tools or software like SVGOMG or SVGO to remove unnecessary code, comments, and metadata.
- Use compression tools: These tools help remove extra code from SVG files without affecting image quality.
- Simplify paths: Simplify the paths and shapes used in your SVG to reduce complexity and file size.
2. Use CSS for Styling
Instead of embedding styling within the SVG file itself, it’s better to control the styling through CSS. This not only keeps your SVG file size smaller but also allows for easier updates and customization without editing the SVG code directly.
- External CSS: Use external CSS files to style SVG images, making them easier to manage and update.
- Use CSS animation: You can animate SVG elements with CSS, making them more interactive and engaging on your site.
3. Ensure Accessibility
SVG files should be accessible to all users, including those with disabilities. Use proper title and desc tags within the SVG file to provide alternative text descriptions for screen readers. This ensures that visually impaired users can still understand what the image represents.
4. Implement Safe SVG Uploads
Security is a top concern when working with SVG files. As mentioned earlier, SVG files can contain JavaScript, which could pose a risk if not sanitized properly. Always use trusted plugins like Safe SVG or SVG Support to sanitize SVG files before uploading them to your WordPress site.
5. Optimize for Mobile Devices
With a majority of users browsing on mobile, ensuring your SVG images are mobile-friendly is key. Use responsive design techniques such as max-width: 100% and height: auto; to ensure your SVG images resize appropriately across different screen sizes.
FAQs for Using SVG Images in WordPress
Using SVG images in WordPress can be a bit tricky, but with the right knowledge, it becomes an easy and efficient process. Below are some common questions and their answers to help you understand how to handle SVG files in WordPress more effectively.
1. Why Can’t I Upload SVG Files to WordPress?
By default, WordPress does not allow SVG file uploads for security reasons. This is because SVG files can contain scripts that, if not handled correctly, could be used maliciously. However, you can enable SVG support using plugins or by adding custom code to your functions.php file.
2. Are SVG Files Safe to Use in WordPress?
SVG files can be safe if properly sanitized. Since SVG files can contain JavaScript, it’s important to use a plugin like Safe SVG to sanitize the files before uploading them to your WordPress site. Always ensure that your files are coming from a trusted source to prevent potential security issues.
3. How Do I Make SVG Images Responsive in WordPress?
To make SVG images responsive, you can use CSS to set the max-width: 100% property and height: auto;. This ensures that the image will scale according to the width of its container, keeping the aspect ratio intact across various screen sizes.
4. Can I Animate SVG Images in WordPress?
Yes, you can animate SVG images in WordPress. You can use CSS animations or JavaScript to animate SVG elements. Using CSS is often the simplest and most efficient way to add animations, like hover effects or motion, to your SVG files.
5. How Do I Control the Size of SVG Images?
The size of SVG images can be controlled by setting the width and height properties in the SVG code itself or using CSS. It’s also a good practice to set the viewBox attribute to ensure the image scales correctly while maintaining its aspect ratio.
Final Thoughts on SVG Image Support in WordPress
SVG images offer a great way to add high-quality, scalable graphics to your WordPress website without sacrificing performance. They are particularly valuable for responsive designs and lightweight websites. However, they also come with a few challenges, especially around security and compatibility.
To safely use SVG images in WordPress, follow the best practices outlined in this guide, such as sanitizing SVG files, using plugins for SVG support, and ensuring accessibility for all users. By optimizing your SVG files, you can take full advantage of their flexibility and enhance the overall user experience of your site.
Remember to always test your SVG images across different devices and browsers to ensure consistent and smooth rendering. With the right precautions in place, SVG images can be a powerful addition to your WordPress site that helps improve both aesthetics and performance.

