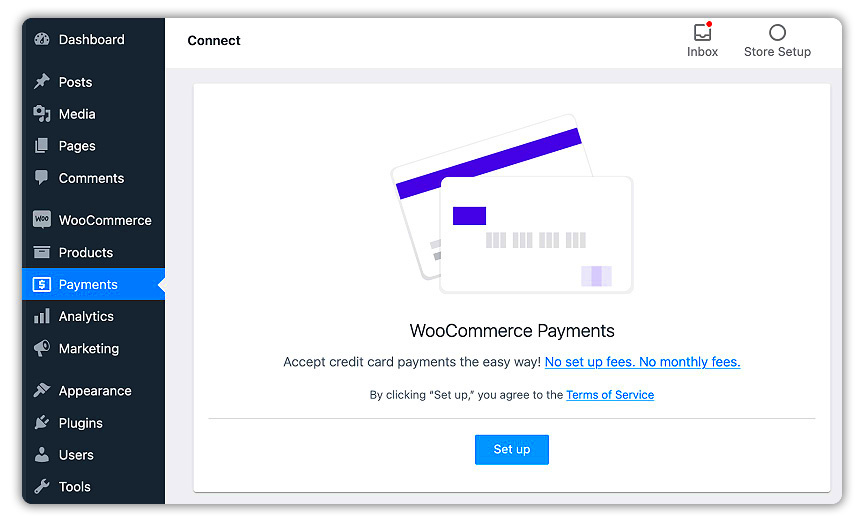
Hey there! If you’re exploring ways to enhance your WooCommerce store, you’ve probably heard about Shop Pay. It’s a powerful tool that simplifies the checkout process for your customers, making it a great addition to your online shop. In this section, we’ll dive into what Shop Pay is and how it seamlessly integrates with WooCommerce, allowing you to provide a smoother shopping experience. Let’s get started!
Benefits of Using Shop Pay on Your WooCommerce Store

Integrating Shop Pay into your WooCommerce store comes with a myriad of benefits that can help boost your sales and improve customer satisfaction. Here are some key advantages:
- Faster Checkout: Customers can skip the lengthy checkout process, which means fewer abandoned carts!
- Secured Payments: Shop Pay offers robust security measures, giving your customers peace of mind when making purchases.
- Convenience: With saved payment methods and shipping information, returning customers can place orders with just a few taps.
- Increased Trust: Being associated with platforms like Shopify increases your credibility. Customers are more likely to trust stores that offer Shop Pay.
- Real-Time Tracking: Customers receive updates on their orders through Shop Pay, keeping them in the loop from purchase to delivery.
- Mobile Optimization: Shop Pay is designed for mobile devices, which is crucial as more people shop on their smartphones.
To sum it up, using Shop Pay can significantly improve the overall shopping experience for your customers, leading to higher conversion rates and customer loyalty. It’s definitely worth considering if you want to take your WooCommerce store to the next level! Plus, integrating it is pretty straightforward. Stay tuned for the detailed set-up guide!
Prerequisites for Setting Up Shop Pay
Before diving into the setup process of Shop Pay on your WooCommerce store, there are a few prerequisites to ensure a smooth experience. These requirements are essential not only for functionality but also for security and customer satisfaction. Here’s what you need to have in place:
- WooCommerce Installed: Make sure you have the WooCommerce plugin properly installed and activated on your WordPress site. Without it, you can’t utilize Shop Pay.
- Shopify Account: Create a Shopify account if you haven’t done so already. Shop Pay is a service offered by Shopify, and you’ll need an account for integration.
- API Access: Familiarize yourself with Shopify’s API. Depending on your WooCommerce setup, you might need API keys to establish communication between your platforms.
- Payment Gateway Enabled: Check that you have a valid payment gateway set up on your WooCommerce store. Shop Pay integrates with various payment methods, so be sure to configure them properly.
- SSL Certificate: Make sure your website has an SSL certificate. This is non-negotiable; without it, your customers’ sensitive data won’t be secure, and Shop Pay won’t work.
- Updated Software: Ensure WordPress, WooCommerce, and all related plugins are updated to the latest versions. Updates often improve security and compatibility.
Having these prerequisites will pave the way for an effortless and efficient setup of Shop Pay on your WooCommerce store, making online shopping smooth for your customers.
Step-by-Step Guide to Enable Shop Pay on WooCommerce
Now that we’ve covered the essentials, let’s roll up our sleeves and get Shop Pay up and running on your WooCommerce store. Follow these straightforward steps to enable this convenient payment option:
- Log into Your WordPress Dashboard: Begin by logging into your WooCommerce-enabled site.
- Navigate to WooCommerce Settings: Find the “WooCommerce” option from the left sidebar and click on “Settings.” This is where you can manage all settings related to your store.
- Go to the Payments Tab: Once you’re in the WooCommerce settings, click on the “Payments” tab. This section allows you to see all available payment methods.
- Locate Shop Pay: Scroll through the list until you find “Shop Pay.” Click the toggle switch to enable it.
- Configure Shop Pay Settings: After enabling, you’ll see an option to configure settings. Click on it and fill in the necessary information, such as API keys that you got from your Shopify account.
- Save Changes: Don’t forget to hit the “Save Changes” button at the bottom of the page to ensure all your settings are applied.
- Test Your Integration: Finally, create a test order to confirm that Shop Pay is functioning correctly on your site. Make sure the payment process flows smoothly from your customer’s perspective.
And there you have it! With these steps, you should now have Shop Pay enabled and ready to offer your customers a quicker and more efficient checkout option on your WooCommerce store.
5. Configuring Shop Pay Settings
Setting up Shop Pay on your WooCommerce store is a breeze, especially when it comes to configuring the settings. These settings allow you to tailor the Shop Pay experience to fit your brand and provide a seamless checkout process for your customers. Here’s how to get started:
- Navigate to WooCommerce Settings: Head over to your WordPress dashboard, click on ‘WooCommerce,’ and select ‘Settings’ from the drop-down menu.
- Go to the Payments Tab: Within the WooCommerce settings, locate the ‘Payments’ tab. This is where you’ll see a list of all payment gateways you can enable, disabling, or configure.
- Select Shop Pay: Look for Shop Pay in the list of available payment options. Click on it to reveal the configuration settings.
Inside the Shop Pay settings, you’ll find options to customize:
- Enable/Disable: You can toggle Shop Pay on or off here. Make sure it’s enabled for customers to use it at checkout.
- Custom Logo: Upload your brand’s logo to personalize the Shop Pay experience, reinforcing your brand identity.
- Checkout Options: Decide whether to enable streamlined checkout for returning customers using Shop Pay, enhancing their shopping experience.
Once you’ve configured these settings, make sure to save your changes. Don’t forget to double-check other related settings, such as currency and payment methods, to ensure everything aligns with your store’s requirements.
6. Testing Your Shop Pay Integration
After configuring your Shop Pay settings, the next critical step is to test the integration. This is vital to ensure your customers have a smooth and hassle-free checkout experience. Here’s how to effectively test your Shop Pay integration:
- Create a Test Order: Start by creating a test user account on your site. Then, go through the entire shopping process by adding an item to your cart and proceeding to checkout.
- Select Shop Pay: When you reach the payment options, choose Shop Pay to see how the gateway operates during a live transaction.
- Verify Transaction Flow: After filling in the necessary details, complete the order. Pay close attention to the transaction flow. Are there any hiccups? Does the order confirmation go through smoothly?
Additionally, here are some key aspects to check:
| Test Aspect | Expected Outcome |
|---|---|
| Order Confirmation Email | Should be sent without issues |
| Payment Process | Should be completed smoothly |
| User Experience | Should feel seamless and professional |
If everything goes as planned, congratulations! You’ve successfully set up and tested Shop Pay on your WooCommerce store. However, if you encounter any issues, revisiting your settings or seeking support from WooCommerce documentation can help troubleshoot any problems.
Troubleshooting Common Issues with Shop Pay
While Shop Pay offers a seamless checkout experience, sometimes things might not go as smoothly as you’d hope. Here are a few common issues you might encounter and how to troubleshoot them effectively.
1. Payment Declines
Payment declines can occur for various reasons, including insufficient funds, incorrect card information, or even regional restrictions. Here’s how to address these:
- Check Card Information: Make sure that all the details like card number, expiration date, and CVV code are entered correctly.
- Contact the Bank: Sometimes banks will flag transactions. A quick call may resolve this issue.
- Test with Another Payment Method: Use a different card or payment method to see if the issue persists.
2. Shop Pay Not Appearing at Checkout
If customers are not seeing the Shop Pay option at checkout, here’s what to do:
- Verify Availability: Ensure that Shop Pay is enabled in your WooCommerce settings.
- Check Compatibility: Make sure your theme and any active plugins are compatible with Shop Pay.
- Clear Cache: Sometimes, clearing the browser cache can resolve display issues.
3. Order Confirmation Issues
Order confirmation is vital for both you and your customers. If it’s not happening, consider:
- Plugin Conflicts: Deactivate other plugins one at a time to find the culprit.
- Email Settings: Verify that your email settings in WooCommerce are properly configured.
- Review Logs: Check the logs for any errors that could provide clues.
By staying proactive and understanding these troubleshooting steps, you can ensure that your customers enjoy a hassle-free shopping experience with Shop Pay.
Conclusion: Maximizing Your Sales with Shop Pay
Integrating Shop Pay into your WooCommerce store isn’t just about providing convenience; it’s about enhancing your overall sales strategy. With its fast checkout process, secure payments, and customer trust, Shop Pay can significantly boost conversion rates. Here are some tips to help you maximize your sales with this tool:
1. Promote Shop Pay on Your Store
Make sure your customers know that you offer Shop Pay. Use banners, announcements, and even social media to highlight this feature. The more visibility you give it, the more likely customers will use it.
2. Leverage the One-Click Checkout
Encourage customers to save their payment information for one-click checkouts in the future. This not only speeds up the process but can increase repeat purchases.
3. Monitor Analytics
Use WooCommerce analytics tools to monitor how Shop Pay affects your sales. Look for patterns, such as increased conversion rates during promotions or holidays.
4. Provide Excellent Customer Service
If customers have questions or issues with using Shop Pay, respond promptly. You can build trust and encourage repeat business by addressing their concerns.
In conclusion, by troubleshooting common issues and implementing strategies to leverage Shop Pay effectively, you’ll be well on your way to maximizing your sales and providing a remarkable shopping experience for your customers.


