Setting up SFTP credentials for your WordPress site is a crucial step for both security and efficiency. If you’re wondering why you should bother with this additional layer of access, you’re in the right place! In this blog post, we’ll explore the ins and outs of SFTP, how it works, and why it’s essential for managing your WordPress site securely. So let’s jump right in!
What is SFTP and Why is it Important for WordPress?
SFTP, or Secure File Transfer Protocol, is a secure way to transfer files between your local machine and your web server. Unlike traditional FTP (File Transfer Protocol), SFTP encrypts both the commands and the data, making it much safer. Here’s why SFTP is particularly important for WordPress:
- Enhanced Security: SFTP encrypts your data, which means that anyone intercepting the data cannot read it. This is essential for protecting sensitive information, such as usernames and passwords.
- Reliable File Transfer: With SFTP, you can easily upload, download, and manage files on your server. It offers robust error handling and resume support, ensuring that file transfers complete without issues.
- Access Control: SFTP allows you to manage user permissions effectively. You can create different accounts with varying levels of access, reducing the risk of unauthorized changes.
- Compatibility: Most hosting providers support SFTP, making it a widely accessible option for WordPress users. You can easily integrate it with various applications and clients.
In summary, using SFTP to manage your WordPress site not only boosts security but also enhances your overall file management experience. It’s an important tool to keep in your web development toolbox!
Prerequisites for Setting Up SFTP
Before you dive into setting up SFTP for your WordPress site, there are a few essential prerequisites you’ll want to have on hand. Having these ready will make the process smoother and more efficient, which is always a bonus!
- Hosting Account: You’ll need an active hosting account that supports SFTP. Most reputable hosting providers offer this feature by default, so check your hosting plan or contact support if you’re unsure.
- Access to the Control Panel: Familiarize yourself with your hosting control panel (like cPanel, Plesk, or a custom dashboard) since that’s where you’ll go to create the SFTP credentials.
- File Transfer Protocol Knowledge: A basic understanding of how SFTP (Secure File Transfer Protocol) works will be helpful. SFTP is more secure than FTP and encrypts your data during transfer, protecting your credentials and files.
- FTP Client Software: Download and install an SFTP client. Popular options include FileZilla, Cyberduck, and WinSCP. These programs will allow you to connect to your server using the credentials you’ll create.
- WordPress Login Credentials: Ensure you have your WordPress admin login details. This can come in handy in case you need to access the database or troubleshoot any issues while setting up SFTP.
Once you’ve ticked off all these prerequisites, you’ll be well on your way to setting up SFTP for your WordPress site!
Creating SFTP Credentials in Your Hosting Account
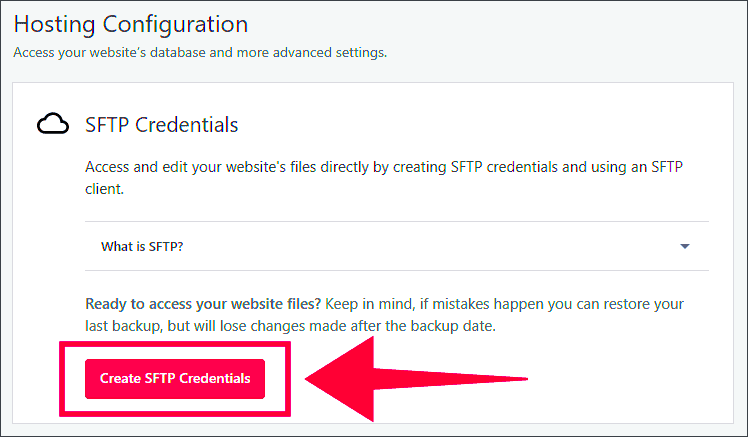
Alright! Now that you have all the necessary prerequisites in place, let’s walk through the steps to create your SFTP credentials in your hosting account. This is a straightforward process, and I’ll guide you through it step-by-step.
- Log Into Your Hosting Control Panel: Start by logging into your hosting account’s control panel. Depending on your provider, this could be cPanel, Plesk, or something else.
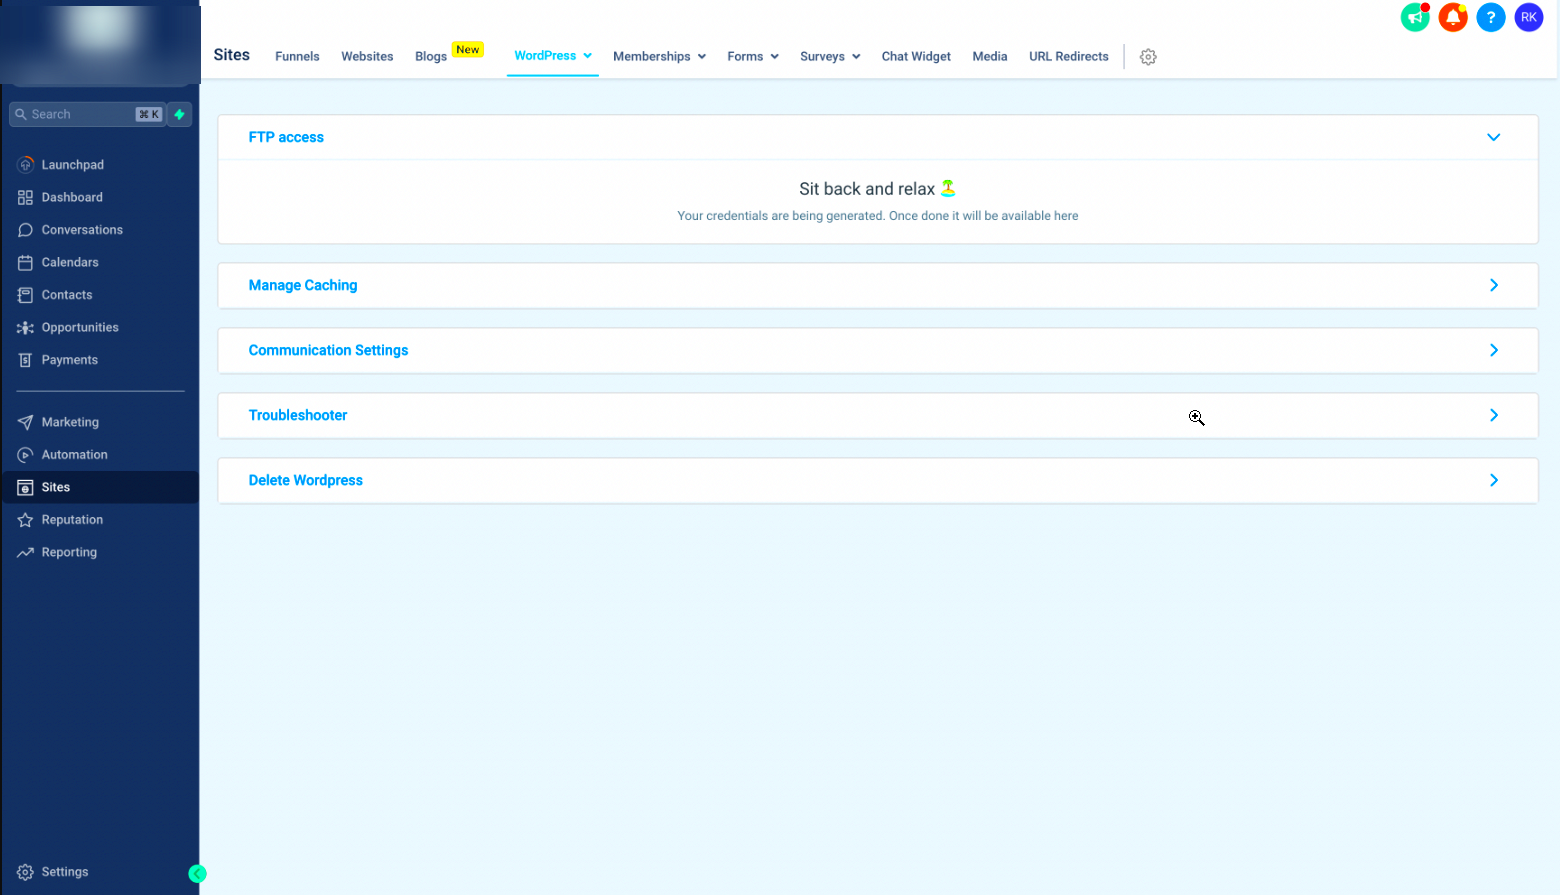
- Navigate to FTP Accounts: You’ll typically find a section labeled ‘FTP Accounts’ or ‘File Transfer Protocol.’ Click on this to start creating your credentials.
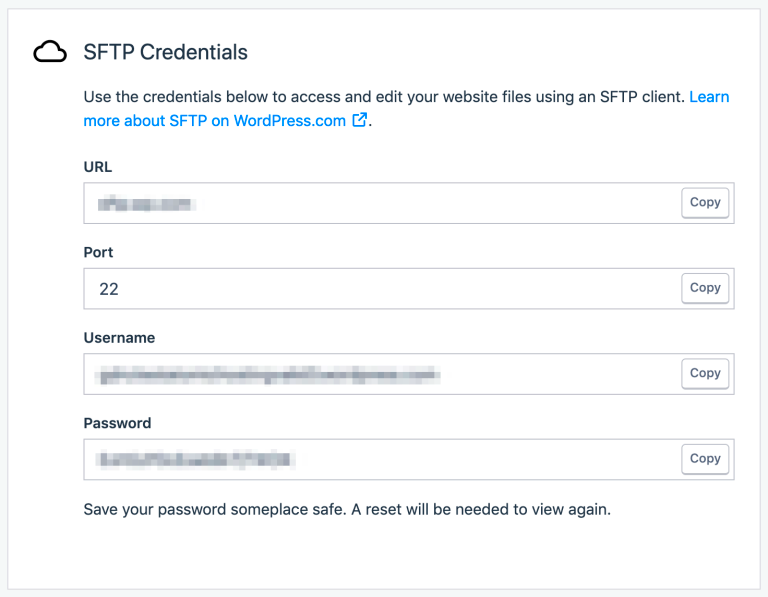
- Fill Out the Required Fields: You’ll need to enter a few details:
- Username: Create a unique username for your SFTP account.
- Password: Set a strong password. Use a mix of letters, numbers, and symbols to enhance security.
- Directory: Specify the directory you want to give access to. This can be your main public_html folder or a subdirectory.
- Select the Access Level: Make sure to set the appropriate access level for the new user. You generally would want to give at least read and write permissions.
- Create the Account: Finally, hit that “Create” button. You should see a confirmation that your SFTP credentials have been successfully created.
And there you have it! You’ve successfully created your SFTP credentials. Make sure to save this information safely, as you’ll need it to connect via your SFTP client.
5. Configuring Your SFTP Client
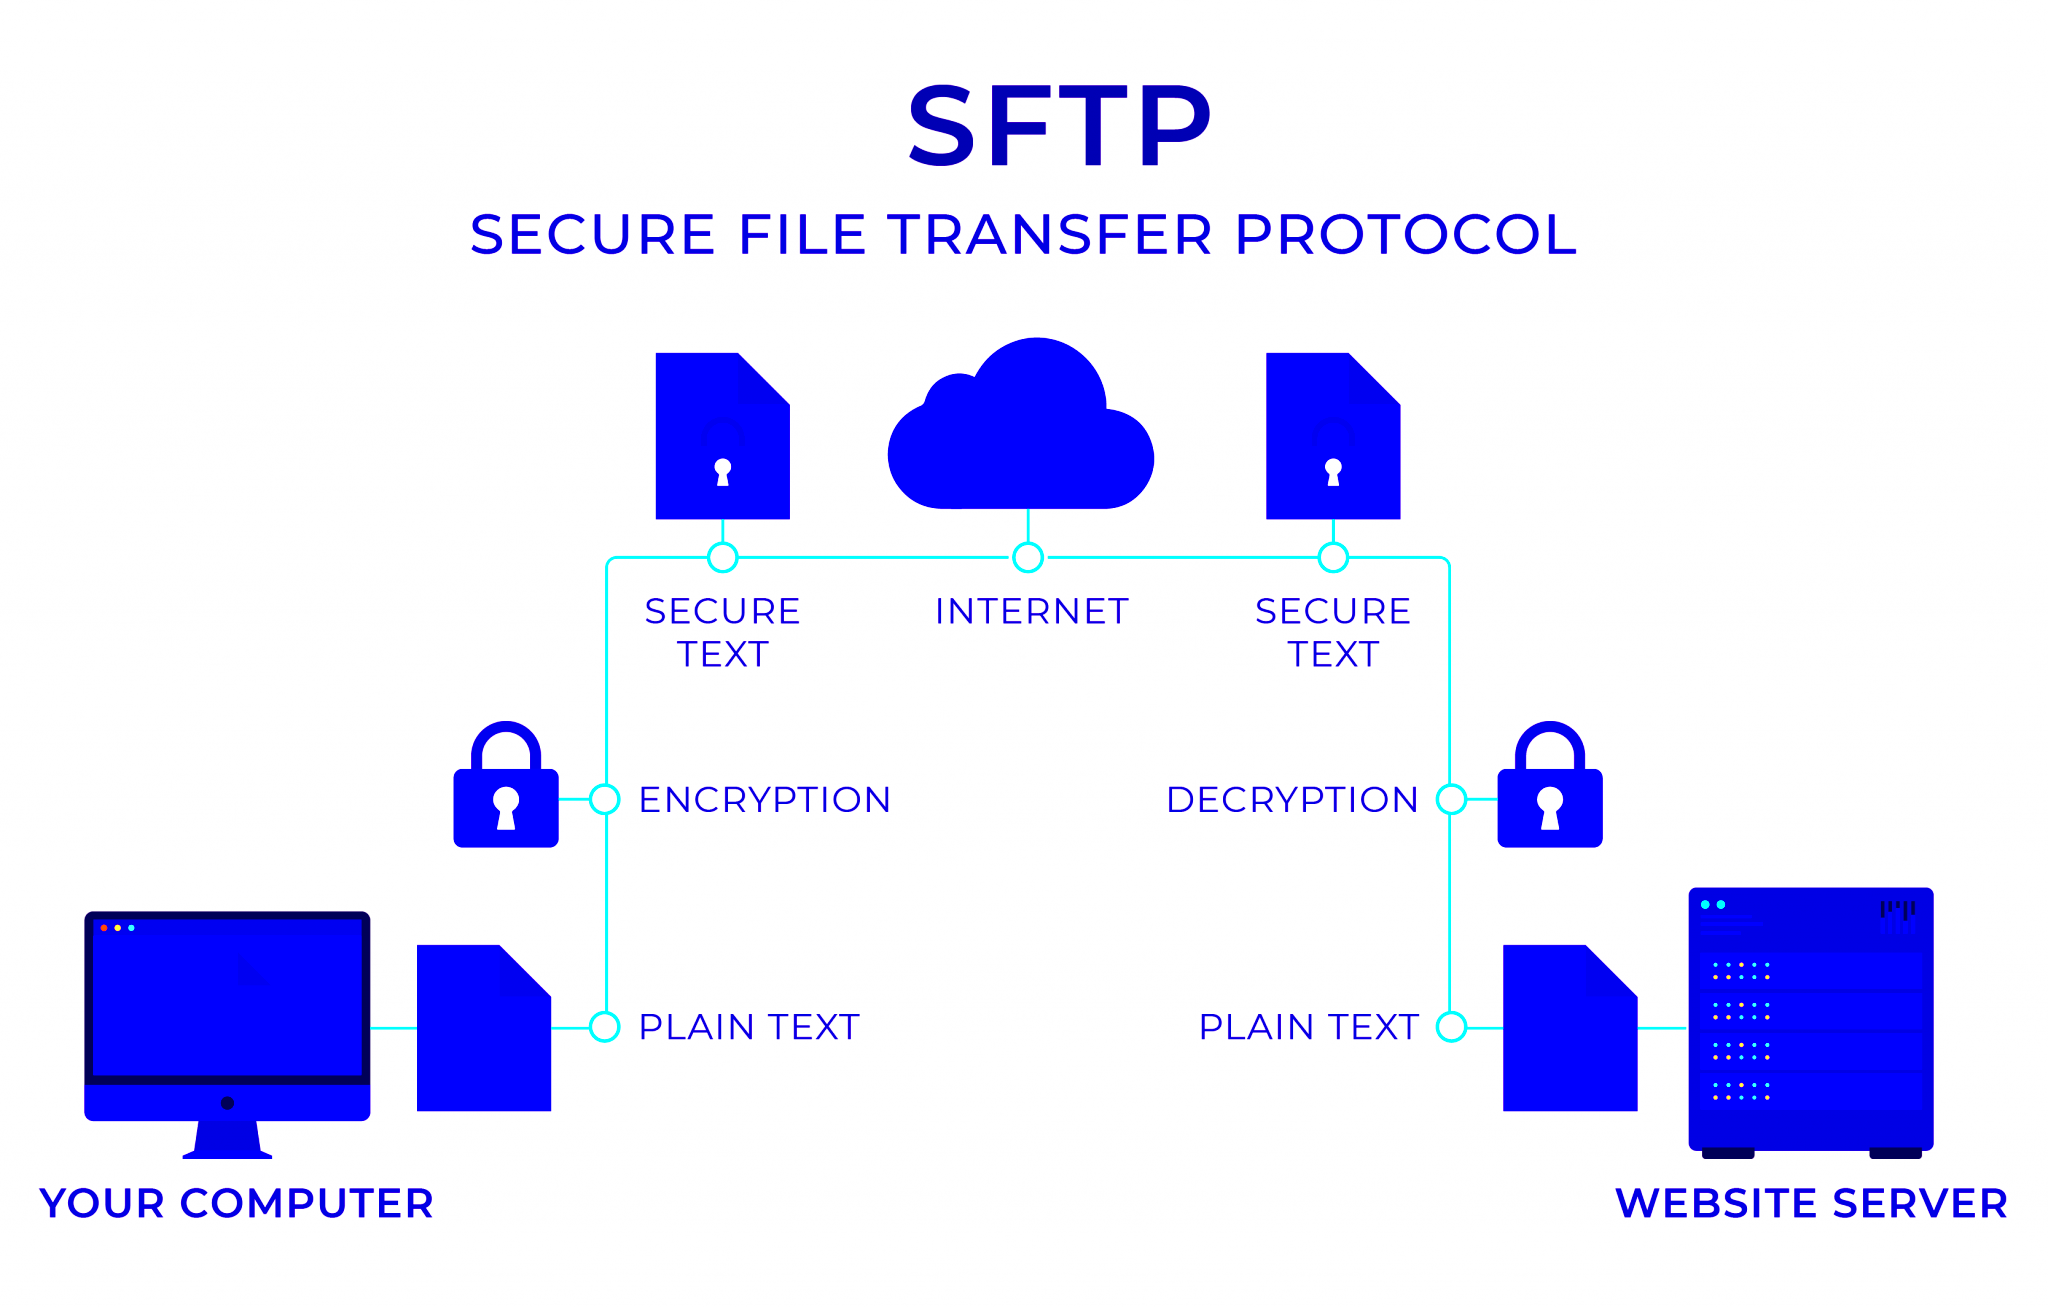
So, you’ve decided to go with SFTP for a more secure way to access your WordPress files—great choice! Configuring your SFTP client can initially seem a bit tricky, but once you break it down, it’s pretty straightforward. Let’s walk through the main components you need to set up.
First, you’ll need to download an SFTP client. Some popular options include:
- FileZilla – A widely used, open-source software that’s user-friendly.
- Cyberduck – Great for both macOS and Windows, with an easy drag-and-drop interface.
- WinSCP – Perfect for Windows users, offering a good blend of simplicity and functionality.
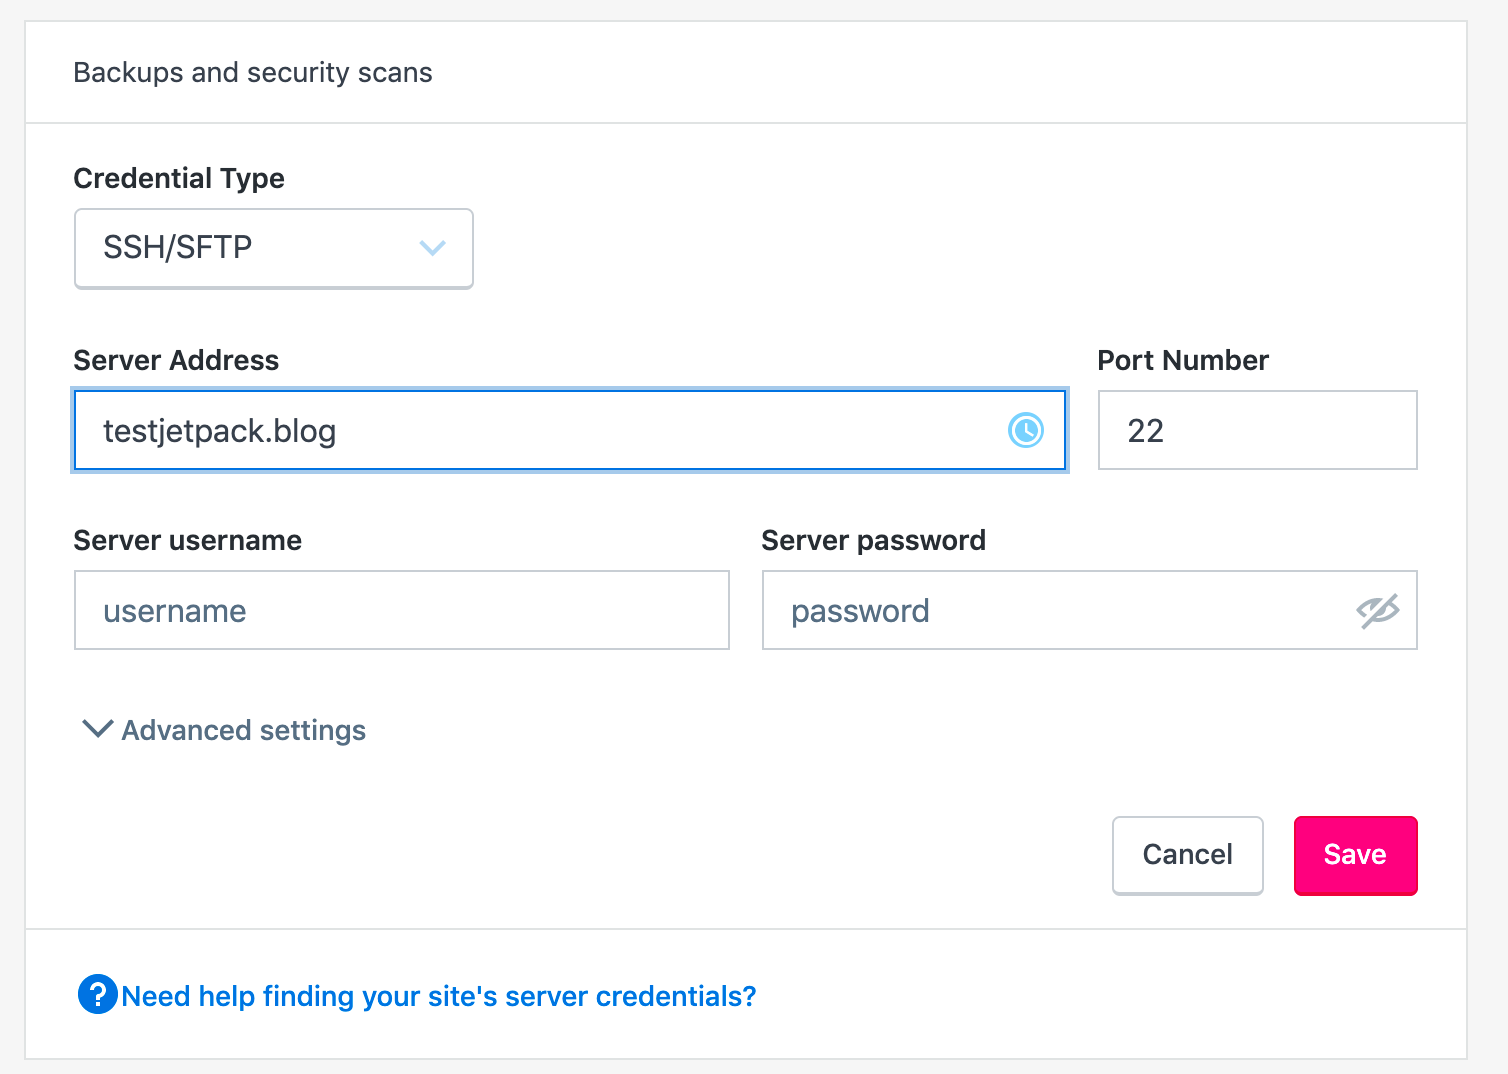
Once you have installed your preferred SFTP client, it’s time to enter your connection details. Here’s what you typically need:
| Detail | What to Input |
|---|---|
| Host Name | Your website’s domain name or server IP address. |
| Username | The SFTP username provided by your hosting service. |
| Password | Your SFTP password. |
| Port | Typically set to 22 for SFTP connections. |
After filling in this information, simply save your settings. Now you’re all set up to connect to your WordPress site via SFTP!
6. Connecting to Your WordPress Site via SFTP
With your SFTP client configured and all the necessary credentials at the ready, it’s time to connect to your WordPress site. Trust me, this part is way easier than it sounds!
First, open your SFTP client and look for a “Connect” or “Quickconnect” button to get started. Here’s how you typically do it:
- If you’re using FileZilla, simply hit “Quickconnect” after entering your credentials.
- In Cyberduck, click the “Open Connection” button and select SFTP from the dropdown menu.
- With WinSCP, just hit “Login” after entering your details.
Once you click to connect, your client will attempt to establish a secure connection to your server. If everything went smoothly, you should see a list of your WordPress files and directories on the right side of your screen.
Don’t worry if you encounter any errors—common issues often arise from incorrect credentials or firewall settings. Check that:
- Your username and password are correct.
- Port 22 is open on your firewall.
- Your web host supports SFTP connections.
After successfully connecting, you can upload, download, or modify your WordPress files as needed. Enjoy the secure access and peace of mind SFTP provides!
Common Troubleshooting Tips
Setting up SFTP for your WordPress site is usually a straightforward process, but sometimes things don’t go as planned. Here are some common troubleshooting tips to help you get back on track:
- Check Your Firewall Settings: Sometimes, a firewall can block SFTP connections. Ensure that your firewall settings allow SFTP traffic. You might need to whitelist the SFTP port (usually port 22) to resolve this issue.
- Verify Your Credentials: Double-check your username, password, and host details. It’s easy to make a typo, and incorrect credentials are a common barrier. Ensure that the username is for the SFTP account and matches the correct user folder.
- Use the Correct Protocol: Ensure that you are using SFTP, not FTP. Some clients may have both options, and connecting through the wrong protocol can lead to access failure.
- Check for Network Issues: If you’re having trouble connecting, there might be a network issue. Try pinging your server or using a different network to see if the problem persists.
- Update Your SFTP Client: Ensure you’re using the latest version of your SFTP client. Software updates often fix bugs and improve connectivity.
- Contact Your Hosting Provider: If all else fails, reach out to your hosting provider. They can often provide insight or identify problems on their end.
By following these tips, you should be able to troubleshoot most SFTP connection issues and ensure a smooth experience when accessing your WordPress site.
Conclusion
Setting up SFTP credentials for your WordPress site significantly enhances your security and efficiency. With a secure connection, you’re better protected against potential threats, making it harder for unauthorized users to access your files and sensitive information.
Remember, as we’ve discussed throughout this post, the SFTP setup process involves several key steps: generating credentials, configuring connections, and ensuring you’re accessing the right directories. Along with that, having some troubleshooting tips up your sleeve can come in handy when things don’t go as planned.
In this digital age, security should be a top priority—not just for yourself, but for your users, too. By implementing SFTP and following best practices in managing your WordPress site, you take a proactive step in safeguarding data. So, whether you’re a beginner or someone who has dabbled in website management for a while, establishing SFTP access is a smart move that pays off in peace of mind.
In conclusion, don’t hesitate to explore further resources and communities. The world of WordPress is vast, and there’s always something new to learn!

