When it comes to sending emails from your WordPress site, having a reliable method is crucial. That’s where SMTP (Simple Mail Transfer Protocol) and SendGrid come into the picture. SMTP is the standard protocol used for sending emails across the internet. It ensures that your emails are delivered smoothly and efficiently. On the other hand, SendGrid is a cloud-based email service that enhances your email delivery by managing your outgoing email via their servers. Together, they create a powerful duo for ensuring your emails reach inboxes effectively.
Why Use SMTP for Sending Emails in WordPress?

There are several compelling reasons to consider setting up SMTP for sending emails in WordPress:
- Improved Deliverability: Emails sent through SMTP are less likely to end up in spam folders. This is because SMTP is designed for reliable delivery.
- Enhanced Security: Using SMTP can help protect your email communications, as most SMTP providers, like SendGrid, encrypt your messages during transmission.
- Tracking Capabilities: With SendGrid, you can track the effectiveness of your email campaigns with detailed analytics, allowing you to gain insights into open rates, clicks, and more.
- Scalability: Whether you’re sending a few emails or thousands, SMTP can handle your email volume efficiently without compromising performance.
- Customization Options: SMTP allows for more customization in your email headers and formatting, allowing you to create professional-looking emails tailored to your brand.
- Reliable Support: Using established SMTP services like SendGrid means you’ll have access to support in case you run into issues.
In summary, utilizing SMTP for your WordPress email campaigns, particularly through a service like SendGrid, can greatly enhance the reliability, security, and effectiveness of your communication with subscribers and customers.
Creating a SendGrid Account
Setting up your SendGrid account is the first step toward sending emails from your WordPress site seamlessly. Don’t worry; the process is quite straightforward and can be completed in just a few minutes!
Here’s how to get started:
- Visit the SendGrid Website: Head over to sendgrid.com and look for the “Start for Free” button. This will take you to the registration page.
- Fill Out the Registration Form: You’ll need to provide some basic information like your name, email address, and a password. Make sure to choose a strong password for security!
- Verify Your Email: Once you submit the form, check your email inbox for a verification message from SendGrid. Click the verification link to confirm your account.
- Select a Plan: After verification, you’ll be prompted to choose a plan. The free tier is a great starting point, allowing you to send up to 100 emails per day!
- Complete Your Profile: Fill in any remaining details about your business or website. This information helps SendGrid personalize the service to your needs.
And voila! You’ve successfully created your SendGrid account. You’ll now have access to the dashboard where you can manage your email settings, track email delivery, and much more. Let’s move on to the next step: obtaining your SendGrid API key.
Obtaining Your SendGrid API Key
Great job on setting up your SendGrid account! Now, let’s dive into obtaining your API key, which is essential for connecting SendGrid with your WordPress site.
The API key acts as a secure credential that allows your website to communicate with SendGrid’s services. Here’s how to get it:
- Log Into Your SendGrid Dashboard: Start by logging into your SendGrid account using the credentials you just created.
- Navigate to Settings: On the left side menu, look for the “Settings” option. Click on it to expand the dropdown menu.
- Select API Keys: Under the settings menu, you’ll find “API Keys.” Click on that to proceed.
- Create a New API Key: Now you’ll see an option to “Create API Key.” Click it! You’ll be prompted to give your API key a name.
- Choose Permissions: For most WordPress functionalities, select “Full Access” to ensure you have all the permissions needed. If you’re more security-conscious, you can tailor these permissions based on your needs.
- Generate the Key: Click on “Create & View” to generate your API key. Make sure to copy this key and store it in a safe place, as you won’t be able to view it again once you navigate away from the page.
There you go! You now have your SendGrid API key at the ready. You’re all set to integrate it into your WordPress site and start sending emails effortlessly. Remember, keep that API key confidential to ensure the security of your email communications!
5. Installing an SMTP Plugin in WordPress
When it comes to sending emails from your WordPress site, using an SMTP plugin is essential for ensuring your messages get delivered reliably. Fortunately, installing an SMTP plugin is a straightforward process that anyone can do without being a techie.
Here’s how to install an SMTP plugin in WordPress:
- Log into Your WordPress Dashboard: Begin by signing into your WordPress admin area. This is usually found at
yourwebsite.com/wp-admin. - Navigate to Plugins: On the left sidebar, look for the “Plugins” option and click on it. You’ll see a list of your current plugins as well as a button at the top that says “Add New.”
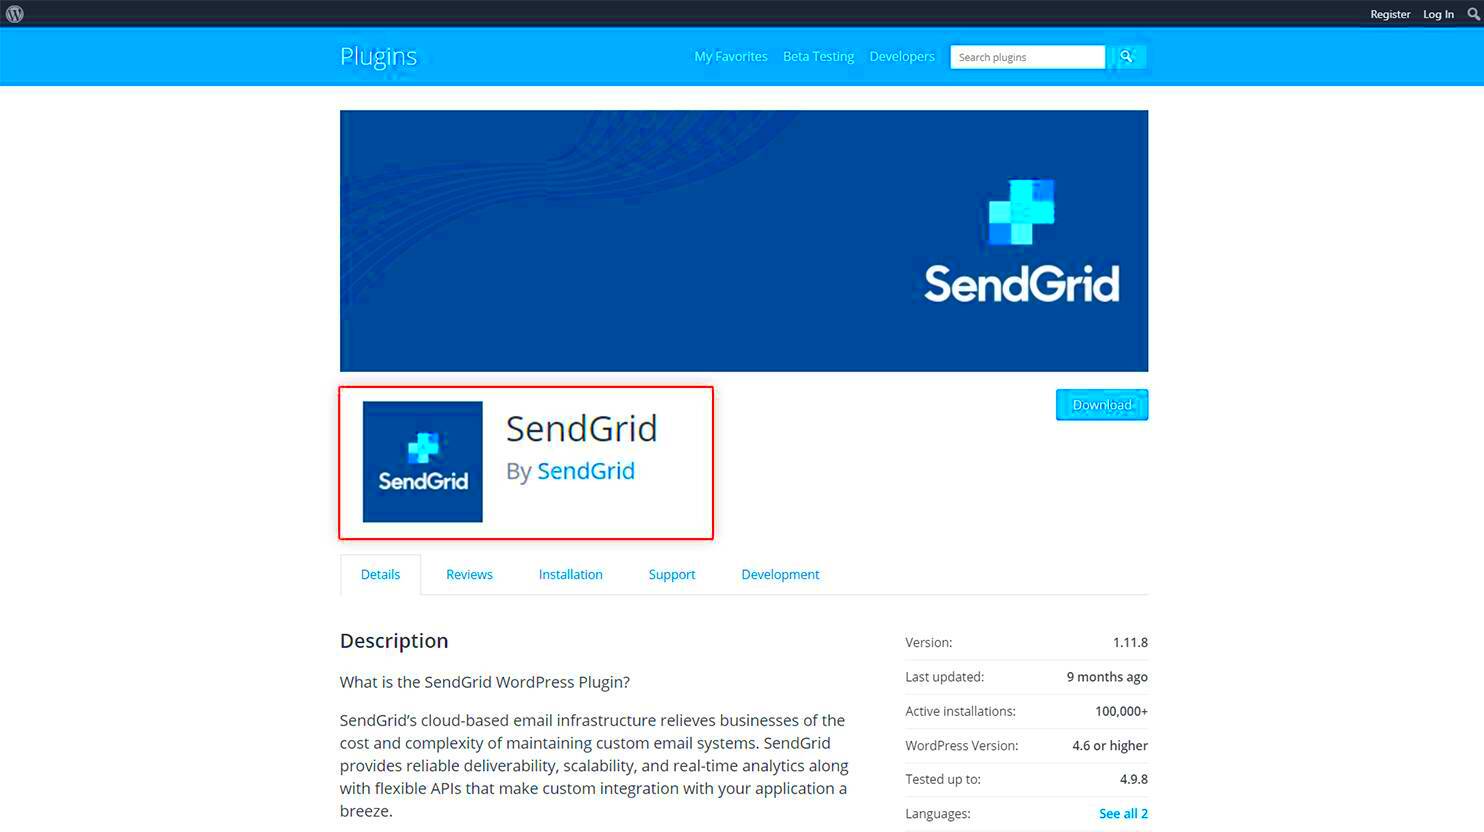
- Search for an SMTP Plugin: In the search bar on the “Add Plugins” page, type in “SMTP.” You’ll see various plugins available. A popular choice is WP Mail SMTP by WPForms.
- Install the Plugin: Once you find your plugin of choice, click the “Install Now” button. After it’s installed, the button will change to “Activate.” Click that to activate the plugin.
Congratulations! You’ve successfully installed an SMTP plugin. This step will pave the way for more efficient email communication through your WordPress website.
6. Configuring the SMTP Plugin with SendGrid
Now that you’ve installed your SMTP plugin, it’s time to configure it to work with SendGrid. This sweet integration ensures that emails sent from your site won’t end up in spam folders, enhancing your email deliverability. Let’s walk through the setup.
Follow these steps to configure your SMTP plugin with SendGrid:
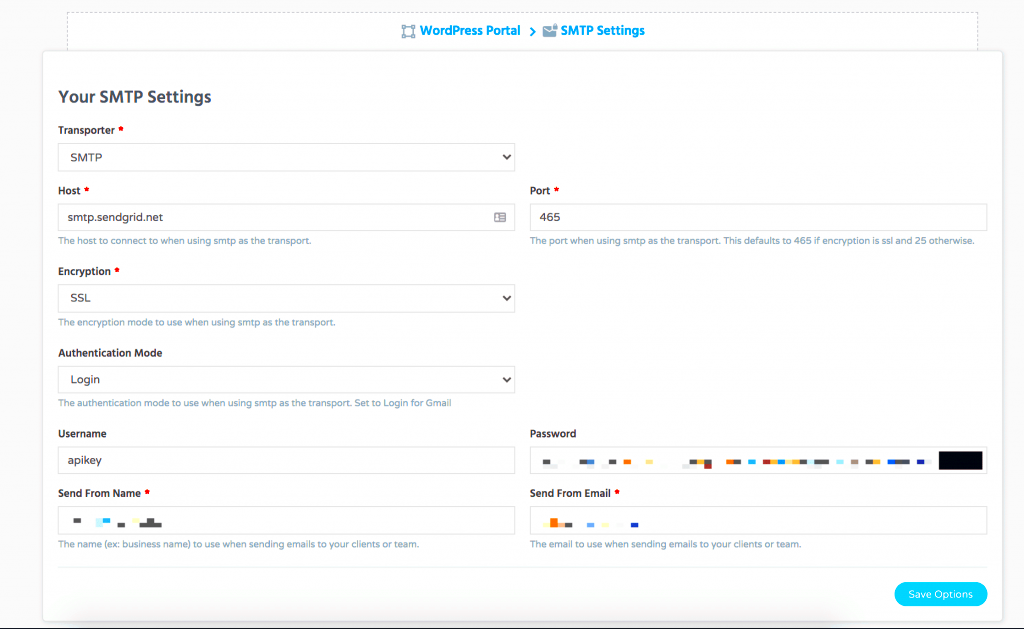
- Access Plugin Settings: Go back to your WordPress dashboard. Find “SMTP” under the sidebar menu and click on it. You will land on the settings page of your newly installed SMTP plugin.
- Set Up SMTP Configuration: Fill in the following fields based on SendGrid’s requirements:
- SMTP Host:
smtp.sendgrid.net - SMTP Port: Use
587for TLS or465for SSL. - Encryption: Choose between TLS or SSL based on the port you selected.
- Authentication: Make sure to enable this option.
- Username: Enter your SendGrid username (this is typically your SendGrid account name).
- Password: Input your SendGrid API key here. If you haven’t generated one yet, you’ll need to do so in your SendGrid account settings.
- SMTP Host:
- Save Your Changes: After filling in the required information, don’t forget to hit the “Save Settings” button to apply your configuration.
- Test Your Configuration: Most SMTP plugins have a built-in feature to test sending an email. Use this feature to send a test email to ensure everything is working perfectly.
And just like that, you’ve configured your SMTP plugin to work seamlessly with SendGrid! Now you can send emails confidently, knowing they’ll reach your audience’s inbox. Happy emailing!
7. Testing Your Email Configuration
Once you’ve set up SMTP for SendGrid in your WordPress site, it’s crucial to test the configuration to ensure everything is working smoothly. A successful test will confirm that your emails are being sent through SendGrid instead of being lost in the abyss of spam folders or, worse, not being sent at all. Let’s dive into how you can do this!
To test your email configuration, follow these simple steps:
- Install an Email Testing Plugin: A popular choice is the WP Email Test plugin. Install and activate it through your WordPress dashboard.
- Configure the Plugin: After activation, navigate to the plugin settings, where you’ll likely find options to enter your email and customize testing options.
- Send a Test Email: Enter your email address and click the button to send a test email. You should receive it shortly.
Now, let’s say you received the email successfully. Congratulations! Your setup is working fine. But if you encounter issues:
- Check your email’s spam folder.
- Ensure that your SendGrid API key is correct and active.
- Double-check your SMTP settings in the plugin configuration.
Additionally, using the SendGrid dashboard, you can monitor whether your emails have been sent successfully. Not only will you confirm functionality, but it will also help identify potential problems swiftly. Happy testing!
8. Troubleshooting Common SMTP Issues
Setting up SMTP for SendGrid in WordPress isn’t always a walk in the park. Sometimes, you might face some hiccups that can disrupt your email communications. The good news? Most issues are common and easily fixable with a bit of troubleshooting know-how. Let’s explore some frequent SMTP issues and how to resolve them!
| Issue | Solution |
|---|---|
| Emails Not Sending | Double-check your SMTP settings, including server, port, username, and API key in the plugin. Make sure everything matches your SendGrid account. |
| Emails Going to Spam | Ensure your domain is authenticated in SendGrid. Use SPF and DKIM records to enhance deliverability. |
| Connection Timed Out | Make sure your hosting provider allows SMTP connections on the port you’re using. Try changing to another port if necessary (usually 587 or 465). |
| Invalid API Key | Verify that the API key you entered in the plugin is correct and has the necessary permissions activated in your SendGrid account. |
If these tips don’t seem to resolve the issues, reach out to SendGrid’s support or check their comprehensive documentation for more in-depth troubleshooting steps. Remember, persistence is key when ironing out the kinks!
Conclusion: Enhancing Email Deliverability with SendGrid
Setting up SMTP for SendGrid in WordPress is a crucial step towards ensuring that your emails reach the inbox instead of landing in spam folders. By utilizing SendGrid’s robust infrastructure, you can effectively improve your email deliverability rates. Below are some key benefits and best practices for optimizing your WordPress emails using SendGrid:
- Improved Deliverability: SendGrid offers a high reputation and optimized deliverability, helping ensure your emails reach their intended recipients.
- Analytics and Reporting: Gain insights into your email performance with SendGrid’s comprehensive analytics tools, allowing you to track opens, clicks, and bounces.
- Scalability: Whether you’re sending a few emails or thousands, SendGrid easily scales to meet your needs without compromising performance.
- Authentication Support: Set up DKIM and SPF records to further enhance email security and improve deliverability.
- User-Friendly Integration: SendGrid’s plugins for WordPress make setup quick and straightforward, allowing you to focus on your content rather than technical details.
By following the steps to configure SMTP with SendGrid on your WordPress site, you can enhance your email communication significantly. Ensuring proper setup and authentication not only builds trust with your audience but also reinforces your brand’s reliability. With these tools in place, you are well-equipped to maximize your email outreach and campaign effectiveness while minimizing the risks of your messages being filtered out.


