Single Post Templates in Elementor provide a powerful way to customize your blog post layout and design. Instead of using the default theme styles, you can create a unique, visually appealing template that reflects your brand’s identity. Think of it as the canvas for your storytelling—a space where your content can truly shine and engage readers. Whether you want to add custom elements or simply want a refreshed look, single post templates can transform how your audience interacts with your content.
Why Use Single Post Templates?
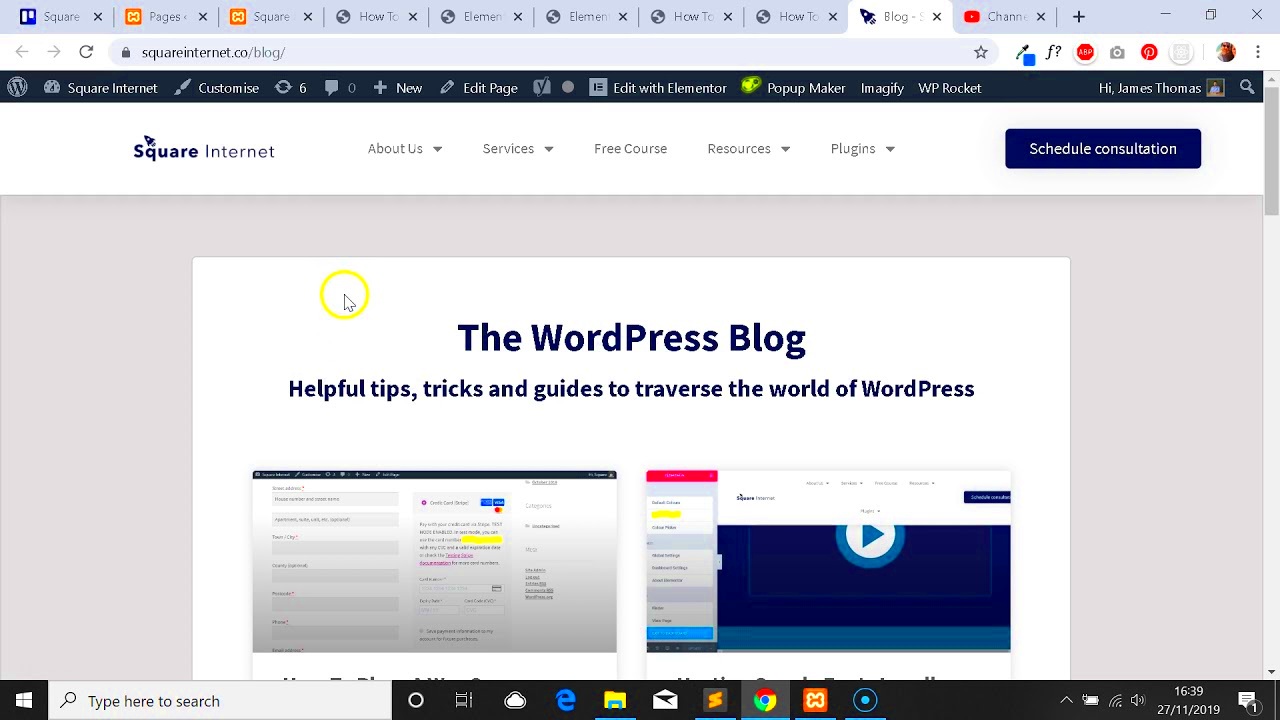
Now, you might be wondering, why should you bother setting up single post templates? Here are some compelling reasons:
- Consistency Across Posts: With a single post template, you ensure that all your posts have a uniform look and feel. This consistency helps create a stronger brand identity, making it easier for readers to recognize your work.
- Enhanced User Experience: A well-designed post template improves readability and navigation for your audience. Incorporating elements like related posts, author bios, and featured images can guide readers through a seamless experience.
- Easy Customization: Elementor’s drag-and-drop interface lets you customize your template without any coding. Want to change the layout, adjust colors, or add new sections? No problem—just a few clicks and you’re good to go!
- SEO Advantages: Properly structured templates can enhance your SEO efforts. By having a consistent layout, you make it easier for search engines to crawl your content while also providing a better user experience, which can lead to lower bounce rates.
- Increased Engagement: Custom post templates allow you to highlight call-to-action buttons, social sharing options, and other elements that encourage user interaction, keeping readers engaged with your content.
In essence, using single post templates in Elementor not only enhances your blog’s aesthetics but also elevates its functionality. So, let’s dive deeper into how to set these templates up effectively!
Getting Started with Elementor
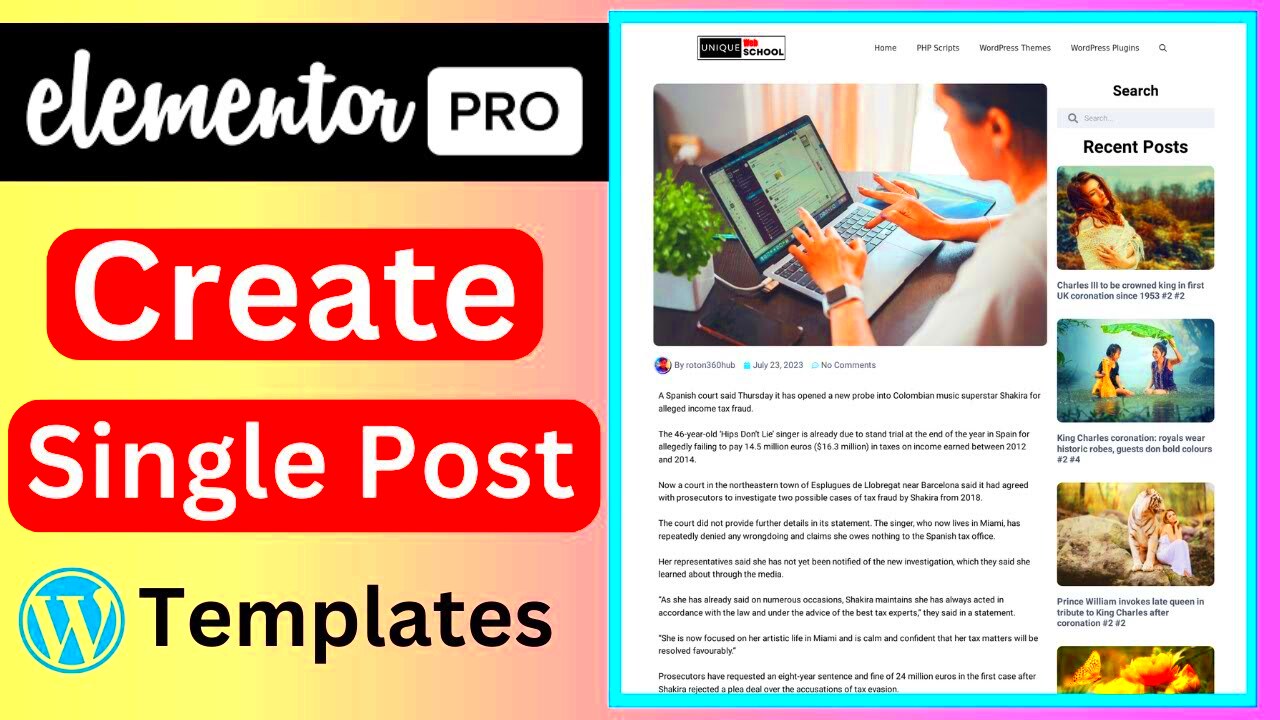
Starting with Elementor can feel like stepping into a digital playground, and believe me, it’s easier than you might think! Elementor is a powerful page builder for WordPress that allows you to create beautiful and responsive designs without any coding knowledge. So, let’s get your hands dirty!
First, you need to install and activate the Elementor plugin. Here’s how you can do that:
- Log into your WordPress dashboard.
- Navigate to Plugins > Add New.
- Search for “Elementor” in the search bar.
- Click the Install Now button and then activate it.
Once installed, you’ll see an Elementor option in your dashboard menu. Click on it to open the Elementor interface, where all the magic happens! You’ll find a clean and user-friendly drag-and-drop editor. The best part? You can continue to use the default WordPress editor for your basic posts, but when you want something extra,
Moreover, Elementor provides numerous pre-designed templates. You can easily import them into your posts. Want to add a fancy heading or a stylish button? Just drag and drop! The options are endless. You’ll quickly find yourself experimenting with different elements and layouts, transforming your ideas into stunning visual content!
Accessing the Theme Builder
Now that you’re familiar with Elementor and its functionalities, let’s dive into the Theme Builder. This powerful feature allows you to design your entire theme—from headers and footers to archives and single post templates—without breaking a sweat. Accessing this tool is a straightforward process!
To get started, follow these simple steps:
- In your WordPress dashboard, find and click on Templates in the left-side menu.
- Then select Theme Builder.
Once you’re in the Theme Builder, you’ll see different types of templates available for you to customize:
- Single Post: Customize how individual blog posts look.
- Archive: Design the layout for category or tag pages.
- Header: Create unique headers for your website.
- Footer: Design eye-catching footers for your pages.
To create a new single post template, simply hit the Add New button and select Single Post. Elementor will prompt you to choose from pre-made templates or start from scratch. With its intuitive interface, you can add elements like post titles, featured images, and content areas as per your design preference.
The Theme Builder empowers you to maintain a consistent design throughout your site, which is crucial for enhancing user experience. So go ahead, explore, and unleash your creative side!
Creating a New Single Post Template
Setting up a new single post template in Elementor is a gratifying process that can significantly enhance your site’s user experience. Imagine having a dynamic and stylish layout for your blog posts that not only reflects your brand but also provides your readers with an engaging environment. Here’s how you can create one in just a few steps:
First, you need to access your Elementor dashboard. From your WordPress dashboard, navigate to Templates and then select Theme Builder. Here, you’ll find the option to add a new template. Simply click on the Add New button, where you will be prompted to choose what type of template you want to create. In this case, select Single from the dropdown menu.
Next, a pop-up will appear asking you to specify what type of single template you’re creating. Choose Post, as we’re focusing on single post templates.
Once you’ve done that, give your template a name to help you identify it later. After that, click on Create Template. Elementor will then take you to the editing interface where you can start customizing your new single post template.
At this point, you might notice several pre-designed templates offered by Elementor. You can either pick one of these as a starting point or simply close the template library and create a layout from scratch. Whatever works best for you!
Finally, don’t forget to click on Publish once you’re satisfied with your creation. You’ll be taken through a series of settings that let you specify where this template should apply, such as to all posts or specific categories. This is your chance to make sure your template fits perfectly into your site.
Designing Your Template Layout
Designing the layout for your single post template in Elementor allows you to get creative! It’s your canvas where you can showcase your content in the most engaging way. Let’s dive into some practical ideas on how to make your post layout stand out:
When you first enter the Elementor editor for your new template, you’ll see a blank canvas. Here are some key elements you might want to consider adding:
- Post Title: Add the dynamic Post Title widget. This will automatically pull the title of your post, ensuring it’s always up to date.
- Post Content: Use the Post Content widget to display your article text. This widget will ensure that all your formatted content appears correctly.
- Featured Image: Don’t forget to highlight your post’s featured image! The Post Featured Image widget can do this effortlessly, adding a visual appeal right at the top.
- Author Info: Consider including an Author Box widget to show who wrote the post. This builds credibility and connection with your audience.
- Comments Section: Add a Comments widget to encourage reader interaction. Engaging with your posts can be a great way to build community.
Of course, the layout options are virtually limitless. You can also customize spacing, colors, and typography to match your brand aesthetics. Perhaps you want a sidebar with related posts, or maybe you prefer a full-width layout for a more immersive experience? Every element is adjustable!
Responsive Design is key! Make sure you check how your template looks across different devices—desktop, tablet, and mobile. Elementor allows you to set different styles for each device, ensuring a seamless experience for every user.
Once you’re happy with your design, take a moment to preview it. If everything looks great, hit that Publish button. Your new single post template is now ready to delight your readers!
7. Dynamic Content Features
When you’re diving into the world of Elementor, one of the most exciting aspects that you can explore is the Dynamic Content Features. These elements allow you to create a more personalized and intuitive experience for your readers, making your posts not only visually appealing but also rich in context.
Dynamic content essentially means that you can pull in specific data from your WordPress environment to display it in your post template. Imagine having the ability to automatically showcase post titles, featured images, publish dates, or custom fields without having to add them manually each time. Here’s how you can leverage these features:
- Dynamic Tags: Elementor has a feature called dynamic tags. These tags allow you to insert content dynamically, meaning whatever you have inputted in your post’s meta can be displayed automatically. Think of it as a smart way to populate your template.
- Custom Fields: If you’re using plugins like Advanced Custom Fields (ACF), you can easily pull in data that’s tailored to the specifics of your post, such as ratings, additional descriptions, or even custom images.
- Post Query Control: You can design templates that change based on the conditions you set. So, maybe you want to show specific content to different types of users or highlight particular posts based on categories. Dynamic content can make this a breeze.
Overall, incorporating dynamic content turns your single post templates into highly functional and adaptable designs that can continually engage your audience. You’re not just creating static content; you’re crafting an interactive experience that can grow along with your site.
8. Customizing Post Meta and Author Boxes
Customizing the Post Meta and Author Boxes within your Elementor single post templates can significantly enhance user engagement. They provide essential information that enriches the context of your posts and establishes the credibility of the author behind the content.
Let’s break down what each of these features entails:
- Post Meta: This includes details like the publication date, the number of comments, and categories. By customizing these elements, you enhance usability. Here’s how you can easily do this in Elementor:
- Post Meta widget in Elementor.
- Choose which elements you want to display like author name, publish date, categories, and tags.
- Style them to match your brand colors and fonts for a cohesive look!
- Author Boxes: An *Author Box* is a great way to showcase who wrote the post. You can give a face to your content, instilling trust with your readers. Here’s how to set it up:
- Use the Author Box widget from Elementor.
- Include a profile picture, a short bio, and links to social media. This personal touch can make a big difference!
- Customize the layout and style it to match the overall aesthetic of your blog.
Remember, these features not only contribute to the visual appeal but also help build a connection with your audience. By providing essential information about the post and the author, you’re giving your readers more reasons to stick around and explore your site further.
Using Widgets for Enhanced Functionality
One of the standout features of Elementor is its robust selection of widgets, which allow you to enhance the functionality of your single post templates significantly. So, what exactly are these widgets, and how can they elevate your posts? Let’s break it down.
Widgets in Elementor act like building blocks. They are pre-designed elements that can add various features and styles to your post template without needing any coding skills. Here are some commonly used widgets that can enhance your single post template:
- Post Title: Displays the title of your post dynamically and allows customization to match your site’s aesthetic.
- Post Content: This widget dynamically pulls in your post’s content. You can also style it with unique fonts, colors, and layouts.
- Featured Image: A crucial element for grabbing attention; this widget lets you showcase the standout image for your posts easily.
- Social Share Buttons: Promote sharing your posts across social platforms. It encourages readers to spread your content organically.
- Comments Section: Integrating a comments widget can engage your readers, allowing them to discuss and provide feedback directly on your posts.
You can also experiment with advanced widgets like sliders, video embeds, or even custom post types to create a more diverse and interactive experience for your readers. The best part? You can drag and drop them wherever you want, making it a breeze to find the right layout that resonates with your audience’s needs.
Previewing and Testing Your Template
Once you’re satisfied with your single post template, the next crucial step is to preview and test it. Why is this aspect so important? Well, you want to ensure everything looks and functions as you intended across various devices. Here’s how to go about it.
Elementor provides a handy preview feature that allows you to see your post template in real-time. Click on the eye icon at the bottom of the Elementor editor to open the preview mode. Once in preview mode, consider the following:
- Mobile Responsiveness: With a significant amount of web traffic coming from mobile devices, it’s essential to check how your template looks on smaller screens. Use the mobile icon in the bottom left to toggle view.
- Content Layout: Scroll through your content to ensure that images, headings, and text are aligned and spaced correctly. Any element overlapping or appearing distorted can detract from the user experience.
- Functional Testing: Test all links, buttons, and interactive elements. Ensure that readers can easily navigate your site and utilize features like social sharing and commenting.
After testing, don’t hesitate to go back and make adjustments. Remember, the goal is to create a seamless reading experience that keeps your audience engaged. Once you’re satisfied and all elements are functioning perfectly, click the “Publish” button, and voilà! Your new single post template is live for the world to see.
11. Publishing Your Single Post Template
Once you’ve designed your single post template in Elementor, the exciting moment comes when you hit that publish button! But wait, there are a few steps you should go through to ensure everything is set up correctly.
First off, after finishing your design, you’ll want to preview your template to see how it looks in the context of a real blog post. To do this, click on the eye icon in the bottom left corner of the Elementor editor. This allows you to explore the template in real-time.
Once you’re satisfied with your design, it’s time to publish. Here’s how:
- Click on the Publish button located at the bottom of the Elementor panel.
- You’ll be prompted to set the conditions for your template. Generally, you’ll want your single post template to apply to all posts, so choose “All Posts”.
- After setting your conditions, you can hit Save & Close. Your template is now live!
Keep in mind that once your template is published, you can still go back and make adjustments as needed. Simply navigate to Templates > Saved Templates, find your single post template, and click on Edit with Elementor to make changes. If you want to delete it or change the display conditions later, that’s also easily done from the same section.
And that’s it! Your single post template is now published and ready for your readers. Take a moment to explore how it looks live on your site, and don’t forget to test it across different posts to ensure it provides a consistent experience!
12. Best Practices for Single Post Templates
Creating a single post template that stands out requires more than just aesthetics; it demands a thoughtful approach to functionality and user experience. Here are some best practices that will help you design an effective single post template in Elementor.
- Responsive Design: Ensure your template looks great on all devices. Test it on desktops, tablets, and smartphones to confirm a seamless experience.
- Readability: Choose fonts that are easy to read. Good contrast between text and background is essential. A font size of at least 16px is recommended for body text.
- Visual Hierarchy: Use headings (H1, H2) and subheadings wisely to organize your content. This helps readers skim through easily.
- Featured Images: Incorporate a visually engaging featured image. This not only enhances the look of your post but can also capture the reader’s attention.
- Calls to Action (CTAs): Encourage reader engagement with strategically placed CTAs. This can guide users to related posts or ask them to subscribe to your newsletter.
Additionally, here’s a quick table to summarize some technical considerations:
| Element | Best Practice |
|---|---|
| Images | Optimize for fast loading speeds (JPEG, PNG) |
| SEO | Use relevant keywords in headings and meta descriptions |
| Social Sharing | Add social sharing buttons for easy content distribution |
By keeping these best practices in mind, you’ll set yourself up for success with a single post template that not only looks amazing but also engages your audience effectively. So, roll up those sleeves and get creating!
Conclusion and Further Resources
Setting up single post templates in Elementor not only streamlines your workflow but also enhances the user experience. By customizing your post templates, you create a consistent and professional look that aligns with your branding. The steps outlined in this guide provide a solid foundation for navigating Elementor’s powerful capabilities and tailoring your blog posts to meet your specific needs.
To further enhance your skills and explore more complex options, consider these resources:
- Elementor Official Documentation: A comprehensive guide on all features and functionalities of Elementor.
- YouTube Tutorials: Many creators offer step-by-step videos that showcase various techniques in Elementor, making learning visual and engaging.
- Community Forums: Join Elementor community groups on platforms like Facebook or Reddit to share experiences and ask questions.
- Blog Posts: Follow blogs that specialize in WordPress and Elementor for tips, tricks, and new ideas.
- Online Courses: Consider enrolling in courses focused on Elementor and WordPress design for structured learning.
By leveraging these resources, you’ll be well-equipped to expand your knowledge and incorporate advanced features into your post templates. Remember, practice makes perfect, so dive in and start creating unique layouts that resonate with your audience.

