Accessibility is not just a buzzword; it is essential for creating a web experience that everyone can enjoy. Ensuring your WordPress website is accessible means that users with disabilities, such as visual impairments, hearing issues, or mobility challenges, can interact with your content without barriers. Accessibility is not only about inclusivity; it also improves your site’s overall user experience and helps with SEO. By making your site accessible, you are not just following best practices but also reaching a wider audience.
How to Get Started with Free Accessibility Tools
Getting started with accessibility on your WordPress site is easier than you might think, especially with the availability of free tools and plugins. These tools can help you identify and fix accessibility issues without the need for coding knowledge. Here are some popular options:
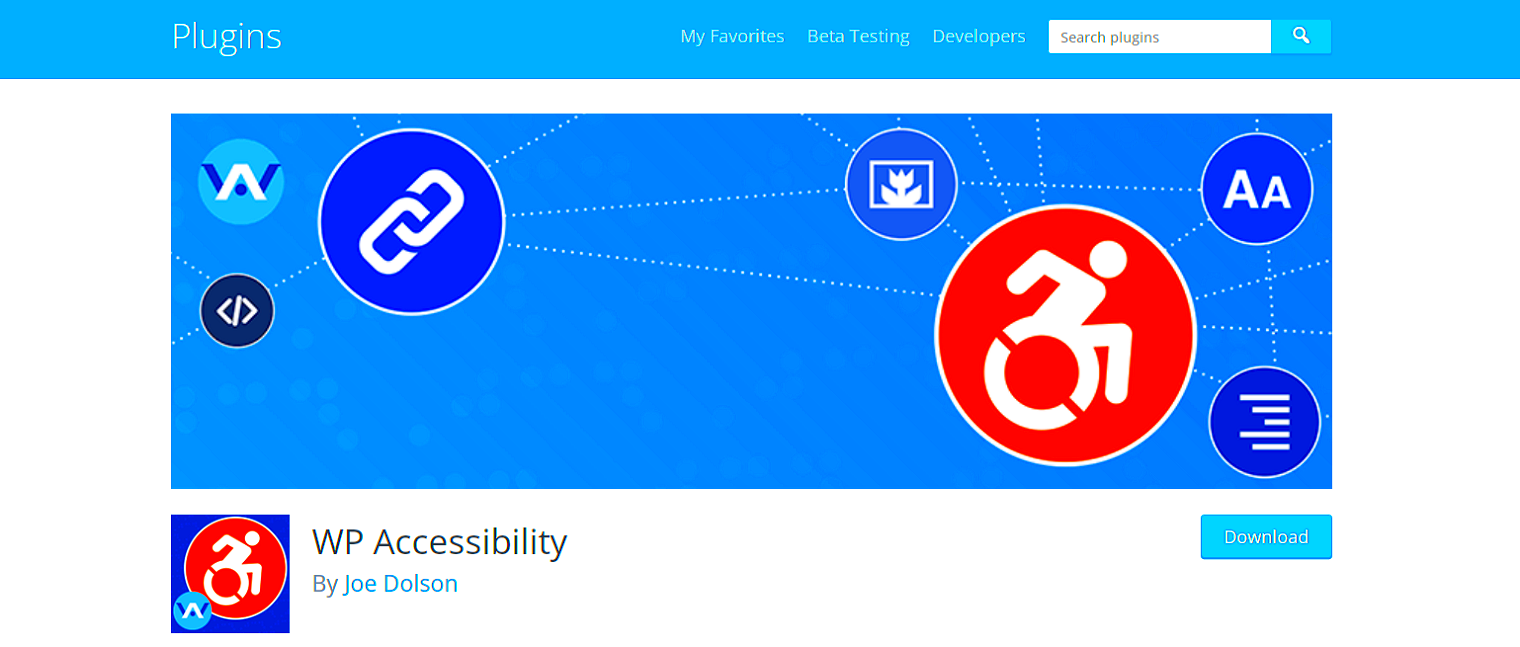
- WP Accessibility: A powerful plugin that adds features like skip links, accessibility toolbar, and color contrast adjustments.
- One Click Accessibility: An easy-to-use plugin that provides options for font size adjustments, grayscale mode, and keyboard navigation.
- WAVE Browser Extension: This tool helps you check your site’s accessibility directly from your browser, highlighting any issues.
These tools can make your WordPress site more inclusive and compliant with accessibility standards. Start by installing one or two of these plugins, and you’ll be on your way to a more user-friendly website.
Installing and Setting Up Accessibility Plugins on WordPress
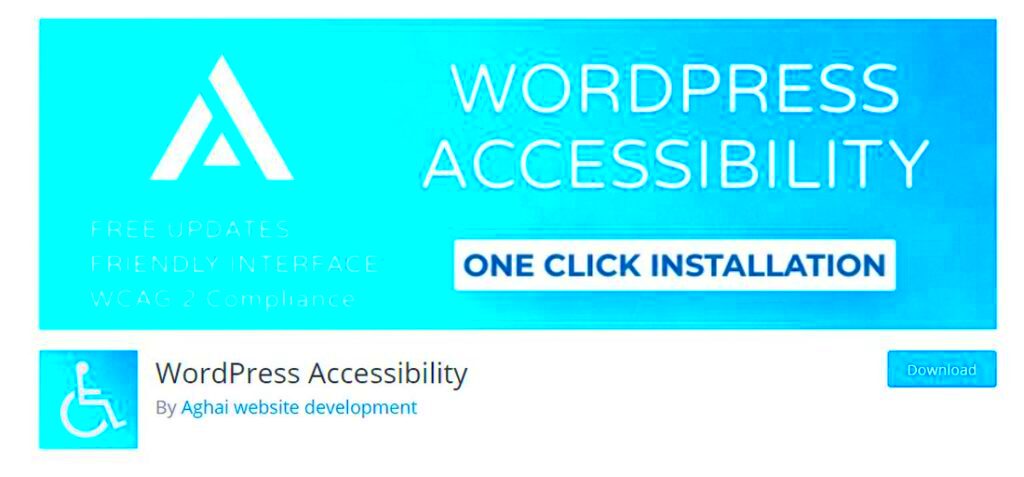
Installing accessibility plugins on your WordPress site is a straightforward process, even if you are not tech-savvy. Here is a step-by-step guide to get you started:
- Login to Your WordPress Dashboard: Go to Plugins > Add New.
- Search for Accessibility Plugins: Use the search bar to find plugins like WP Accessibility or One Click Accessibility.
- Install and Activate the Plugin: Click the Install Now button, then activate the plugin once it is installed.
- Configure Plugin Settings: Go to the plugin’s settings page to customize features such as skip links, color contrast, and font resizing options.
To make sure you are setting up the plugins correctly, follow the documentation provided by the plugin developers. Most plugins come with user-friendly instructions, making it easy for beginners to enhance their website’s accessibility. Here’s a quick comparison table of some popular plugins:
| Plugin | Key Features | Ease of Use |
|---|---|---|
| WP Accessibility | Skip links, color contrast, and accessibility toolbar | Beginner-friendly |
| One Click Accessibility | Font size adjustment, keyboard navigation | Easy to set up |
| Accessibility Checker | Real-time page analysis, suggestions for improvements | Intermediate |
By following these steps, you can make your WordPress site accessible to everyone, enhancing user experience and potentially boosting your site’s rankings on search engines.
Using Built-in WordPress Features for Accessibility
WordPress comes with several built-in features that make it easier to create an accessible website without extra plugins or tools. These features help ensure your site is user-friendly for everyone, including those with disabilities. Let’s explore some of the default options that you can start using right away:
- Alt Text for Images: WordPress allows you to add alt text to images, which helps screen readers describe the image content to visually impaired users. Make sure your alt text is descriptive and relevant.
- Heading Structure: Properly use heading tags (like H2, H3) to organize your content. This helps screen readers navigate your website more effectively. WordPress’s visual editor makes it easy to apply headings.
- Keyboard Navigation: WordPress themes generally support keyboard navigation by default. This feature allows users who cannot use a mouse to navigate your site using only the keyboard.
- Accessible Links: WordPress enables you to add accessible links with descriptive text. Avoid using vague terms like “click here” and instead use specific phrases like “read our latest blog post.”
- ARIA Labels: WordPress also supports ARIA (Accessible Rich Internet Applications) labels, which improve accessibility for interactive elements. These can be added through the block editor for better user experience.
By leveraging these built-in features, you can make your WordPress website more accessible without needing advanced technical skills. Always remember to choose an accessibility-friendly theme to complement these features.
Optimizing Your Website Content for Accessibility
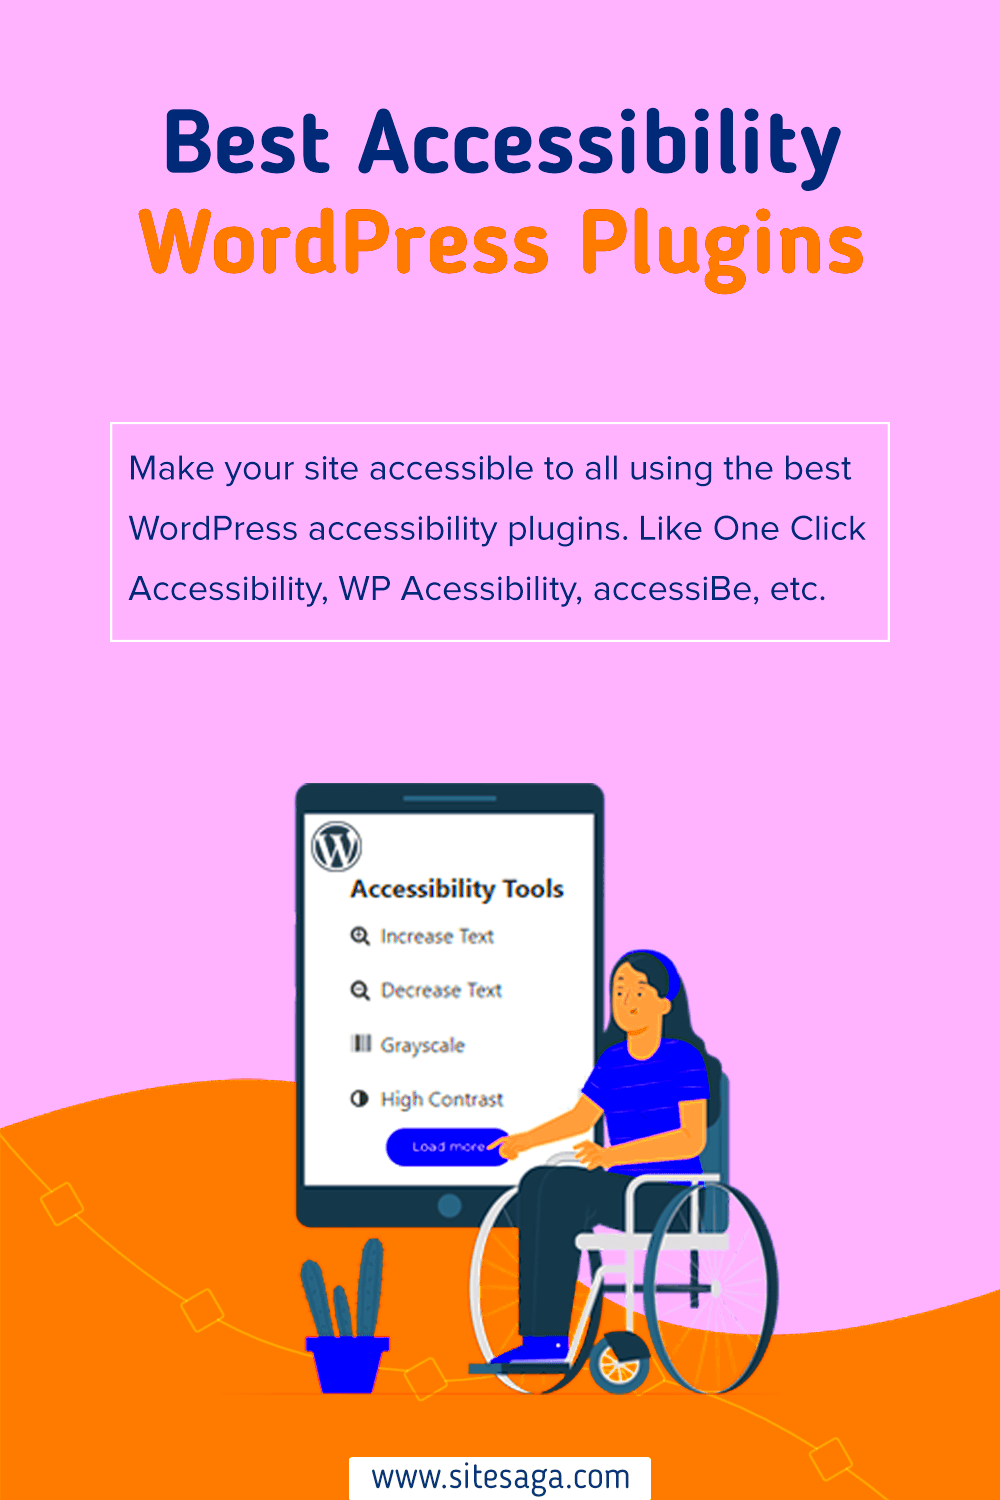
Creating accessible content goes beyond just adding plugins. It involves thoughtful consideration of how your content is presented to all users. Here are some best practices to optimize your website content for accessibility:
- Use Descriptive Headings: Organize your content with clear headings and subheadings. This helps screen readers and enhances the readability for everyone.
- Ensure Sufficient Color Contrast: Check that the text on your site has enough contrast against its background. Use tools like the WebAIM Contrast Checker to verify.
- Write in Plain Language: Use simple and clear language to ensure your content is easy to understand for a wide audience, including those with cognitive disabilities.
- Include Captions and Transcripts: For any multimedia content like videos, add captions or transcripts. This helps users with hearing impairments follow along.
- Accessible Forms: Make sure your forms are labeled properly. WordPress allows adding descriptive labels and instructions for form fields, making it easier for screen readers to convey information.
By focusing on these areas, you will not only improve the accessibility of your site but also enhance user engagement and satisfaction. Accessible content benefits everyone, making your site more inclusive and easier to navigate.
Testing Your Website for Accessibility
Once you have implemented accessibility features on your WordPress site, it’s crucial to test your website to ensure everything works as expected. There are various free tools and techniques to help you evaluate your site’s accessibility:
- WAVE Accessibility Tool: A browser extension that highlights accessibility issues and provides suggestions for improvement.
- Google Lighthouse: Built into the Chrome browser, this tool offers an accessibility audit, giving you a score and actionable insights.
- Keyboard Testing: Try navigating your website using only your keyboard (Tab, Enter, Spacebar). This ensures that users who rely on keyboard navigation can access all areas of your site.
- Screen Reader Testing: Use screen reader software like NVDA (Windows) or VoiceOver (Mac) to experience your site from the perspective of visually impaired users.
Here’s a quick checklist for accessibility testing:
| Accessibility Check | Status |
|---|---|
| Alt Text on Images | Check if all images have descriptive alt text. |
| Keyboard Navigation | Ensure all buttons, links, and forms are accessible via keyboard. |
| Color Contrast | Verify that the text is readable against its background. |
| Form Labels | Check that all forms have clear labels and instructions. |
Regularly testing your site’s accessibility will help you maintain a user-friendly experience for all visitors. Aim to test your site after any major updates or changes to ensure continued compliance.
Best Practices for Maintaining Accessibility on Your WordPress Site
Accessibility is not a one-time task but an ongoing process. To keep your WordPress site accessible, it’s essential to regularly check and update your site according to the latest best practices. Here are some key strategies to ensure your site remains accessible:
- Update Plugins and Themes: Always use the latest versions of your plugins and themes. Updates often include improvements for accessibility and security.
- Regular Accessibility Audits: Perform periodic checks using tools like WAVE or Google Lighthouse to identify new issues that may arise over time.
- Content Reviews: Ensure that any new content added to your site (like blog posts or pages) follows accessibility guidelines. This includes using proper heading structures, alt text for images, and descriptive link texts.
- Test with Real Users: Engage users with disabilities to test your website. Their feedback can be invaluable in uncovering issues that automated tools might miss.
- Accessible Media: As you add videos, podcasts, or infographics, ensure they come with captions, transcripts, or alt descriptions. This improves accessibility for users with visual or hearing impairments.
By implementing these best practices, you’ll not only maintain a high standard of accessibility but also ensure a positive user experience for all visitors. Accessibility is an ongoing journey, but with regular maintenance, you can keep your site inclusive and user-friendly.
Frequently Asked Questions about WordPress Accessibility
Accessibility can seem daunting, but it doesn’t have to be. Here are some common questions that website owners have about making their WordPress sites accessible:
- What is website accessibility?
Accessibility means making your website usable for people with disabilities. This includes users who rely on screen readers, keyboard navigation, or other assistive technologies. - Do I need a plugin to make my WordPress site accessible?
While plugins like WP Accessibility can help, WordPress also has built-in features that promote accessibility. You can start by using a theme that follows accessibility guidelines and optimizing your content accordingly. - How can I test my website’s accessibility?
Use tools like WAVE, NVDA (for screen reader testing), and keyboard-only navigation to test your site. These tools help you identify issues and provide actionable feedback. - What are ARIA labels, and should I use them?
ARIA (Accessible Rich Internet Applications) labels provide additional context to screen readers. They are helpful for interactive elements like buttons and forms, enhancing their accessibility. - Will making my site accessible improve SEO?
Yes! Accessible websites often perform better in search engine rankings because they follow best practices like proper heading structures, alt text for images, and fast load times.
These FAQs cover the basics, but accessibility is a vast topic. Keep learning and exploring new ways to make your site more inclusive.
Conclusion and Final Thoughts on Making WordPress Accessible
Ensuring your WordPress site is accessible is a critical step in creating a welcoming online space for all users. By implementing accessibility best practices, you are not only complying with legal standards but also enhancing user experience, boosting SEO, and expanding your audience reach. Remember, accessibility is an ongoing commitment. Regular audits, content updates, and user feedback are key to maintaining a website that everyone can enjoy.
In the end, accessibility is about empathy—making the web a place where everyone feels included. So, take the first step today by integrating accessibility into your WordPress site. Your users will thank you, and your website will thrive because of it.

