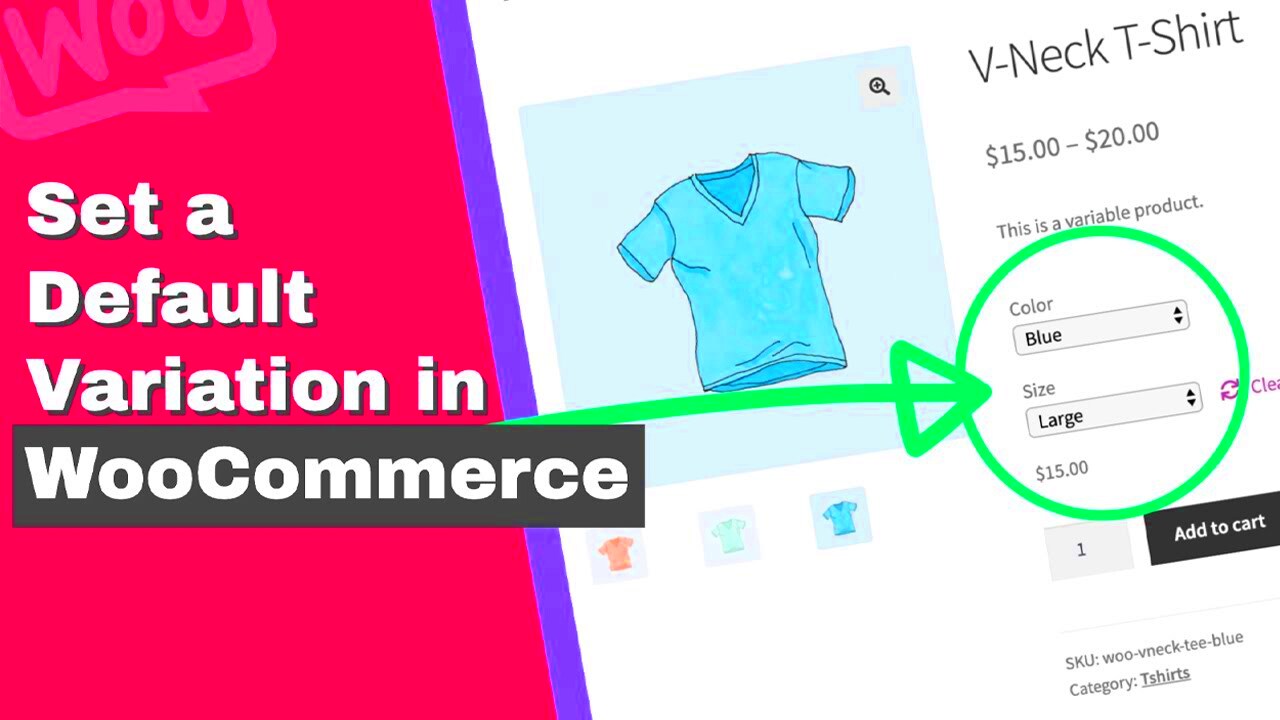
Setting default product variations in WooCommerce can significantly enhance the shopping experience for your customers. When a customer lands on your product page, the default variation showcases the most relevant option, making it easier for them to make a purchase decision. In this post, we’ll explore how to effectively set up default variations, ensuring your online store is optimized for sales.
Understanding WooCommerce Product Variations
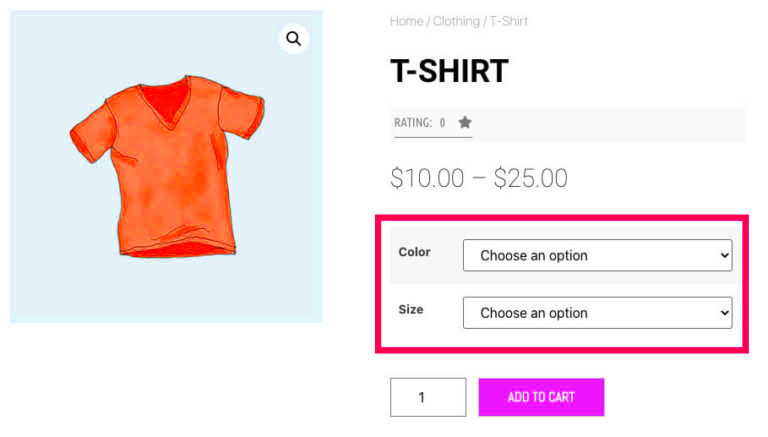
Let’s dive deeper into what product variations are in WooCommerce. If you’re selling products that come in different attributes—like sizes, colors, or styles—you’ll be using product variations. Here’s how it works:
- Product Attributes: These are the different characteristics of a product, such as color or size. You can create attributes in WooCommerce and define them for each product.
- Variable Products: This is a product type that allows you to offer different variations. For instance, if you sell a t-shirt, you might have different sizes (small, medium, large) and colors (red, blue, green).
- Default Variations: This is the specific variation that appears by default when a customer visits the product page. Setting a default helps guide your customers toward a specific choice.
Here’s a quick rundown to illustrate how product variations work:
| Product Attribute | Available Options |
|---|---|
| Size | Small, Medium, Large |
| Color | Red, Blue, Green |
By grasping these concepts, you can ensure that your online store not only showcases your products effectively but also streamlines the shopping process for your customers.
Benefits of Setting Default Variations
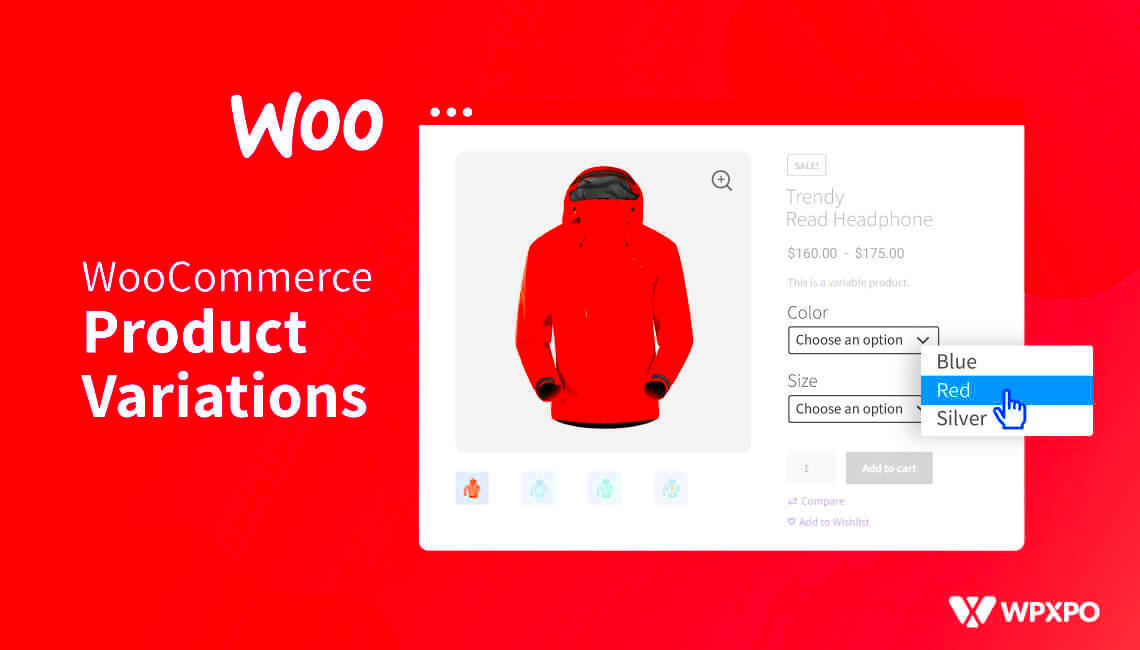
Setting default product variations in WooCommerce comes with a slew of advantages that not only improve the shopping experience but also boost your sales conversions. Let’s explore some key benefits:
- Simplified Shopping Experience: By setting default variations, you streamline the purchasing process for your customers. Imagine a shopper who wants to buy a t-shirt; if you have a default size and color pre-selected, it removes the guesswork. This makes it easier for customers to make quick decisions without sifting through options.
- Increased Conversion Rates: When customers see a product with a pre-selected variation, they are more likely to stay on your page rather than bouncing away. Less confusion and fewer choices can lead to higher conversions, as customers are less likely to change their minds!
- Improved Inventory Management: By designating a default variation, you can better track which products are being sold more frequently. This allows you to make informed decisions about restocking or even discontinuing specific variations, ensuring your inventory is aligned with customer preferences.
- Enhanced User Engagement: A well-organized product page with a default variation engages customers more effectively. When they see a clear, pre-selected option, it encourages further exploration of other related products or variations.
- Customizable Shopping Experience: Customers appreciate personal touches. If you set a default variation based on historical sales data or customer preferences, it shows that you understand their needs, improving brand loyalty in the process.
How to Set Default Product Variations in WooCommerce
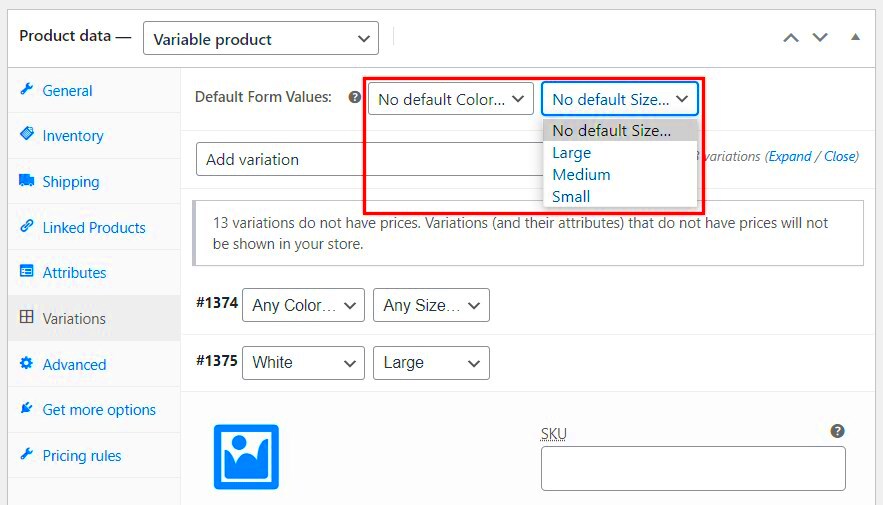
Setting default product variations in WooCommerce is a straightforward process and can significantly enhance your store’s usability. Here’s a step-by-step guide that walks you through it:
- Log into Your WooCommerce Store: Start by logging into your WordPress dashboard.
- Navigate to Products: Go to Products on the left sidebar, and click on All Products. Here, you’ll see a list of your existing products.
- Edit the Product: Find the variable product for which you want to set default variations and click on the Edit link.
- Select Attributes: Scroll down to the Product data section. Ensure that you have attributes already defined for your product (like size, color, etc.). If not, you’ll need to add them here first.
- Set Default Options: In the Variations tab, you’ll see a list of all your variations. Look for the Default Form Values section. Here, you can set specific options as default for each attribute. For example, if your attributes are color and size, decide which color and size should be shown by default.
- Save Changes: Once you have selected your default values, don’t forget to click Update to save your changes.
And there you have it! Your WooCommerce store is now ready to provide a more user-friendly experience with default product variations that cater to customer needs and drive sales.
Using Code to Set Default Variations
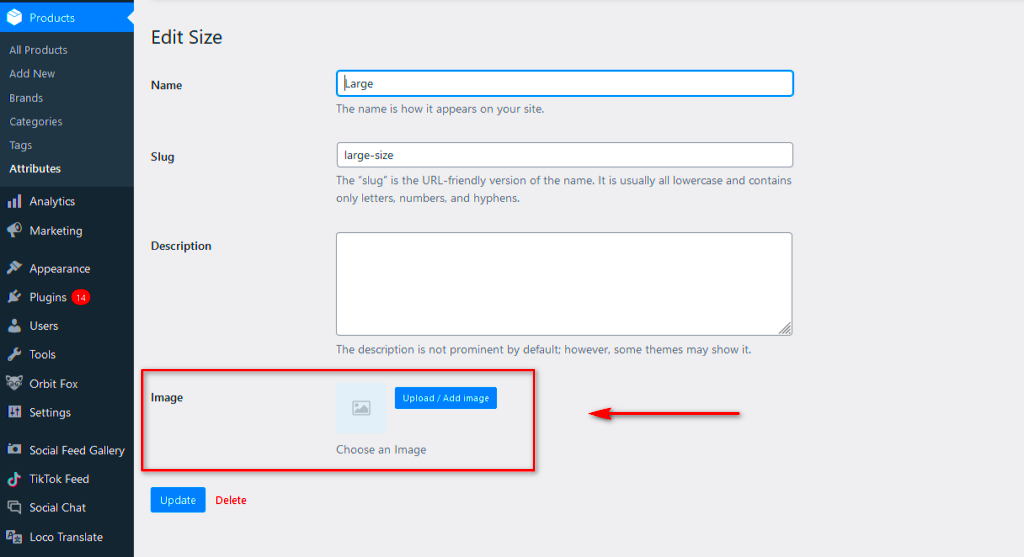
If you’re a bit more tech-savvy or have a developer on hand, setting default product variations using code can be a powerful way to customize WooCommerce. This method is particularly useful if you’re dealing with a large number of products and need to streamline the process. Plus, it gives you the flexibility to set variations based on specific conditions or rules that the default settings might not allow.
To set default variations with code, you can use a snippet in your theme’s functions.php file. Here’s a simple example:
add_action('woocommerce_variation_set_stock_status', 'set_default_variation', 10, 1);function set_default_variation($variation) { if (is_product()) { // Check if the product has variations if ($variation->get_parent_id()) { // Set the default variation $product = wc_get_product($variation->get_parent_id()); $product->set_default_attributes(array('attribute_pa_color' => 'blue', 'attribute_pa_size' => 'large')); $product->save(); } }}This snippet hooks into WooCommerce and sets the default variation for color and size when the product is viewed. Remember to replace the attributes and values with those relevant to your products. Always make sure to back up your site before making any changes to the code!
Using code gives you precise control over your variations. However, if you’re not comfortable with code, consider using the plugin options or asking a developer to assist you.
Testing Your Default Product Variations
- Visit the Product Page: Go to the product page and check if the default variations are selected correctly. Are the attributes you intended to be highlighted? Make sure they match your set default values.
- Mock Purchases: Add the product to your cart with different variations. This step will help identify if the variations function as expected during the checkout process.
- Mobile and Desktop Testing: Sometimes, variations might appear differently across devices. Ensure you check your product on both mobile and desktop to confirm everything is displaying correctly.
If you encounter any issues, it may be worth revisiting your settings in WooCommerce or the code you implemented. You can also consult WooCommerce support forums or reach out to your developer for assistance. Testing is a critical part of the process, as it ensures your customers enjoy a smooth and hassle-free shopping experience. Remember, first impressions matter, and a well-functioning product page can significantly affect conversions!
Common Issues and Troubleshooting Tips
When working with WooCommerce to set default product variations, you might encounter a few hiccups along the way. Don’t worry! Here’s a rundown of some common issues and handy troubleshooting tips to help you get back on track.
1. Missing Default Variation Option
If you find that the default variation isn’t showing up for your products, it’s likely due to a couple of reasons:
- Product Not Set as Variable: Ensure your product is properly configured as a variable product. If it’s set to a simple product, you won’t be able to set variations.
- Incorrect Attributes: Double-check that you’ve assigned the correct attributes to your product. Missing or incorrect attributes can cause variations to act up.
2. Default Variation Not Applying on Frontend
Sometimes the variation you set might not display as expected on the frontend. Here are some checks:
- Cache Issues: Clear your site cache and browser cache. Cached pages may not reflect recent changes.
- Theme Compatibility: Sometimes, your theme might override WooCommerce settings. Switch to a default theme (like Twenty Twenty) to test.
3. Variation Gallery Images Not Displaying
Another headache can be the gallery images associated with product variations not showing. To tackle this:
- Image Assignments: Ensure you’ve assigned variations to their respective images correctly within the product edit screen.
- Plugin Conflicts: Deactivate plugins one by one to spot any possible conflict affecting the image display.
Always remember to back up your site before making major changes. A little troubleshooting can save a lot of headaches down the road!
Conclusion
Setting default product variations in WooCommerce can significantly enhance the shopping experience for your customers, making it easier for them to find and select the options they want. By following the steps outlined in this guide, you can simplify the process of managing product variations and ensure that the desired options are presented right off the bat.
To recap:
- Understand the type of product you’re working with: variable products require a different approach than simple products.
- Utilize the built-in features to designate default variations, enhancing user experience.
- Regularly check and troubleshoot common issues to maintain a seamless storefront.
With a little patience and practice, you’ll be a WooCommerce variation pro in no time! Don’t hesitate to revisit these tips and make the necessary adjustments as your store evolves. Happy selling!

