When creating or redesigning a WordPress website, font styles play a crucial role in how your content is perceived by visitors. Fonts are not just about making your website look good; they also impact readability, user experience, and even your site’s overall branding. WordPress makes managing font styles relatively easy, but it’s important to understand how to do it effectively. In this post, we’ll walk through different ways to manage fonts in
Understanding the Importance of Font Styles for Website Design

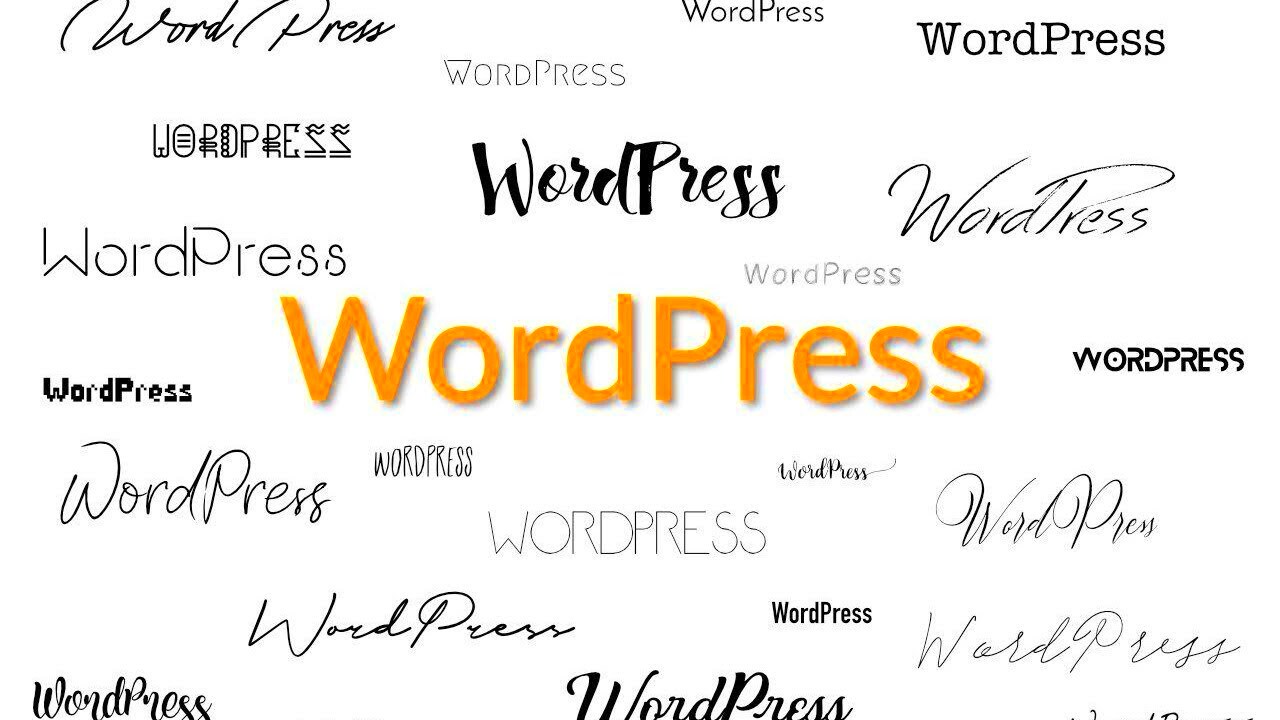
Font styles are an often-overlooked element of website design, but they can dramatically influence a visitor’s first impression of your site. Here’s why font choices matter:
- Readability: The right font ensures that your content is easy to read. Small or complex fonts can strain the eyes, leading to a poor user experience.
- Branding: Fonts contribute to your website’s identity. They help convey your brand’s personality—whether it’s professional, playful, or artistic.
- Consistency: Using consistent fonts across your website helps maintain a uniform look and feel, contributing to a cohesive design.
- Responsiveness: Some fonts are better suited for different screen sizes. Ensuring the right font adapts well to mobile, tablet, and desktop views is essential for a smooth browsing experience.
By carefully considering these factors, you can choose fonts that enhance your website’s overall design and functionality.
How to Choose the Right Font for Your WordPress Site

Choosing the right font can be a bit challenging, but with the right approach, it becomes much easier. Here’s a step-by-step guide to help you pick the perfect font for your WordPress website:
- Consider Your Website’s Purpose: Is your site focused on blogging, e-commerce, or a business portfolio? A corporate site may benefit from classic fonts like Arial or Times New Roman, while a creative portfolio might suit a more decorative font like Lora or Playfair Display.
- Focus on Readability: Prioritize easy-to-read fonts. Stick to simple sans-serif fonts like Helvetica or Open Sans for body text. For headings, you can get a bit more creative but ensure they still maintain legibility.
- Match Your Brand’s Personality: If your brand has a modern and minimalistic approach, go for sleek, clean fonts. If you’re running a creative agency, you might consider unique or artistic fonts to express creativity.
- Limit Font Variety: Too many fonts can overwhelm your visitors. Stick to two or three fonts: one for headings, one for body text, and possibly a third for accents.
- Test Across Devices: Always test your fonts on various devices (desktop, tablet, and mobile). This ensures they appear clearly and are responsive on different screen sizes.
By considering these factors, you’ll be able to choose a font that not only enhances the look of your site but also provides a better user experience.
Methods for Adding Custom Fonts to WordPress

Adding custom fonts to your WordPress site can really make your website stand out. While WordPress comes with a set of default fonts, using custom fonts lets you add a unique touch to your website’s design. There are several ways to add custom fonts to
- Using Google Fonts: One of the easiest ways to add custom fonts is by using Google Fonts. It’s a free service that offers hundreds of fonts that can be easily integrated into WordPress themes.
- Manually Uploading Fonts: If you have font files (such as .woff or .ttf), you can upload them directly to your website’s server and link to them in your theme’s CSS.
- Using a Child Theme: If you’re comfortable working with CSS, you can create a child theme and add your custom font files to the theme’s stylesheet. This ensures that updates to the theme won’t overwrite your customizations.
- Using a Plugin: For those who prefer a simpler approach, plugins like “Easy Google Fonts” or “Custom Fonts” allow you to add fonts without any coding. These plugins provide an easy-to-use interface for managing and applying fonts.
Once you add the font, make sure to test it across different devices to ensure it appears correctly. Custom fonts can greatly enhance the look and feel of your website, but the key is to choose fonts that fit your site’s style and are easy to read.
Using WordPress Theme Customizer for Font Management
The WordPress Theme Customizer is a built-in feature that allows you to make a variety of design changes to your website, including font management. Many modern themes have built-in font options, making it incredibly easy to change fonts without writing any code. Here’s how you can use the Theme Customizer to manage your fonts:
- Go to the Customizer: In your WordPress dashboard, navigate to Appearance > Customize. This will open the Theme Customizer, where you can see various design options.
- Find Font Options: Look for a section labeled Typography or Fonts in the customizer. The exact location may vary depending on the theme you’re using.
- Select Your Fonts: Many themes offer options to select fonts for various elements like headings, body text, and menus. Some themes integrate with Google Fonts, while others provide a set of pre-installed fonts.
- Adjust Font Settings: You can typically adjust the font size, weight, and style (bold, italic, etc.). You can also set font colors and line heights to further personalize your website.
- Preview and Publish: As you make changes, the Theme Customizer allows you to preview them in real-time. Once you’re happy with the fonts, click Publish to make the changes live.
Using the Theme Customizer is one of the simplest ways to manage fonts in WordPress. It doesn’t require any coding knowledge and can be done in just a few steps, making it an ideal choice for beginners.
Editing Font Styles with WordPress Plugins
If you want even more control over your font styles without diving into code, using a plugin is an excellent solution. There are many WordPress plugins designed specifically for font management, offering advanced options that go beyond the basic theme customizer. Here are some popular plugins you can use:
- Easy Google Fonts: This plugin allows you to integrate and customize Google Fonts easily. It provides a user-friendly interface for selecting fonts and applying them to different sections of your site, including headings, body text, and more.
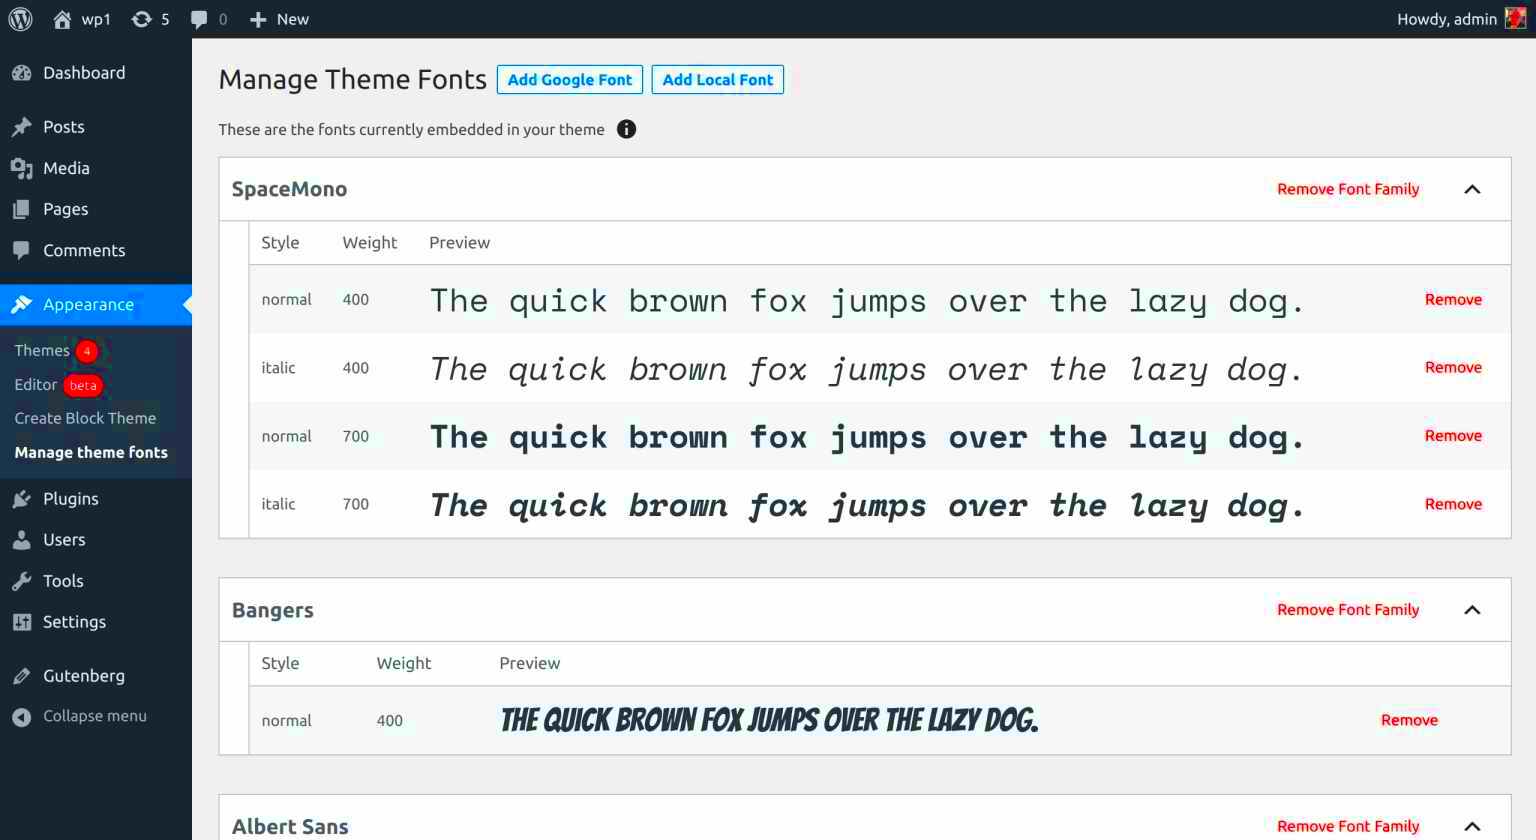
- Custom Fonts: This plugin lets you upload custom fonts to WordPress and apply them via the WordPress Customizer or custom CSS. It’s a great option for those who want more font options beyond Google Fonts.
- Fontsy: Fontsy is another great plugin that allows you to add custom fonts to your site. It also gives you the ability to manage font weights and styles across different elements of your site.
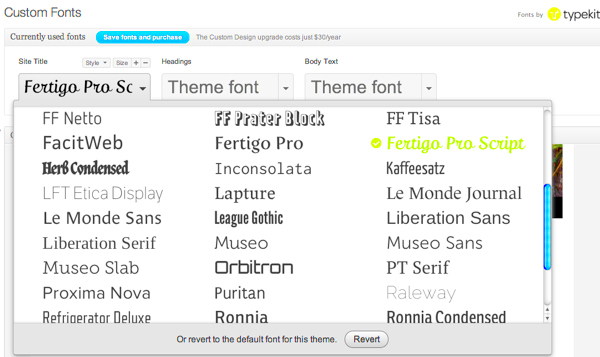
- Typekit Fonts for WordPress: If you’re using Adobe Fonts (formerly Typekit), this plugin integrates them with WordPress. It’s perfect for those looking for premium font options for a polished look.
To use these plugins, simply install them from the WordPress plugin repository, configure your font settings, and apply them to your site. Plugins offer a simple and effective way to manage fonts without having to touch any code.
How to Manage Google Fonts in WordPress
Google Fonts is one of the easiest and most popular ways to manage fonts on your WordPress site. With hundreds of free fonts available, it’s a great way to customize your site’s typography. Managing Google Fonts in WordPress is simple and can be done in several ways, depending on your preference. Here’s how you can get started:
- Using the Theme Customizer: Many WordPress themes come with built-in integration for Google Fonts. If your theme supports it, you can easily manage fonts directly from the Theme Customizer under the typography settings.
- Installing a Plugin: Plugins like “Easy Google Fonts” or “Google Fonts for WordPress” can help you add and customize Google Fonts without any coding. These plugins allow you to choose from a wide selection of fonts and apply them to various elements of your website.
- Manually Adding Google Fonts: For more control, you can manually add Google Fonts by linking them in your theme’s header file or by using custom CSS. Here’s an example of how to do it:
@import url('https://fonts.googleapis.com/css2?family=Roboto:wght@400;700&display=swap');
Once the font is linked, you can apply it to your theme’s CSS using the font-family property. For example:
body {
    font-family: 'Roboto', sans-serif;
}
Managing Google Fonts in WordPress is flexible and easy, whether you prefer using plugins or manually adding them through CSS.
FAQ about Managing Fonts in WordPress
Here are some frequently asked questions (FAQs) about managing fonts in WordPress:
- Can I add custom fonts to WordPress for free? Yes, many plugins and services like Google Fonts allow you to add custom fonts for free. You can also upload your own font files, but some services may charge for premium fonts.
- Do fonts affect my site’s performance? Fonts can impact your site’s loading speed, especially if you’re using too many or high-weight fonts. To improve performance, choose fonts that are optimized for web use and limit the number of fonts you load.
- How do I change fonts in my WordPress theme? You can change fonts in your WordPress theme using the Theme Customizer, a font plugin, or by editing the CSS code in your theme’s stylesheet.
- Can I use Google Fonts and custom fonts together? Yes, you can use Google Fonts alongside your custom fonts. Just make sure to load both fonts properly and assign them to different elements (headings, paragraphs, etc.) in your CSS.
- How do I ensure my fonts are mobile-friendly? When selecting fonts, make sure they’re legible on smaller screens. Also, use responsive font sizes and avoid overly decorative fonts that may be difficult to read on mobile devices.
Conclusion: Best Practices for Font Management in WordPress
Managing fonts in WordPress is essential for creating a visually appealing and user-friendly website. Here are some best practices to keep in mind:
- Choose Legible Fonts: Prioritize readability by choosing fonts that are easy to read on all screen sizes. Simple, sans-serif fonts like Arial, Open Sans, and Roboto are great choices for body text.
- Limit Font Variety: Avoid using too many fonts on your website. Stick to two or three different fonts—one for headings, one for body text, and perhaps another for accent elements.
- Test Across Devices: Always test how your fonts appear on different devices. Make sure they are responsive and maintain their readability across desktops, tablets, and mobile phones.
- Optimize for Performance: Be mindful of font file sizes and avoid loading too many fonts, as this can affect page load times. Consider using font subsets or only loading the styles you need (e.g., bold, italic).
- Maintain Consistency: Ensure that the fonts you use are consistent with your brand’s personality. A cohesive typography style across your site helps create a professional and polished look.
By following these best practices, you can effectively manage fonts in WordPress, improve the design of your website, and enhance the overall user experience.


