Ever wondered how some websites effortlessly display their content in a clean and organized fashion? Well, welcome to the world of Listing Grids in Elementor! Elementor, a popular WordPress page builder, makes it incredibly user-friendly to create appealing layouts for your posts or products. Whether you’re showcasing portfolios, blog posts, or any other type of content, listing grids can be your go-to solution. In this guide, we’ll dive into the nuances of listing grids and how to easily order them to suit your needs.
Understanding the Default Order of Listings

Before we get into how to customize your listing grids, let’s take a moment to understand how they are organized by default. Generally, Elementor displays listings based on a specific order determined by WordPress settings and the underlying query. Here’s a breakdown of the default settings:
- Chronological Order: By default, posts are usually listed in the order they were published, from latest to oldest.
- Title Order: You can choose to display listings alphabetically based on the title of your posts, which is helpful for easy navigation.
- Custom Order: If you have set up a custom menu or a custom field, your listings can follow that order instead.
Each of these default settings can have a significant impact on how your audience interacts with your content. For example, displaying the latest posts at the top can drive traffic to your freshest content, while alphabetical ordering can enhance discoverability. Understanding this default behavior is key to harnessing the power of listing grids in Elementor.
| Order Type | Description |
|---|---|
| Chronological Order | Lists posts from the newest to the oldest. |
| Title Order | Displays posts alphabetically according to their titles. |
| Custom Order | Follows a user-defined order based on predetermined criteria. |
Now that you’re familiar with the default order of listings, you can better appreciate the need for customization and the various ways Elementor allows you to take control of your grid layouts.
Methods to Change Ordering in Elementor
So you’ve set up your beautiful website using Elementor, and now you want to fine-tune how your content is displayed? You’re in the right place! There are several methods you can use to change the ordering of your listings in Elementor. Let’s break them down:
- Drag and Drop: This is the simplest method. If you’re using the Posts, Portfolio, or any Listing widget in Elementor, you often have the ability to just drag posts around in the editor. It’s intuitive, and you can see the changes in real-time!
- Using the Query Settings: This is a powerful feature where Elementor allows you to sort your posts by date, title, or even custom fields. By adjusting the query settings, you can influence the order of listings to match your needs.
- Shortcode Manipulation: For those who are familiar with WordPress shortcodes, you can modify them to change the order. It requires a bit of a learning curve, but it’s versatile and very powerful.
- Custom Post Type Sorting: If you are dealing with custom post types, changing the order might involve modifying the way those posts are queried through code. You can add custom fields in your code to control visibility and ordering dynamically.
Each of these methods has its pros and cons, and the right choice depends on your personal preference and the specific requirements of your website. Happy sorting!
Using Custom Query Settings
When it comes to organizing your content in Elementor, the Custom Query Settings feature is a game-changer. It allows you to have full control over how your listings are displayed, ensuring your audience sees what matters most first. Let’s dive into how you can make the most of this feature:
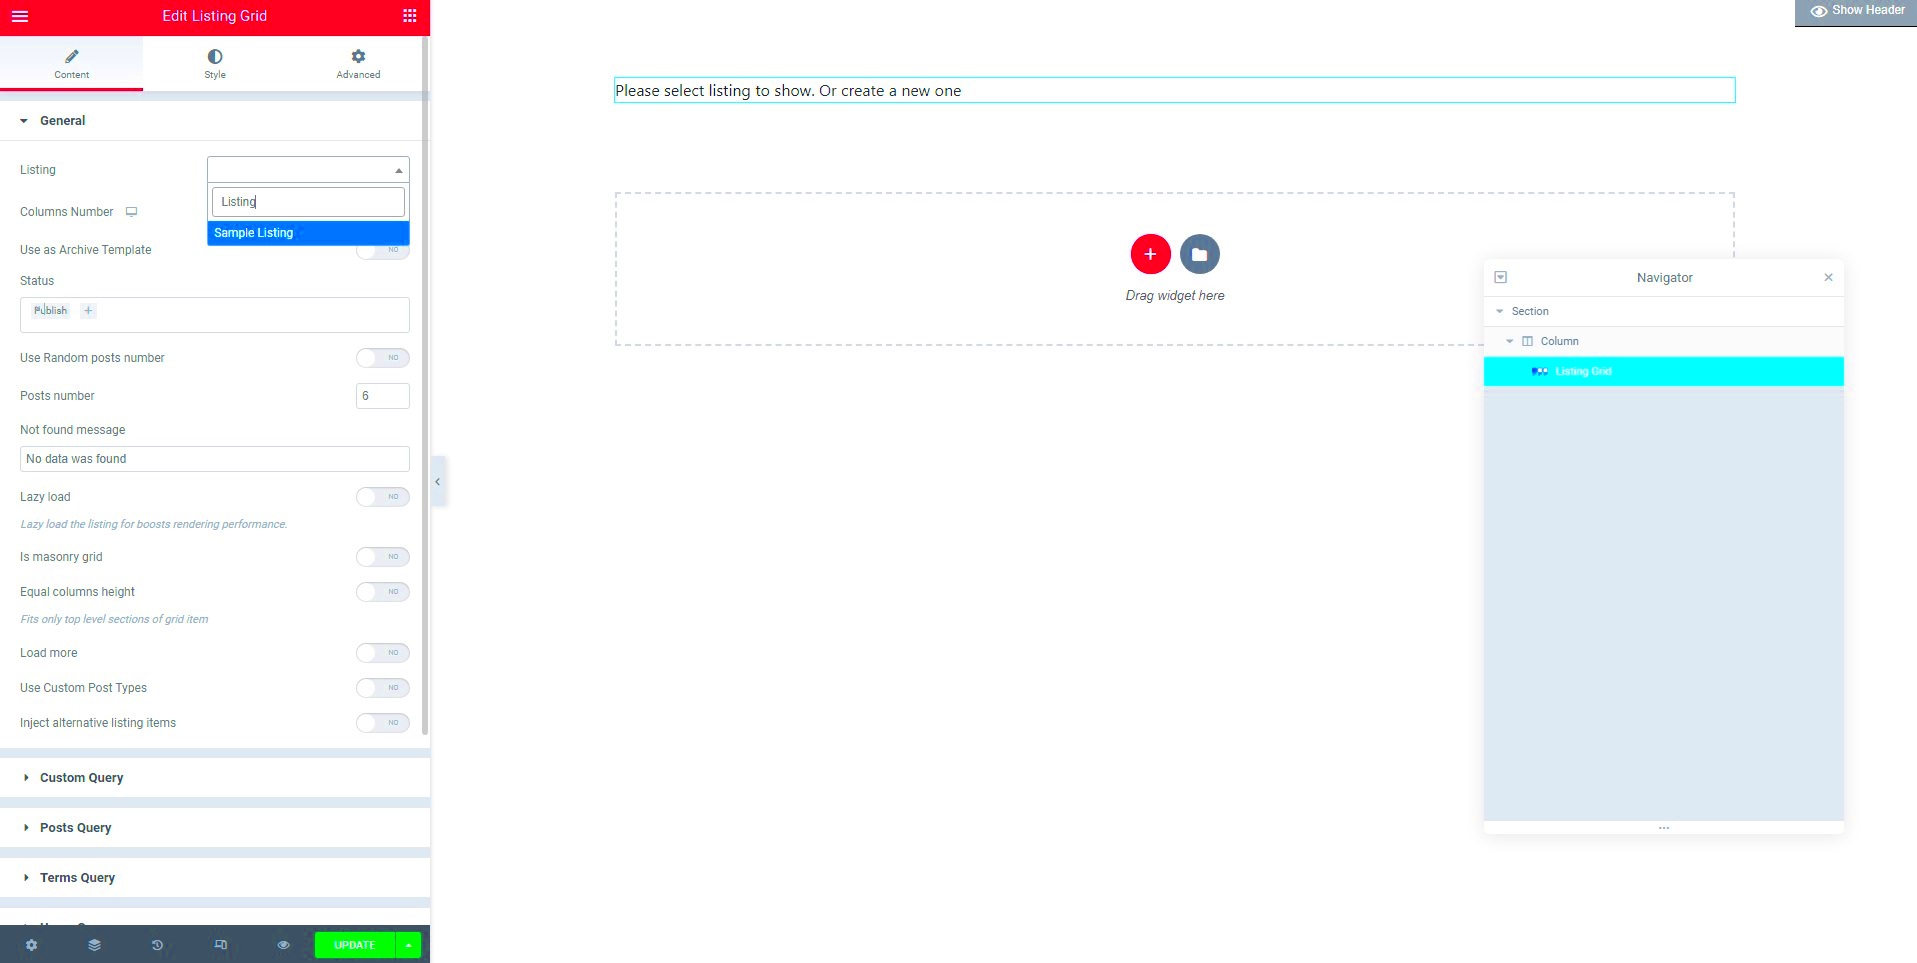
- Navigating to Query Settings: First, select your desired listing widget in Elementor. Then, hop over to the “Query” section in the widget settings. Here, you’ll find various options to filter and sort your posts.
- Sorting Options: You can sort posts by:
- Date: Show the newest posts first or oldest posts first.
- Title: Sort alphabetically.
- Random: Display posts in a random order, perfect for showcasing a variety of content!
- Filtering Content: Want to display only a specific category or tag? You can do this through custom filters. Use the “Include” or “Exclude” options to tailor the content that shows up in your listings.
- Additional Query Controls: Some advanced features allow you to adjust pagination, set how many posts to display per page, and more, helping you to create a more user-friendly interface.
With Custom Query Settings, you can easily rearrange your listings and make sure your website visitors can navigate through your content seamlessly. It’s one of those little tweaks that can make a massive difference in user experience. Give it a try, and watch your content shine!
Applying Manual Order with Drag and Drop
One of the most user-friendly features of Elementor is the ability to manually reorder your listings using a simple drag-and-drop method. This gives you the flexibility to showcase your content in a way that aligns perfectly with your vision, whether you’re featuring popular posts, recent updates, or any other criteria that resonate with your audience.
To start applying manual order:
- Access Your Listings: Navigate to the page where your listing grid is located within Elementor.
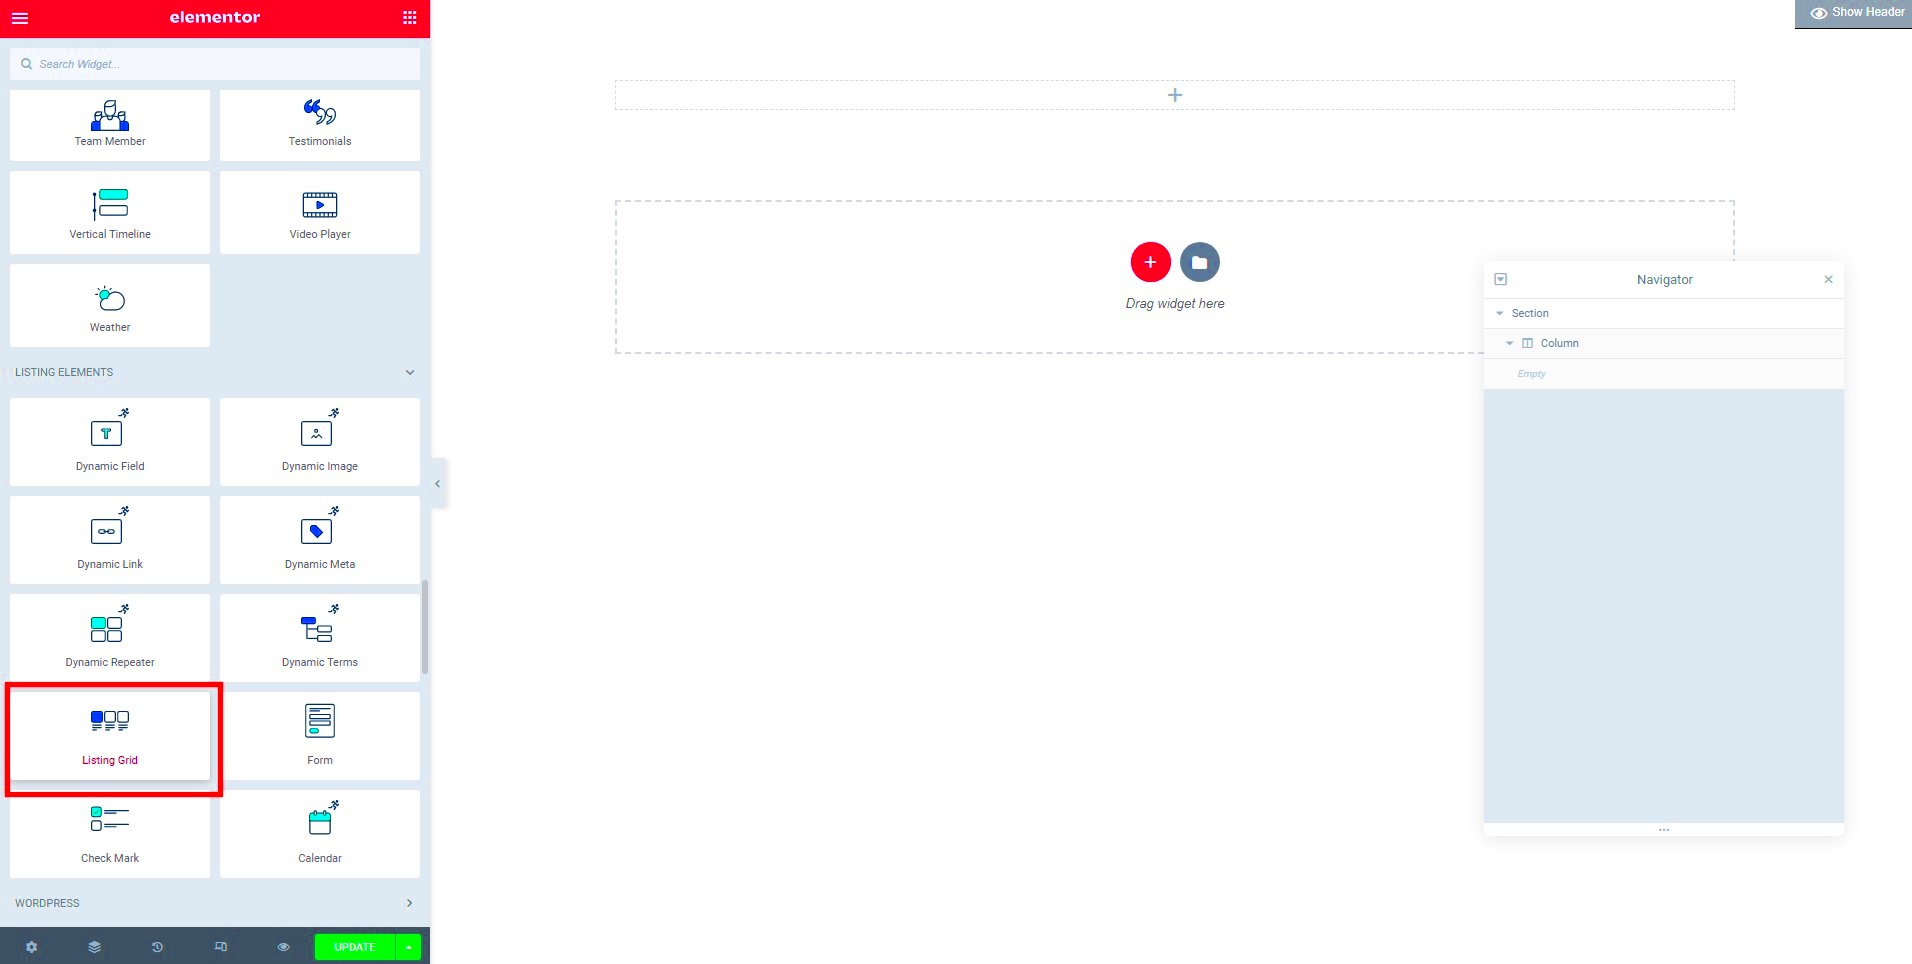
- Edit Your Listing: Click on the listing widget you wish to modify.
- Find the Sort Options: In the settings panel, look for the “Content” tab where you will see a list of your posts.
- Drag and Drop: Simply click and hold the listing you want to move, then drag it to your desired position. Let go to drop it in place.
This method is especially handy when you have specific priorities for your content. It removes the hassle of complex settings or filters and puts control directly in your hands. Remember, you can always revert back or rearrange if you change your mind!
In summary, with the drag-and-drop feature in Elementor, you can seamlessly curate your content’s visibility, ensuring that the most important items are front and center for your site visitors. It’s all about creating an engaging experience that keeps your audience coming back for more.
Sorting Listings by Date, Title, or Custom Fields
Sorting listings can drastically change how your content is perceived and accessed by visitors. Elementor provides several options for sorting your listings, allowing you to arrange them by date, title, or even custom fields. This functionality is invaluable for keeping your grid organized and ensuring your audience finds relevant entries with ease.
Here’s a quick rundown on how you can sort listings:
- Sorting by Date: This is a common sorting method that allows you to display your most recent content first. Perfect for blogs and news sites! To enable this, navigate to the listing settings and select “Date” as your sorting option.
- Sorting by Title: If you have articles or items that are best identified by name, sorting by title is a great choice. This alphabetizes your listings, making it easier for users to browse.
- Custom Fields: Perhaps you have certain attributes that are more relevant to your content, like rating scores or views. With Elementor, you can sort by these custom fields. Just ensure that you’ve set up your custom fields correctly in your WordPress settings first!
Implementing effective sorting strategies not only enhances user experience but also helps maintain a clean and logical presentation of your content. With just a few clicks in Elementor, you can ensure your listings remain organized, relevant, and engaging for your audience. Happy sorting!
Utilizing Plugins for Advanced Listing Order
When it comes to organizing your listings in Elementor, using plugins can significantly enhance your control over how items are displayed. While Elementor offers inherent capabilities for sorting content, certain plugins provide advanced features that can take your layout to the next level. Here are a few noteworthy plugins to consider:
- Essential Addons for Elementor: This versatile plugin adds a ton of extra content elements and gives you additional options for sorting listings. You can easily set conditions for your listings based on various factors, such as categories or tags.
- JetEngine: If you’re aiming for custom post types and dynamic content, JetEngine is a great pick. This plugin allows you to create custom listings and set specific sorting orders using various parameters.
- WP Grid Builder: Designed to create grid layouts, this plugin lets you organize your items flexibly while also offering intricate sorting features. It helps in creating advanced filters which can sort listings based on your visitors’ preferences.
Additionally, many of these plugins allow for drag-and-drop sorting, meaning you can rearrange your listings visually without needing to dive into code. To leverage these tools effectively, simply install the plugin of your choice, adjust its settings to match your desired order, and voilà! Your listings will have a well-structured appearance that enhances user experience.
Common Issues and Troubleshooting Tips
While working with Elementor to arrange your listings, you might occasionally encounter some hiccups. No need to panic! Here’s a list of common issues and handy troubleshooting tips to help get you back on track:
- Listings Not Sorting Properly: This can happen if there’s a conflict with another plugin. To fix this, try disabling all plugins except Elementor and the ones you’re using for listings. Then, reactivate them one by one to identify the culprit.
- Cache Problems: Sometimes changes don’t appear due to caching. Clear your site’s cache and your browser cache to ensure you’re viewing the latest version of your changes.
- Responsive Issues: Listings may look perfect on desktop but be misaligned on mobile. Use Elementor’s responsive settings to adjust display settings for different devices.
Remember, the Elementor community is vast and supportive! If you hit a wall, consider checking forums or reaching out to their support for advice. With a bit of troubleshooting, you’ll have your listing grid in perfect order in no time!
Conclusion: Best Practices for Effective Listing Grids
Creating an organized and visually appealing listing grid in Elementor can greatly enhance the user experience on your website. Here are some best practices to consider when designing your grid:
- Keep It Simple: Ensure that your design is not cluttered. A clean and straightforward layout makes it easier for users to navigate through listings.
- Optimize for Mobile: Make sure your listing grid is responsive and looks good on all devices. Use Elementor’s mobile editing features to check how your grid appears on smaller screens.
- Use Consistent Image Sizes: Uniform image sizes help maintain a cohesive look across the grid. This adds professionalism to your listings.
- Implement Filters: Allow users to filter or sort listings based on categories, price, or other attributes to enhance usability.
- Prioritize Key Information: Highlight essential details such as title, price, and images by placing them prominently within the grid items.
- Use Hover Effects: Adding hover effects can enhance interaction, making the grid more engaging without overwhelming users.
- Test Different Layouts: Experiment with various grid structures, such as masonry or standard grids, to see what works best for your content.
By following these best practices, you can create a listing grid in Elementor that not only looks great but also functions effectively, ensuring a positive experience for your visitors.


