Welcome to the world of Shutterstock, one of the most popular platforms for photographers, designers, and content creators to share and sell their images. Whether you’re a seasoned pro or just starting out, the Shutterstock app makes it super easy to upload your photos directly from your mobile device. No more fussing with complicated desktop uploads—this app is designed with simplicity and convenience in mind. In this guide, we’ll walk you through how to get your images uploaded smoothly and efficiently, so you can focus on capturing and sharing your best work.
Step-by-Step Instructions for Uploading Photos via the Shutterstock App
Ready to get your photos online? Let’s go through the process step-by-step so you can start sharing your images in no time. First, make sure you have the Shutterstock Contributor App installed on your smartphone or tablet. It’s available for both iOS and Android devices, and it’s free to download from the App Store or Google Play.
Step 1: Log In or Create an Account
Open the app and log in using your existing Shutterstock Contributor account credentials. If you’re new to Shutterstock, tap on Sign Up and follow the prompts to create an account. It’s quick and straightforward—just provide your email, create a password, and agree to the terms. Once logged in, you’ll be taken to the main dashboard where you can access all upload and management tools.
Step 2: Access the Upload Section
On the main screen, look for the Upload button—usually represented by a camera icon or a plus (+) sign. Tap on it to start the upload process. The app will then prompt you to select photos from your device’s gallery or camera roll. You can choose single images or multiple photos at once, depending on how many you want to upload.
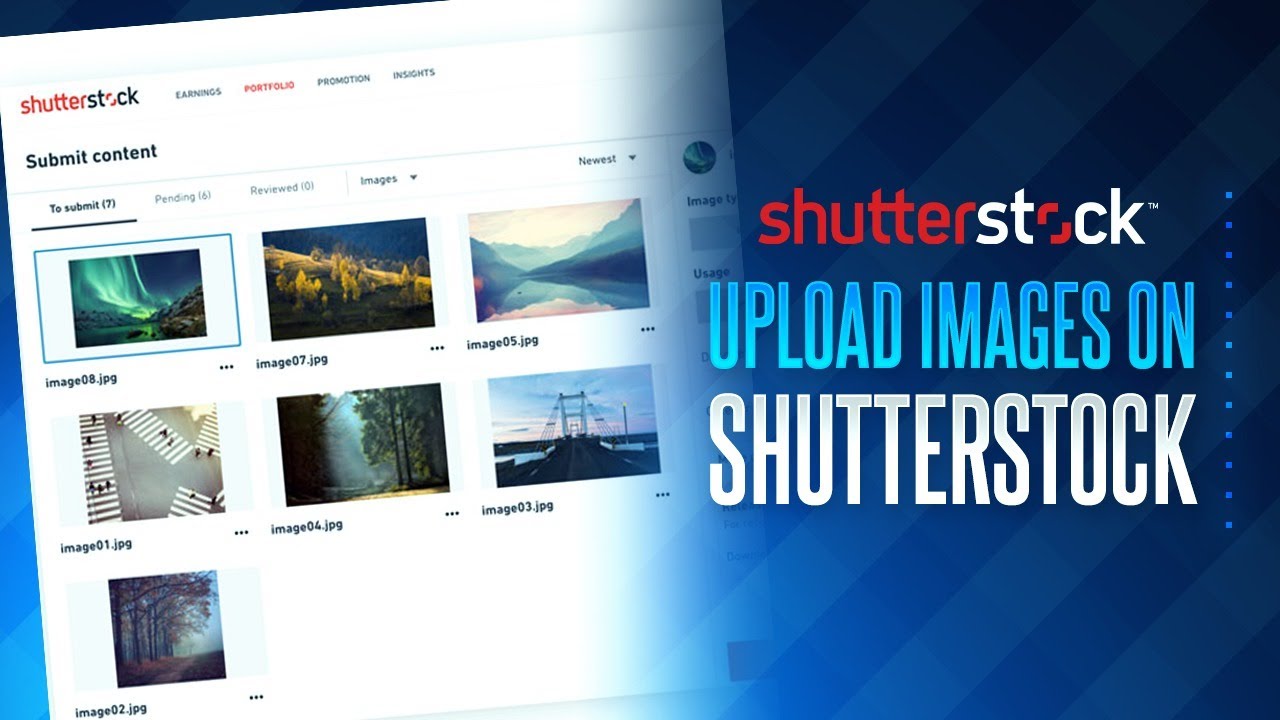
Step 3: Select Your Photos
Browse through your albums and pick the photos you wish to upload. Tap on each image to select it. The app might show a preview of your selected images—double-check to ensure they’re the right ones. You can usually select multiple images at once by long-pressing on a photo and then tapping others, or by using a multi-select option if available.
Step 4: Add Metadata and Details
Once your photos are selected, the app will guide you to add important information that helps sell your images. This includes:
- Title: A descriptive name for your photo
- Description: A brief explanation or story behind the image
- Keywords: Relevant tags to help users find your photo (think of words that describe the scene, objects, or mood)
- Categories: Selecting appropriate categories to classify your image
Be as accurate and detailed as possible—good metadata increases the chances of your photos being discovered and purchased.
Step 5: Choose Licensing Options
Next, select the licensing type for your upload. Shutterstock typically offers standard and enhanced licenses. Standard licenses are suitable for most uses, while enhanced licenses provide broader rights and higher sales potential. The app might also ask if you want to set a price, or you can leave it at the default settings if you’re just starting out.
Step 6: Review and Submit
Before finalizing, review all the information you’ve entered. Make sure your images are correctly tagged and categorized. Once satisfied, tap on the Submit or Upload button. Your photos will then go through Shutterstock’s review process, which can take anywhere from a few hours to a few days. Once approved, your images will be live and available for licensing.
Additional Tips
- Ensure your photos are high quality and meet Shutterstock’s technical requirements (e.g., resolution, format)
- Use clear, descriptive keywords for better discoverability
- Keep track of your uploads and review their status within the app
Uploading via the Shutterstock app is a straightforward process once you get the hang of it. Just follow these steps, and you’ll be sharing your images with the world in no time!
Tips for Optimizing Your Uploads for Better Visibility
So, you’ve got your stunning photos or videos ready to upload to Shutterstock. Fantastic! But did you know that optimizing your uploads can make a big difference in how often they get noticed and downloaded? Let’s dive into some practical tips to help your content stand out in the crowded marketplace.
Use Clear and Descriptive Titles
Your title is the first thing potential buyers see, so make it count! Be specific and include relevant keywords that accurately describe your media. Instead of “Beautiful Sunset,” try “Vivid Orange Sunset Over Mountain Range.” This way, your content is more discoverable when users search for similar scenes.
Craft Detailed and Accurate Descriptions
Think of your description as the story behind your upload. Include important details like location, mood, and any unique features. Incorporate keywords naturally to improve searchability. Well-written descriptions not only help with visibility but also attract the right audience who are looking for exactly what you offer.
Choose Appropriate Keywords
Keywords are essential for getting your uploads found. Use a mix of broad and specific terms related to your content. For example, if you upload a photo of a cat, include keywords like “cat,” “kitten,” “feline,” as well as specific breeds or colors. Don’t overdo it—aim for relevant keywords that genuinely describe your media.
Optimize Your File Size and Format
Ensure your files meet Shutterstock’s requirements—high resolution, correct format (JPEG or MP4), and good quality. Uploading high-quality media helps your content look professional and appealing. Also, large files might slow down the upload process or get rejected, so optimize your images or videos without compromising quality.
Consistent Branding and Style
If you’re building a portfolio, maintain a consistent style or theme. Buyers often look for cohesive collections, so think about how your uploads fit together visually and conceptually. This consistency can boost your visibility and encourage repeat downloads.
Engage with the Community
Actively participating in the Shutterstock contributor community can provide insights and tips. Respond to feedback, stay updated on trends, and regularly upload fresh content. The more active and visible you are, the better your chances of being discovered by buyers.
By following these optimization tips, you’ll increase the chances of your uploads getting noticed and downloaded. Remember, quality, relevance, and visibility go hand in hand—so put a little extra thought into each upload, and watch your portfolio grow!
Troubleshooting Common Upload Issues on the Shutterstock App
While the Shutterstock app makes uploading your content super convenient, sometimes things don’t go as smoothly as planned. Don’t worry—many common issues have simple solutions. Let’s go through some typical problems you might encounter and how to fix them.
Upload Fails or Errors
- Check File Format and Size: Ensure your media meets Shutterstock’s requirements—JPEG or MP4 formats, and within the maximum file size limit. Usually, JPEG files should be under 50MB, and videos should be under 500MB.
- Stable Internet Connection: A weak or intermittent connection can cause uploads to fail. Try switching to a stronger Wi-Fi network or enabling airplane mode briefly to reset your connection.
- App Updates: Make sure you’re using the latest version of the Shutterstock contributor app. Updates often include bug fixes that resolve upload issues.
Slow Upload Speeds
If your uploads are taking forever, consider compressing your files slightly without losing quality, or reducing their resolution. Also, closing other apps running in the background can free up bandwidth and processing power.
Login or Authentication Problems
- Re-login: Sometimes, simply logging out and back in can fix session issues. Clear the app cache if necessary.
- Account Issues: Check if your account is in good standing and not restricted. If you suspect a problem, contact Shutterstock support for assistance.
Metadata Not Saving or Updating
If your titles, descriptions, or keywords aren’t saving correctly, try editing them on a desktop or web browser. Sometimes, the mobile app can have syncing issues. Also, ensure you’re connected to the internet when saving metadata.
App Crashes or Freezes
- Restart the App: Close the app completely and reopen it.
- Reinstall if Necessary: If crashes persist, uninstall and reinstall the app to fix potential corrupted files.
- Device Compatibility: Ensure your device meets the app’s minimum requirements, and keep your operating system updated.
Getting Help
If you’ve tried these solutions and still face issues, don’t hesitate to reach out to Shutterstock’s support team through the app or their website. They’re usually quick to assist and can help resolve more complex problems.
Remember, technical hiccups happen to everyone. Staying patient and methodically troubleshooting will get you back to uploading your amazing content in no time!
Conclusion and Additional Resources for Shutterstock Users
In conclusion, mastering the Shutterstock app can significantly streamline your content creation process, allowing you to upload high-quality images and videos with ease. Whether you’re a professional photographer, a business owner, or a casual content creator, the app’s intuitive interface and robust features make it simple to manage your media assets on the go. Remember to keep your app updated to access the latest tools and improvements.
For further assistance and to deepen your understanding of the platform, consider exploring the following resources:
- Shutterstock Help Center: Comprehensive guides and FAQs to troubleshoot common issues.
- Video Tutorials: Step-by-step videos demonstrating features like batch uploads, keyword tagging, and account management.
- Webinars and Workshops: Live sessions conducted by Shutterstock experts to enhance your skills and stay updated on new features.
- Community Forums: Connect with other Shutterstock users to share tips, ask questions, and exchange feedback.
Utilizing these resources will help you maximize the app’s potential and ensure a smooth, efficient uploading experience. Stay informed about new updates and best practices by subscribing to Shutterstock’s newsletters and blog updates. Happy uploading!