If you’re into video editing, you’ve probably heard of Shutterstock — a treasure trove of high-quality visuals, music, and templates. Shutterstock templates are pre-designed project files that make your editing process smoother and more creative. They’re perfect whether you’re a beginner looking to add professional touches or a seasoned editor saving time on complex projects. Using these templates can give your videos a polished look without starting from scratch. Plus, they’re versatile, covering everything from intros and transitions to titles and animations. Let’s dive into how these templates can elevate your video editing game!
Step-by-Step Guide to Accessing Shutterstock Templates
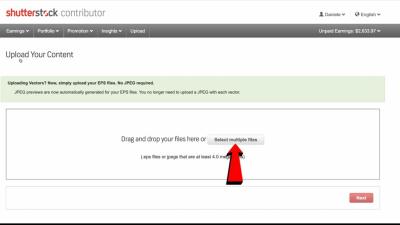
Getting started with Shutterstock templates is pretty straightforward. Here’s a simple guide to help you access and use them effectively:
- Create a Shutterstock Account: If you haven’t already, head over to shutterstock.com and sign up. You’ll need an account to browse and download templates.
- Navigate to the Templates Section: Once logged in, use the search bar or menu to find the Templates for Video section. You can type keywords like “video templates,” “intro templates,” or specific styles you’re interested in.
- Use Filters to Narrow Down Your Search: Shutterstock offers filters such as format, style, and compatibility (like Adobe After Effects or Premiere Pro). Applying these filters helps you find the perfect template faster.
- Preview Templates: Click on any template to see a preview. This gives you a quick idea of how the final product will look and helps you decide if it fits your project.
- Check Compatibility and Requirements: Each template comes with specific software requirements. Make sure your editing software (like Adobe After Effects, Premiere Pro, or others) supports the template format.
- Download the Template: Once you find the perfect template, click the download button. Some templates are free, but most require a Shutterstock subscription or a one-time purchase.
- Open and Customize: After downloading, open the template file in your compatible video editing software. Follow the included instructions or simply start customizing with your footage, text, and branding.
That’s it! With these easy steps, you’ll be ready to incorporate professional-looking templates into your videos, saving time and enhancing your creative output. Happy editing!
How to Customize Shutterstock Video Templates to Fit Your Projects
Once you’ve chosen the perfect Shutterstock video template, the next step is customizing it so it truly matches your project’s needs. Think of templates as your starting point—they give you a strong foundation, but personalization is key to making your videos stand out. The good news? Shutterstock templates are designed with flexibility in mind, so you don’t need to be a professional editor to make meaningful adjustments.
First off, most Shutterstock templates are compatible with popular editing software like Adobe Premiere Pro, After Effects, or even simpler tools like Canva or Clipchamp. Before diving in, familiarize yourself with the software’s interface and features—this will make customization much smoother.
Here are some common ways to tailor your Shutterstock template:
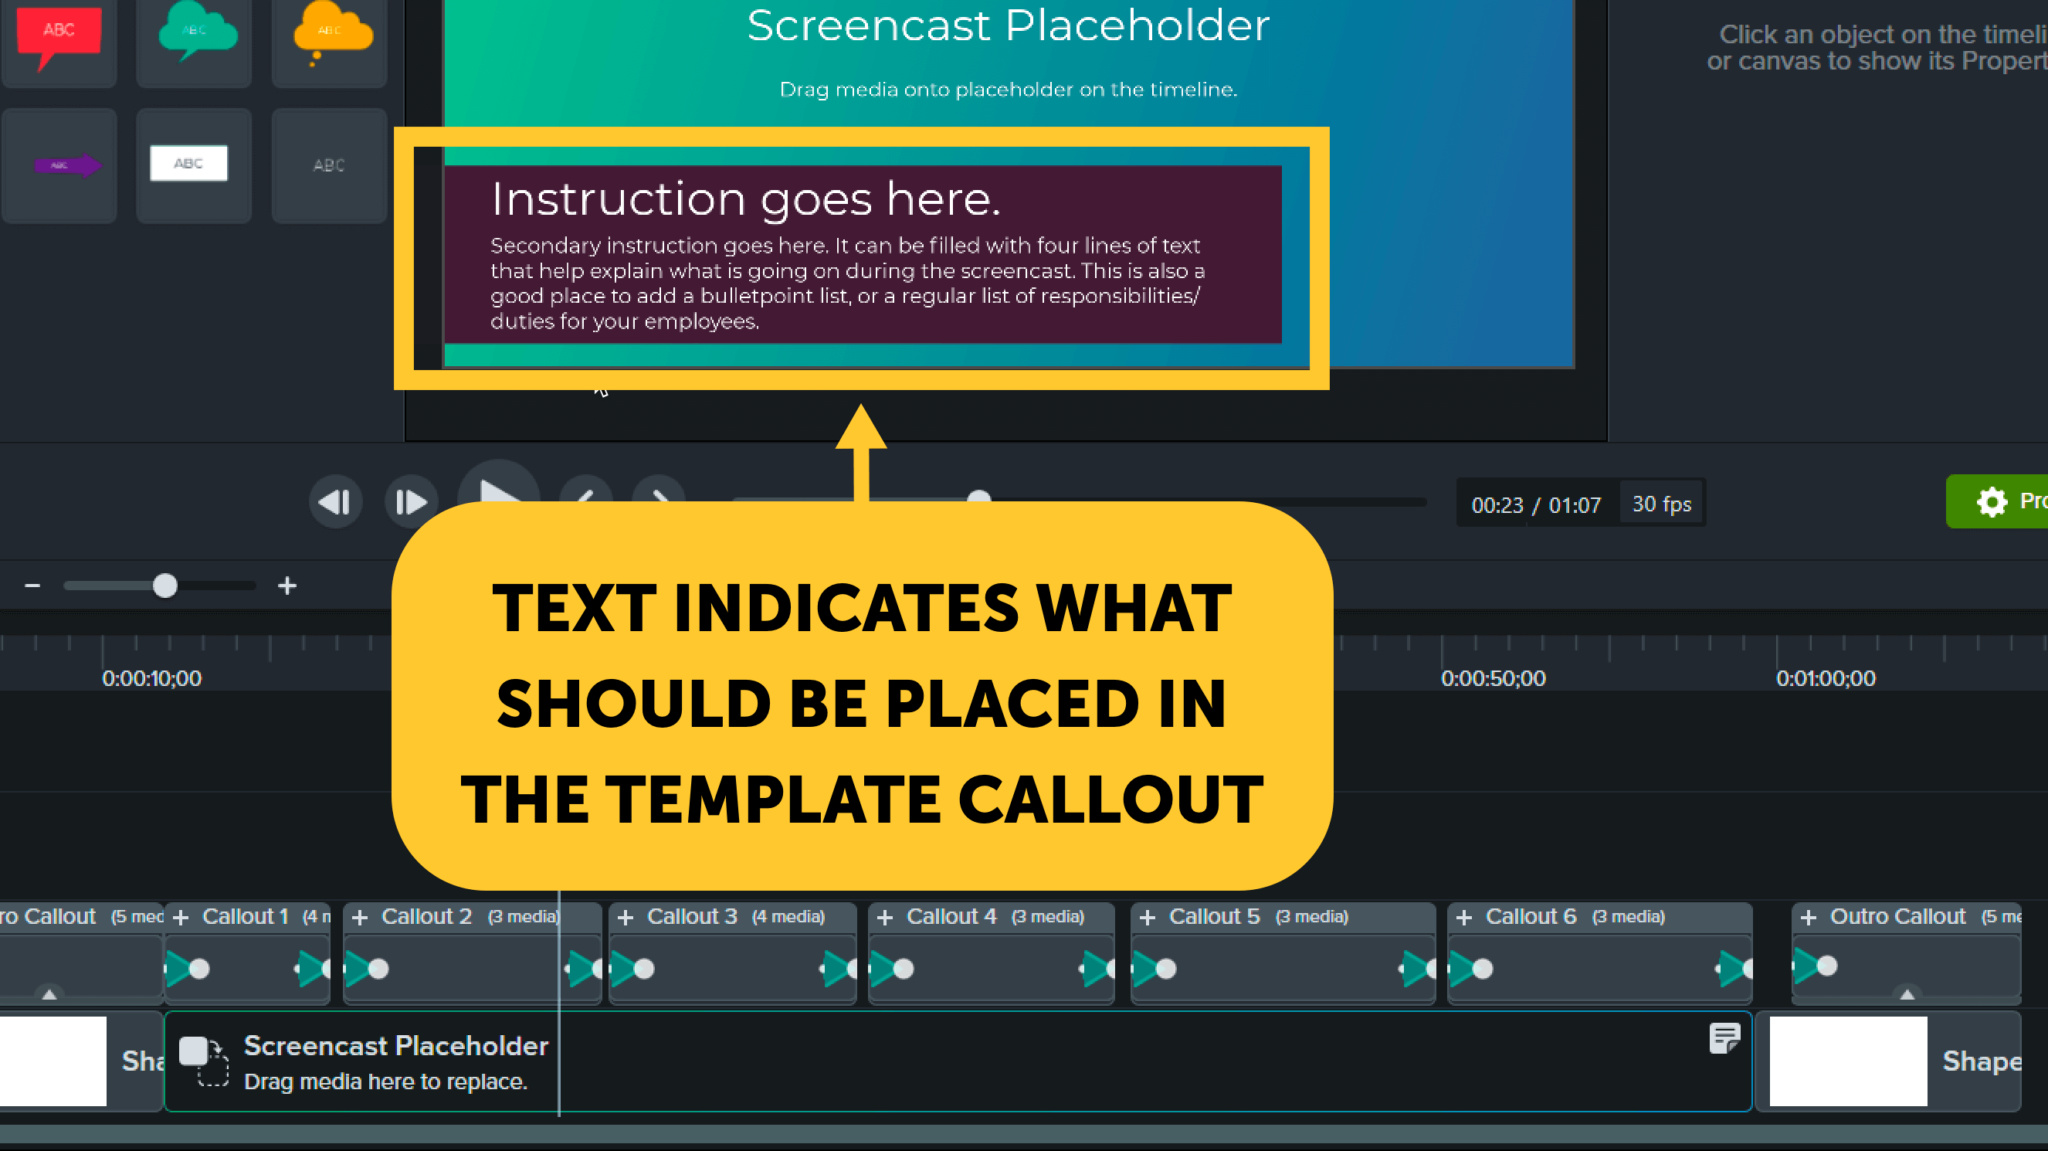
- Replace Placeholder Content: Swap out stock footage, images, or text placeholders with your own media. Simply drag and drop your assets into the timeline or media bins. For example, if the template has a placeholder for a product shot, replace it with your actual product video.
- Adjust Text Elements: Change fonts, colors, sizes, or wording to match your branding or message. Most templates come with editable text layers—you just need to click on them, type your content, and tweak the style as needed.
- Modify Color Schemes: Consistency is key in branding. Use the color palette from your brand or project to customize background colors, overlays, or transition effects. Many templates provide color controls, making this process straightforward.
- Alter Timing and Transitions: Feel free to tweak the duration of clips or transitions. Shortening or lengthening segments can dramatically influence the pacing and feel of your video.
- Add Special Effects: Enhance your video with effects like overlays, filters, or animations. Many templates come with built-in effects that you can toggle or customize to add a creative touch.
Remember, the key is to keep your modifications aligned with your overall message and style. Take your time experimenting with different elements until your video feels personalized and professional. And don’t forget to save iterations—you’ll thank yourself later when you have multiple versions to choose from!
Tips for Selecting the Right Shutterstock Templates for Your Video Style
Choosing the right Shutterstock template is like picking the perfect outfit—it should match your style, purpose, and audience. With so many options available, it’s easy to get overwhelmed. But don’t worry! Here are some practical tips to help you find templates that fit your project like a glove.
1. Define Your Video’s Purpose and Audience
Before browsing templates, get clear on what you want to achieve. Are you creating a promotional video, a social media clip, a corporate presentation, or an educational piece? Knowing your audience—whether it’s customers, investors, or students—also guides your style choices.
2. Consider Your Brand Identity
Look for templates that complement your branding. Do you prefer a minimalist and modern aesthetic or a vibrant, energetic vibe? Pay attention to color schemes, typography, and overall tone to ensure consistency with your brand.
3. Match the Style and Mood
Templates come in various styles—sleek and professional, playful and fun, bold and dynamic. Choose one that conveys the right mood for your message. For example, a tech startup might go for a clean, futuristic look, while a children’s brand might opt for colorful, lively animations.
4. Check Compatibility and Features
Make sure the template is compatible with your editing software and supports the media formats you plan to use. Also, review the features—does it include animated text, transitions, or overlays that you need?
5. Review Customization Options
Some templates are more flexible than others. Look for previews or demos to see how easily you can tweak colors, fonts, and content. The more customizable, the better tailored your final video will be.
6. Read User Reviews and Ratings
See what others have said about the template. High ratings and positive reviews often indicate quality and ease of use. If available, check for tutorials or demo videos to get a sense of the customization process.
By taking these steps, you’ll be well on your way to selecting Shutterstock templates that enhance your storytelling and resonate with your audience. Remember, the right template doesn’t just look good—it amplifies your message and makes your video memorable.
Exporting and Finalizing Your Edited Videos Using Shutterstock Templates
Once you’ve put together your video using a Shutterstock template, the next step is to ensure your masterpiece is ready for sharing with the world. Exporting and finalizing your video might sound straightforward, but there are a few tips and tricks to make sure your final product looks professional and polished.
First, before hitting the export button, take a moment to review your project. Check that all clips are aligned properly, transitions are smooth, and any text or overlays are correctly positioned. A quick preview helps catch any small errors that might have slipped through during editing.
Most video editing platforms that work with Shutterstock templates allow you to customize export settings. Here’s what to consider:
- Resolution: For high-quality videos, choose at least 1080p (Full HD). If you’re creating content for large screens or professional presentations, consider 4K where possible.
- Format: MP4 is the standard format compatible with most platforms, but some projects might require MOV or other formats. Check your destination platform’s requirements.
- Bitrate: Higher bitrate means better quality, but larger file sizes. Balance quality and file size based on where you’ll upload or share your video.
- Frame Rate: Match the frame rate of your original footage for a seamless look. Common options are 24, 30, or 60 fps.
Once you’ve selected your settings, hit the export button. Depending on the length and resolution of your video, this process might take a few minutes. Be patient — a good export process ensures your video looks its best.
After exporting, it’s a good idea to watch your video from start to finish. Look out for any issues like audio sync problems, unexpected cuts, or visual glitches. If you notice anything off, go back to your editing project, make adjustments, and re-export.
Finally, share your finished video! Upload it to your preferred social media platforms, embed it on your website, or send it directly to clients. Using Shutterstock templates makes this process smooth, helping you produce professional-quality videos with ease.
Frequently Asked Questions About Using Shutterstock Video Templates
Using Shutterstock templates for video editing can be a game-changer, but you might have some questions along the way. Here are some common questions and helpful answers to get you started:
Q1: Are Shutterstock video templates free?
Short answer: No, Shutterstock templates typically require a purchase or subscription. However, they are a cost-effective way to access high-quality, professionally designed templates without hiring a designer.
Q2: Can I customize Shutterstock templates?
Absolutely! Most templates are fully customizable. You can change text, colors, images, and timing to match your brand or personal style. Just ensure you’re using compatible editing software, and follow the template instructions for best results.
Q3: What editing software works with Shutterstock templates?
Many templates are compatible with popular programs like Adobe Premiere Pro, After Effects, Final Cut Pro, and even some online editors. Always check the template’s specifications before purchasing to ensure compatibility.
Q4: Do I need prior video editing experience?
Not necessarily! Shutterstock templates are designed to simplify the editing process, making them perfect for beginners. However, having some basic knowledge of your editing software can help you customize templates more effectively.
Q5: Can I use Shutterstock templates for commercial projects?
Yes, most templates purchased from Shutterstock come with licensing that allows commercial use. Just be sure to review the licensing terms before using a template in a commercial context.
Q6: How do I ensure my video looks unique?
To make your video stand out, customize the template elements—change colors, fonts, and images to reflect your brand or message. Adding your own footage or overlays can also help create a more personalized final product.
Q7: What should I do if I encounter technical issues?
If you run into problems, check the template’s documentation or tutorials provided by Shutterstock. Many issues can be resolved with software updates, compatible file formats, or by reaching out to customer support.
Hopefully, these answers help demystify the process of using Shutterstock templates. With a bit of practice, you’ll be creating stunning videos in no time!
Conclusion and Additional Resources for Video Editing with Shutterstock Templates
Using Shutterstock templates can significantly streamline your video editing process, allowing you to create professional-quality videos with ease. Whether you’re a beginner or an experienced editor, leveraging these ready-made templates saves time and enhances creativity. Remember to customize each template to align with your unique project goals, and don’t hesitate to explore various styles to find what best suits your vision.
For further mastery, consider exploring the following resources:
- Shutterstock Tutorials: Access their official tutorials to learn tips and tricks for maximizing template use.
- Video Editing Software Guides: Familiarize yourself with tools like Adobe Premiere Pro, Final Cut Pro, or DaVinci Resolve to better utilize templates.
- Online Courses: Platforms like Udemy or Skillshare offer comprehensive courses on video editing and template customization.
- Community Forums: Join creative communities such as Reddit or Adobe forums to share experiences and seek advice.
By combining Shutterstock templates with continuous learning and experimentation, you’ll elevate your video projects and develop a versatile editing skill set. Happy editing!