The iStock Albums feature is a powerful tool designed to help users effectively organize their photos and images. With the ability to create personalized albums, you can easily manage your collections, streamline your workflow, and keep your favorite visuals at your fingertips. Whether you’re a professional photographer or a casual user, understanding how to utilize this feature can enhance your experience on the iStock platform.
Benefits of Using Albums for Photo Organization

Using albums to organize your photos provides several advantages:
- Improved Accessibility: Albums allow you to group related images together, making it easier to find what you need without sifting through countless files.
- Enhanced Collaboration: Teams can share albums, enabling seamless collaboration on projects by granting easy access to all members involved.
- Better Workflow Management: Organizing photos into specific albums can help create a clear workflow, especially for users managing large collections or working on multiple projects.
- Personalization: You can create customized albums tailored to your specific needs, whether for different clients, themes, or events.
- Visual Clarity: Albums provide a visual representation of your work, making it easier to present your images in a professional manner.
In conclusion, utilizing the iStock Albums feature enhances your photo organization by improving accessibility, enabling collaboration, and streamlining your workflow. This method of organization not only saves time but also adds a layer of professionalism to your work, allowing for a more efficient and enjoyable user experience on the platform.
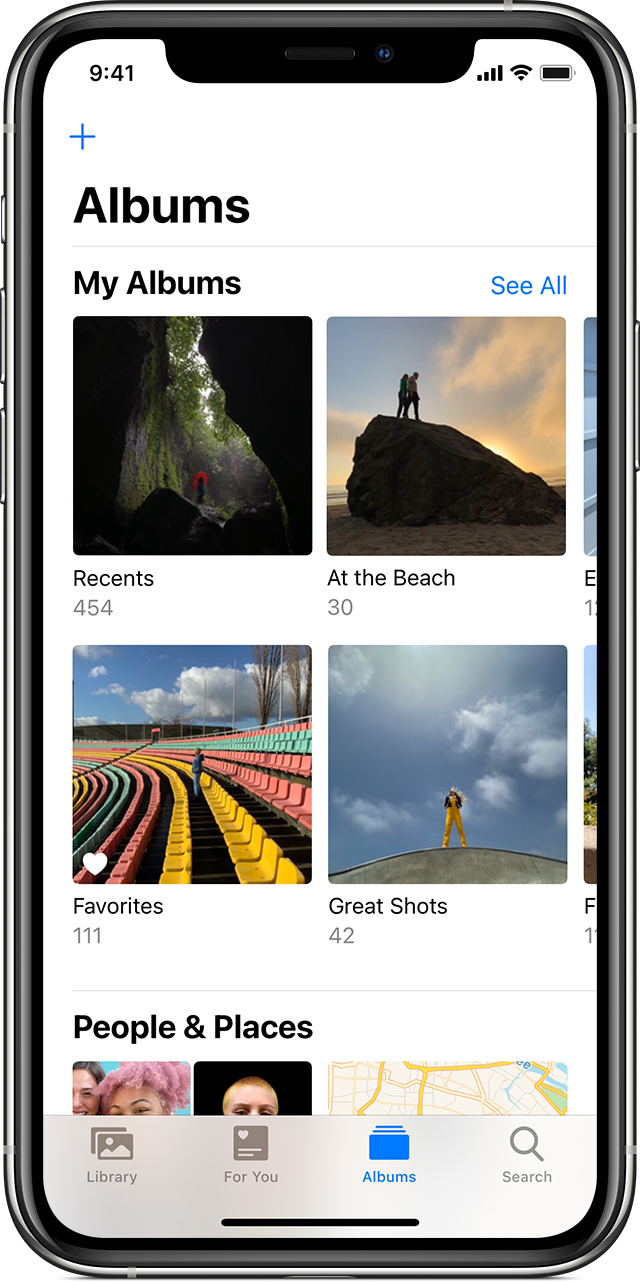
Getting Started with iStock Albums
If you’re a frequent user of iStock, you might have noticed the Albums feature, and it’s a game changer for organizing your photos! Whether you’re a designer, marketer, or just someone with a passion for photography, Albums can help you keep your visuals neatly organized and easily accessible. The best part? It’s incredibly user-friendly!
To get started, you need to ensure you have an iStock account. If you don’t have one, signing up is a breeze and can be done in just a few minutes. Once you’re logged in, here’s what you need to do:
- Navigate to the Albums section: You can find this in your profile menu. It’s usually located on the top right corner of the screen.
- Familiarize yourself with the interface: It’s simple! You’ll see options like “Create Album,” a list of your existing albums, and easy access to your uploaded images.
- Explore existing albums: Take a look at how other users are organizing their photos. Inspiration is everywhere!
With these preliminary steps, you’re ready to dive into creating your own albums. Organizing your images can lead to increased productivity, and with iStock Albums, you can find your perfect images at a moment’s notice. So grab your favorite snacks and get ready for some photo organizing fun!
Step-by-Step Guide to Creating an Album
Creating an album on iStock is a straightforward process that can enhance your photo management significantly. Here’s a simple step-by-step guide to help you set up your first album!
- Click on “Create Album”: Once you’re in the Albums section, look for the button labeled “Create Album.” It’s usually front and center.
- Name Your Album: Choose a descriptive name that reflects the purpose of the album. This can be based on themes, colors, or projects. For example, “Summer Campaign,” “Social Media Graphics,” or “Travel Photos” work great!
- Add a Description: While this is optional, it can help you remember the context behind the album in the future. Think about including keywords that will remind you why you created this collection.
- Select Photos: Now comes the fun part! You can browse through your existing images or upload new ones. Select the photos you want to add to your album.
- Organize Your Photos: Once the images are selected, you can arrange them in the order you prefer. Proper organization makes finding specific images a lot easier later on.
- Save Your Album: After verifying everything looks great, hit that “Save” button, and voila! Your album is now live!
And that’s it! You’ve successfully created your first iStock album. Don’t forget to revisit it regularly and update it with new finds or reorganize as your needs change. Happy organizing!
Adding and Managing Photos in Your Albums
Now that you’ve created some albums, let’s delve into how to effectively add and manage your photos. Adding photos to your iStock albums should be a smooth and straightforward process. Here’s how you can do it:
- Select Your Album: Navigate to the album where you want to add photos. Once you’re in the right spot, you’ll see options to manage your content.
- Add Photos: Click on the “Add Photos” button. You can typically upload multiple photos at once for efficiency. Just drag and drop your files or use the upload option from your device.
- Sorting Options: After adding photos, you can rearrange them by dragging them into the desired position. This lets you showcase your work in a way that tells a story or highlights your favorites.
- Deleting Unwanted Photos: If you find that some photos don’t fit your album anymore, don’t hesitate to remove them. Click on the photo you want to delete, and select the delete option.
- Editing Photo Details: You can also edit specific details about each photo, like descriptions or tags, to make searching easier later on.
Using these simple steps, you’ll keep your albums fresh and aligned with your creative vision. Plus, your audience will enjoy navigating through a well-organized collection!
Tips for Organizing Your Albums Effectively
Organizing your albums can make a huge difference in your workflow and the experience for anyone looking through your photos. Here are some handy tips to ensure your albums are both attractive and easy to navigate:
- Create a Logical Structure: Start by categorizing your albums based on themes, events, or projects. This way, your audience can quickly find what they’re looking for.
- Consistent Naming Conventions: Use clear and descriptive titles for your albums. For example, instead of “Vacation,” consider “2023 Hawaii Adventure” to provide more context.
- Regularly Update Albums: Make it a habit to review your albums every few months. Remove outdated photos, add new work, and refresh descriptions as needed.
- Use Tags Wisely: Many photo management tools, including iStock, allow you to tag your photos. Using relevant keywords can make searching for specific images much easier.
- Utilize Collections: If you have several albums, consider creating collections that group related albums together. This gives users an easier way to explore your work as a whole.
By keeping these tips in mind, you can ensure that your iStock albums not only showcase your photography but also stay organized over time, helping you focus on what you love most—creating beautiful images!
Collaborating with Others on Your Albums
When it comes to organizing your photos on iStock, collaboration can take your album game to the next level. Sharing the creative process with others not only makes it more fun but can also enhance the quality of your projects. Here’s how to effectively collaborate on your albums:
- Invite Contributors: You can invite friends, colleagues, or clients to contribute their own images to your album. This is particularly useful for projects where multiple perspectives are valuable, such as marketing campaigns or event documentation.
- Set Permissions: Be mindful of permissions when collaborating. You can control whether others can edit or simply view your album. This way, you maintain the integrity of your organization while allowing for valuable input.
- Leave Feedback: Use the comment feature to discuss specific images or sections of the album. Providing constructive feedback can lead to better selection and curation of photos.
- Regular Updates: Keep the momentum going by updating the album regularly. Schedule check-ins with collaborators to review progress, share thoughts, and make adjustments as needed.
Remember, collaboration is not just about sharing photos; it’s about sharing ideas and building a more cohesive final product. The more you engage with your collaborators, the better the results will be!
Accessing and Sharing Your Albums
Your carefully crafted albums deserve to be showcased! iStock makes it incredibly simple to access and share your albums, whether you’re reviewing them on your own or sharing them with others. Here’s how you can do it:
- Easy Access: To find your albums, simply navigate to your profile section. All your albums will be organized in one place, making it easy to locate what you need anytime.
- Sharing Links: iStock allows you to generate sharing links for your albums. This means you can easily send an album link via email, or even share it on social media, allowing others to view or contribute.
- Embed Options: For those looking to showcase their albums on websites or blogs, iStock often provides embed options. This makes sharing seamless and ensures that your content reaches a wider audience.
- Privacy Settings: Be sure to check privacy settings when sharing. You can choose whether your albums are open to everyone or restricted to selected individuals for a more private sharing experience.
Whether you’re sharing with a small team or the world at large, your albums are now more accessible than ever. Make the most of this feature to enhance your creative projects and connect with others in the iStock community!
Common Issues and Troubleshooting Tips
While using the iStock Albums feature can significantly streamline your photo organization, you might encounter a few hiccups along the way. Don’t worry; we’ve got you covered with some common issues and helpful troubleshooting tips!
1. Albums Not Updating: One of the most common issues users face is albums not reflecting changes. If you notice your albums aren’t updating as expected, try the following:
- Refresh the page or app to see if the changes appear.
- Log out and back into your account.
- Clear your browser or app cache—sometimes, old data can cause display issues.
2. Difficulty Adding Photos: If you’re having trouble adding photos to your albums, check these points:
- Ensure that the images you’re trying to add are supported by iStock.
- Try using a different browser or device to see if the issue persists.
- Confirm that your internet connection is stable.
3. Issues with Album Visibility: Albums should be easy to access but sometimes you may have difficulty finding them. To resolve this:
- Ensure you’re logged into the correct account where the albums were created.
- Check your album settings to see if they are set to private.
- Use the search function in your account to locate your albums quickly.
By following these tips, you can troubleshoot most common issues effectively and enjoy a smooth experience with iStock Albums. And if you’re still facing challenges, don’t hesitate to reach out to iStock support for assistance—they’re there to help!
Conclusion and Final Thoughts on iStock Albums
In conclusion, the iStock Albums feature is a fantastic tool for organizing your photography projects. It not only makes it easier to keep track of your favorite shots but also enhances your workflow, whether you’re a professional photographer or a hobbyist. Here are some key takeaways:
- Organization Made Easy: You can sort and categorize your photos quickly, helping you find what you need when you need it.
- Collaborative Sharing: Albums allow for seamless sharing with clients or team members, making collaboration a breeze.
- Enhanced Accessibility: You can access your albums from anywhere, whether on your desktop or mobile device, ensuring that your work is always at your fingertips.
Ultimately, taking a little time to familiarize yourself with these features can save you a significant amount of time in the long run. Whenever you’re feeling overwhelmed by your photo collection, remember that iStock Albums can keep your creative journey organized and inspiring. So go ahead, start organizing, and watch your creativity flourish!