If you’re diving into the world of vector graphics, chances are you’ve come across Shutterstock‘s vast library of vector images. These images are fantastic for everything from graphic design to personal projects because they’re scalable without losing quality. But what happens if you want to tweak or customize a Shutterstock vector? That’s where Inkscape comes in—it’s a powerful, free, and open-source vector graphics editor that makes editing these images a breeze. Whether you’re a beginner or a seasoned designer, understanding how Inkscape works with
Getting Started with Inkscape for Vector Editing

First things first, let’s get Inkscape installed and ready to go. You can download it for free from the official website (inkscape.org)—it’s available for Windows, macOS, and Linux. Once installed, open Inkscape and familiarize yourself with the interface. Don’t worry; it might look a bit overwhelming at first, but with a little guidance, you’ll be editing vectors in no time.
Now, to start editing a Shutterstock vector image, you’ll need to import it into Inkscape. Typically, Shutterstock images come in formats like SVG or EPS, which are perfect for Inkscape. To import, simply go to File > Import and select your downloaded vector file. If you received a ZIP package or a compressed file, extract it first to access the vector file.
Once imported, you’ll notice that the image is made up of different paths and nodes. Inkscape offers a variety of tools to manipulate these components, like the Node Tool, Select Tool, and Path Tool. A good starting point is to select the image and explore how clicking on different parts reveals editable nodes. Practice moving, deleting, or reshaping nodes to see how the vector adapts. Remember, since SVGs are made of scalable paths, editing them is all about tweaking these nodes to perfect your design.
It’s also helpful to turn on the grid or guides (via View > Guides and Grids) for precise editing. Don’t forget to save your work frequently! Inkscape’s native format is SVG, but you can export your edited image in various formats like PNG or PDF depending on your needs. With these basics, you’re now ready to begin customizing Shutterstock vectors to fit your project perfectly.
Importing Shutterstock Vector Files into Inkscape
So, you’ve found that perfect vector image on Shutterstock, and now you’re ready to make it uniquely yours using Inkscape. The first step? Importing that file into Inkscape properly. The good news is, it’s pretty straightforward, but there are a few tips to keep in mind to ensure a smooth process.
Most Shutterstock vectors come in formats like SVG, AI, or EPS. Inkscape handles SVG files natively, so if you’ve downloaded an SVG, you’re already halfway there. For AI and EPS files, Inkscape can open or import them, but sometimes you’ll need to convert or save them in a compatible format first.
Steps to Import Vector Files
- Download your Shutterstock vector file in SVG or compatible format.
- Open Inkscape on your computer.
- Go to the menu and click File, then choose Open to load your vector file.
- If your file isn’t an SVG but an AI or EPS, select File > Import. Inkscape might prompt you to convert the file—sometimes opening it directly works better.
- Once imported, you may notice some flattened or grouped elements. Don’t worry—that’s normal. You can ungroup the objects later for detailed editing.
Tip: If you encounter any issues with the imported file, such as missing elements or unexpected formatting, try opening the original file in Adobe Illustrator or another vector editor to resave it as SVG. This often helps Inkscape read everything smoothly.
By properly importing your Shutterstock vector files, you set a solid foundation for editing. Now, you’re ready to dive into Inkscape’s powerful tools to tweak, customize, and bring your design to life!
Essential Tools and Features in Inkscape for Editing Vectors
Once your Shutterstock vector file is in Inkscape, it’s time to explore the tools that will help you shape and refine your design. Inkscape might seem overwhelming at first, but focusing on some core features makes editing a breeze. Let’s walk through the essentials!
1. Selection Tool (F1)
This is your go-to tool for selecting, moving, and resizing objects. Want to reposition an element? Click it with the Selection Tool and drag. Need to resize? Drag the corners while holding down Ctrl to keep proportions.
2. Node Tool (N)
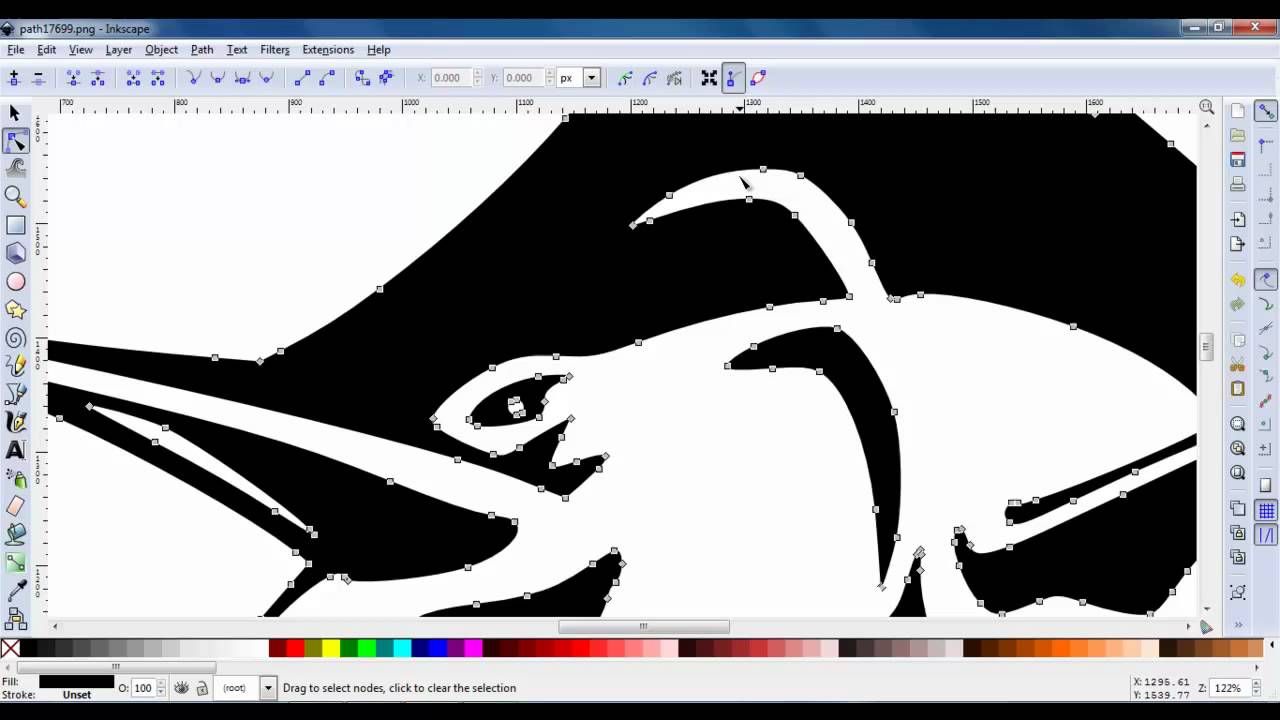
The Node Tool is powerful for editing individual points within vector shapes. Use it to tweak curves, straighten edges, or create custom shapes. Simply select an object, click the Node Tool, and then click on the shape to see and manipulate its nodes.
3. Fill and Stroke Dialog (Shift+Ctrl+F)
This dialog allows you to change colors, adjust transparency, and modify stroke styles. Whether you want to change the fill color, add a gradient, or tweak the stroke width, this is where the magic happens.
4. Path Operations
- Union: Combines multiple shapes into one.
- Difference: Subtracts one shape from another.
- Intersection: Keeps only overlapping areas.
- Exclude: Removes overlapping parts.
These operations are found under Path in the menu and are essential for creating complex designs from simple shapes.
5. Clone and Duplicate
Need multiple copies of an element? Use Edit > Duplicate or Clone. Clones are linked to the original, so editing the source updates all clones, which is handy for repeating patterns.
6. Layers Panel
Managing complex designs is easier with layers. Open the Layers dialog (Layer > Layers) to organize your objects, lock layers, or toggle visibility. This helps keep your workspace tidy and focused.
7. Zoom and Grid Settings
Precision matters! Use the zoom tools to get close-up views, and enable grids or guides (View > Guides) for alignment. Snapping options help objects align perfectly, making your edits cleaner and more professional.
Mastering these tools transforms Inkscape from a simple drawing program into a powerful vector editing studio. Play around, experiment with different features, and soon you’ll be editing Shutterstock vectors with confidence and creativity!
Step-by-Step Guide to Editing Shutterstock Vectors in Inkscape
Getting started with editing Shutterstock vector images in Inkscape might seem a bit daunting at first, but once you break it down into manageable steps, it becomes pretty straightforward. Whether you’re customizing a logo, creating a unique illustration, or just tweaking an image to suit your needs, here’s a simple guide to walk you through the process:
Step 1: Download and Open Your Vector Image
First things first, download the vector image from Shutterstock in a compatible format like SVG or EPS. Once downloaded, open Inkscape and import the file by going to File > Import. If your image is in SVG format, you can also open it directly with File > Open.
Step 2: Unlock and Prepare the Layers
Most vector images are organized into layers. Check the Layers panel (if not visible, press Shift + Ctrl + L) and unlock any locked layers you want to modify. This way, you can isolate specific parts of the image for editing without affecting the rest.
Step 3: Ungroup the Image
Often, Shutterstock vectors come grouped. To get granular control, select the image and go to Object > Ungroup (or press Shift + Ctrl + G). You might need to do this multiple times until all elements are separated.
Step 4: Edit Paths and Nodes
Use the Node Tool (press N) to select individual parts of the vector. Here, you can move, add, or delete nodes to reshape elements. For more precise control, right-click on a node for options like smooth or sharp corners.
Step 5: Modify Colors and Strokes
To change colors, select the element and use the Fill and Stroke panel (Shift + Ctrl + F). You can adjust fill colors, strokes, stroke widths, and styles to match your design goals.
Step 6: Save Your Edited Image
Once you’re happy with your edits, save your work by going to File > Save As. Choose SVG for a fully editable version, or export as PNG if you need a rasterized image for web use (File > Export PNG Image). Remember to keep a backup of your SVG file for future edits!
Tips for Maintaining Quality and Resolution
One of the biggest advantages of working with vectors is that they’re resolution-independent, meaning you can scale them without losing quality. But to ensure your final images look crisp and professional, here are some handy tips:
1. Always Work in Vector Format
When editing Shutterstock vectors, stick to SVG or EPS formats during your workflow. These formats preserve the vector data, allowing you to resize and modify without any degradation.
2. Use the Correct Export Settings
If you need to export your edited image as a raster file (like PNG or JPEG), be sure to select a high resolution. For example, when exporting PNGs, set the DPI to at least 300 for print-quality images or 72 DPI for web use. Also, choose a sufficiently large pixel dimension to avoid pixelation.
3. Keep Paths Smooth and Clean
Inkscape offers tools to simplify and smooth paths (like Path > Simplify or editing nodes manually). Clean paths reduce artifacts and ensure your image scales smoothly.
4. Avoid Over-Editing
While it’s tempting to tweak every detail, excessive edits can sometimes introduce unwanted artifacts or make the image more complex than necessary. Keep your edits purposeful and clean for the best quality.
5. Use Layers Wisely
Organize your work into layers so you can easily toggle visibility, lock elements, and make non-destructive edits. This approach helps maintain clarity and reduces accidental changes to parts of your image.
6. Test by Resizing
Periodically resize your vector image during editing to check how it looks at different scales. This simple step helps you catch issues early and ensures your design remains sharp at any size.
By following these tips, you’ll keep your Shutterstock vector images looking professional and crisp, whether you’re using them for print, web, or branding projects. Remember, the key is patience and attention to detail—happy editing!
Saving and Exporting Your Edited Vectors
Once you’ve put your creative touch on a Shutterstock vector image using Inkscape, it’s important to save your work properly to ensure everything stays intact and ready for use. Inkscape offers several options for saving and exporting your edited vectors, depending on what you need next.
Saving Your Work in Inkscape Format
The primary way to keep all your edits intact is to save your project as an Inkscape SVG (.svg) file. This format preserves all layers, paths, colors, and other vector data, making it easy to come back and make further edits later.
- Go to File > Save As
- Choose Inkscape SVG (.svg) from the dropdown menu
- Name your file and select a location
This method is ideal for ongoing projects or if you plan to tweak the image in Inkscape again in the future.
Exporting for Use in Other Applications or Web
If you’re ready to use your edited vector outside of Inkscape—say, for a website, presentation, or print—you’ll want to export it in a suitable format.
- Navigate to File > Export PNG Image
- In the export dialog, choose the desired resolution (DPI), size, and filename
- Click Export
This creates a high-quality PNG image, which is great for raster-based uses. However, if you need to keep your image as a vector for scaling without loss of quality, you can export to SVG or PDF formats.
Exporting as PDF or Other Vector Formats
Inkscape also allows you to export directly to formats like PDF, which are widely used for printing and professional sharing:
- Go to File > Save a Copy
- Select PDF (.pdf) as the file type
- Configure export options as needed and save
Remember, always double-check your exported files to ensure all your edits are preserved and the image looks as expected. Saving in the right format at the right stage can save you a lot of hassle later!
Legal Considerations When Editing Shutterstock Vectors
Before you dive into editing Shutterstock vectors, it’s crucial to understand the legal landscape. Shutterstock provides images under specific licensing terms, and editing or modifying these images can have legal implications if you’re not careful. Let’s break down what you need to keep in mind.
Understanding Licensing Types
Shutterstock offers different types of licenses:
- Standard License: Suitable for most uses like websites, digital ads, and printed materials up to 500,000 copies. Editing is generally permitted under this license, but modifications should not violate the original licensing terms.
- Enhanced License: Allows for broader usage, including merchandise, product packaging, and more extensive modifications. It provides more flexibility but still requires adherence to licensing terms.
Always review the specific license attached to your image to ensure your intended use aligns with the permitted modifications.
Respectting Copyright and Attribution
While Shutterstock vectors are licensed for editing, they are still protected by copyright law. This means:
- You cannot claim the image as your own original work.
- You must not redistribute the original or modified vectors in a way that violates Shutterstock’s licensing policies.
- If the license requires attribution (which is rare for Shutterstock images), make sure to provide proper credit.
Avoiding Legal Pitfalls
To stay on the safe side:
- Do not use the images for illegal, defamatory, or offensive purposes.
- Ensure your modifications are substantial enough to create a new, distinct work if you plan to sell or distribute it broadly.
- Keep records of your license agreements and downloads, in case you need proof of legal use.
In summary, always read the licensing agreement carefully before editing Shutterstock vectors. When in doubt, consult legal advice or contact Shutterstock’s support for clarification. Respecting these guidelines not only keeps you compliant but also supports the creators and the platform that provides these assets.
Troubleshooting Common Issues in Inkscape Vector Editing
Hey there! If you’ve been playing around with Inkscape to edit Shutterstock vector images, you might have run into a few hiccups here and there. Don’t worry—that’s totally normal. Let’s go over some common issues and how to fix them so your editing journey stays smooth and frustration-free.
Problem 1: Elements Not Selecting or Moving
Sometimes, you click on an object, and it just won’t select or move. This can happen if the object is locked or grouped with others. To fix this:
- Check if the object is locked by looking at the status bar or layers panel.
- Unlock the object via the Layers menu or Object > Unlock All.
- If the object is grouped, right-click and choose Ungroup or use the shortcut Shift + Ctrl + G.
Problem 2: Colors Not Changing or Unexpected Fill/Stroke Behavior
Color issues are common, especially when working with complex vectors. If your fill or stroke isn’t updating as expected:
- Make sure you’ve selected the correct object.
- Check if the fill or stroke is set to ‘None’ or transparent.
- Inspect the Fill and Stroke dialog (Shift + Ctrl + F) to manually adjust colors.
- Sometimes, objects inherit styles; in that case, clear styles via Object > Remove Style.
Problem 3: Exported Images Look Different
If your exported PNG or SVG doesn’t match your Inkscape canvas:
- Verify your export settings, especially DPI and resolution.
- Ensure all objects are within the canvas boundary.
- Use File > Export PNG Image to fine-tune the export area and resolution.
Problem 4: Slow Performance or Crashing
Large or complex files can slow down Inkscape or cause crashes. To keep things running smoothly:
- Save your work frequently.
- Reduce the number of objects or simplify complex paths.
- Update Inkscape to the latest version for bug fixes and performance improvements.
- Close unnecessary programs to free up system resources.
Quick Tips for Smooth Editing
Beyond fixing issues, here are some quick tips:
- Use layers to organize your work.
- Utilize the snapping tools for precise alignment.
- Keep your vector paths clean by simplifying or removing unnecessary nodes (Path > Simplify).
Remember, troubleshooting is part of the journey. The more you experiment and learn, the easier it gets to fix problems quickly and get back to creating stunning vector art!
Conclusion and Best Practices for Vector Editing in Inkscape
Congratulations! You’ve now got a solid foundation for editing Shutterstock vector images with Inkscape. As you continue exploring, keep these best practices in mind to make your workflow more efficient and your results more professional.
Best Practices to Keep in Mind
- Start with a clean file: Always remove unnecessary objects and simplify paths to keep your file manageable.
- Use layers wisely: Organize different parts of your image into layers. It makes editing, hiding, or locking elements much easier.
- Keep original images intact: Save a copy of the original Shutterstock vector before making major edits—this way, you can always revert if needed.
- Master selection and node tools: These are your best friends for precise editing. Practice selecting specific nodes and adjusting curves for cleaner results.
- Utilize keyboard shortcuts: They speed up your workflow significantly. For example, G for Group, U for Ungroup, or Ctrl+D to duplicate.
- Regularly save your work: Use Inkscape’s autosave feature and save frequently to prevent data loss.
- Export with care: Check your export settings to ensure your images look sharp and accurate in the formats you need.
Wrapping Up
Editing Shutterstock vectors in Inkscape can seem daunting at first, but with patience and practice, it becomes second nature. Embrace the trial-and-error process, and don’t be afraid to experiment with different tools and techniques. Remember, every mistake is just a step closer to mastering vector editing!
Happy creating, and keep pushing your skills to new heights. Inkscape is a powerful, free tool—so dive in and make those vectors shine!