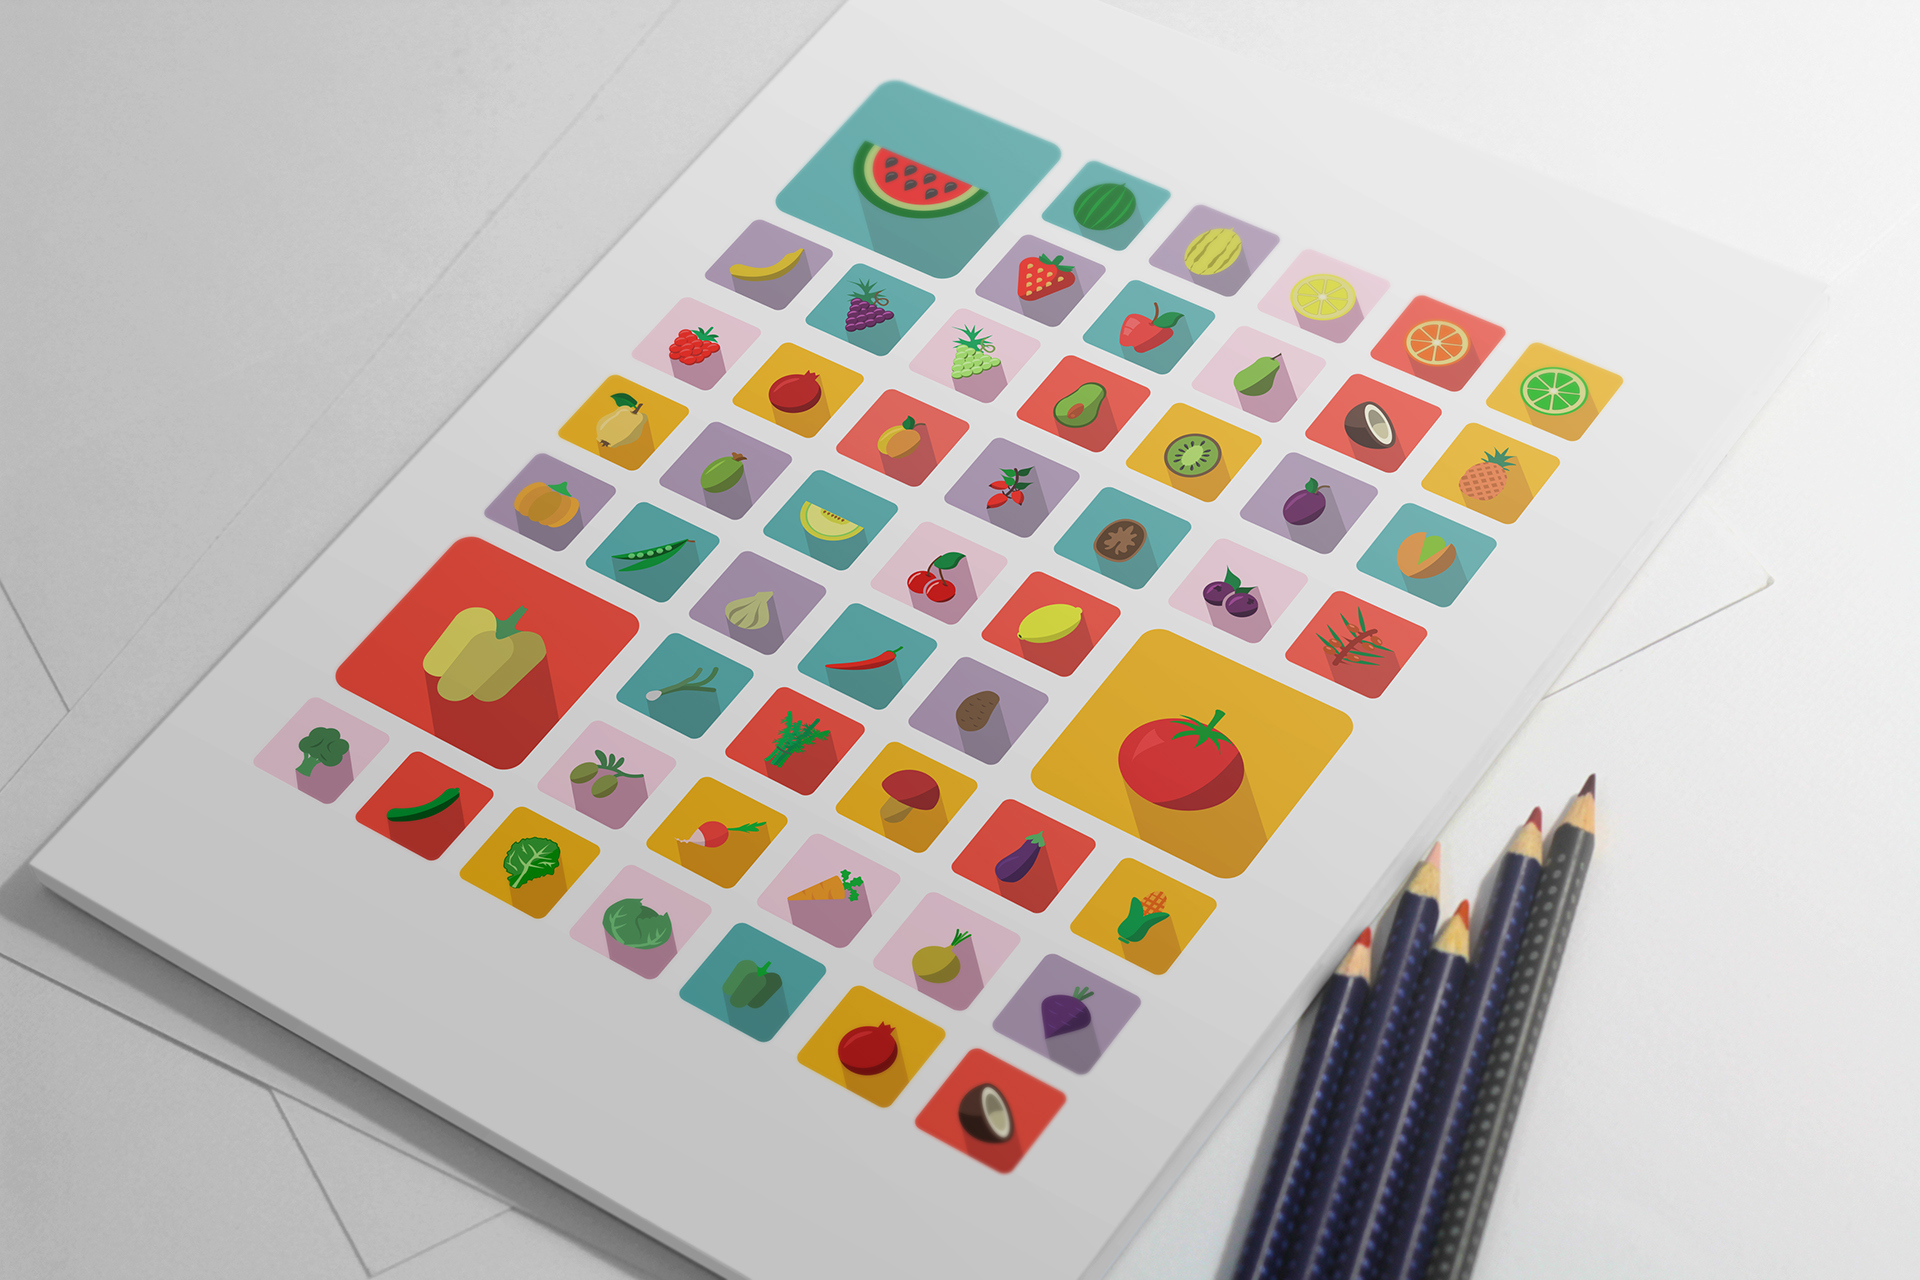
Icons are like tiny visual helpers that can make your designs more engaging and easier to understand. Shutterstock offers a huge library of icons that you can incorporate into websites, presentations, apps, and more. Using these icons not only saves you time but also adds a professional touch to your work. Whether you’re a seasoned designer or just starting out, knowing how to effectively use Shutterstock icons can elevate your projects significantly. In this guide, we’ll walk through the basics of integrating
Finding the Right Icons on Shutterstock for Your Needs
Looking for the perfect icons on Shutterstock might seem overwhelming at first, but a few simple strategies can make the process smooth and enjoyable. Here’s how you can find icons that truly fit your project:
- Use Specific Keywords: Think about what you need. Instead of just searching for “business,” try “business meeting,” “teamwork,” or “financial report.” The more precise your keywords, the better your results.
- Utilize Filters: Shutterstock offers filters like icon style (flat, line, filled), color, orientation, and more. Use these to narrow down your options and find icons that match your design aesthetic.
- Check Icon Collections: Sometimes, browsing through curated collections or sets can give you a cohesive look across your project. Look for collections that match your theme or brand style.
- Preview in Context: Before committing, preview how icons will look in your actual design. Shutterstock allows you to see icons in different sizes and backgrounds, helping you assess their suitability.
Once you’ve found a few icons that catch your eye, consider their licensing terms—most Shutterstock icons are royalty-free, but it’s good to double-check to ensure proper usage. Download the icons in the appropriate format (SVG, PNG, etc.), and you’re ready to incorporate them into your project. Remember, selecting the right icons is all about matching the style, tone, and message of your design, so take your time and choose icons that truly enhance your visual story.
Understanding Shutterstock Licensing and Usage Rights
If you’re diving into using icons from Shutterstock, it’s super important to understand the licensing and usage rights that come with their images. Think of licenses as the rules of the road—they tell you what you can and can’t do with the icons you download. Shutterstock offers different types of licenses, mainly Standard and Extended, each suited for different needs.
The Standard License is perfect for most projects like websites, presentations, social media, and marketing materials. It usually covers up to 500,000 copies or views, which is more than enough for many small to medium projects. Under this license, you can:
- Use icons in digital and print formats
- Incorporate icons into your designs for websites, apps, or social media posts
- Share your work with clients or colleagues
However, there are some limits. For example, you can’t resell the icons as standalone products or use them in a way that might be considered obscene or illegal. If your project involves large-scale distribution, merchandise, or products for resale, you might need an Extended License.
The Extended License gives you broader rights, like creating items for resale or large-scale commercial use. It’s a bit more costly but worth it if your project involves printing icons on T-shirts, mugs, or other merchandise, or if your design will be widely distributed.
Always, always read the license agreement carefully before using icons. It’s tempting to assume you can do whatever you want, but respecting licensing terms keeps your projects legal and respectful of creators’ rights. Shutterstock makes it pretty straightforward—once you purchase a license, you’re good to go within those boundaries.
Downloading Icons from Shutterstock for Your Design Projects
Ready to get those icons into your project? Downloading icons from Shutterstock is a simple process, but here are some tips to make it smooth and efficient:
- Create an account if you haven’t already. Having an account makes tracking your downloads and managing licenses easier.
- Search for icons using keywords that match your design theme. Use filters like style, color, or orientation to narrow down your options and find the perfect icons faster.
- Preview icons in full size before downloading. Shutterstock allows you to see how the icon will look, which helps ensure it fits your project’s style.
- Select the appropriate license for your intended use. Remember, if you plan to print or resell, go for the Extended License.
- Add icons to your cart and proceed to checkout. You can buy icons individually or via subscription plans if you need multiple images regularly.
- Download the icon files in your preferred format—PNG, SVG, AI, or EPS. SVG and AI are great for scalable vector graphics, perfect for logos and detailed designs.
- Organize your downloads in folders for easy access. Keep track of license keys or purchase receipts in case you need proof of licensing later.
Once downloaded, you can incorporate these icons into your design software like Adobe Illustrator, Photoshop, or even online tools like Canva. Remember to always check the file format—vector formats like SVG or AI are best for editing and scaling without losing quality.
And that’s it! With these simple steps, you’ll be able to seamlessly add Shutterstock icons to your projects, making your designs more engaging and professional. Happy designing!
Integrating Shutterstock Icons into Your Design Software
So, you’ve found the perfect icons on Shutterstock and you’re eager to incorporate them into your design project. The good news is, integrating Shutterstock icons into your favorite design software is pretty straightforward—whether you’re using Adobe Illustrator, Photoshop, Figma, or other popular tools.
First things first, you need to download the icons you want to use. Shutterstock typically offers icons in formats like SVG, PNG, or EPS. SVG is especially popular because it’s a vector format, meaning you can resize without losing quality. Once you’ve downloaded your icons, here’s how to get them into your workflow:
- For Adobe Illustrator:
- Open your Illustrator project.
- Go to File > Place.
- Select the SVG or EPS file you downloaded from Shutterstock.
- Click Place and position the icon where you want it.
- For Adobe Photoshop:
- Open your Photoshop project.
- Go to File > Import > Images or simply drag the SVG file into your canvas.
- Adjust the size and position as needed.
- For Figma:
- Open your Figma file.
- Drag and drop the SVG file directly onto the canvas.
- Resize or tweak the icon as needed using Figma’s vector editing tools.
Most design software recognizes SVGs natively, which makes editing and scaling a breeze. If you’re using other tools, check if they support SVG or EPS files—most modern design programs do. Once imported, you can manipulate the icons just like any other vector shape: change colors, resize, rotate, or even combine with other elements.
Also, keep in mind that some Shutterstock icons are available as web fonts or icon packs, which can be integrated via plugins or extensions. Check Shutterstock’s resources or your software’s plugin marketplace for additional options to streamline your workflow.
Tips for Customizing Shutterstock Icons to Match Your Style
Now that you’ve successfully integrated Shutterstock icons into your project, the next step is making them fit seamlessly with your overall design style. Customizing icons is key to creating cohesive, polished visuals that resonate with your brand or personal aesthetic. Here are some handy tips to help you achieve that:
1. Change the Color
One of the simplest ways to customize icons is by adjusting their color palette. Since most Shutterstock icons are vector-based, you can easily change their fill and stroke colors. Consider using your brand colors or a palette that complements your design. In software like Illustrator or Figma, just select the icon and choose a new color from your color picker.
2. Modify Stroke or Fill
If the icon uses strokes, you can tweak the stroke weight or style to create a different visual weight or effect. For filled icons, experiment with gradients or patterns to add depth or texture.
3. Resize and Reshape
Vectors are incredibly flexible. You can resize icons without quality loss, but also consider reshaping parts of the icon if needed. Use vector editing tools to tweak paths and curves to better match your style.
4. Add Effects or Shadows
Adding subtle shadows, glows, or other effects can make icons stand out or blend better with your background. Use layer styles or effects in Photoshop or Figma to enhance your icons while keeping them consistent with your design language.
5. Combine Icons or Create Custom Variations
Don’t hesitate to combine multiple Shutterstock icons or edit parts of them to create custom variations. For example, overlaying icons or merging shapes can produce unique visuals that are tailored to your project.
6. Maintain Consistency
When customizing icons, aim for consistency in style—whether that’s line thickness, color schemes, or level of detail. Consistent icons help establish a professional and cohesive look across your entire design.
By applying these tips, you’ll turn generic icons into personalized elements that perfectly match your creative vision. Remember, the key is to experiment—sometimes small tweaks can make a big difference in how your icons integrate into your overall design. Happy customizing!
Best Practices for Using Icons Legally and Ethically
When it comes to using icons from Shutterstock, or any other stock image platform, playing by the rules isn’t just about avoiding legal trouble — it’s about respecting the creators who put time and effort into making these icons. Here’s what you need to keep in mind to use icons ethically and legally:
Understand the License Types
Shutterstock offers various licenses for their icons, such as Standard and Enhanced licenses. Each license has different permissions regarding how you can use the icons:
- Standard License: Usually covers most common uses like websites, social media, and presentations. However, there are limits on print runs and merchandise.
- Enhanced License: Provides broader rights, including unlimited print runs, merchandise, and more extensive commercial uses.
Always read the license agreement carefully to ensure your intended use complies. Using an icon outside the scope of your license can lead to legal issues.
Avoid Misuse and Misrepresentation
Icons often carry certain connotations. Avoid using them in ways that could be misleading or misrepresentative. For example, don’t use an icon to imply endorsement by a company unless you have explicit permission.
Also, don’t modify icons excessively to make them unrecognizable or to create misleading visuals. Respect the original design and intent.
Give Proper Attribution When Needed
Many icons on Shutterstock are royalty-free, meaning you don’t need to credit the creator. However, some licenses or specific icons might require attribution. Always check the licensing terms and provide attribution if necessary.
This can be as simple as including a note like:
Icons by Shutterstock from [Creator’s Name]Paying attention to attribution not only keeps you compliant but also supports the talented designers behind those icons.
Keep Track of Your Licenses
Maintain a record of your Shutterstock purchases and licenses. This helps you prove you have the right to use the icons if any questions arise later on.
It’s a good habit to store the license certificates or purchase receipts in a dedicated folder or digital archive.
Respect Trademarked and Copyrighted Elements
Some icons may include elements that are trademarked or copyrighted. Be cautious when using icons that resemble branded logos or copyrighted symbols. When in doubt, consult legal advice or opt for icons explicitly marked as free for commercial use.
Conclusion and Final Tips for Incorporating Shutterstock Icons Effectively
Using icons from Shutterstock can really elevate your designs — making them more intuitive, professional, and engaging. But to get the most out of these icons while staying compliant, remember these final tips:
Choose the Right Icons for Your Audience
Pick icons that resonate with your target audience and suit your brand’s tone. Whether you want something playful, professional, or minimalistic, Shutterstock’s vast library has options for everyone.
Maintain Consistency
Use icons with a similar style, stroke weight, and color palette across your project. Consistency makes your design more cohesive and polished.
Customize When Necessary
Don’t be afraid to tweak icons to better fit your design. Change colors, resize, or modify elements, but always stay respectful of the original design. Remember to keep modifications within the scope of your license.
Optimize for Your Medium
Resize icons appropriately for different platforms — small icons for mobile screens, larger for print, etc. Also, optimize file formats (SVG, PNG) for best quality and performance.
Test and Gather Feedback
Before finalizing your design, test how the icons look in context. Ask colleagues or friends for feedback to ensure they’re understandable and visually appealing.
Stay Updated on Licensing Changes
Licensing terms can evolve, so it’s wise to stay informed about any updates from Shutterstock. Regularly review your licenses and usage rights to avoid accidental violations.
By following these tips, you’ll be able to incorporate Shutterstock icons into your projects confidently, ethically, and effectively. Happy designing!