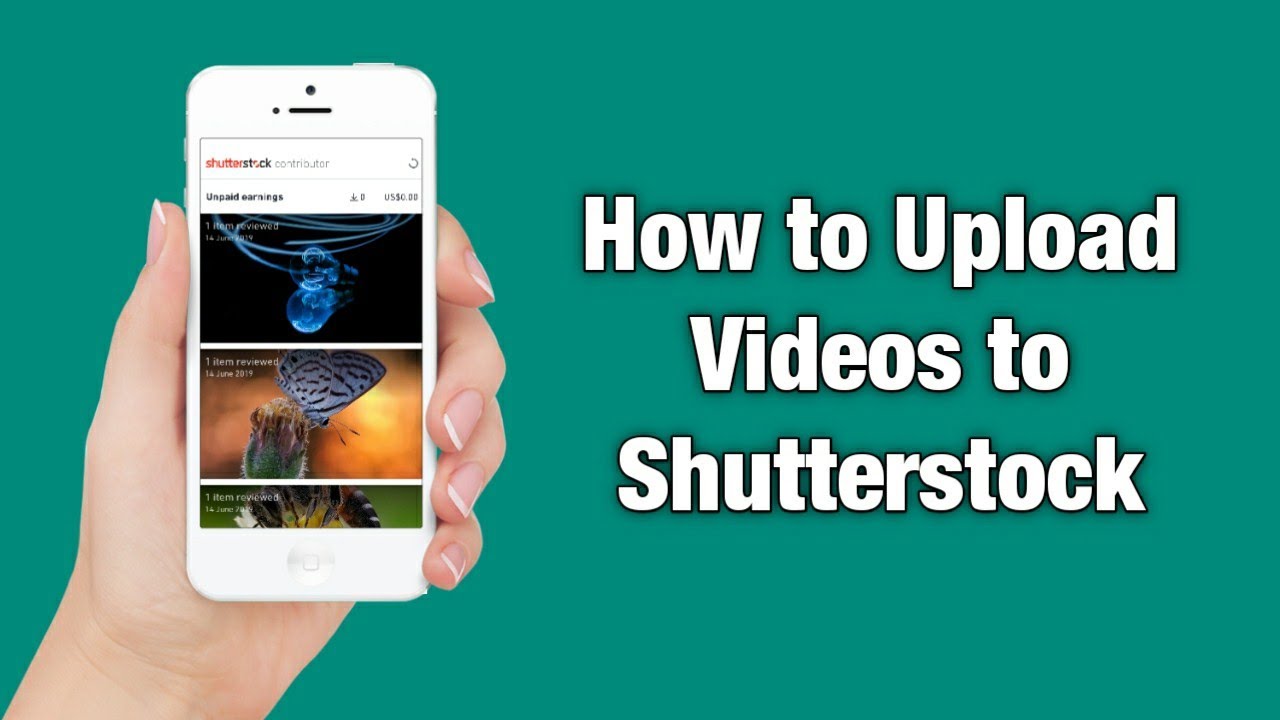
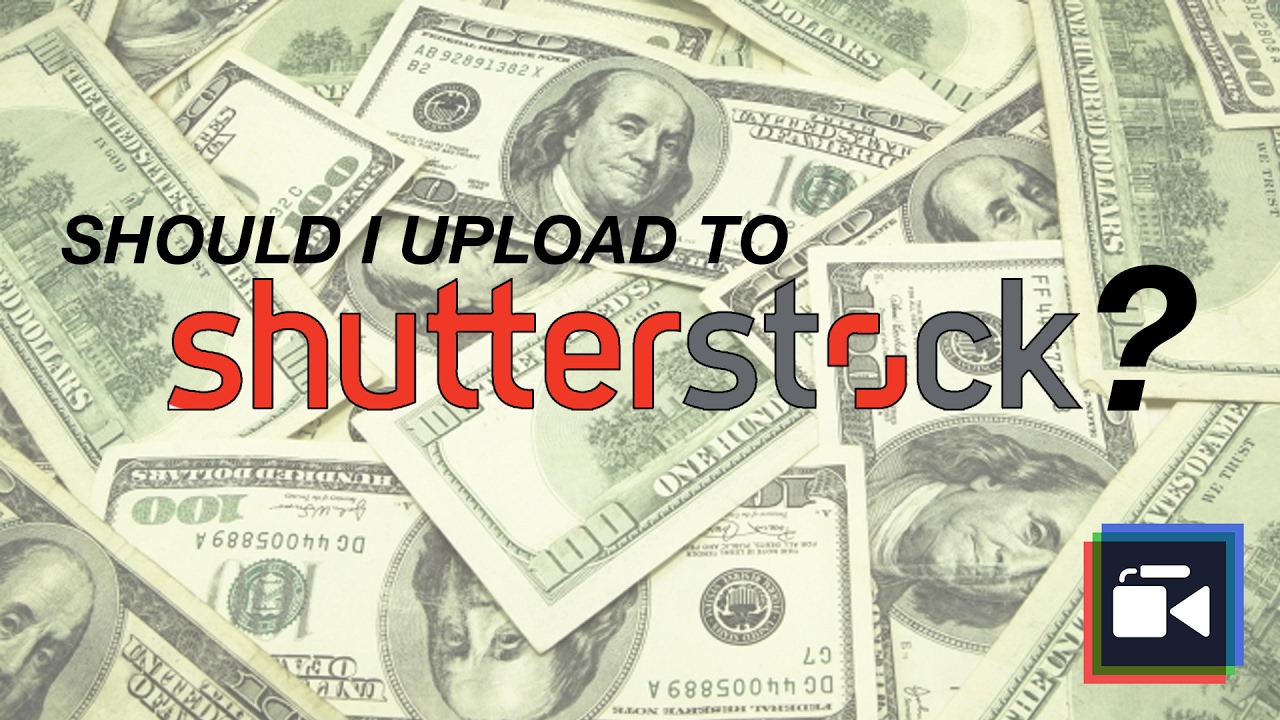
Are you a videographer or content creator looking to earn some extra income? Uploading your videos to Shutterstock can be a fantastic way to reach a global audience and make quick sales. Shutterstock is one of the leading stock footage platforms, offering a chance to showcase your talent and get paid whenever someone downloads your content. But before jumping in, it’s important to understand the process and how to prepare your videos properly. In this post, we’ll walk you through everything you need to know about uploading videos efficiently and successfully to
Preparing Your Videos for Upload
Getting your videos ready for upload is a crucial step in ensuring they meet Shutterstock’s standards and stand out to buyers. First, let’s talk about the technical specifications you should keep in mind:
- Resolution: Shutterstock prefers videos that are at least 1920×1080 pixels (Full HD). Higher resolutions like 4K (3840×2160) are even better, as they appeal to a broader audience.
- Format: Use widely accepted formats such as MP4 (preferred) or MOV. MP4 with H.264 codec is the most common and compatible.
- File Size: Keep your files under 4GB for easier upload, but larger files are acceptable if they meet quality standards.
- Frame Rate: Maintain a frame rate of 24, 25, or 30 fps for smooth playback.
- Audio: If your video contains sound, ensure it’s clear and free of background noise. Use AAC codec for audio.
Beyond the technical specs, there are a few creative and legal tips to keep in mind:
- Content Quality: Upload high-quality videos that are well-lit, steady, and visually appealing. Avoid shaky footage or poor lighting.
- Unique Content: Shutterstock values original content. Before uploading, check if your footage adds something new or interesting to the platform.
- Legal Permissions: Make sure you have the rights to all elements in your video. If your footage features recognizable people or private property, you’ll need signed model or property releases.
Lastly, organize your videos before uploading. Rename files with descriptive titles and keywords that reflect the content accurately. This helps buyers find your videos easily and boosts your chances of making sales. Taking the time to prepare your videos properly can make a big difference in how well they perform once live on Shutterstock.
Creating a Shutterstock Contributor Account
Ready to start earning from your videos? The first step is setting up your Shutterstock Contributor account. It’s a straightforward process, but there are a few things to keep in mind to ensure everything goes smoothly.
First, head over to the Shutterstock Contributor portal at submit.shutterstock.com. Click on the “Sign Up” button and choose “Become a Contributor.” You’ll be asked to provide basic information like your name, email address, and create a password. Make sure to use an email you check regularly—this will be your main point of contact for account updates and notifications.
Next, you’ll need to agree to Shutterstock’s contributor terms. Take a moment to read through their contributor agreement—it’s important so you understand how royalties work and what content is acceptable.
Once you’ve completed the registration, Shutterstock will send a verification email. Click the link in that email to verify your account. After verification, you’ll be prompted to fill out your contributor profile, including details like your country, preferred payout method, and tax information. Providing accurate details helps ensure smooth payments and compliance with legal requirements.
Before you start uploading videos, it’s a good idea to review Shutterstock’s content guidelines. They specify what types of videos are accepted, technical requirements, and content restrictions. Familiarizing yourself with these rules upfront saves you time and helps you avoid having your videos rejected.
Lastly, consider uploading a sample video during your initial submission. While you don’t need to upload a ton of content immediately, having a few high-quality videos ready to go can jumpstart your contribution journey. Remember, consistency and quality are key—so take your time to produce polished, engaging videos that meet Shutterstock’s standards.
Uploading Your Videos Step by Step
Now that your account is set up, it’s time to get your videos onto Shutterstock and start making sales! Let’s walk through the uploading process step by step so you can do it confidently and efficiently.
Step 1: Prepare Your Video Files
- Ensure your videos meet Shutterstock’s technical specifications: typically, MP4 format, H.264 codec, minimum resolution of 1920×1080, and a maximum file size of around 50GB.
- Make sure your videos are properly color corrected, stabilized, and free of distracting elements. High-quality content sells better!
- Have your metadata ready—this includes titles, descriptions, keywords, and relevant categories. Good metadata helps your videos get discovered.
Step 2: Log into Your Contributor Dashboard
Visit submit.shutterstock.com and log in with your credentials. Once inside, click the “Upload” button, usually found prominently on the dashboard.
Step 3: Start a New Upload
Choose “Video” as your content type. You’ll be prompted to select files from your computer. Drag and drop your videos into the upload window or click to browse your files.
Step 4: Add Metadata
This is one of the most critical parts. Fill out the following:
- Title: Make it descriptive and keyword-rich.
- Description: Provide a clear, engaging summary of what’s in the video.
- Keywords: Use relevant tags that potential buyers might search for. Think about the context, subject, and relevant themes.
- Category: Select the most appropriate category from Shutterstock’s options.
Accurate and detailed metadata can significantly boost your chances of making quick sales.
Step 5: Set Licensing Options
Shutterstock offers different licensing options (Standard and Enhanced). Usually, the default Standard license works for most videos, but read the options carefully to choose what fits your content best.
Step 6: Review and Submit
Before finalizing, double-check all your inputs. Make sure your video plays correctly, and metadata is accurate. Once satisfied, click “Submit” to upload your video for review.
Step 7: Wait for Approval
Shutterstock’s review team will evaluate your submission against their quality and content standards. This process can take a few days. During this time, avoid making changes or submitting duplicate content.
Once approved, your video will go live on the platform, and you’ll start earning royalties whenever someone purchases or licenses it. Keep uploading consistently, optimize your metadata, and promote your portfolio for faster, more frequent sales!
Optimizing Video Titles, Descriptions, and Tags for Better Visibility
Once your video is ready to go, the next step is making sure it gets noticed. Think of your video listing as a mini storefront — you want it to attract the right customers, stand out among thousands of others, and be easy to find. That’s where optimization comes into play.
Start with a compelling title. Your video title should be clear, descriptive, and include relevant keywords. For example, instead of just “Beach Sunset,” try “Beautiful Sunset Over Tropical Beach with Palm Trees.” This paints a vivid picture and helps buyers searching for similar footage.
Write detailed descriptions. Your description is your chance to tell the story behind your video. Mention what’s happening, the location, the mood, and possible uses. Use natural language and sprinkle in keywords that are relevant to your footage. This not only helps with search visibility but also gives potential buyers confidence in your content.
Choose the right tags. Tags act like keywords that help your video show up in search results. Be specific and include a mix of broad and niche tags. For example, if your video features a “city skyline at night,” include tags like “cityscape,” “nighttime,” “urban,” “lights,” and “night sky.” Think about what buyers might search for when looking for content like yours.
Here are some quick tips for effective optimization:
- Use relevant keywords naturally within titles and descriptions.
- Avoid keyword stuffing — keep it readable and genuine.
- Update tags and descriptions if you notice your video isn’t getting enough views.
- Review top-selling videos for inspiration on how they title and tag their content.
Remember, the goal is to make your videos as discoverable as possible. When you master the art of optimizing your titles, descriptions, and tags, you increase your chances of making quick sales and growing your portfolio on Shutterstock.
Understanding Shutterstock’s Video Submission Guidelines
Before you start uploading videos, it’s crucial to familiarize yourself with Shutterstock’s submission guidelines. These rules ensure that your content meets quality standards and can be accepted without delays. Think of it as the blueprint for creating market-ready videos.
Video Quality Requirements: Shutterstock demands high-quality footage. Your videos should be sharp, well-lit, and stable. The recommended resolution is at least 1920×1080 (Full HD). Avoid shaky footage, pixelation, or compression artifacts, as these can lead to rejection.
Duration and Format: Videos should typically be between 5 seconds to 60 minutes long. The preferred format is MP4 using the H.264 codec, which balances quality and file size. Keep file sizes manageable—usually under 4GB—to facilitate smooth uploads.
Content Restrictions: Shutterstock has strict rules about what content is allowed. Avoid videos that include:
- Copyrighted material you don’t own or have permission to use
- Violent, offensive, or inappropriate content
- People without proper model releases (more on that below)
- Brand logos or trademarks without permission
- Overly staged or fake-looking scenes
Model and Property Releases: If your video features recognizable people or private property, you must obtain the necessary releases. This is essential for legal clearance and acceptance. Without proper documentation, your video risks rejection or removal.
Sound and Music: Ensure your audio is clear and free of background noise. If your video includes music, it must be licensed or royalty-free to avoid copyright issues.
By thoroughly understanding and adhering to Shutterstock’s submission guidelines, you increase your chances of approval and quick sales. Take the time to review their detailed guidelines on their website before hitting upload — it’s worth the effort to get your videos accepted and start earning!
Reviewing and Submitting Your Videos for Approval
Once you’ve uploaded your videos to Shutterstock, the next critical step is to review everything carefully before hitting the submit button. This might seem obvious, but taking a few extra minutes to double-check can save you time and frustration down the line. Think of it as your final quality control—making sure your footage is polished, compliant, and ready for potential buyers.
First, review the video details you provided during upload. Make sure your titles are clear, descriptive, and free of errors. Your description should accurately reflect the content, and relevant keywords should be included naturally—this helps your video get discovered. Also, check the category and keywords to ensure they align perfectly with your footage.
Next, preview your video in the Shutterstock upload interface. Look out for technical issues like pixelation, blurriness, or audio problems. Confirm that your video is in the correct format, resolution, and frame rate as specified by Shutterstock’s guidelines. Most videos should be in high resolution (at least 4K or HD), and the aspect ratio should be appropriate for the content.
It’s also essential to ensure your video complies with Shutterstock’s content policies. Avoid including copyrighted music, logos, trademarks, or recognizable individuals without model releases. If your video features people or private property, make sure you have the necessary releases to avoid rejection.
Once everything looks good, you can proceed to submit your video for approval. Shutterstock’s review team will then evaluate your content based on quality, originality, and compliance. This process can take anywhere from a few days to a week, depending on the volume of submissions.
Remember, patience is key here. If your video gets rejected, don’t get discouraged. Shutterstock usually provides feedback on why it was rejected, so you can learn and improve before resubmitting. Use this as an opportunity to refine your future uploads and increase your chances of quick approval.
Tips to Accelerate the Approval Process and Boost Sales
Getting your videos approved swiftly is just the first step—getting noticed and making sales is what really matters. Here are some practical tips to help speed up the approval process and maximize your earning potential on Shutterstock.
1. Follow the Guidelines Religiously: Every platform has its rules. Make sure you’re familiar with Shutterstock’s content, technical, and legal requirements. Adhering to these from the start reduces rejection chances and speeds up approval.
2. Upload High-Quality Content: Quality always wins. Use good lighting, steady shots, and clear audio. High-resolution footage in the correct aspect ratio and format shows professionalism and aligns with Shutterstock’s standards.
3. Be Niche and Relevant: Create videos that serve specific markets or trends. For example, content related to current events, popular themes, or emerging industries can attract more buyers quickly. Check what’s trending on Shutterstock and tailor your content accordingly.
4. Use Accurate and Keyword-Rich Metadata: Well-optimized titles, descriptions, and keywords improve discoverability. Think about what potential buyers might search for and include those terms naturally. This not only helps your videos get found faster but also increases sales opportunities.
5. Resubmit Rejected Videos Strategically: If your video is rejected, carefully review the feedback, fix the issues, and resubmit. Sometimes, minor adjustments can make a big difference—like cropping out a logo or improving the lighting.
6. Maintain Consistency and Volume: Regularly uploading new content signals to Shutterstock that you’re an active contributor. The more quality videos you upload, the higher your chances of getting noticed and approved quickly.
7. Engage with the Community and Resources: Join Shutterstock contributor forums or online communities. Sharing experiences and tips can help you learn faster and avoid common pitfalls.
8. Promote Your Portfolio: While Shutterstock primarily relies on their review process, promoting your portfolio on social media or personal websites can attract buyers and generate interest in your content, leading to quicker sales once approved.
In summary, consistency, quality, and attention to detail are your best friends in accelerating approval and boosting sales. Stay patient, keep learning, and continuously refine your videos and metadata to stand out in the crowded stock footage marketplace.
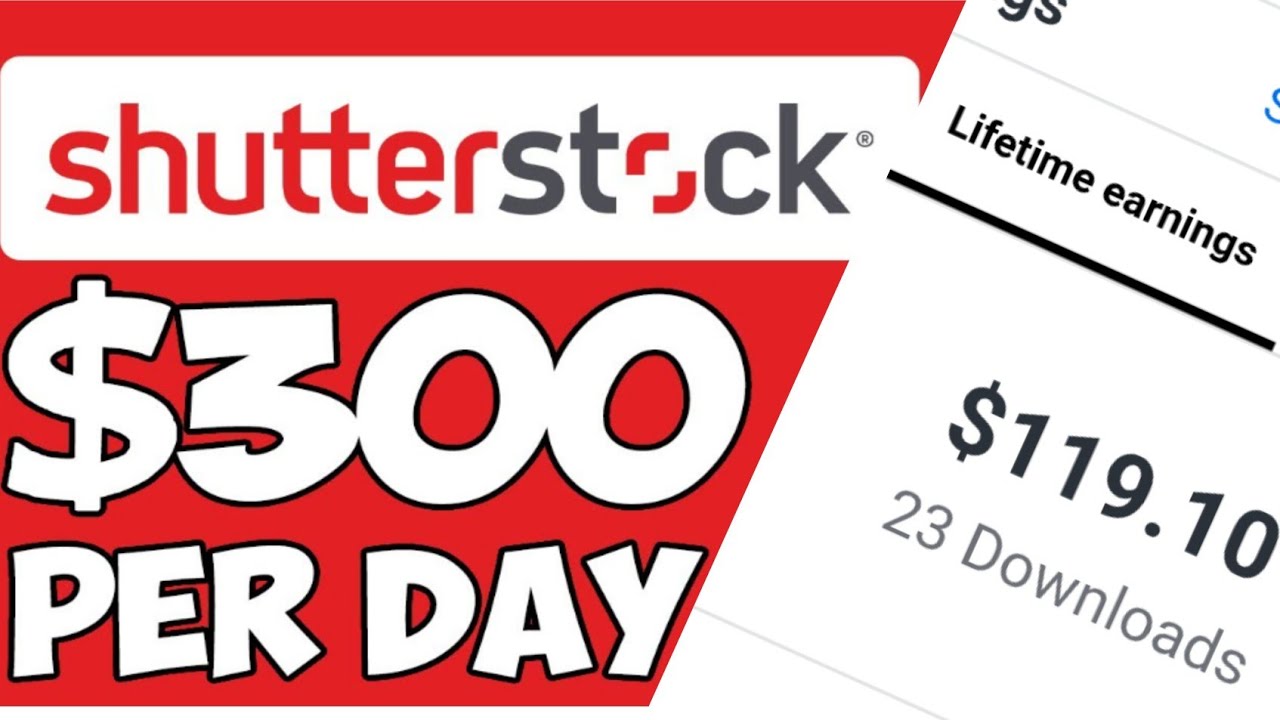
Monitoring Your Video Performance and Earnings
Once you’ve uploaded your videos to Shutterstock, the next step is to keep a close eye on how they’re performing. This is essential not just to see which videos are making you money, but also to understand what resonates with buyers. Shutterstock provides a straightforward dashboard that makes tracking your performance pretty simple.
In your contributor account, you’ll find detailed analytics including:
- Views: How many times your video has been viewed.
- Downloads: The number of times your video has been downloaded or purchased.
- Earnings: The revenue generated from your videos.
- Geographic Data: Where your viewers are located, helping you tailor future content.
It’s a good idea to regularly check this data—weekly or monthly—to spot trends. For example, if you notice a particular style or subject consistently gets more downloads, you might want to focus on creating similar content. Conversely, if some videos aren’t performing well, consider whether they need better tagging, more relevant keywords, or even replacing with fresh footage.
Understanding your earnings is equally important. Shutterstock pays contributors based on the number of downloads and the type of license purchased. Keep track of your total earnings and compare them against your uploaded content. If certain videos consistently outperform others, you might want to analyze what made them successful—was it the subject matter, the quality, or the keyword strategy?
Finally, don’t forget to leverage feedback and customer comments if available. While not all buyers leave feedback, any comments or ratings can give you insights into what viewers liked or didn’t like. Use this info to improve your future uploads. Monitoring your performance isn’t just about numbers—it’s about learning and growing as a contributor to maximize your sales potential on Shutterstock.
Conclusion and Best Practices for Successful Video Sales on Shutterstock
Wrapping up, uploading videos to Shutterstock can be a rewarding way to earn passive income, but it requires strategic planning and ongoing effort. To help you succeed, here are some best practices to keep in mind:
- Create High-Quality Content: Always prioritize clear, well-lit, and professionally shot videos. Good quality attracts more buyers and increases your chances of sales.
- Be Specific with Keywords and Titles: Use relevant, descriptive keywords that accurately reflect your video content. Think about what buyers might search for and include those terms.
- Follow Trends: Keep an eye on current market trends to produce content that’s in demand—whether that’s popular themes, styles, or topics.
- Consistent Uploads: Regularly add new videos to keep your portfolio fresh. A diverse and active collection will attract more viewers and potential buyers.
- Optimize Metadata: Craft compelling titles and detailed descriptions. Proper metadata helps your videos get discovered more easily in search results.
- Monitor Performance: Use Shutterstock’s analytics to see what works best and adapt your content strategy accordingly.
- Stay Within Guidelines: Always adhere to Shutterstock’s content policies and legal requirements to avoid rejection or account issues.
Remember, success on Shutterstock doesn’t happen overnight. Persistence, quality, and smart marketing are key to building a steady income stream from your videos. Keep learning, experimenting, and refining your approach, and you’ll be well on your way to becoming a successful stock video contributor. Happy filming and uploading!