Introduction to Imgur and Its Benefits
Imgur is a popular online image hosting platform that allows users to upload, share, and host images for free. It is widely used for sharing images on social media, forums, and blogs due to its user-friendly interface. Imgur supports various image formats and provides options for albums, links, and direct embedding. Some key benefits of Imgur include its large community, ease of access, anonymous uploads, and quick sharing capabilities. Whether you want to share a funny meme, showcase photography, or host images for your projects, Imgur offers a reliable solution.
Creating an Imgur Account
To fully utilize Imgur‘s features, creating an account is recommended. Here’s how you can do it:
- Visit the Imgur website.
- Click on the “Sign Up” button, usually located at the top right corner.
- Choose to sign up using an email address or via social media platforms like Google or Facebook.
- If signing up with an email, enter your email, create a username, and set a password.
- Verify your email by checking your inbox for a confirmation message from Imgur and following the provided link.
With an Imgur account, you can manage your uploads, create galleries, and engage with the community, enhancing your experience on the platform. Enjoy sharing your images effortlessly!
Different Methods to Upload Pictures
Imgur is a fantastic platform for uploading and sharing images, and it offers several easy methods to do so. Depending on your preferences and the devices you’re using, you can choose the method that suits you best. Here are the most common ways to upload pictures to Imgur:
- Using the Imgur Website: The most straightforward way is to visit the Imgur website directly. This method is great if you’re sitting at your computer and want to upload images from your hard drive.
- Imgur Mobile App: If you’re on the go, downloading the Imgur app on your smartphone is a handy alternative. It allows you to upload pictures directly from your camera roll with just a few taps.
- Drag and Drop: For those who prefer a more tactile approach, the drag-and-drop feature on the Imgur website makes it super easy. Just drag your image files from your desktop into the browser, and you’re good to go!
- Sharing from Other Platforms: Imgur also supports direct uploads from various social media platforms and cloud storage services. If you have images saved on Google Drive or Dropbox, you can quickly link to them for uploading.
- Uploading via URL: Have an image on the web? Simply use its URL! This method is perfect for memes or pictures you find online that you want to share on Imgur.
No matter which method you choose, Imgur provides a user-friendly experience that makes it simple to get your images online and ready to share.
Step-by-Step Guide to Uploading Pictures on Imgur
Now that you’re familiar with the different methods of uploading pictures to Imgur, let’s dive into a detailed, step-by-step guide using the website. This process is user-friendly and perfectly tailored for beginners.
Step 1: Visit the Imgur Website
Open your preferred web browser and go to imgur.com. You can access the site without needing an account, though creating one is beneficial for managing your uploads.
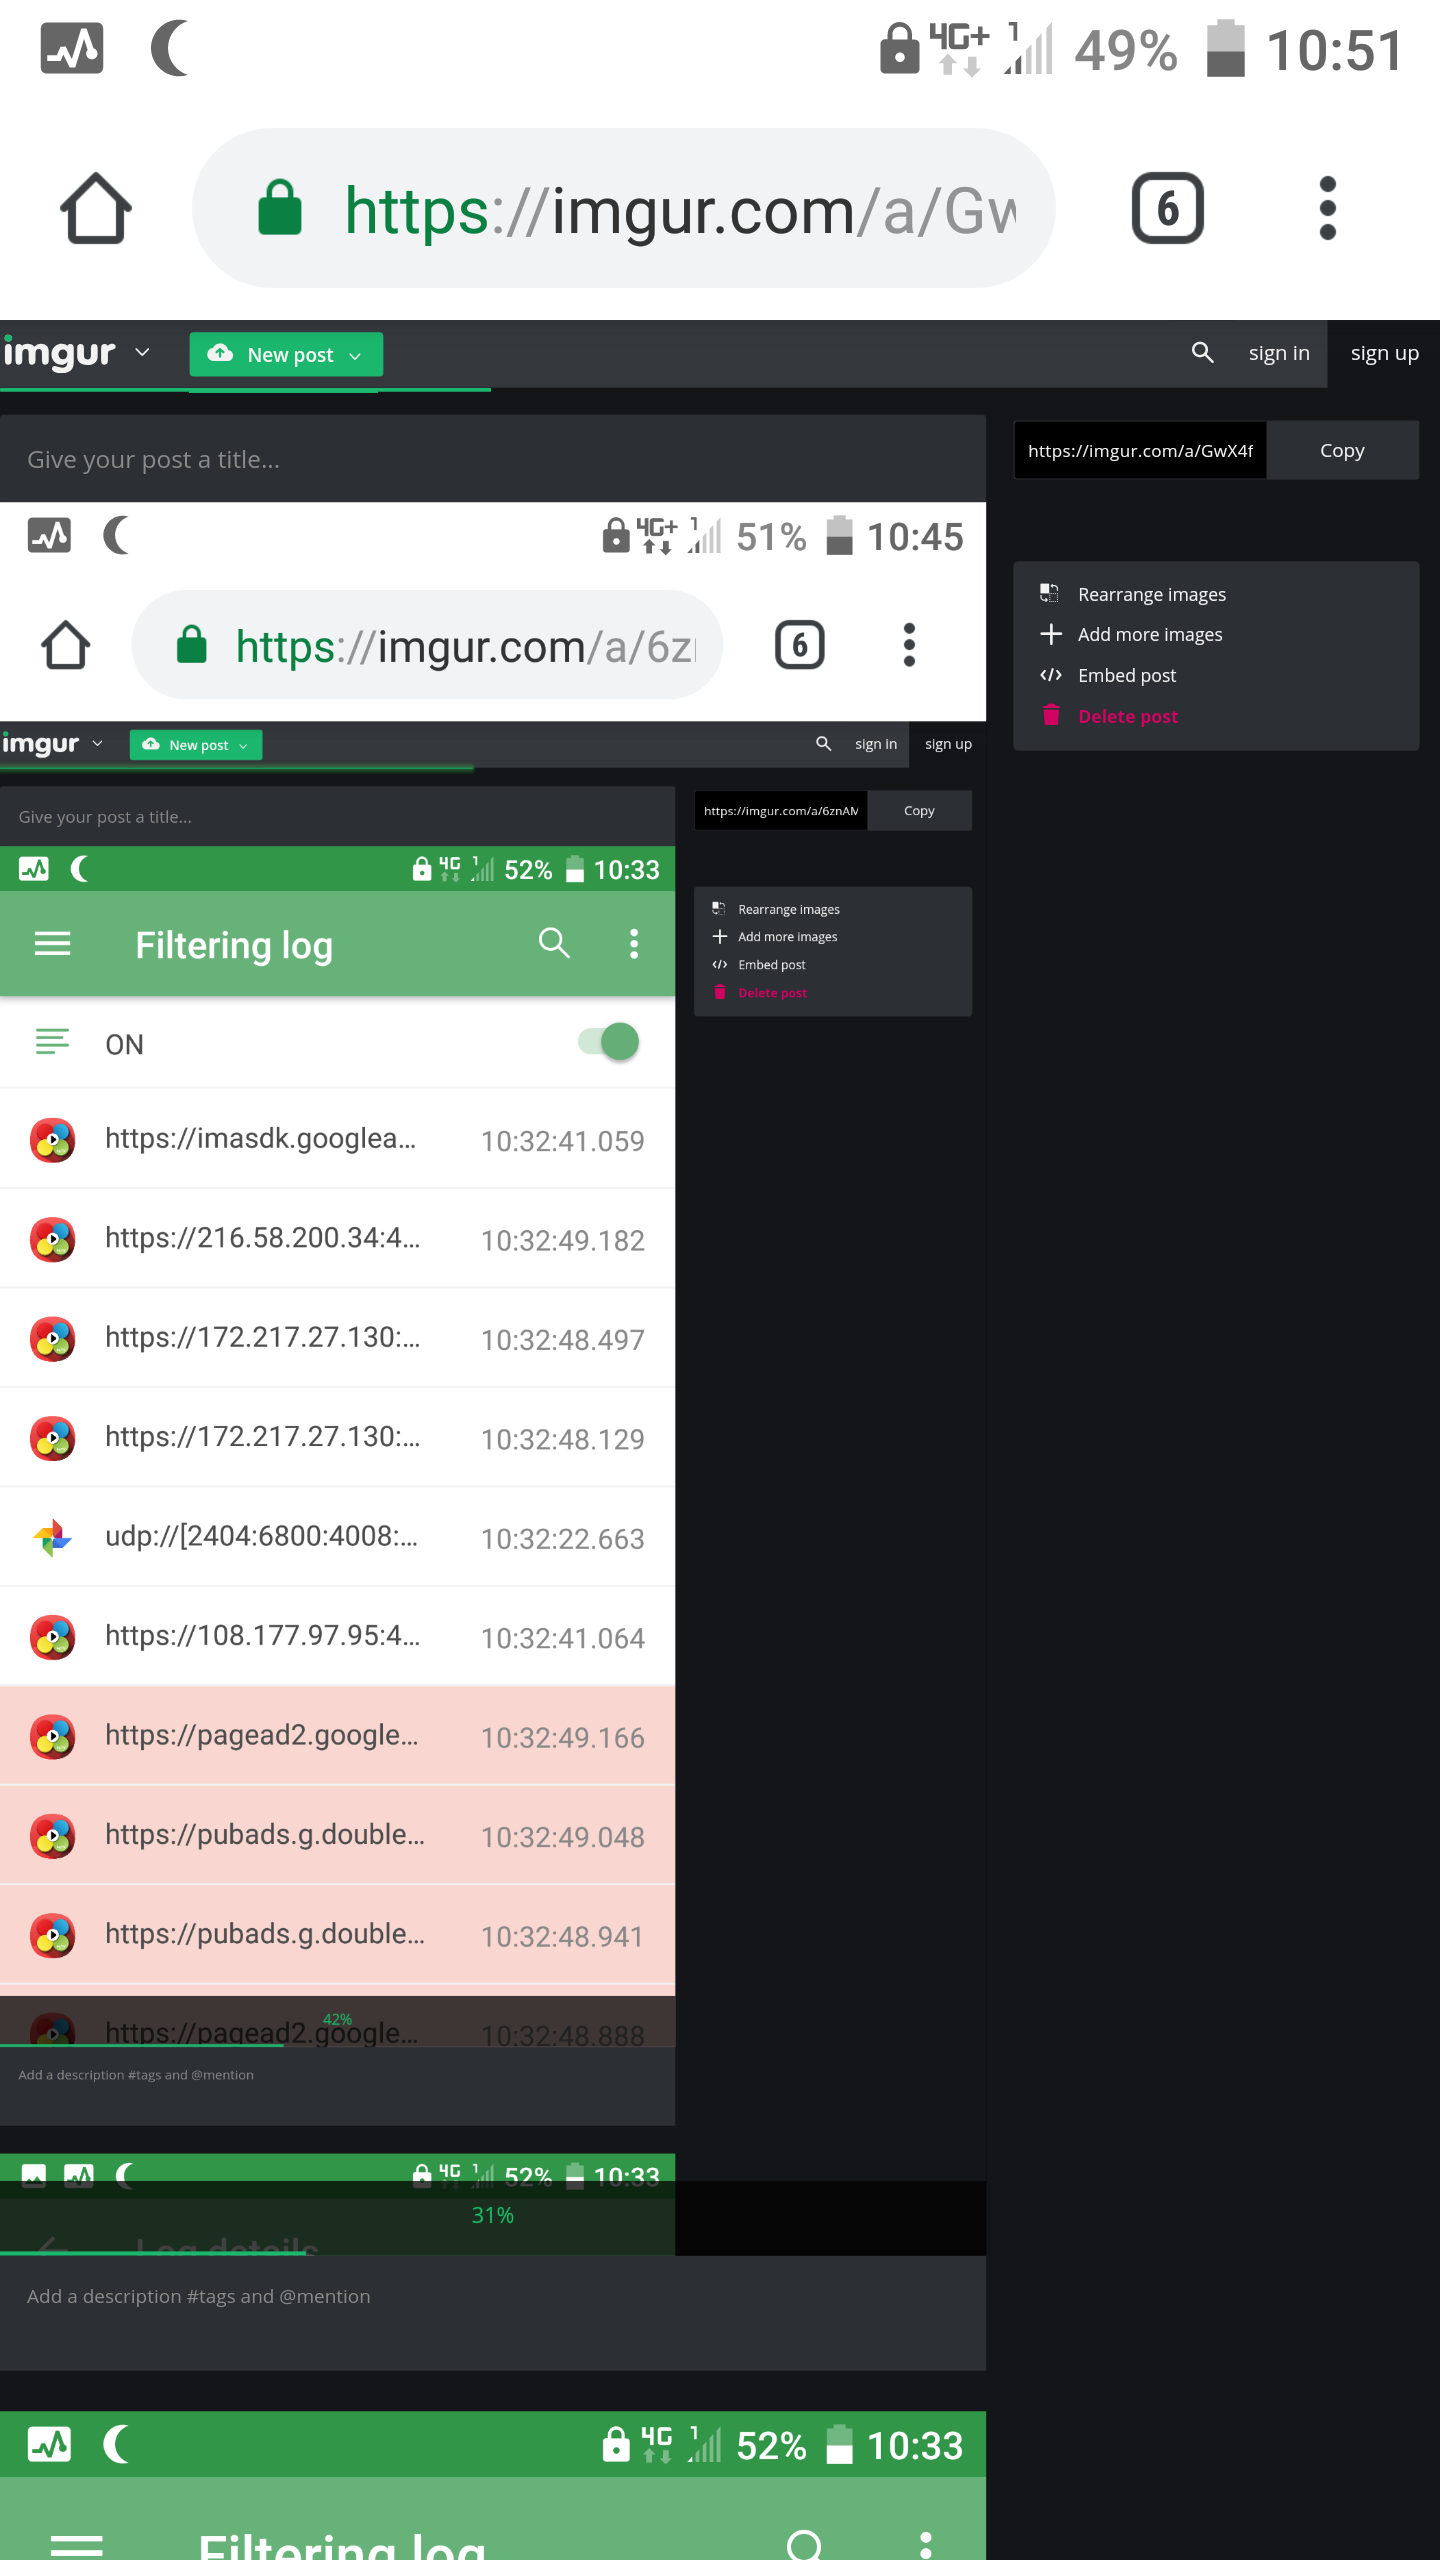
Step 2: Click on the “New post” Button
Once you’re on the homepage, look for the green “New post” button at the top of the page. Click on it to start the upload process.
Step 3: Choose Your Upload Method
Here you can select how you want to upload your pictures:
- Drag and Drop: Simply drag your image files from your folder onto the upload area.
- Browse Your Files: Click on the “Browse” button to select images from your computer.
- Pasting a URL: If you have an image URL, paste it in the designated field.
Step 4: Add a Title and Tags
After your images are uploaded, you can add a catchy title and relevant tags. This will help others discover your image when they browse Imgur.
Step 5: Share Your Image
Once everything looks good, click on the “Share” button. You’ll receive a link that you can share with friends or on social media platforms. Voila! Your picture is now online.
And there you have it! Uploading pictures to Imgur is simple and quick, allowing you to share your images with the world in no time.
How to Organize Your Uploaded Images
Once you’ve started uploading images to Imgur, managing and organizing them can make your experience much smoother. Here are some tips to help you keep your image gallery tidy:
- Create Albums: Group related images into albums. For example, if you have vacation photos, create an album named “Summer Vacation 2023.” This not only declutters your profile but also makes it easier to share specific sets of images.
- Use Descriptive Titles: When you upload a new image, give it a meaningful title. This will help you quickly identify what each picture is about later. Instead of a generic title like “IMG_124”, use something like “Sunset at the Beach.”
- Tag Your Images: Imgur allows you to tag your images with relevant keywords. This can enhance searchability both for you and for others who might come across your images. Think of tags like ‘nature’, ‘food’, or ‘travel’.
- Edit Privacy Settings: Imgur allows you to change the privacy settings on your uploads. If certain images are for your eyes only, make sure to set them to private. Otherwise, consider setting them to public to share with the community.
- Regular Clean-Up: Schedule a weekly or monthly review of your uploaded images. Delete any duplicates or images that no longer resonate with you. This helps maintain a clutter-free space.
By organizing your uploaded images effectively, you’ll save time when searching for photos and enhance your overall Imgur experience!
Sharing Your Images on Social Media and Other Platforms
Once your images are uploaded and organized on Imgur, sharing them on social media and other platforms can help you reach a wider audience. Here’s how to do it seamlessly:
- Grab the Direct Link: Each image you upload comes with a unique URL. To share, simply right-click on the image, select “Copy Image Address,” or use the “Share” button that Imgur provides after uploading. This is your direct link!
- Post to Social Media: Whether it’s Facebook, Twitter, or Instagram, sharing your images is just a click away. Paste the image link directly into your post or use Imgur’s social media sharing options to make it even simpler.
- Embed Images on Blogs: If you run a blog or website, you can embed images from Imgur directly into your posts. Use the HTML embed code provided by Imgur to make your images appear as part of your content.
- Join Online Communities: Platforms like Reddit are great for sharing Imgur links in relevant subreddits. Just remember to follow the community rules regarding image sharing!
- Use Hashtags: When sharing on social media, don’t forget to include relevant hashtags. They can significantly increase visibility and engagement. Think along the lines of photography, art, or specific tags related to your image.
Sharing your images broadens your reach and allows others to appreciate your work. So get out there and let the world see what you’ve created!
Tips for Optimizing Your Images for Imgur
Before you upload your pictures to Imgur, it’s a good idea to optimize them for the best results. Not only does optimization help with loading times, but it also ensures that your images look great and fit well within Imgur’s platform. Here are some practical tips to consider:
- Choose the Right Format: Depending on your image type, choose between JPEG, PNG, or GIF formats. JPEG is great for photographs; PNG is better for images requiring transparency; and GIFs are perfect for small animations.
- Resize Your Images: Imgur supports images up to 20MB, but smaller file sizes load faster and are easier to share. Aim for a resolution of around 1920×1080 pixels for optimal quality while maintaining a manageable file size.
- Adjust Compression Settings: Use photo editing software to adjust the compression settings when saving your images. Striking a balance between quality and file size can improve loading times without sacrificing too much visual fidelity.
- Reduce Noise and Artifacts: Use tools like Photoshop or GIMP to clean up images. Removing excessive noise or compression artifacts can enhance image clarity.
- Consider Image Orientation: Ensure your images are oriented correctly before uploading. Select the right aspect ratio for the platform and avoid any unnecessary cropping.
By following these tips, you can ensure your images not only upload quickly but also look professional on your Imgur profile or in albums!
Troubleshooting Common Upload Issues
Uploading images to Imgur should be a smooth and straightforward process, but sometimes issues can arise. Here are some common problems users face and how to solve them:
- File Size Too Large: If you encounter an error indicating your file is too large, try resizing or compressing your image using image editing tools. Remember, images should be under 20MB.
- Unsupported File Format: Make sure your image is in a supported format. Imgur accepts JPEG, PNG, GIF, and BMP. Convert your images to one of these formats if necessary.
- Upload Fails or Times Out: If your upload fails repeatedly, check your internet connection. A slow or unstable connection can cause uploads to timeout. Try again when you have a better connection.
- Image Appears Distorted: If your image looks distorted after uploading, check the original file’s quality and formatting. Ensure you are not overly compressing or resizing the images.
- Permission Denied: If you cannot upload or access certain features, ensure you are logged into your Imgur account. Signing out and back in may also resolve the issue.
Remember, most upload issues can be resolved quickly with a little troubleshooting. If you’re still having problems, check Imgur’s help section or reach out to their support team for assistance. Happy uploading!
Conclusion and Best Practices for Using Imgur
Uploading pictures to Imgur is a straightforward process, but there are several best practices that can enhance your experience and maximize the effectiveness of your images. Here are some recommended guidelines:
- Optimize Your Images: Before uploading, make sure your images are of high quality but not overly large in file size. Use an image editing tool to resize or compress images if necessary.
- Use Descriptive Titles: A descriptive title can help viewers understand the context of the image, making it more engaging and shareable.
- Tags and Descriptions: Utilize relevant tags and write informative descriptions. This not only makes your content more searchable but also improves user engagement.
- Privacy Settings: Be mindful of the privacy settings when uploading. Choose between making your images public or hidden based on your sharing preferences.
- Follow Community Guidelines: Adhering to Imgur’s community guidelines is essential to avoid having your images removed or your account suspended.
- Engage with the Community: Participate in comments and discussions related to your images. Engaging with others can lead to increased visibility and interaction with your content.
In conclusion, by following these best practices for uploading and sharing images on Imgur, you can ensure a smoother experience while benefiting the community. Whether you’re a casual user or a frequent uploader, these tips will help you get the most out of your Imgur experience.