Have you ever wondered how some photographers turn their passion into a profitable side hustle? Shutterstock is one of the most popular platforms where you can sell your photos and reach millions of potential buyers worldwide. Whether you’re a seasoned pro or just starting out, uploading your images to Shutterstock is a straightforward process that can help you earn passive income. In this guide, we’ll walk through everything you need to know—from getting your photos ready to successfully uploading them and making your first sale. Let’s dive into the world of stock photography and see how you can turn your snapshots into cash!
Preparing Your Photos for Upload
Before you hit the upload button, it’s essential to ensure your photos are primed for sale. High-quality, well-prepared images catch the eye of buyers and increase your chances of making sales. Here’s a step-by-step approach to get your photos ready:
1. Choose the Right Photos
Start by selecting images that are sharp, well-composed, and relevant. Shutterstock favors photos with clear subject matter, good lighting, and minimal distractions. Think about what buyers might be searching for—images that are versatile, professional, and high resolution tend to perform best.
2. Edit and Enhance Your Images
Basic editing can make a significant difference. Adjust brightness, contrast, and color balance to make your photos pop. Remove any blemishes or dust spots. However, avoid over-editing—your images should look natural and true to life.
3. Check Image Resolution and Format
Shutterstock requires images to be at least 4 megapixels (generally a minimum of 4000 pixels on the longer side). Save your images in the JPEG format with a minimum of 8-bit color depth. Use the highest quality setting to avoid compression artifacts.
4. Add Metadata: Titles, Descriptions, and Keywords
Accurate and descriptive metadata is crucial for discoverability. Craft compelling titles and detailed descriptions that clearly explain the content of your photo. Use relevant keywords—think about what potential buyers might type when searching. Be specific and avoid spammy or irrelevant tags, as this can hurt your ranking.
5. Organize Your Files
Keep your images well-organized in folders based on themes or categories. This makes it easier to manage your portfolio and ensures you don’t accidentally upload the same image twice. Also, maintain a record of your submissions for future reference or updates.
6. Follow Shutterstock’s Content Guidelines
Familiarize yourself with Shutterstock’s content policies to ensure your images meet their standards. Avoid prohibited content like copyrighted logos, identifiable people without model releases, or illegal activities. When in doubt, review their Content Guidelines.
Preparing your photos thoroughly might take some extra time, but it’s worth the effort. Well-prepared images are more likely to get accepted, featured prominently, and ultimately sell better. Think of it as setting the stage for your photos to shine in the marketplace!
Creating a Shutterstock Contributor Account

Ready to start selling your photos on Shutterstock? The first step is setting up your contributor account. It’s pretty straightforward, but there are a few key things to keep in mind to get everything right from the start.
First, head over to the Shutterstock Contributor Registration Page. You’ll need to provide some personal info—like your name, email address, and country of residence. Make sure to use an email address you check regularly because Shutterstock will send you important updates and notifications.
Next, you’ll create a username and password. Choose a username that’s professional but easy to remember—this is how your future clients will recognize you. When setting your password, aim for something strong and unique to keep your account secure.
After that, you’ll need to fill out your profile details. This includes:
- Full Name
- Business Name (if applicable)
- Payment Information: Shutterstock pays contributors via PayPal or bank transfer. Be prepared to provide your payment details, so have those handy.
- Tax Information: Depending on your country, you might need to submit tax forms or identification to comply with legal requirements.
Once your profile info is complete, Shutterstock will review your registration. They usually approve new contributors fairly quickly, but it can take a few days. When you’re approved, you’ll receive an email confirmation, and you’ll be able to start uploading your images.
A tip: Take some time to read through their Contributor Resources and FAQs. This will help you understand what they’re looking for and how to optimize your uploads for better visibility and sales.
Understanding Shutterstock Submission Guidelines
Before you start uploading your amazing photos, it’s super important to understand Shutterstock’s submission guidelines. These rules help ensure your images meet quality standards and are acceptable for licensing—and following them increases your chances of making sales.
Let’s break down the main points:
Image Quality
- Resolution: Your images should be at least 4 megapixels (generally 4000 pixels on the long side). Higher resolution images tend to perform better.
- Focus & Sharpness: Blurry or out-of-focus photos won’t pass review. Make sure your images are crisp and clear.
- Lighting: Good lighting is key. Avoid overexposed or underexposed images. Natural light often works best, but proper studio lighting can also produce excellent results.
Content Restrictions
- No copyrighted material: Don’t upload images with copyrighted logos, trademarks, or artwork unless you have permission.
- No offensive content: Avoid images that are provocative, violent, or discriminatory.
- Model & Property Releases: For recognizable people or private property, you’ll need proper releases. Shutterstock is strict about this to protect buyers and contributors.
File Format & Metadata
- Upload your images in JPEG format with a maximum file size of 50MB.
- Include accurate and detailed metadata—titles, descriptions, and keywords. This helps buyers find your images easily.
Additional Tips
To improve your chances of acceptance:
- Review Shutterstock’s Image Submission Guidelines periodically—these can change.
- Before uploading, run your images through a quick quality check: are they sharp, well-lit, and free of noise?
- Use descriptive keywords that match your image content. Think about what buyers might search for.
Remember, Shutterstock reviews each submission carefully. If an image is rejected, don’t get discouraged! Use their feedback to improve your future uploads. Keep practicing, and soon you’ll have a portfolio of sellable images that meet their standards.
Uploading Your Photos to Shutterstock
Alright, you’ve got your stunning photos ready to go—now what? Uploading your images to Shutterstock is straightforward, but it’s good to follow a few steps to make sure everything goes smoothly. First, you’ll need to log into your contributor account. If you haven’t signed up yet, it’s a simple process where you provide some basic info and agree to Shutterstock’s terms.
Once logged in, head over to the “Upload” section. Shutterstock allows you to upload multiple images at once, which is a huge timesaver if you have a collection ready. You can either drag and drop your files into the upload window or click the designated button to select photos from your computer.
Before uploading, make sure your images meet Shutterstock’s technical requirements:
- File format: JPEG (.jpg)
- Minimum resolution: 4 MP (e.g., 1600 x 1200 pixels)
- Color mode: RGB
- File size: Usually under 50MB per image
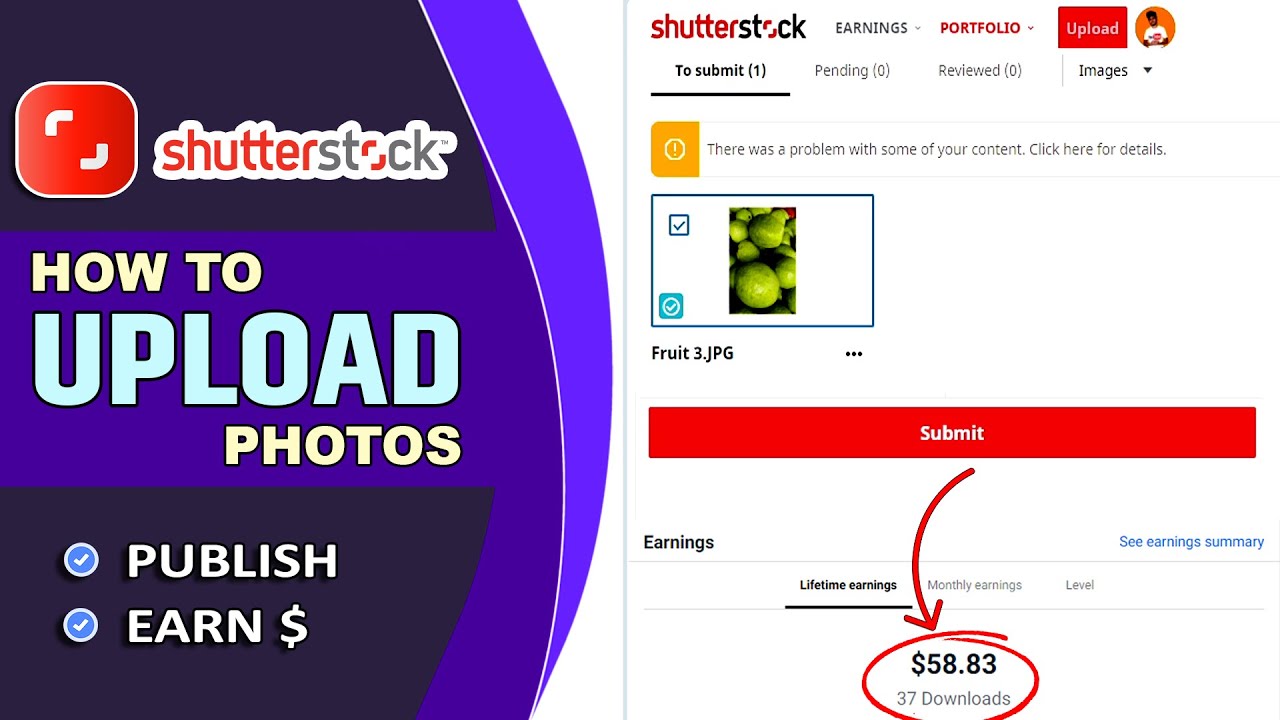
After selecting your photos, the platform will process and display thumbnails for each image. Here, you can review them to ensure they look good and are ready for sale. Some tips to keep in mind:
- Check for any technical issues: Blurriness, poor lighting, or noise can hurt your chances.
- Remove any watermarks or logos—these aren’t allowed.
- Make sure the images are properly cropped and centered.
Next, you’ll move on to the metadata step—adding titles, tags, and descriptions. But don’t worry, you can do that after the upload completes. Once you’re satisfied with your selections, click the “Submit” or “Upload” button. Your images will then go into the review queue, where Shutterstock’s team will check for quality and compliance. This process can take anywhere from a few hours to a few days, so be patient.
And that’s pretty much it! Remember, the key to a smooth upload process is preparing your images properly beforehand and double-checking all the details during upload. Happy uploading!
Optimizing Your Image Titles and Tags for Better Visibility
Great, your images are uploaded and in the review queue—now let’s talk about making sure they get seen by potential buyers. The secret sauce is in your titles and tags. Think of this step as setting up your images for discovery in Shutterstock’s vast marketplace.
Start with your titles. They should be descriptive, accurate, and natural. Instead of generic titles like “Photo1,” go for something that clearly describes the scene or subject. For example, instead of “Sunset,” try “Vibrant Sunset Over Mountain Lake with Reflection.” This helps both users searching for specific images and Shutterstock’s search algorithm understand what your photo is about.
Next, the tags. These are keywords that tell Shutterstock what’s in your image. Use all available tag slots to include relevant keywords. Think about:
- Subject-specific tags: e.g., “mountain,” “lake,” “sunset,” “nature,” “reflection”
- Style or mood: e.g., “vibrant,” “peaceful,” “dramatic,” “minimalist”
- Location or environment: e.g., “Rocky Mountains,” “tropical beach,” “urban skyline”
- Color tags: e.g., “blue,” “orange,” “pastel,” “monochrome”
Be specific but avoid irrelevant or misleading tags. Using popular and relevant keywords increases the chances that your images will appear in search results when buyers are browsing. Also, consider trending topics or seasonal keywords if applicable.
Some practical tips for optimization:
- Use long-tail keywords: Phrases like “sunset over mountain lake” are more targeted than just “sunset.”
- Research competitors: Look at similar images that rank well—what keywords are they using?
- Update tags and titles periodically: As trends shift or new keywords emerge, keep your metadata fresh.
Finally, avoid keyword stuffing. Keep your titles and tags relevant, clear, and natural. This not only helps with visibility but also ensures your images are presented professionally to buyers. Remember, the goal is to match your images with the right audience, and well-optimized titles and tags are the key to unlocking that potential.
Reviewing and Submitting Your Photos for Approval
Once you’ve uploaded your photos to Shutterstock, the next step is to review them carefully before submitting for approval. This stage is crucial because Shutterstock has strict quality and content guidelines to ensure that only the best images make it onto their platform. Taking the time to double-check your uploads can save you from delays or rejections, and it helps build your reputation as a reliable contributor.
Start by examining each photo closely. Is the image in focus? Are there any distracting elements, such as dust spots or unwanted objects? Make sure your photos are properly exposed — neither too dark nor too bright — and that colors appear natural or as intended. If you notice any technical issues, like noise or pixelation, consider editing your photos to improve their quality.
Next, review the metadata, including titles, descriptions, and keywords. Use accurate, descriptive language that helps buyers find your images easily. Think about what someone searching for a particular type of photo might type into the search bar. Use relevant keywords, but avoid keyword stuffing. Clear, honest descriptions improve discoverability and reduce the risk of rejection.
Before submitting, also verify that your images comply with Shutterstock’s content guidelines. This includes avoiding copyrighted material, offensive content, or images that feature recognizable people without proper model releases. If your photo contains identifiable individuals, ensure you have the appropriate model releases uploaded along with your image. For property or private property, a signed property release might be necessary.
Once you’re satisfied with your images, you can submit them for review directly through your contributor dashboard. Shutterstock’s review team typically evaluates submissions within a few days. During this process, they check for technical quality, content appropriateness, and compliance with their guidelines. Be patient, and if your images are rejected, review the feedback carefully, make necessary adjustments, and resubmit.
Remember, rejection isn’t the end of the road. It’s a learning opportunity. Keep refining your photography skills, adhere to guidelines, and don’t get discouraged. With persistence, your portfolio will grow, and your chances of earning from your images will improve.
Tips for Increasing Your Photo Sales on Shutterstock
Growing your sales on Shutterstock involves more than just uploading great photos — it’s about strategic effort, understanding your audience, and optimizing your content. Here are some practical tips to help you boost your earnings and stand out as a contributor:
- Focus on Popular and Trending Topics: Keep an eye on current trends, seasonal themes, and popular categories like technology, health, or business. Upload images that align with what buyers are actively searching for.
- Use Relevant Keywords Wisely: Keywords are your primary tool for discoverability. Be specific and thorough — include keywords related to the subject, mood, color, location, and style of your photo. Use all available keyword slots to maximize visibility.
- Create a Cohesive Portfolio: Build a diverse yet consistent collection of images around a niche or theme. This makes your portfolio more attractive to buyers looking for specific styles or subjects, and encourages repeat visits.
- Pay Attention to Technical Quality: High-resolution images with excellent lighting, sharp focus, and professional editing tend to sell better. Invest in good equipment and editing software to improve your work.
- Stay Active and Upload Regularly: Consistency is key. Regular uploads keep your portfolio fresh and increase the chances of your images being seen by buyers. Plus, Shutterstock rewards active contributors with better visibility in search results.
- Engage with the Shutterstock Community: Participate in forums, join webinars, and connect with other contributors. Sharing experiences and tips can inspire new ideas and strategies for increasing sales.
- Promote Your Work Outside Shutterstock: Use social media, personal websites, or blogs to showcase your best images. While direct sales on Shutterstock depend on the platform, external promotion can drive more traffic to your portfolio.
- Analyze Your Data: Use the analytics tools available in your contributor dashboard to see which images perform best. Notice patterns in the types of photos that sell well and adapt your future uploads accordingly.
Remember, patience and persistence are vital. Building a successful stock photography business takes time, but by continuously improving your skills, optimizing your content, and staying engaged with the community, you’ll increase your chances of turning your passion into a profitable venture. Keep experimenting, learning, and uploading — your next best-selling photo might be just around the corner!
Conclusion and Next Steps for Shutterstock Contributors
Embarking on your journey as a Shutterstock contributor can be both exciting and rewarding. By understanding the upload process and adhering to the platform’s quality standards, you set yourself up for success. Remember, consistency and high-quality images are key to building a strong portfolio and increasing your sales.
Next steps to enhance your contribution experience include:
- Review Shutterstock’s Contributor Guidelines: Familiarize yourself with the technical and content requirements to ensure your images are approved smoothly.
- Organize Your Portfolio: Categorize and tag your images effectively to improve discoverability.
- Stay Updated: Keep an eye on platform updates, trending topics, and seasonal themes to align your submissions with market demand.
- Engage with the Community: Participate in forums or social media groups for tips, feedback, and motivation.
- Promote Your Work: Share your portfolio on personal websites or social media to attract more buyers and increase exposure.
Consistently uploading fresh, high-quality images and actively engaging with the platform will maximize your success as a Shutterstock contributor. Stay patient, keep refining your skills, and enjoy the process of turning your photography into a sustainable income stream.