Hey there! If you’re a photographer or a creative enthusiast, you know how exciting it is to share your work with the world. Shutterstock is one of the biggest platforms for licensing and selling your photos, and uploading your images might seem a bit daunting at first. But did you know you can actually upload photos directly from your email? It’s a handy way to get your images onto Shutterstock quickly without needing to log into your account each time. In this guide, I’ll walk you through the simple steps to do just that, so let’s get started!
Prerequisites for Uploading Photos
Before you jump into sending your photos via email to Shutterstock, there are a few important things you need to have in place. Think of these as the basics that make the whole process smooth and hassle-free:
- An active Shutterstock Contributor Account: To upload photos, you must be registered as a contributor. If you haven’t signed up yet, visit the Shutterstock Contributor website and create your account—it’s free!
- Approved email address: Shutterstock requires you to verify your email address. Make sure the email you plan to send your photos from is linked to your account or approved for uploads.
- Properly formatted photos: Your images should meet Shutterstock’s technical requirements—usually JPEG format, at least 4 MP, and a resolution suitable for licensing. Avoid watermarks or edits that don’t meet their standards.
- Clear and descriptive email subject line: When sending your photos, use a straightforward subject line like “Photo Submission for Shutterstock” to help keep things organized.
- Email address for uploads: Shutterstock provides a specific email address for uploading images. Make sure you have this address handy—usually provided once you set up your contributor account or through their guidelines.
Having these prerequisites sorted out before you start ensures your photos are uploaded successfully and get approved faster. Now that you’re all set, you’re ready to move on to the actual uploading process—via email! Stay tuned for the next steps, and happy uploading!
Saving Photos from Email to Your Device
Alright, so you’ve received some fantastic photos via email that you want to upload to Shutterstock. The first step is saving those images safely onto your device. It might sound simple, but a few tips can make this process smoother and help you avoid any mishaps along the way.
Here’s what you should do:
- Open the email containing the photos. Make sure you’re using a trusted email app or web browser.
- Locate the photo attachments. They’re usually at the bottom of the email or embedded within the message.
- Download the images:
- On a computer: Click on each attachment, then choose “Save As” or “Download” to select a folder on your device.
- On a mobile device: Tap on the image, then tap the share icon or options menu. Select “Save Image” or “Download.”
Tip: Create a dedicated folder on your device called “Shutterstock Uploads” or something similar. This keeps all your images organized in one place, making it easier when it’s time to select which photos to upload.
A couple of things to keep in mind:
- Check the image quality: Make sure the photos are high resolution and meet Shutterstock’s guidelines (usually at least 4 MP, but check their latest standards).
- Rename files if needed: Giving your images clear, descriptive filenames can help you stay organized and identify them easily later on.
Once you’ve saved the photos, take a moment to review them. Open each image to verify that the download was successful and that the files are intact. If everything looks good, you’re ready for the next step: accessing your Shutterstock contributor account.
Accessing Your Shutterstock Contributor Account
Now that your photos are safely stored on your device, it’s time to log in to your Shutterstock contributor account. This is where the magic happens—uploading your images, adding details, and submitting them for review.
Here’s how to get started:
- Open your preferred web browser and go to the Shutterstock Contributor portal at https://submit.shutterstock.com.
- Click on “Log In” at the top right corner of the page.
- Enter your credentials:
- Username or email address
- Password
Once logged in:
- You’ll land on your contributor dashboard, which is your control center for managing uploads, tracking sales, and reviewing guidelines.
- Take a moment to familiarize yourself with the interface. There are sections for “Upload,” “My Files,” “Statistics,” and more.
Pro tip: Bookmark the contributor login page for quick access in the future. Also, consider completing your profile and reading their contributor guidelines thoroughly. This will help you understand what types of images perform best and how to optimize your uploads for success.
With your account ready and your photos saved, you’re all set to move on to uploading your images. But remember, taking the time to organize and verify your files now will save you headaches later on. Happy uploading!
Uploading Photos from Your Device to Shutterstock
Alright, you’ve got your stunning photos ready and you’re eager to share them with the world through Shutterstock. The process of uploading your images from your device is straightforward, but it helps to understand each step to make sure everything goes smoothly.
First, login to your Shutterstock Contributor account. Once you’re in, navigate to the dashboard where you’ll see the option to upload new files. Typically, there’s a prominent button labeled “Upload Photos” or “Add Files”. Click on that to get started.
Next, you’ll be prompted to select the photos you want to upload from your device. You can do this by:
- Clicking the “Choose Files” button and browsing your folders, or
- Simply dragging and dropping your photos into the upload window if the platform supports it.
Most platforms support multiple file uploads at once, so feel free to select several images to upload in bulk—this saves you time! Keep in mind that Shutterstock recommends uploading high-resolution images, ideally 4MP or higher, for the best chance of acceptance.
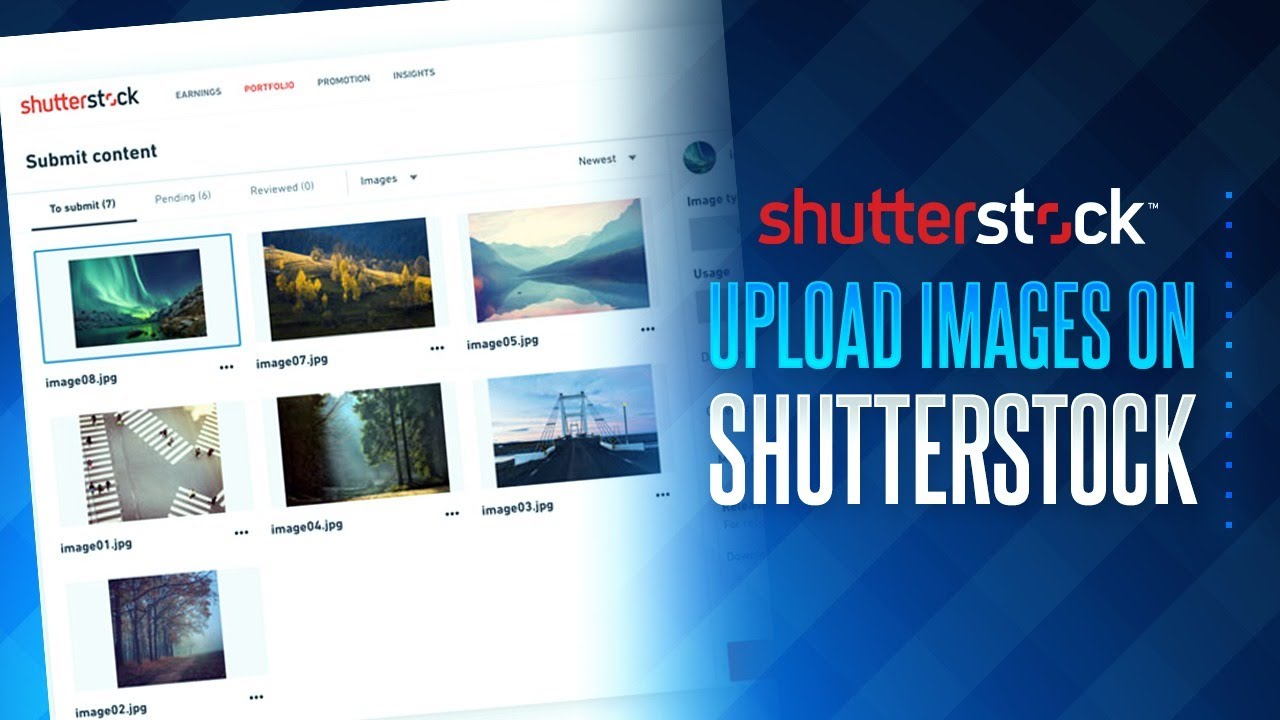
Once your photos are uploaded, you’ll see a preview grid or list where you can add details. Here, make sure to fill in:
- Title – descriptive and keyword-rich
- Description – explaining the image content
- Keywords – relevant tags to help users find your photo
After adding your metadata, review your images to confirm everything looks good. When you’re ready, hit the “Submit” button. Your photos will then be queued for review by Shutterstock’s review team.
And that’s it! Uploading is that simple once you get the hang of it. Just remember to keep your device organized, name your files clearly, and double-check your metadata before submitting. Good luck with your uploads!
Tips for Ensuring Your Photos Meet Shutterstock Standards
Getting your photos accepted by Shutterstock isn’t just about uploading pretty pictures; it’s about meeting their quality and content standards. Here are some friendly tips to help you create images that stand out and pass the review process smoothly.
1. Focus on High Quality: Shutterstock prioritizes sharp, well-exposed images with good color accuracy. Always use a good camera or smartphone with a high-resolution sensor. Avoid images that are blurry, pixelated, or have noise/grain.
2. Mind the Composition: Think about framing your subject well. Use the rule of thirds, leave enough space around your main subject, and keep the horizon level. Clean, uncluttered backgrounds tend to perform better.
3. Proper Lighting: Natural light is often your best friend. Shoot in well-lit conditions, ideally during golden hour for warm, soft light. Avoid harsh shadows or overexposed highlights that can ruin the image quality.
4. Respect Content Guidelines: Make sure your photos don’t include copyrighted logos, recognizable private property, or identifiable faces unless you have model releases. Keep your content appropriate and avoid sensitive or controversial topics.
5. Edit Thoughtfully: Basic adjustments like brightness, contrast, and color correction are fine, but avoid over-editing or adding surreal effects. Shutterstock prefers natural-looking images.
6. Check Technical Specs: Ensure your images are in JPEG format, sRGB color space, and at least 4 megapixels. Compress your images to balance quality and file size without losing detail.
Here’s a quick checklist to keep your images Shutterstock-ready:
| Criteria | Details |
|---|---|
| File Format | JPEG |
| Color Space | sRGB |
| Resolution | Minimum 4MP (e.g., 2400×1600 pixels) |
| File Size | Up to 50MB |
| Content | Original, high-quality, free of logos or trademarks |
By keeping these tips in mind, you’ll increase your chances of having your photos accepted and make your portfolio shine. Remember, quality always beats quantity—so focus on creating the best images you can! Happy shooting and uploading!
Troubleshooting Common Upload Issues
Uploading photos to Shutterstock from your email can sometimes come with a few hiccups. Don’t worry—most issues are straightforward to fix once you know what to look out for. Here are some common problems and how to troubleshoot them:
Problem: Slow or Failed Uploads
If your upload is taking forever or keeps failing, it could be due to a weak internet connection or file size limitations. Try the following:
- Check your internet connection: Make sure you’re on a stable and fast network.
- Reduce file size: Compress your images if they’re very large. Shutterstock recommends images between 4 MP and 50 MP in size.
- Use a different device or browser: Sometimes switching devices or browsers can resolve upload issues.
Problem: Unsupported File Formats
Shutterstock accepts JPEG, TIFF, and EPS files. If you’re trying to upload a different format, it won’t work. To fix this:
- Convert your images: Use photo editing software or online converters to change your files into supported formats.
- Check resolution and color space: Ensure your images meet Shutterstock’s quality standards—generally, a minimum of 4 MP resolution and RGB color space.
Problem: Incorrect Email Subject Line or Attachments
If your email isn’t being recognized or your photos aren’t uploading, double-check:
- Subject Line: Make sure it follows the correct format, e.g., “Upload Photos”.
- Attachments: Confirm that your images are properly attached and not embedded in the email body.
Additional Tips:
- Keep your email account secure: Use a reputable email provider and avoid spam or suspicious emails.
- Review Shutterstock’s guidelines: Regularly check their latest upload requirements to stay compliant.
- Contact support: If problems persist, reach out to Shutterstock’s customer service—they’re usually quick to help resolve issues.
Conclusion and Additional Resources
Uploading your photos from email to Shutterstock might seem a bit tricky at first, but once you get the hang of it, it becomes a quick and efficient process. Remember to follow their specific email guidelines, keep your images in supported formats, and troubleshoot any issues promptly. With a bit of practice, you’ll be uploading your stunning images in no time!
Want to improve your photo uploads and sales? Here are some helpful resources:
- Shutterstock Contributor Center: Your go-to guide for all submission tips and updates.
- Shutterstock Blog: Tips on photography, editing, and market trends.
- Adobe Photoshop: Excellent for editing and optimizing your images before uploading.
- Online Convert: Handy for converting image formats if needed.
Happy uploading! Keep creating, stay consistent, and watch your portfolio grow on Shutterstock. If you have any questions or tips of your own, feel free to share in the comments below!