Are you a photographer or content creator looking to monetize your images? Moving photos from Google Photos to Shutterstock can be a game-changer, opening doors to a wider audience and potential income. While it might sound complicated at first, with a little guidance, you’ll find it straightforward to transfer your best shots from your Google Photos library to Shutterstock‘s platform. In this guide, we’ll walk through each step, making the process simple and stress-free so you can focus on what you do best—creating stunning visuals.
Preparing Your Google Photos for Upload
Before you jump into uploading your images to Shutterstock, it’s important to get your Google Photos library ready. Proper preparation ensures that your photos are high quality, well-organized, and ready to impress Shutterstock’s reviewers. Here’s what you need to do:
- Review Your Photos: Go through your Google Photos collection and select the images you want to upload. Look for photos that are sharp, well-composed, and free of distractions. High-quality images are more likely to be accepted and sell well.
- Organize Your Selections: Create a dedicated album or folder within Google Photos for the images you plan to upload. This makes it easier to locate and manage your content during the transfer process.
- Check Image Resolution and Quality: Shutterstock prefers images with a resolution of at least 4 megapixels (e.g., 1920×1080 pixels) and good overall quality. To verify, select an image, click on the info icon, and review its dimensions. If some images are below the threshold, consider editing or reshooting them.
- Edit and Enhance: Use photo editing tools to improve brightness, contrast, and clarity if needed. Make sure your photos are free of watermarks, logos, or any branding that could be distracting or violate Shutterstock’s content guidelines.
- Rename Your Files: Give your photos clear, descriptive filenames. For example, instead of “IMG_1234.jpg,” use “Sunset_Beach_2023.jpg.” This helps both you and Shutterstock reviewers identify your images easily.
- Backup Your Photos: Before uploading, ensure your images are safely backed up. Cloud storage or external drives are good options, so you don’t lose any precious shots during the process.
Once your photos are organized, high-quality, and ready to go, you’re all set to move them over to Shutterstock. Taking these preparatory steps will save you time and increase your chances of having your images approved and earning from your creativity.
Creating a Shutterstock Contributor Account
So, you’re ready to start sharing your amazing photos on Shutterstock? Great! The first step is creating a contributor account. It’s pretty straightforward, but there are a few things to keep in mind to make the process smooth.
First, head over to the Shutterstock Contributor Registration Page. You’ll see a clear “Join Now” button—just click that to get started. You’ll need to provide some basic info like your name, email address, and create a strong password. Make sure to use an email address you check regularly because Shutterstock will send you important updates and verification links.
Next, you’ll be asked to agree to Shutterstock’s terms and conditions. Take a moment to read through them—it’s always good to know what you’re signing up for! Once you’ve accepted, you’ll need to verify your email. Check your inbox for a confirmation message from Shutterstock and click the link inside. This step is crucial; it activates your account and allows you to move forward.
After email verification, you’ll be prompted to fill out your contributor profile. This includes details like your location, payment preferences, and tax information. Be honest and precise here—accurate info ensures smooth payment processing later on. You can also upload a profile photo or logo if you’d like to personalize your account.
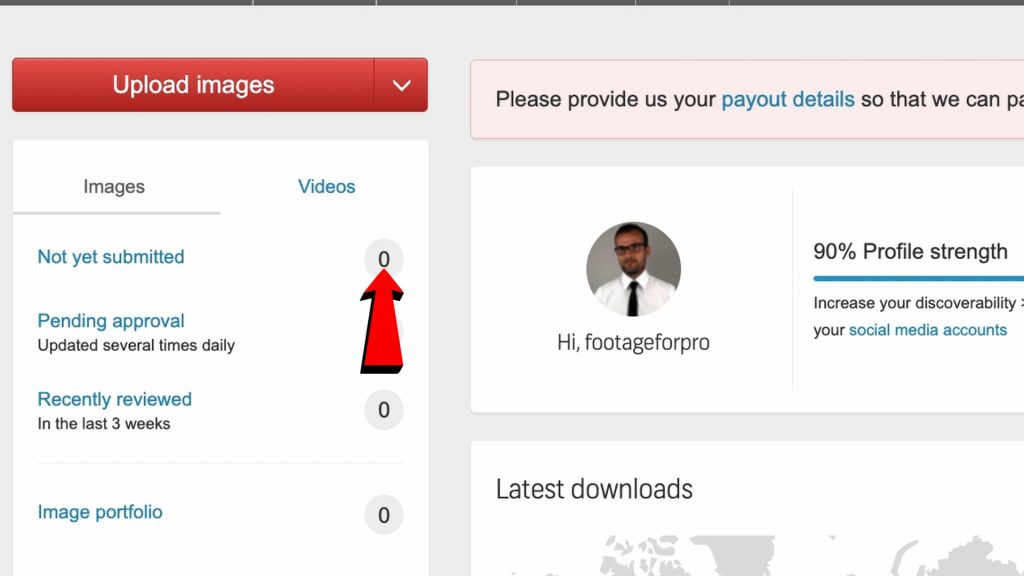
Once your profile is complete, you’ll gain access to the Shutterstock Contributor Dashboard. From here, you can start uploading photos, check your earnings, and manage your portfolio. Remember, the more complete and professional your profile looks, the better your chances of attracting buyers.
Pro tip: Before uploading your first photos, take some time to review Shutterstock’s content guidelines and submission standards. This will help you avoid rejections and get your images approved faster. Happy contributing!
Downloading Photos from Google Photos to Your Device
Now that you’ve set up your Shutterstock account, it’s time to get those fantastic images from Google Photos onto your device so you can upload them. Don’t worry—it’s a simple process, whether you’re on a computer or a mobile device.
If you’re using a computer:
- Open your web browser and go to Google Photos.
- Sign in with your Google account if you’re not already logged in.
- Navigate to the photo or album you want to download.
- Click on the photo to open it in full view.
- Look for the three-dot menu icon (usually in the top right corner) and click on it.
- Select Download. The photo will be saved to your device’s default downloads folder.
If you’re using a mobile device:
- Open the Google Photos app and sign in if needed.
- Find the photo(s) you want to download.
- Tap on a photo to open it.
- Tap the three-dot menu or the share icon.
- Choose Save to device or Download. The image will be saved to your device’s gallery or photos app.
A quick tip:
If you plan to upload multiple photos, you might find it easier to download an entire album at once. On your computer, Google Photos allows you to use Google Takeout to export all your photos in bulk. This way, you can download everything at once and then select the best shots for Shutterstock.
To use Google Takeout:
- Visit Google Takeout.
- Sign in with your Google account.
- Click on “Deselect all” and then scroll down to select “Google Photos.”
- Choose the albums or date ranges you want to download.
- Click “Next step,” select your preferred file type and size, then click “Create export.”
- Once the archive is ready, you’ll receive an email with a download link.
After downloading your photos, double-check that they open correctly and are high resolution—since quality matters when uploading to Shutterstock. With your images now on your device, you’re all set to move on to the next step: preparing and uploading your photos.
Uploading Photos to Shutterstock from Your Computer
So, you’ve got your photos ready and you’re excited to get them on Shutterstock! Uploading from your computer is pretty straightforward, but a few tips can make the process smoother and ensure your images meet Shutterstock’s standards.
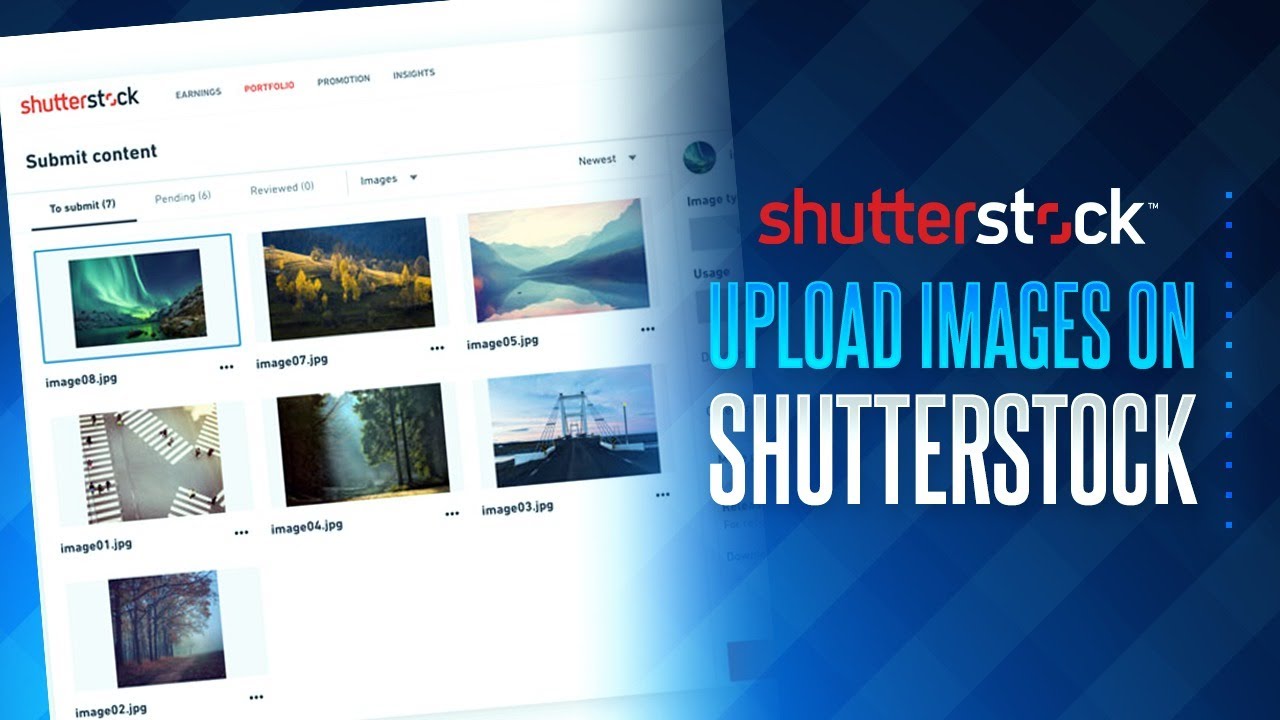
First things first, log into your Shutterstock contributor account. If you haven’t created one yet, it’s easy to sign up on their website. Once you’re logged in, look for the “Upload” button—usually located at the top right corner of the dashboard. Clicking this will take you to the upload page.
Now, you’ll see options to upload files directly from your computer. Shutterstock accepts various file formats like JPEG, TIFF, and EPS, but JPEG is the most common for photos. Before uploading, double-check that your photos are in the correct format and meet the size requirements (generally at least 4 megapixels, with recommended dimensions of 3000 pixels on the shortest side).
To upload, simply click on the “Select Files” or “Upload Files” button, then browse your computer to find the photos you want to submit. You can upload multiple images at once—just select them all before clicking “Open”. The upload process begins immediately, and you’ll see a progress bar indicating how much is completed.
While your photos upload, you’ll be prompted to add details such as:
- Title: A clear, descriptive title.
- Keywords: Relevant tags to help buyers find your photo.
- Description: A brief explanation of the image.
Be thorough with your keywords—think about what someone searching for that image might type. Use both specific and broad keywords to maximize visibility.
Once the upload and metadata entry are complete, you can review your images in the submission queue. Shutterstock also allows batch uploads, so you can prepare your images ahead of time and upload them all in one go. After uploading, your images will go through Shutterstock’s review process, which can take anywhere from a few days to a week.
Optimizing Your Photos for Shutterstock Submission
Before hitting that upload button, it’s crucial to optimize your photos to meet Shutterstock’s standards and increase your chances of acceptance. Good quality images with the right metadata can make all the difference!
First, ensure your images are of high quality. Shutterstock prefers sharp, well-exposed photos without noise or compression artifacts. Use editing software to enhance clarity, adjust brightness and contrast, and crop your images if needed. Remember, images that look professional are more likely to be accepted and bought.
Next, pay attention to technical specifications:
- Resolution: At least 4 megapixels, ideally 300 dpi for print quality.
- File Format: JPEG for photos, saved in RGB color mode.
- File Size: Keep it under 50MB; large files can slow down uploads or cause issues.
Metadata is equally important. Use descriptive, relevant titles and fill out all keyword fields thoughtfully. Think about what potential buyers might search for. Avoid keyword stuffing—be natural and relevant.
Another tip is to review your images for copyright issues. Shutterstock is strict about copyright infringement. Make sure your photos are original, don’t contain copyrighted logos, brands, or identifiable private property unless you have model or property releases.
Finally, consider adding model or property releases if your photos include recognizable people or private property. This step can open up more licensing opportunities and prevent rejection.
By taking these steps to optimize your photos, you’ll boost their quality and discoverability, making it easier for your images to sell and for your contributor profile to grow. Happy uploading!
Final Tips for Successful Uploads to Shutterstock
Before you hit that upload button, there are a few final tips to keep in mind to make sure your photos are accepted and stand out. Shutterstock has specific guidelines, and following them can save you time and frustration in the approval process.
1. Check Your Image Quality — Make sure your photos are sharp, well-lit, and high-resolution. Shutterstock recommends a minimum of 4 megapixels, but higher quality images tend to perform better and are more likely to be accepted.
2. Mind the Composition and Subject — Clear, eye-catching compositions with interesting subjects tend to do well. Avoid cluttered backgrounds or distracting elements. If your photo contains recognizable people or private property, ensure you have the necessary model or property releases.
3. Use Descriptive and Relevant Titles and Tags — When uploading, take advantage of the metadata fields. Use accurate, descriptive titles, tags, and categories. Think about what keywords a buyer might use to find your photo.
4. Avoid Watermarks and Borders — Shutterstock does not accept images with watermarks, borders, or logos. Make sure your photos are clean and free from any branding.
5. Be Consistent with File Naming — Use clear, relevant filenames that reflect the content of your image. This can help you stay organized and make it easier to find and manage your uploads later.
6. Review Shutterstock’s Content Guidelines — Familiarize yourself with Shutterstock’s content policies. Avoid prohibited content like illegal activities, hate symbols, or offensive material. Staying compliant ensures a smoother approval process.
7. Submit in Batches and Monitor Your Uploads — Upload in manageable batches rather than all at once. Keep an eye on your dashboard for approval statuses and promptly address any feedback or issues.
By keeping these tips in mind, you’ll improve your chances of getting your photos approved quickly and increase their visibility on Shutterstock. Patience and attention to detail go a long way!
Conclusion and Additional Resources
Uploading your Google Photos to Shutterstock can be a great way to monetize your photography skills and share your work with a broader audience. While the process involves some steps, with a little practice, it becomes straightforward and even enjoyable. Remember to organize your images, edit them for quality, and follow Shutterstock’s guidelines to maximize your success.
If you’re new to stock photography or want to improve your skills, there are plenty of resources available:
- Shutterstock Contributor Help Center: Offers comprehensive guides, tips, and FAQs to assist you with the submission process.
- Online Photography Courses: Platforms like Udemy, Skillshare, and Coursera have courses on photography, editing, and stock image submission.
- Photography Blogs and Forums: Engage with communities like DPReview or 500px to learn from other photographers’ experiences and get feedback.
- Editing Software Tutorials: Learn how to use Lightroom, Photoshop, or other editing tools to enhance your images before uploading.
Remember, the key to success is consistency. Keep uploading, refining your images, and staying informed about industry standards. Over time, you’ll build a diverse portfolio that can generate passive income and showcase your artistic vision to a global audience.
Happy uploading, and don’t hesitate to revisit this guide whenever you need a quick refresher! Your journey to becoming a Shutterstock contributor starts now—go ahead and share your amazing photos with the world.