WooCommerce makes running an online store a breeze, especially when it comes to managing your inventory. With its built-in stock management features, you can easily keep track of your products, ensuring you never run out of stock when your customers are ready to purchase. Whether you’re just starting out or you’re a seasoned online retailer, understanding how WooCommerce stock management works is crucial. In this guide, we’ll explore key concepts and practical tips that will help you streamline your inventory process and keep your customers happy.
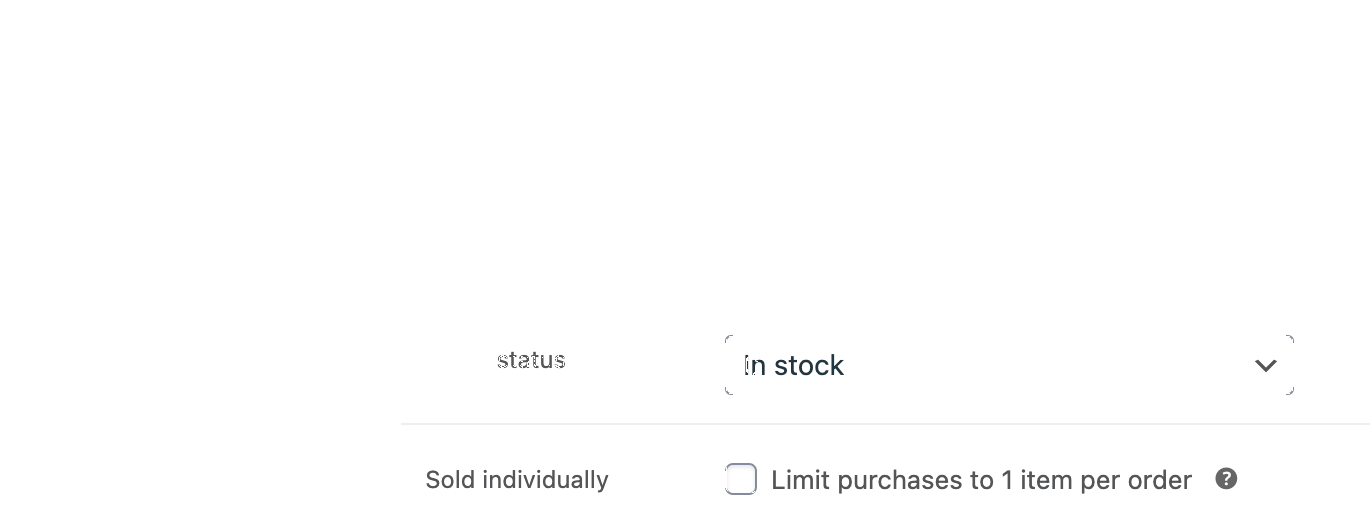
Understanding Stock Status in WooCommerce
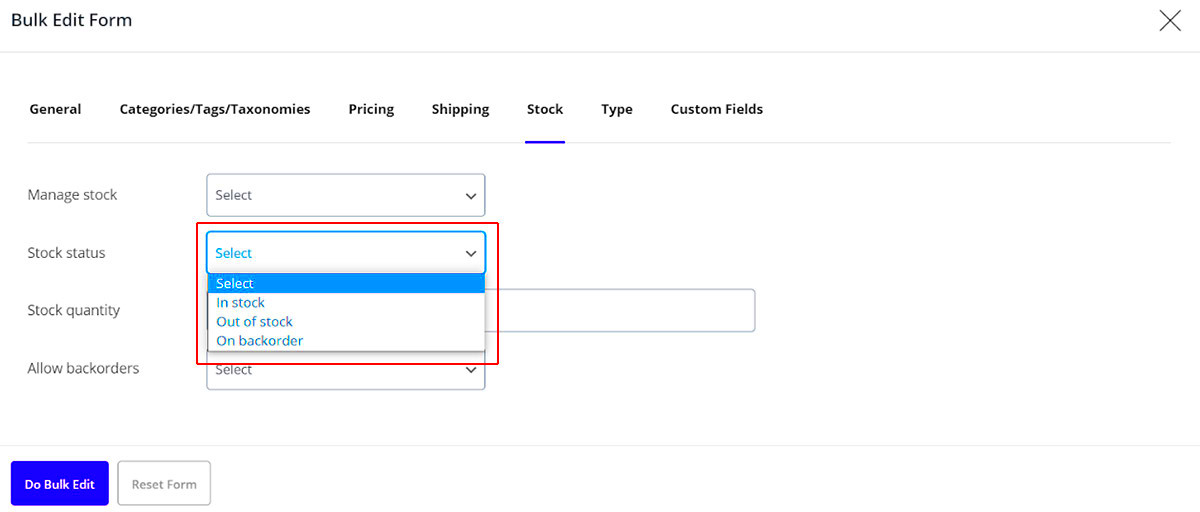
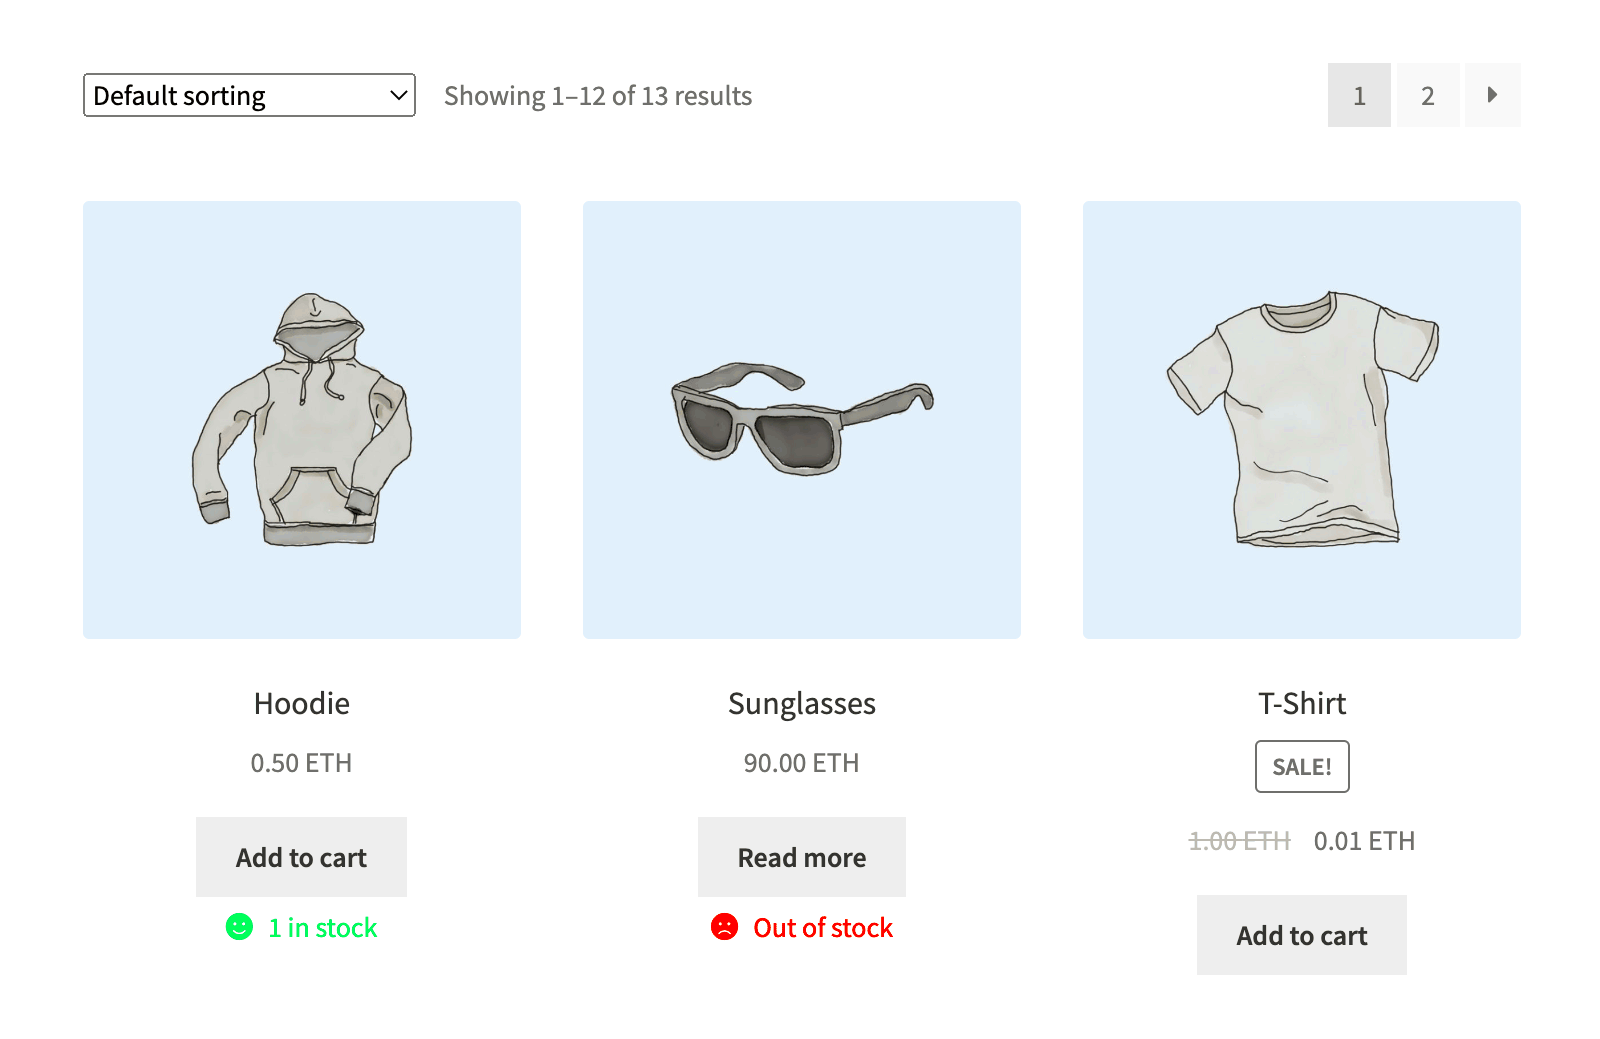
Stock status in WooCommerce is a vital aspect of your inventory management. It gives both you and your customers a clear view of product availability. Here’s what you need to know:
- In Stock: This means you have the product available for immediate purchase. Customers can add it to their cart without any issues.
- Out of Stock: This indicates that the product is currently unavailable. Customers won’t be able to purchase it until you restock.
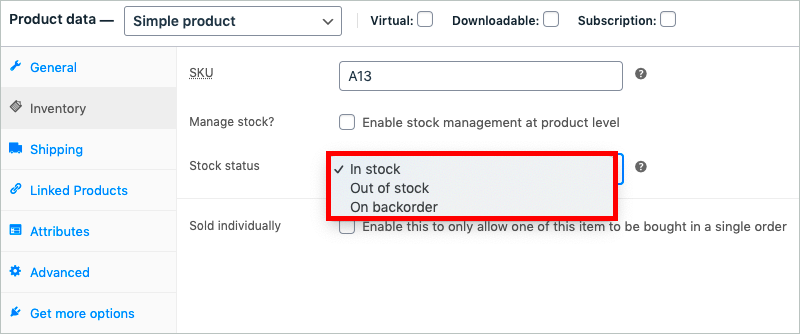
- On Backorder: This status allows customers to order a product that you currently don’t have in stock, with the understanding that it will be dispatched once available. Tracking backorders can be helpful for high-demand items.
- Stock Quantity: This is the actual number of items you have available for sale. You can set low stock thresholds to receive notifications when it’s time to reorder.
To manage stock status effectively, you can access this feature under the “Inventory” tab for each product in your WooCommerce settings. Understanding and utilizing these statuses will not only help you manage your stock efficiently but will also improve customer satisfaction by ensuring they know what to expect when they shop in your store.
Accessing the Product Edit Page
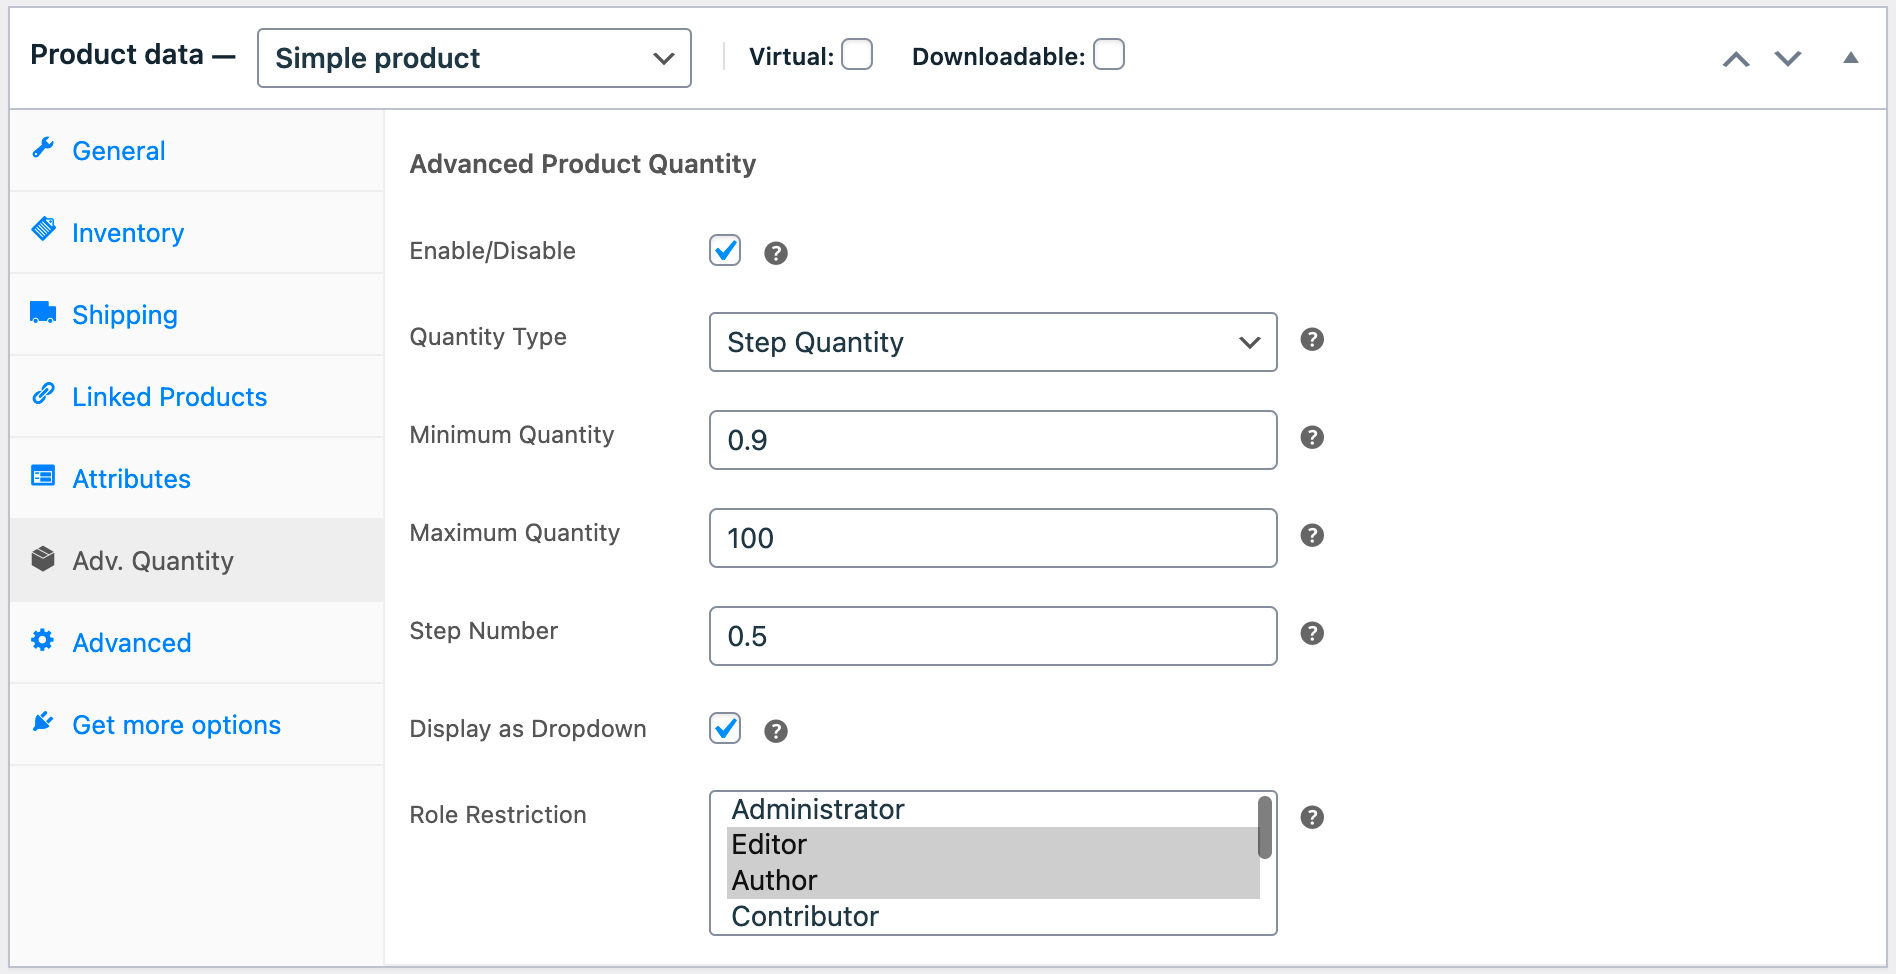
To update the stock quantity of your WooCommerce products, the first step is to access the Product Edit Page. This is the central hub where you can manage all aspects of your product, from pricing to inventory. Here’s how you can get there:
- Log into your WordPress Admin Panel: Start by navigating to your website and log in with your administrator credentials. This will take you to the dashboard.
- Find the Products Menu: Look for the left-hand menu where you’ll see a section labeled ‘Products’. Click on it, and you’ll be directed to a list of all your products.
- Select Your Product: You can either scroll through the list or use the search bar to find the specific product you’d like to edit. Once you’ve located it, click on the product name or the ‘Edit’ link underneath.
- Edit Product Details: You will now be on the Product Edit Page. This page is packed with various options to manage your product, including the main content area, product data sections, and settings for visibility and SEO.
Now that you’re on the Product Edit Page, you can proceed to adjust the stock quantity. It’s as simple as following the instructions outlined in the next section!
Adjusting Stock Quantity for Simple Products
Simple products in WooCommerce are straightforward items without variations, making them easy to manage. Here’s a step-by-step guide on how to adjust the stock quantity:
- Locate the Product Data Section: On your Product Edit Page, scroll down to find the ‘Product data’ section. This is where you’ll find all the necessary settings related to your product.
- Select the Inventory Tab: Within the Product data section, click on the ‘Inventory’ tab. This tab is specifically designed for managing stock levels, SKU, and stock status.
- Adjust Stock Quantity: Look for the field labeled ‘Stock quantity’. Here, you can enter the number of units currently available for sale. If you have existing stock levels, simply increase or decrease the number as needed.
- Manage Stock Settings: Under the same tab, you’ll find the checkbox labeled ‘Manage stock?’. Make sure this is checked, as it allows WooCommerce to track stock levels for this product.
- Save Changes: After entering the new stock quantity and adjusting any additional settings, don’t forget to click the ‘Update’ button on the right side of the screen to save your changes.
That’s it! Updating your product stock quantity for simple products in WooCommerce is a breeze. If you have a range of products with various variations, don’t worry; the next steps will tackle that too.
Updating Stock Quantity for Variable Products
When you’re running an online store that offers a diverse range of products, you might often find yourself working with variable products in WooCommerce. Variable products are essentially products that have different options or attributes, like size or color. Each of these variations can have its own stock quantity. So, how do you go about updating stock quantities for these variable items? Let’s break it down step by step!
First, you need to navigate to the Products section of your WooCommerce dashboard. Find the variable product you want to update. Once you click on it, you’ll be redirected to the product edit page where all the magic happens.
Here’s how you update stock quantities for variable products:
- Select Variations: Scroll down to the ‘Product data’ section and click on the ‘Variations’ tab. You’ll see a list of all the variations you’ve set up.
- Edit Stock Quantity: For each variation, you’ll find fields like SKU, Price, and Stock status. Look for the Stock Quantity field. This is where you can enter the new stock level for each variation.
- Save Changes: Once you’ve made your updates, don’t forget to click the Update button on the right-hand side of the screen to save your changes.
By keeping stock quantities updated for each variation, you can provide your customers with accurate availability information, helping to enhance their shopping experience and avoid the frustration of ordering out-of-stock items.
Using Bulk Edit for Multiple Products
If you’re managing a WooCommerce store with a wide range of products, you’ll know that updating stock quantities one by one can be quite tedious. Fortunately, WooCommerce offers a nifty feature called Bulk Edit that allows you to update the stock quantity for multiple products at once! This not only saves time but also helps ensure consistency across your inventory. Here’s how you can do it:
Follow these simple steps:
- Select Products: Go to the Products section in your dashboard. You can filter products by category or type in the search bar to find specific items. Use the checkboxes to select multiple products you want to edit.
- Bulk Actions: Once you’ve selected your products, find the Bulk actions dropdown menu at the top of the product list. Choose Edit from the menu.
- Update Stock Quantity: Click the Apply button. This will open up a new edit window where you can see options for all the selected products. Look for the Stock status or Stock quantity fields and input your changes here.
- Confirm Changes: After entering the new stock amounts, be sure to click the Update button at the bottom of the screen to save your changes for all selected products.
Using bulk edit not only speeds up your inventory management process but also helps you maintain a well-organized and user-friendly online store. By ensuring that all stock quantities are accurate, you create a better shopping environment for your customers, encouraging them to return for more!
Setting Stock Notifications and Alerts
Managing stock levels in WooCommerce is crucial, not just for your inventory management but also for customer satisfaction. One of the best features this platform offers is stock notifications and alerts. By setting these up, you can ensure you’re always in the loop about your inventory status!
Stock notifications can help you stay ahead of low inventory, preventing those awkward moments when a customer tries to purchase an item that’s out of stock. Here’s how to set them up:
- Access Settings: Go to your WooCommerce dashboard, navigate to WooCommerce > Settings, and then click on the Products tab.
- Select Inventory: Click on the Inventory tab. Here, you will find different settings related to stock management.
- Enable Stock Notifications: Check the option to enable stock notifications for low and out-of-stock items.
- Set Low Stock Threshold: Enter a number in the “Low stock threshold” field. This value will dictate when you’ll get notified.
- Email Notifications: Don’t forget to enter the email addresses where you’d like to receive these alerts.
After setting this up, you’ll receive timely notifications that alert you when stock levels hit a designated threshold. Not only does this help maintain good relationships with customers, but it also streamlines your inventory management!
Utilizing Plugins for Advanced Stock Management
If you’re looking to take your stock management in WooCommerce to the next level, you might want to consider utilizing plugins. While WooCommerce’s built-in features are robust, plugins can give you advanced tools tailored to your specific needs.
There are several plugins available that can enhance your stock management system significantly. Some popular options include:
- Stock Manager for WooCommerce: This plugin allows you to manage stock in bulk, making it easy to update multiple products at once.
- WooCommerce Stock Alert: Get real-time alerts for when products are low in stock or out of stock more efficiently.
- ATUM Inventory Management: A comprehensive inventory management system that helps you control stock and comes with features like purchase orders and stock reports.
- WooCommerce Advanced Stock Management: This plugin is perfect for those who handle multiple warehouses, enabling you to manage stock across various locations.
When choosing a plugin, consider factors like ease of use, compatibility with your current theme, and whether customer support is available. Many of these plugins come with demo versions, so don’t hesitate to test them out!
Incorporating the right stock management plugin can save you time, reduce errors, and equip you with insights to make informed decisions about your inventory.
Common Issues and Troubleshooting
Updating product stock quantity in WooCommerce is generally a straightforward process, but sometimes, you might run into a few bumps along the way. If you’ve ever frustratedly asked yourself, “Why isn’t my stock updating?” you’re not alone! Let’s explore some common issues and how to troubleshoot them.
- Stock Not Updating on Frontend: If you find that product stock levels aren’t reflecting on the frontend of your store, you might want to check the cache settings. Ensure that you clear the cache, as sometimes cached pages prevent updates from showing.
- Inventory Management Settings: Double-check your WooCommerce settings. Go to WooCommerce > Settings > Products > Inventory. Make sure that stock management is enabled. Sometimes, it’s as simple as toggling the setting back on.
- Theme or Plugin Conflicts: If things still aren’t working properly, try deactivating any recently installed plugins or switching to a default theme. This can help identify if there’s a conflict causing the problem.
- Outdated WooCommerce Version: Running an outdated version of WooCommerce can lead to numerous issues, including stock management problems. Always ensure you’re using the latest version available.
- Database Issues: Occasionally, your database may contain errors. Utilizing a plugin like WP-Optimize can help clean your database and fix these issues.
If you run into any other issues, don’t hesitate to consult the WooCommerce support forum or check out their FAQ to find solutions tailored to your specific problem!
Conclusion
Updating product stock quantity in WooCommerce doesn’t have to be a daunting task! With careful attention to the settings and options available, you can streamline your inventory management process effectively. Whether you’re a small business owner or a seasoned eCommerce mogul, being adept at managing stock levels is vital for maintaining customer satisfaction and optimizing sales.
Here’s a quick recap of the important steps:
| Step | Description |
|---|---|
| 1 | Log into your WordPress Dashboard and navigate to Products. |
| 2 | Select the product you wish to update. |
| 3 | In the product data section, adjust the stock quantity as necessary. |
| 4 | Click Update to save your changes. |
Even with occasional hiccups, the benefits of accurately managing your stock far outweigh the challenges. Keep an eye on trends, adjust quantities as needed, and don’t hesitate to seek help from the community. Happy selling!

