If you’ve decided to move on from your WordPress site hosted on DreamHost, you might be wondering how to effectively uninstall it. Whether you’re switching to another platform, or simply taking a break from your project, the uninstallation process is straightforward. In this guide, we’ll walk you through the steps to ensure a clean removal of WordPress from your DreamHost account. This way, you won’t leave any unnecessary remnants behind, making it easier to start fresh later on if you choose.
Prerequisites Before Uninstalling WordPress

Before jumping into the uninstallation process, there are a few things you’ll want to consider and prepare to ensure everything goes smoothly. Here’s what you need to know:
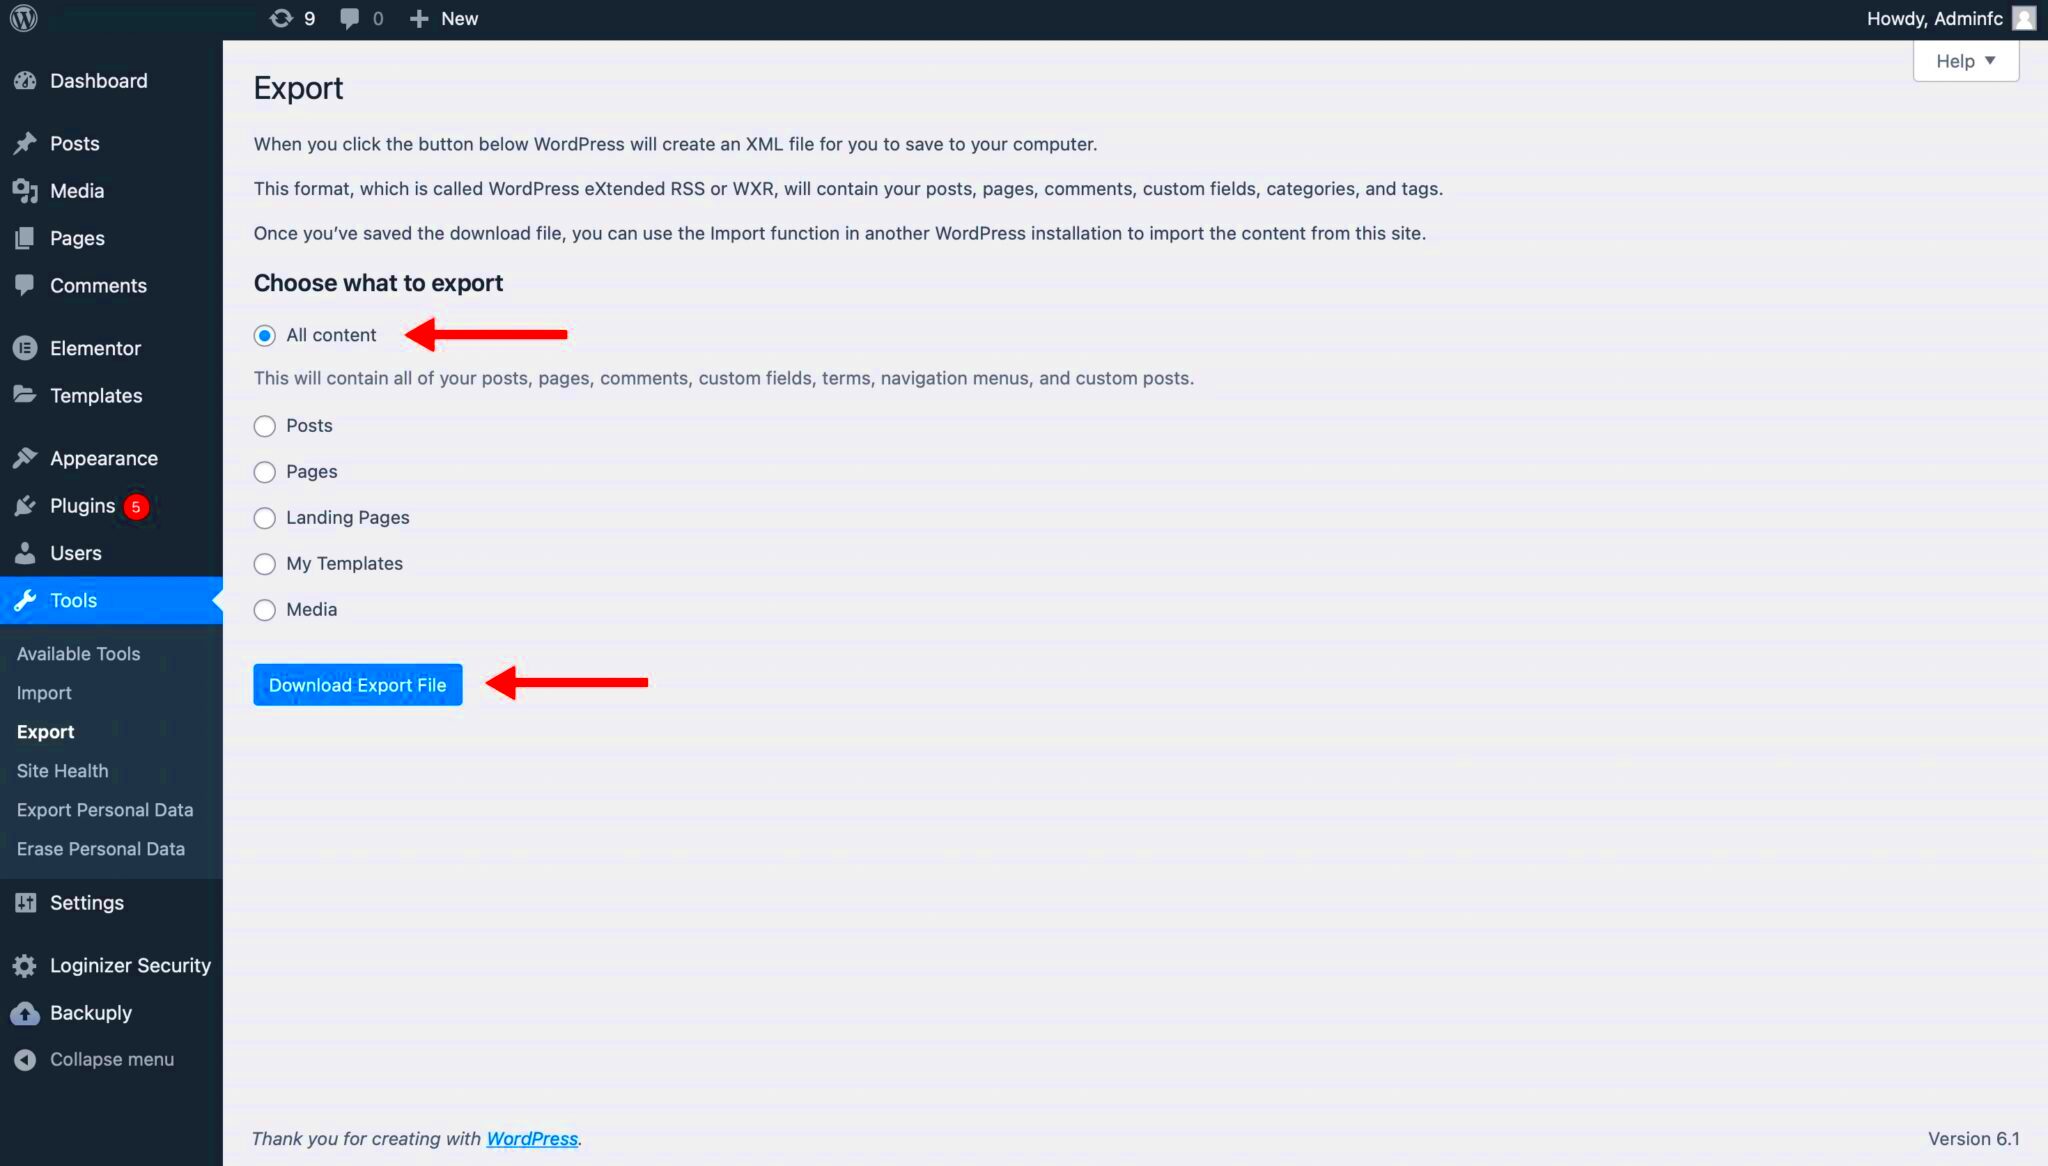
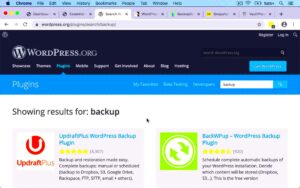
- Backup Your Data: If you think you might need your data later, consider backing up your posts, pages, images, and other media. You can use plugins like UpdraftPlus or the built-in WordPress export tool.
- Deactivate Plugins and Themes: It’s a good practice to deactivate all plugins and themes. This can help avoid any issues and ensure that your database entries do not linger around.
- Delete Unused Database Tables: If you are familiar with phpMyAdmin, check if there are any orphaned database tables that can be removed to clean up your database.
- Check for Custom Configurations: If you have made any custom configurations or added custom code in your wp-config.php or .htaccess files, make sure to save those codes somewhere safe if you plan to reuse them later.
- Review Site Ownership: If your WordPress site is linked to a domain name, consider whether you plan to keep that domain or transfer it to another service.
Taking time to prepare before uninstallation can save you headaches in the future! So, make sure you follow these steps to ensure you’re not losing anything important.
Accessing Your DreamHost Account

Before you can uninstall WordPress from your DreamHost account, the first step is to log in. It sounds simple, but if you’re not familiar with DreamHost, this can be a crucial moment. Here’s how to get into your account:
- Go to the DreamHost website at www.dreamhost.com.
- In the upper right corner, click on the ‘Log In’ link.
- Enter your email address and password associated with your DreamHost account.
- If you’ve forgotten your password, don’t panic! Simply click on the ‘Forgot Password?’ link and follow the prompts to reset it.
Once you’re in, you’ll land on your DreamHost panel. This is your command center where you can manage all aspects of your hosting plan, from domains to databases. Take a moment to familiarize yourself with the layout if you’re new. Getting comfortable with the dashboard will save you time and make the uninstallation process smoother.
Now that you’re logged in, you’re ready to dive into the next step of uninstalling WordPress. Remember, don’t rush! Take your time to navigate and ensure you’re always aware of the options available to you. Let’s move on!
Navigating to the Managed WordPress Section
Alright, now that you’re logged into your DreamHost account, it’s time to find your way to the Managed WordPress Section. This is where all your WordPress installations are listed, making it easier for you to manage or uninstall them. Here’s a quick guide on how to get there:
- From the DreamHost panel, locate and click on the ‘Websites’ menu on the left side of the dashboard.
- Once you’re in the Websites section, look for the option labeled ‘Managed WordPress’ and click on it.
- This section will show you all the WordPress sites you currently have installed through DreamHost.
When you’re in the Managed WordPress area, you’ll see a list of all your installations listed. Each entry typically shows the website’s name, URL, and some action buttons. If you have multiple sites, make sure to select the one you wish to uninstall by identifying its name or URL clearly.
Remember, navigating your DreamHost account may feel a bit overwhelming at first, but like anything else, it gets easier with practice. With everything set, you’re one step closer to uninstalling WordPress from your site. Let’s keep the momentum going!
Steps to Uninstall WordPress
Uninstalling WordPress from DreamHost is a straightforward process, but it requires a few careful steps to ensure you remove everything cleanly without leaving behind any unwanted files or data. Whether you’re moving to a new host or just cleaning up your account, follow these steps to safely uninstall WordPress.
- Access Your DreamHost Panel:
Log in to your DreamHost account by navigating to DreamHost Panel and entering your credentials. - Locate the “Manage Domains” Section:
From the sidebar, click on “Domains” and then select “Manage Domains.” This will provide you with a list of all your hosted domains. - Find Your WordPress Installation:
Identify the domain associated with your WordPress installation. Click on the “Edit” button next to the domain you want to remove WordPress from. - Select “Delete” or “Remove”:
Look for the button that says “Delete” or “Remove” under the WordPress installation section. Click it, and a confirmation message will pop up. - Confirm Deletion:
Confirm that you really want to delete the WordPress installation. This action cannot be undone, so make sure you have backups if needed. - Check for Leftover Files:
After the deletion, it’s good practice to check your FTP or file manager to ensure that all WordPress files have been removed. If you find any remnants, delete them manually.
And there you go! You’ve successfully uninstalled WordPress from your DreamHost account. If you change your mind later, remember that you can easily reinstall WordPress through the DreamHost panel.
Removing WordPress Database Entries
When you uninstall WordPress, simply removing the files isn’t enough; you also need to clean up the database. This step is crucial for maintaining your database’s health and ensuring that no old entries clog up your MySQL space. Here’s how to efficiently remove WordPress database entries:
- Access MySQL Database:
Return to your DreamHost Panel, then navigate to “MySQL” in the sidebar. Here, you’ll see a list of your databases. - Select the Right Database:
From the list, find the database associated with your WordPress installation. If you’re unsure, you can usually refer to the wp-config.php file in your file manager for the database name. - Open phpMyAdmin:
Click on the database name to open phpMyAdmin—this is where you’ll manage your database entries. - Drop the WordPress Tables:
In phpMyAdmin, select all the tables prefixed with wp_ or whatever prefix you used during installation. Once selected, look for the “Drop” option at the bottom and confirm the action. - Delete the Database (optional):
If you don’t need the database anymore, consider deleting the entire database. This is done back in the MySQL settings; just click the delete option next to your database name.
Cleaning up your database after uninstalling WordPress is essential for keeping your hosting environment tidy. By following these steps, you can ensure that no residual data will interfere with future installations. Enjoy the clean slate!
Deleting Remaining Files and Folders
Once you’ve decided to uninstall WordPress from DreamHost, the first step involves removing any remaining files and folders associated with your WordPress installation. It’s a crucial step because simply removing the application’s database doesn’t always mean you’ve completely wiped everything out. Let’s break it down.
1. Access Your Hosting Account: The very first thing you need to do is log in to your DreamHost account. Head over to the “Domains” section and locate the domain where WordPress is installed.
2. Open FTP or SFTP: To ensure all associated files are removed, accessing your site via FTP or SFTP is recommended. If you’re not familiar with this, it’s quite simple! You can use an FTP client like FileZilla.
3. Navigate to Your WordPress Directory: Once you’re in your FTP client, navigate to the directory where your WordPress files are stored, typically in the “example.com” folder. Here, you’ll see various folders and files related to your WordPress setup.
4. Delete WordPress Files: Carefully select all folders like wp-content, wp-includes, and files like wp-config.php, index.php, etc. Right-click and choose “Delete.” Remember, this is permanent, so be sure you no longer need these files!
5. Empty the Trash: If your FTP client has a trash feature, be sure to empty it to ensure total removal. After all, why keep unnecessary files lying around?
By following the steps above, you’ll ensure that no WordPress-related files are lingering on your server, paving the way for a clean uninstall.
Finalizing the Uninstallation Process
Congratulations on taking the necessary steps to uninstall WordPress from your DreamHost account! Now, let’s go over how to finalize the uninstallation process to ensure that every trace of WordPress is gone and that you’ve tidied up your hosting environment.
1. Remove the Database: If you haven’t already done this in your previous steps, it’s essential to delete the database associated with your WordPress installation. Navigate to the “MySQL Databases” section in your DreamHost panel. Here, you’ll find the list of databases created. Select the one used by your WordPress site and delete it.
2. Double-check Domain Settings: Go back to the “Domains” section. Look for any specific settings that were changed for your WordPress installation. If there were any redirects or subdomains created specifically for WordPress, consider removing those too.
3. Check for Caching Plugins or Files: If you had caching plugins enabled (like W3 Total Cache or WP Super Cache), make sure to delete their folders from your server. You might also want to clear any caching settings you had configured.
4. Assess Email Accounts: If you created any email accounts that were tied to your WordPress domain (like [email protected]), now would be a good time to review and remove them if you don’t plan to use them anymore.
5. Evaluate Further Needs: Finally, take a moment to think about your next steps. Do you want to start fresh with a new site? Or perhaps check out a different platform altogether? Either way, your server is now clean and ready for whatever comes next!
Following these final steps ensures that your DreamHost account remains tidy, and you can confidently move forward without the baggage of old WordPress files and settings. Happy hosting!
Common Issues and Troubleshooting
Uninstalling WordPress on DreamHost is generally straightforward, but sometimes, you might encounter a few hiccups. Let’s discuss some of the common issues folks face and how to troubleshoot them effectively.
- Inaccessible Dashboard: If you can’t access your WordPress dashboard, this might be due to plugins or themes causing conflicts. Consider disabling your plugins via the DreamHost panel or using FTP to rename the plugin directory temporarily.
- Incomplete Uninstallation: If you notice remnants of WordPress after uninstallation, such as leftover databases or files, ensure you’ve followed the steps to delete both the database and the file directory. Double-check your file manager for any overlooked folders.
- Error Messages: If you receive an error message during the uninstallation process, take a screenshot and check DreamHost’s support resources. Error codes can provide insights into what went wrong.
- Permission Issues: Sometimes, file permissions can interfere with the uninstallation process. Ensure your FTP client or file manager has the necessary permissions to modify or delete files.
- Customer Support: If all else fails, don’t hesitate to reach out to DreamHost’s customer support. They are knowledgeable and can guide you through troubleshooting specific problems.
By keeping these points in mind, you’ll be better prepared to handle any bumps in the road while uninstalling WordPress on DreamHost. Remember, the goal is to have a smooth experience, so take your time and double-check each step!
Conclusion and Next Steps
Congratulations on making it through the uninstallation process! Whether you were looking to clear your slate for a fresh install or just want to remove an old website, knowing how to uninstall WordPress on DreamHost is a valuable skill. But what’s next? Let’s explore some possible next steps.
- Install a New Site: If you’re planning to start fresh, you can easily install a new WordPress site through the DreamHost control panel.
- Explore Other Platforms: Uninstalling WordPress may have sparked your interest in other content management systems. Consider checking out platforms like Joomla or Shopify, depending on your needs.
- Learn About Site Optimization: Take this opportunity to learn how to optimize your websites in the future, focusing on speed, SEO, and user experience.
- Backup Plans: Set up regular backup protocols for your new website. It’s essential to keep your data safe and recoverable.
- Engage with the Community: Join forums or social media groups centered around WordPress. Sharing experiences and learning from others can be an enriching journey.
Remember, uninstallation doesn’t mean the end; it’s merely a stepping stone for exciting new opportunities. Happy web developing!


