Getting started with stock photography on Shutterstock doesn’t mean you need a fancy camera or a ton of gear. Many successful contributors start with just basic equipment and a keen eye for good visuals. The key is to make the most of what you have, focusing on composition, lighting, and subject matter. Whether you’re using a smartphone or a simple digital camera, you can create eye-catching images that stand out. This post will share practical tips to help you produce high-quality Shutterstock photos without breaking the bank or lugging around heavy equipment.
Understanding the Types of Photos in Demand on Shutterstock
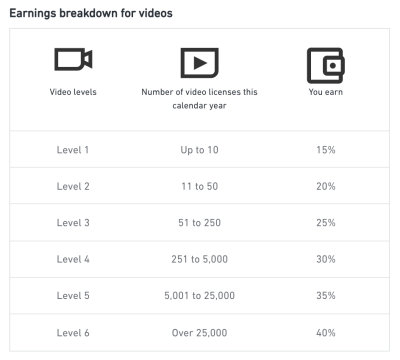
Before you start shooting, it’s super helpful to know what kinds of images are popular on Shutterstock. The platform is constantly evolving, but some categories consistently attract buyers. Here’s a quick rundown of the most in-demand types of photos:
- People and Lifestyle: Authentic images of diverse individuals in everyday situations, working, relaxing, or engaging in hobbies.
- Business and Technology: Photos depicting modern work environments, gadgets, remote work setups, and technology-related themes.
- Health and Wellness: Pictures of fitness activities, healthy eating, mental wellness, and medical themes.
- Nature and Environment: Scenic landscapes, wildlife, and environmental conservation topics.
- Food and Drink: High-quality images of meals, ingredients, and culinary experiences.
- Travel and Destinations: Stunning vistas, cityscapes, and cultural landmarks.
Understanding these categories helps you tailor your photography efforts and increases the likelihood of your images selling. For example, capturing authentic, relatable moments in everyday life or showcasing vibrant landscapes can make your portfolio more appealing to buyers. Plus, many of these popular themes can be shot with minimal equipment—think natural light, creative angles, and simple backgrounds. So, keep these in mind as you plan your shoots, and remember, sometimes less gear means more creativity!
Essential Equipment Needed for Shooting High-Quality Stock Photos
Alright, let’s get real—when it comes to taking stock photos that stand out, having the right gear can make a big difference. But don’t worry, you don’t need to break the bank or carry around a massive camera rig. The good news is, with some essential equipment, you can produce professional-looking images even with minimal gear.
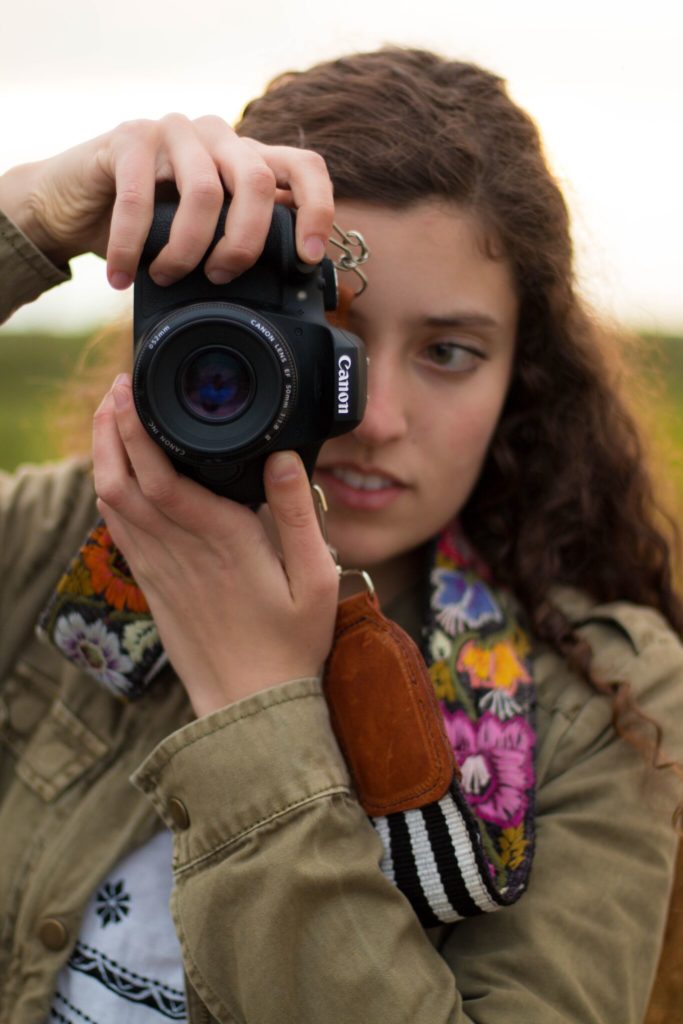
First up, a good quality camera or smartphone is your foundation. If you’re using a smartphone, make sure it has a decent camera with manual controls or at least a good lens. For those using a camera, a compact mirrorless or DSLR camera works wonderfully because of their versatility and image quality.
Next, consider investing in a tripod. Stability is key for sharp images, especially in low light or when shooting indoors. A lightweight, portable tripod is perfect for on-the-go shoots and can be easily carried around.
Lighting is another critical factor. Natural light is your best friend—think about shooting during the golden hours (early morning or late afternoon). However, if you need extra lighting, a simple portable LED light can help illuminate your subject evenly.
For those close-up or detailed shots, a set of inexpensive macro lenses (if your device supports attachable lenses) can add a new dimension to your photos. They’re affordable and easy to use, making them a great addition to your kit.
Finally, a few essential accessories include:
- Reflectors or white foam boards to bounce light and fill shadows
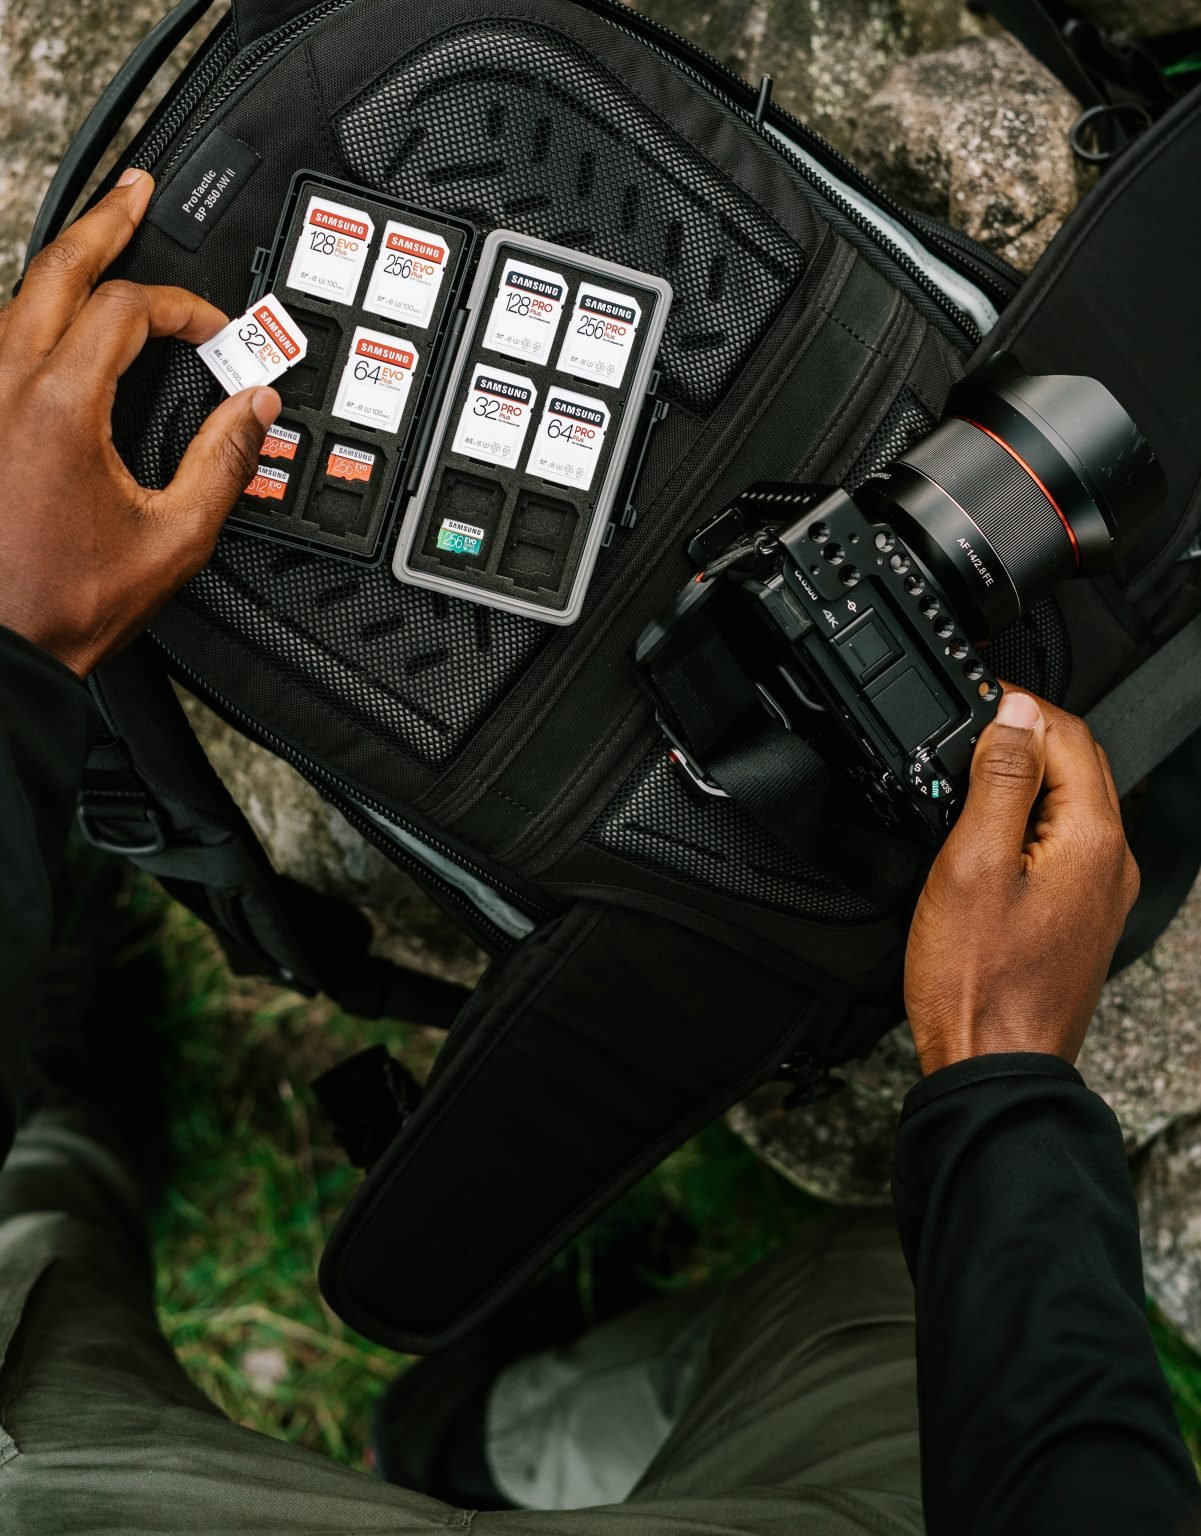
- Spare batteries and memory cards to keep shooting without interruptions
- Cleaning kits for lenses to keep your images crystal clear
The key takeaway? Focus on the essentials that improve your image quality without overwhelming your setup. With these tools, you’re well on your way to capturing stunning stock photos that look polished and professional.
Tips for Maximizing Your Smartphone Camera for Professional Results
Smartphones today are incredibly powerful tools for photography. They come packed with features that, if used correctly, can help you produce images that look professional—no fancy camera required. Here are some practical tips to squeeze the most out of your smartphone camera for your stock photo projects.
1. Use Grid Lines to Compose Your Shots
Most smartphones have a grid overlay option—turn it on! This helps you apply the rule of thirds, making your compositions more balanced and visually appealing. Position your main subject along the grid lines or at intersections for that professional touch.
2. Tap to Focus and Adjust Exposure
Before snapping, tap on your subject on the screen to set focus. Many phones also allow you to slide or adjust the exposure—use this feature to brighten or darken your shot, ensuring proper lighting and detail.
3. Use Natural Light Whenever Possible
Natural light creates softer, more natural images. Shoot near windows or outdoors during the golden hours for the best results. Avoid harsh midday sun, which can cause unflattering shadows and overly bright spots.
4. Keep Your Lens Clean
A simple but often overlooked tip—make sure your camera lens is clean. Fingerprints or dust can make images look blurry or dull. Use a soft cloth or lens cleaning wipe regularly.
5. Use Editing Apps to Enhance Your Images
There are plenty of free and affordable editing apps like Lightroom Mobile, Snapseed, or VSCO. They allow you to fine-tune brightness, contrast, colors, and sharpness, helping your photos look more polished and professional.
6. Experiment with Angles and Perspectives
Don’t just shoot from eye level—try different angles, such as looking up, down, or from the side. Unique perspectives can make your photos stand out and convey a more creative vibe.
Remember, practice makes perfect. Play around with your smartphone camera settings, lighting, and composition. The more you experiment, the better your results will become. With these tips, you’ll be surprised how close you can get to professional-quality stock photos using just your smartphone and minimal equipment.
Techniques for Composition and Lighting with Minimal Gear
When you’re working with limited equipment, mastering the art of composition and lighting becomes even more crucial. The good news is, you don’t need fancy gear to create stunning images—just a keen eye and some clever techniques can do wonders.
Focus on natural light. If you’re shooting outdoors or near windows, leverage the available sunlight. The best times are usually early morning or late afternoon when the light is soft and warm—often called the golden hour. Avoid harsh midday sun unless you want dramatic shadows, but be mindful of overexposure and squinting models or subjects.
Use simple compositional rules to make your photos more engaging:
- Rule of thirds: Divide your frame into thirds both horizontally and vertically. Place your main subject at the intersection points to create balance and interest.
- Leading lines: Use roads, fences, or natural contours to draw viewers’ eyes into the photo.
- Framing: Use elements like archways, trees, or windows to frame your subject and add depth.
- Minimalism: Sometimes, less is more. Focus on a single subject with a clean background to create a powerful image.
Maximize your gear’s potential by experimenting with angles and perspectives. Get low to the ground, shoot from above, or try close-ups to add variety. If you’re using a smartphone, enable grid lines to help with composition, and tap to focus on your main subject.
In terms of lighting, be adaptable. If sunlight is too harsh, consider diffusing it with a sheer curtain or using a white sheet as a makeshift diffuser. Reflectors can be homemade—think of a piece of white cardboard or aluminum foil mounted on a board—to bounce light into shadowed areas.
Remember, the key is to observe your environment carefully, be patient, and experiment. Sometimes, the simplest setup combined with good composition and lighting can produce photos that look professional and captivating.
Editing and Enhancing Your Photos Using Free or Affordable Tools
You don’t need expensive software to make your Shutterstock photos pop. There are plenty of free and budget-friendly editing tools out there that can help you enhance your images with just a few clicks.
Start with basic adjustments. Focus on correcting exposure, contrast, and color balance. Sometimes, a slight tweak can transform a dull photo into something vibrant and eye-catching.
Here are some popular free or affordable editing tools to consider:
| Tool | Highlights |
|---|---|
| GIMP | Powerful open-source editor similar to Photoshop; great for detailed edits, retouching, and layering. |
| Canva | User-friendly online platform perfect for quick edits, adding text, filters, and graphics. |
| Pixlr | Web-based editor with a simple interface; offers basic to advanced editing features. |
| Adobe Lightroom Mobile | Affordable app for mobile devices; excellent for color correction and quick enhancements. |
Enhance your photos with filters and presets. Many tools offer free filters that can add mood and style to your images. Be cautious not to overdo it—aim for a natural look unless the style calls for something more dramatic.
Use cropping and straightening tools to improve composition and remove distractions. Cloning or healing brushes can help eliminate blemishes or unwanted objects.
Finally, always save a copy of the original image before editing, so you can revisit and make different adjustments if needed. Take your time experimenting—sometimes small tweaks can make a significant difference.
With a little practice and the right free tools, you can elevate your Shutterstock photos to stand out in the marketplace, even with minimal equipment. Happy shooting and editing!
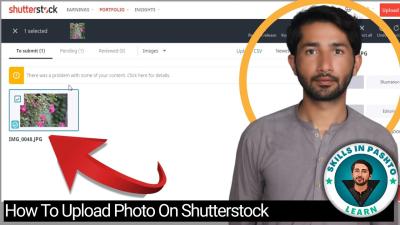
Uploading and Optimizing Your Photos for Shutterstock Submission
Great, you’ve taken some stunning shots and are ready to share them with the world on Shutterstock! But before you hit that upload button, there are a few important steps to ensure your photos get noticed and approved quickly. Optimizing your images isn’t just about making them look good—it’s also about making sure they meet Shutterstock’s standards and are easy for buyers to find.
First things first, check the image quality. Shutterstock has specific requirements, such as a minimum resolution of 4 megapixels and no watermarks. Make sure your photos are sharp, well-exposed, and free of noise or distractions. Use editing tools like Lightroom or free alternatives like GIMP to fine-tune brightness, contrast, and sharpness.
File Naming and Metadata
Properly naming your files and adding detailed metadata can significantly improve your chances of getting accepted and sold. Use descriptive, keyword-rich filenames, such as sunset-over-mountains.jpg. Avoid generic names like IMG_1234.jpg.
When uploading, take advantage of Shutterstock’s metadata fields:
- Title: Summarize the main subject clearly.
- Description: Write a compelling, accurate description that includes relevant keywords naturally.
- Keywords: Add up to 50 keywords, including synonyms, related concepts, and location tags.
Tagging Tips
Think like a buyer. What words would they use to find your photo? Use specific keywords: instead of just “dog,” try “golden retriever puppy,” “dog playing fetch,” or “happy pet outdoors.” Be honest and accurate—misleading tags can hurt your reputation and result in rejection.
Preview and Submit
Before submitting, preview your image in the upload interface. Make sure it displays correctly and that all metadata is accurate. Double-check the image resolution and format—JPEG is preferred. Once satisfied, hit submit and wait for Shutterstock’s review process. It may take a few days, but patience pays off!
Conclusion and Final Tips for Success in Stock Photography with Limited Equipment
Embarking on stock photography with minimal gear might seem challenging at first, but as we’ve explored, it’s entirely possible—and even rewarding! The key is to focus on creativity, composition, and understanding what buyers are looking for. Remember, many top-selling images started out as simple snapshots taken with a smartphone or basic camera.
Here are some final tips to keep in mind:
- Stay consistent: Regularly upload new images to build your portfolio and increase visibility.
- Embrace editing: Use free or affordable editing tools to enhance your photos without needing expensive equipment.
- Research trends: Keep an eye on popular topics and styles in stock photography to tailor your shoots accordingly.
- Be patient and persistent: Success doesn’t happen overnight. Learn from rejection feedback and keep improving.
- Engage with the community: Join forums or social media groups dedicated to stock photography for tips, feedback, and encouragement.
Ultimately, the secret is to focus on capturing authentic, well-composed images, regardless of your gear. With a bit of practice and some smart optimization, you’ll be well on your way to making a name for yourself in the world of stock photography—even with limited equipment. Happy shooting!