Tagging customers in WooCommerce can significantly enhance how you connect with and understand your audience. Just like you’d organize files into folders, tagging allows you to categorize your customers for better marketing and customer service efforts. Whether you’re just getting started or looking to refine your approach, understanding this feature is crucial for optimizing your eCommerce store’s success.
Why Use Customer Tags?

Customer tags are not just a fancy way to label clients; they offer genuine benefits that can help you streamline your processes and engage more effectively. Here are a few compelling reasons to start using customer tags in WooCommerce:
- Segment Your Audience: Tags allow you to group customers based on their purchasing behavior, preferences, or demographics. This segmentation helps tailor your marketing strategies. For instance, you can create specific campaigns for first-time buyers versus loyal customers.
- Improve Customer Relationships: By tagging customers, you can track their interactions and preferences, enabling more personalized communications. Imagine being able to send targeted emails that resonate with customer needs!
- Enhance Customer Support: With well-defined customer tags, support staff can quickly identify a customer’s history. This knowledge allows for faster problem resolution, improving overall customer satisfaction.
- Better Upselling and Cross-Selling: Tags can highlight products that customers may be interested in based on their past purchases, making it easier for you to suggest relevant items and increase your sales.
- Data-Driven Decisions: Using tags can help you analyze customer trends and behaviors over time. This data is invaluable for refining your business strategies and making informed decisions about inventory, marketing, and customer engagement.
All in all, customer tags can transform the way you manage your WooCommerce store, paving the way for stronger connections and improved revenue growth!
Prerequisites for Tagging Customers
Before you dive into tagging customers in WooCommerce, there are a few prerequisites you’ll want to keep in mind. Understanding these requirements will help ensure a smooth experience and make the process a breeze!
- WooCommerce Installed: First and foremost, you must have WooCommerce installed on your WordPress site. If you haven’t done this yet, it’s the essential eCommerce plugin for WordPress that allows you to sell products and manage a store.
- Customer Data: Ensure that you have customer data in your database. This could include email addresses, names, or any additional info you may have collected during the purchase process. Without customers, there’s no one to tag!
- Tagging Plugin (Optional): While WooCommerce does not come with the ability to tag customers by default, some plugins can enhance its functionality. Look into options like “WooCommerce Customers Manager” or any other customer management plugin that offers tagging features.
- User Permissions: Make sure you have the right permissions set up in your WordPress dashboard. Only users with appropriate roles, such as Administrators or Store Managers, will be able to tag customers.
- Backup Your Site: It’s always good practice to back up your site before making significant changes. This way, if anything goes awry, you can restore your site to its previous state.
By ensuring you have these prerequisites in place, you’ll set yourself up for success when tagging customers in WooCommerce. Let’s get started on the fun part—actually tagging those customers!
Step-by-Step Guide to Tagging Customers
Now that you’re ready to tag customers, let’s go through the process step by step. Tagging is a great way to segment your audience and create personalized marketing strategies. Here’s how to do it:
- Log In to Your Dashboard: First, head over to your WordPress dashboard and log in with your credentials. This is your command center for managing everything in your WooCommerce store.
- Navigate to Customers: From the left sidebar menu, hover over the “WooCommerce” option and click on “Customers.” Here, you’ll see a list of all your customers.
- Select a Customer: Scroll through the list or use the search bar to find the customer you wish to tag. Once you find them, click on their name to expand their profile.
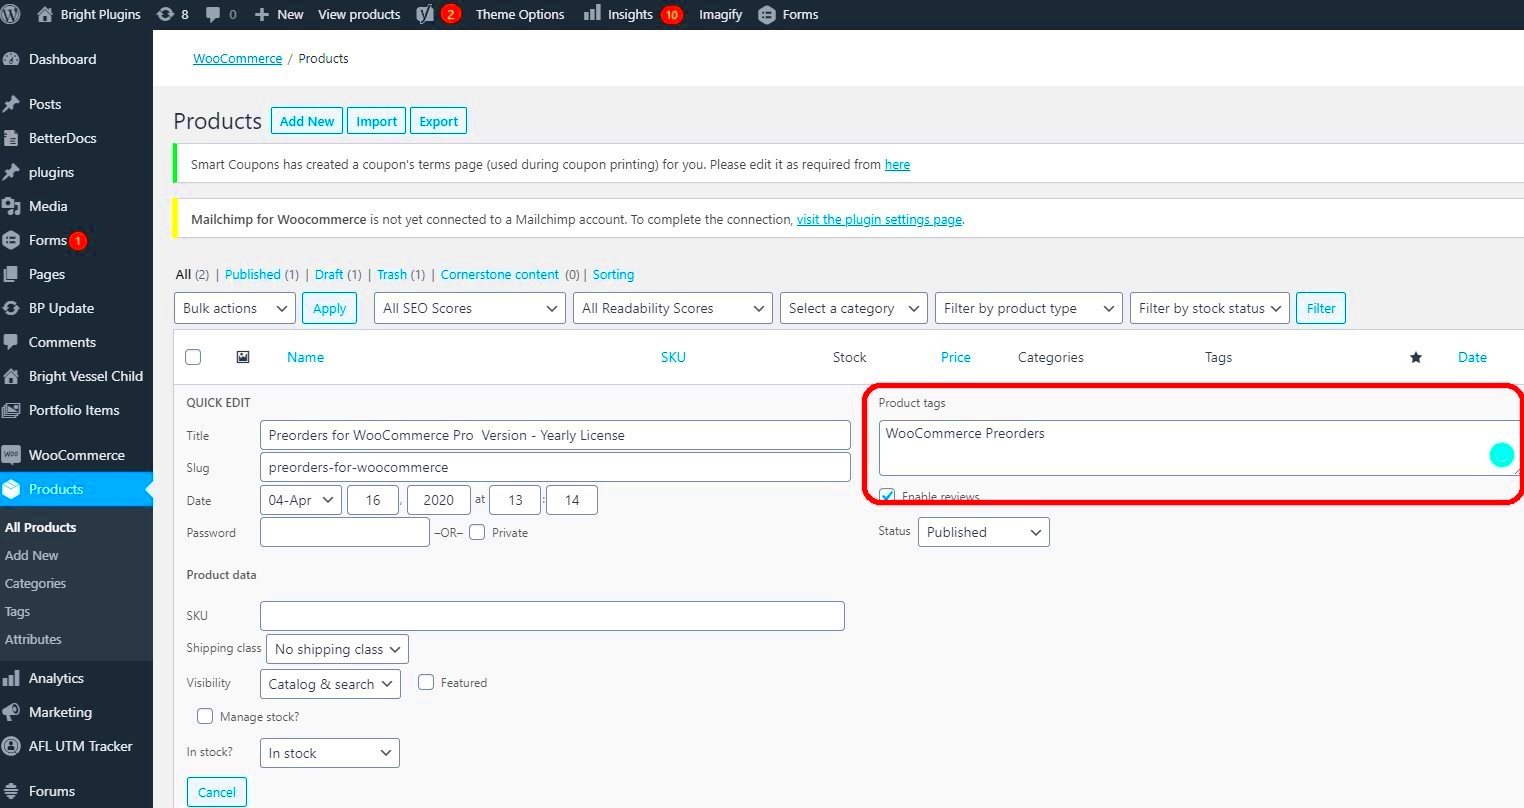
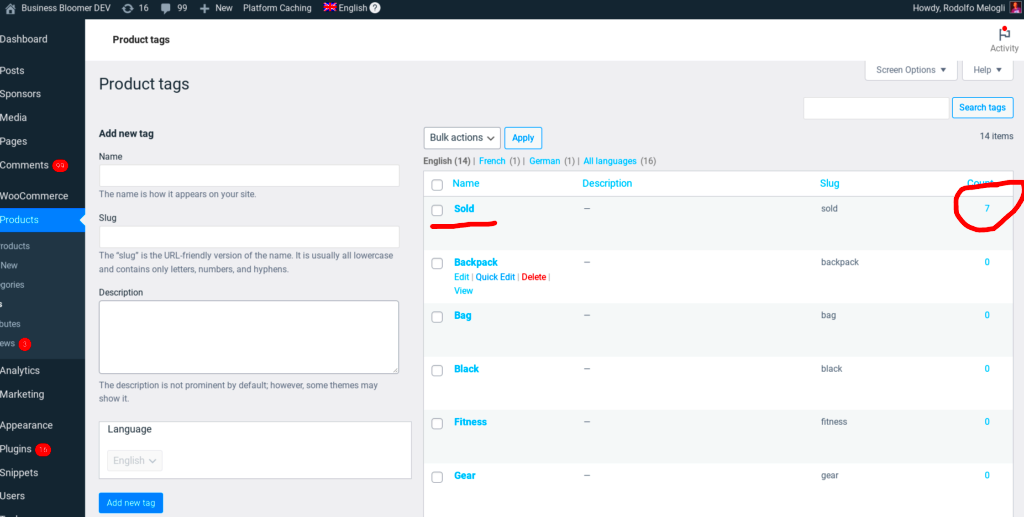
- Add Tags: Locate the section labeled “Tags” within the customer profile. Here, you can either create new tags or add existing ones. Just type the tag name and press enter. Each tag you add helps you categorize and manage customers better!
- Save Changes: After you’ve added your tags, make sure to save your changes. Most times, there’s a “Save” button located at the bottom of the profile section. Don’t miss this step!
- Review Your Tags: To ensure everything’s in order, take a moment to review the tags for the customer you’ve just edited. You can always go back and modify them as needed.
And there you have it! You’ve successfully tagged a customer in WooCommerce. With custom tags, you can now target promotions, send personalized emails, and much more, enhancing your customer experience significantly.
Managing Customer Tags
Managing customer tags in WooCommerce is a straightforward yet powerful process that can significantly enhance your customer relationship management. Tags allow you to categorize and segment your customers based on various attributes, making it easier to communicate effectively. Here’s how you can efficiently manage customer tags:
- Create Tags: Start by creating tags that are relevant to your business and customer base. Think about what categories would help you the most. Examples might include “VIP Customer,” “Loyal Shopper,” or “Newsletter Subscriber.”
- Edit Tags: If you notice a tag isn’t performing as expected, or if you want to combine two tags, you can easily edit them. Simply go to the Customers section, find the tag you want to edit, and update the name or criteria as needed.
- Delete Tags: If a tag has become obsolete, don’t hesitate to remove it. Regularly revisiting your tags helps keep your customer data clean and relevant.
- Bulk Tagging: If you have a large customer base, consider using bulk actions to tag multiple customers at once. This saves time and makes the process efficient.
Additionally, you can use the tags to filter customers in your WooCommerce backend. For instance, if you’re running a specific promotion, you can quickly pull up all “New Customers” or “Seasonal Shoppers” and target them more effectively.
Utilizing Customer Tags for Better Marketing
Now that you’ve set up and managed your customer tags, it’s time to leverage them for better marketing efforts. Customer tags provide valuable insights into consumer behavior and preferences, allowing you to create tailored marketing campaigns that resonate with your audience. Here’s how to do just that:
- Segmented Email Marketing: Use customer tags to segment your email list. Send out targeted email campaigns based on specific tags, ensuring your messages are relevant. For example, you could target your “Frequent Buyers” with exclusive discounts or send re-engagement emails to “Lapsed Customers.”
- Personalized Offers: When tagging insights are applied, you can create personalized offers for different customer segments. A “Birthday Month” tag can trigger special discounts or promotional emails tailored for that month.
- Advanced Analytics: Use tagged data for in-depth analytics. Understand customer behavior trends and preferences, allowing you to adjust your marketing strategies accordingly. For instance, if “First-Time Buyers” respond well to certain promotions, you can replicate those strategies for new customers moving forward.
- Re-targeting Campaigns: If you notice certain tags indicate a lack of purchase activity (like “Browsers”), create targeted ads aimed specifically at those segments, offering them incentives to return.
By effectively utilizing customer tags, you’re not just simplifying your marketing strategy; you’re creating a more personalized shopping experience that can lead to heightened customer loyalty and increased sales. Remember, the more you know about your customers, the better you can serve them!
Common Issues and Troubleshooting
When it comes to tagging customers in WooCommerce, you might encounter a few bumps along the road. Don’t worry; you’re not alone! Here are some common issues that users face and how to troubleshoot them effectively:
- Tags Not Saving: Sometimes, tags might not save correctly. If you experience this, ensure that you have the correct permissions. In some cases, the issue may arise due to conflicts with other plugins. Try deactivating them one by one to pinpoint the culprit.
- Tags Not Displaying: If tags are not displaying on the frontend, check your theme settings or page builder configurations. It’s also a good idea to clear your cache or check if a caching plugin is interfering.
- Bulk Tagging Issues: Bulk tagging customers can be tricky. If you find that your bulk tagging attempts are unsuccessful, double-check that you’re selecting the right customers and using the correct method suggested in WooCommerce documentation.
- Inability to Edit Tags: Sometimes you might feel stuck and unable to edit or remove existing tags. Make sure you are operating from the right user account with appropriate permissions to manage tags.
- Plugin Compatibility: If you’ve installed a new plugin and then started having issues with tagging, it’s worth investigating its compatibility with WooCommerce. You might need to reach out to the plugin developer for assistance.
By identifying the issues and following the troubleshooting steps above, you can enhance your tagging experience in WooCommerce and ensure a smoother workflow for customer management.
Conclusion and Best Practices
Tagging customers in WooCommerce is an excellent way to streamline your marketing efforts and improve customer relationships. However, it’s essential to implement best practices to get the most out of this feature. Here are some tips to keep in mind:
- Be Consistent: Consistency is key when tagging customers. Develop a clear tagging strategy and stick to it. This will help you quickly identify and segment your customers based on their needs and behaviors.
- Use Descriptive Tags: Descriptive tags like “VIP Customer” or “Frequent Buyer” can be incredibly helpful. The more descriptive your tags, the easier it is to segment customers for targeted marketing campaigns.
- Regularly Review Tags: Over time, your tagging system may become cluttered. Regularly reviewing and cleaning up your tags ensures that your tagging system remains efficient and relevant.
- Train Your Team: If you have a team managing your WooCommerce site, ensure they are familiar with your tagging strategy. Clear communication leads to effective tagging practices across the board.
- Leverage Data: Use the data gathered from tagging to inform your marketing decisions. Analyze customer behavior based on tags to better understand their preferences and tailor your strategies accordingly.
By following these best practices, you can optimize your customer tagging process in WooCommerce, leading to better engagement and potentially higher sales. Happy tagging!


