Thinking about turning your video clips into a source of income? Shutterstock is one of the biggest platforms out there for stock footage, and getting your videos accepted can be a great way to earn passive income. But how do you actually submit your videos? What are the steps involved? Don’t worry—it’s simpler than you might think! In this guide, we’ll walk you through everything from understanding Shutterstock’s requirements to preparing your footage for upload, so you can start profiting from your creative work sooner rather than later.
Preparing Your Videos for Upload
Before you hit that upload button, there are a few important steps to make sure your videos are ready for submission. First, quality is key. Shutterstock has high standards, so your videos need to be crisp, clear, and professional-looking. Here’s what you should focus on:
- Resolution: Aim for at least 1920×1080 pixels (Full HD). Higher resolutions like 4K are even better and can fetch higher royalties.
- Frame Rate: Keep it consistent—most videos are shot at 24, 30, or 60 fps. Ensure your footage matches the intended frame rate.
- File Format: Upload in common formats like MP4 or MOV. MP4 (H.264 codec) is usually the safest choice.
- File Size: Make sure your file isn’t too large. Shutterstock recommends under 4GB for easier handling and faster uploads.
Next, pay attention to the content itself. Your footage should be unique, well-shot, and free from distractions. Avoid shaky shots, poor lighting, or background noise if audio is involved. It’s also essential to ensure your videos don’t contain copyrighted materials, logos, or recognizable people without proper releases. Editing can help improve your footage—stabilize shaky clips, color-correct for a more professional look, and trim unnecessary parts.
Finally, add metadata like titles, descriptions, keywords, and categories. Think about what keywords someone might use to search for your clip. The more relevant and specific your tags, the higher your videos will rank in search results, increasing your chances of sales.
In short, taking the time to prepare your videos properly not only helps in passing Shutterstock’s review process but also boosts your chances of making sales. Quality and relevance are your best friends here, so invest a little extra effort upfront to maximize your earning potential!
Creating a Shutterstock Contributor Account

So, you’re ready to start sharing your videos with the world—and hopefully earning some extra income along the way! The first step is creating a Shutterstock Contributor account. Don’t worry; it’s pretty straightforward, but there are a few things to keep in mind to make the process smooth.
First, head over to the Shutterstock Contributor registration page. You’ll see a simple sign-up form where you’ll need to provide some basic information:
- Full Name
- Email Address
- Password
- Country of Residence
Once you fill out the form and click “Register,” Shutterstock will send a confirmation email to verify your email address. Be sure to check your inbox (and spam folder, just in case) and click on the link provided to verify your account.
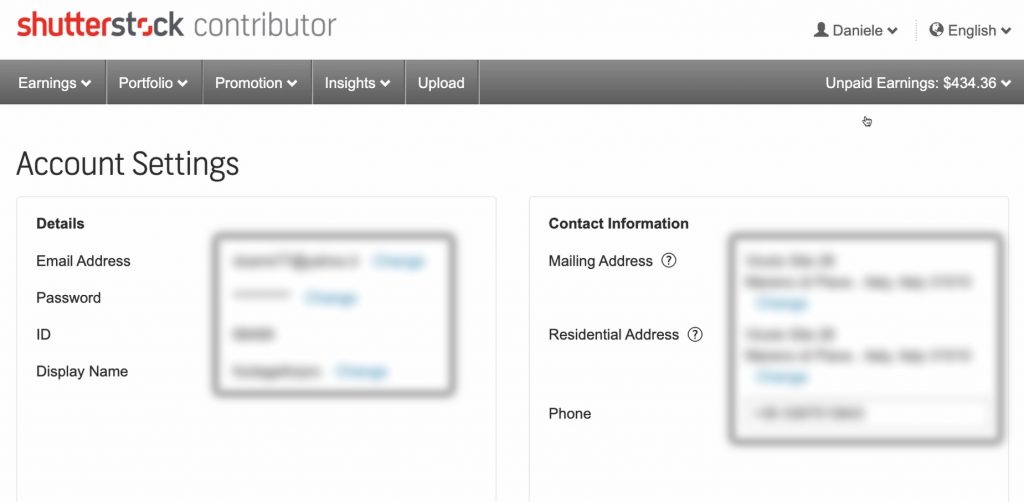
Setting Up Your Profile
After verification, you’ll be prompted to set up your contributor profile. This is your chance to introduce yourself to the Shutterstock community. Keep it friendly and professional—think of it as your online portfolio’s “about me” section. Upload a clear profile picture, add a brief bio, and specify your areas of expertise or the types of videos you plan to upload. This helps buyers understand what kind of content you create and can lead to better exposure.
Tax and Payment Information
Before you start uploading, Shutterstock requires some tax and payment details. You’ll need to provide:
- Your Taxpayer Identification Number (TIN) or Social Security Number (SSN) if you’re from the U.S.
- Bank details for receiving payments
Shutterstock offers multiple payout options, including PayPal and bank transfer, so choose what works best for you. Don’t worry—this info is secure, and you can update it later if needed.
Review and Accept Contributor Agreement
Finally, read through the Shutterstock Contributor Agreement. It covers important details about copyright, licensing, and your rights as a contributor. If everything looks good, accept the terms, and you’re all set to start uploading videos!
Remember, taking the time to accurately fill out your profile and payment details ensures a smoother experience as you begin your journey to earning money with your videos.
Uploading Your Videos to Shutterstock

Great! Now that your account is set up, it’s time to upload your videos. Shutterstock has a user-friendly upload interface, but there are some best practices to follow to make sure your videos get accepted and stand out.
Preparing Your Videos
Before hitting the upload button, double-check that your videos meet Shutterstock’s technical and content requirements:
- Video format: MP4 (H.264 codec)
- Resolution: Minimum 1920×1080 (Full HD); higher resolutions are encouraged
- Frame Rate: Typically 24, 25, or 30 fps
- Length: Up to 60 seconds for most clips, but check specific category limits
- File Size: Usually up to 75MB, but verify for your account
Tip:
Use good lighting, steady shots, and clear audio to increase your chances of acceptance. Also, avoid shaky footage or videos with watermarks, logos, or copyrighted material that you don’t own.
Uploading Your Videos
Once your videos are ready, follow these steps:
- Log into your Shutterstock Contributor account.
- Navigate to the “Upload” section—usually found on your dashboard or in the menu.
- Click the “Select Files” button and choose your video files from your device.
- While uploading, you can add metadata—this is crucial for discoverability! Include accurate and descriptive titles, keywords, and a brief description.
Adding Metadata and Tags
This step might seem tedious, but it’s essential. Think about what a buyer would search for—that’s your keywords. Use relevant tags like the location, activity, mood, and any other details that describe your video. The more precise you are, the more likely your video will show up in search results.
Review and Submit
After uploading and entering all necessary info, review everything carefully. Check your video preview, title, description, and tags to ensure accuracy. Once satisfied, click “Submit for Review”.
What Happens Next?
Shutterstock’s review team will evaluate your video to ensure it meets quality and content standards. This process can take anywhere from a few hours to a couple of days. If it’s approved, your video will go live on the platform, and you’ll start earning royalties whenever it’s downloaded or licensed.
Uploading videos might seem overwhelming at first, but once you get into a routine, it becomes second nature. Always aim for high-quality content, accurate metadata, and consistent uploads to maximize your earning potential. Happy uploading!
Understanding Shutterstock Video Submission Guidelines
Before you hit that submit button, it’s super important to understand what Shutterstock expects from your videos. Think of these guidelines as the rules of the game—knowing them helps you play it smoothly and increases your chances of getting approved.
First off, quality is king. Shutterstock looks for videos that are sharp, well-lit, and free from distracting noise or artifacts. Your footage should be in focus and free of shaky camera work unless it’s an artistic choice that adds value.
Next, let’s talk about technical specs:
- Resolution: Usually, 4K (3840×2160) or HD (1920×1080) are preferred. Higher resolutions are always a plus.
- Format: MP4 is the standard, using H.264 codec for compression.
- Frame Rate: Typically, 24, 25, or 30 fps. Keep it consistent and natural.
- Duration: Most clips should be between 5 seconds and 60 seconds. Longer clips need to be really compelling.
- File Size: Keep files under 5GB to ensure smooth uploads.
Another key point is content suitability. Shutterstock is strict about content that infringes on copyrights, includes trademarks, or contains sensitive or inappropriate material. Make sure your videos are original or properly licensed, and avoid any content that might be controversial or offensive.
Also, pay attention to model and property releases. If your video features recognizable people or private property, you need proper consent documented in releases. Shutterstock reviews this during the approval process, so be prepared to submit these if requested.
Finally, review their content restrictions. Shutterstock disallows videos that include:
- Violence or harmful acts
- Explicit or adult content
- Illegal activities
- Copyrighted music or content without rights
- Overly promotional material
Taking the time to thoroughly understand and follow these guidelines will save you from rejections and help your videos get accepted faster. It’s all about quality, legality, and technical compliance—keep these in mind, and you’ll be well on your way to earning from your footage!
Optimizing Video Metadata for Better Visibility
Once your video is uploaded and approved, the next crucial step is making sure it’s easy for buyers to find. That’s where metadata comes into play. Think of metadata as the digital label that tells Shutterstock what your video is about. The better your metadata, the higher your chances of getting discovered and purchased.
Start with a compelling title. Be clear and descriptive, using keywords that someone might type into the search bar. Instead of a vague title like “Beach Video,” go for something specific like “Sunny Beach with Palm Trees and Clear Blue Water.” This helps target the right audience.
Next up, the description. Use this space to provide a detailed overview of what your video shows. Incorporate relevant keywords naturally, but avoid keyword stuffing. For example:
“A serene shot of a tropical beach during sunset, featuring palm trees swaying and calm turquoise waters. Perfect for travel, relaxation, or vacation-themed projects.”
Then, select accurate tags. Think of tags as the keywords that connect your video to searches. Use a mix of broad and specific tags like:
- beach
- sunset
- tropical
- vacation
- relaxation
- nature
- water
Here are some tips for optimizing your metadata:
- Be specific: Use detailed descriptors to narrow down searches.
- Use relevant keywords: Think about what your target audience might search for.
- Avoid spammy tags: Only include relevant tags to maintain quality.
- Update metadata if needed: If your video gets flagged or isn’t performing well, tweaking titles or tags can help.
Finally, consider adding relevant categories or collections to your uploads. This helps Shutterstock organize your videos and makes it easier for buyers to find related content.
Optimizing your metadata isn’t just about adding keywords; it’s about creating a clear, accurate, and appealing story about your video. When done right, it boosts your video’s visibility, attracts more viewers, and ultimately increases your chances of earning revenue. Remember, a well-described video is a well-sold video!
Review Process and Waiting for Approval
So, you’ve submitted your video to Shutterstock—congratulations! Now, the waiting game begins. The review process is an essential step that ensures all content meets Shutterstock’s quality standards and licensing requirements. It might feel a bit nerve-wracking, but understanding what happens behind the scenes can make the wait a little easier.
Once your video is uploaded and submitted, Shutterstock’s review team gets to work. They evaluate your footage based on several key factors:
- Technical Quality: Is your video clear, well-lit, and properly exposed? Does it have minimal noise and smooth motion?
- Content Compliance: Does your video follow Shutterstock’s content guidelines? For example, avoiding copyrighted logos, trademarks, or sensitive subjects without proper releases.
- Audio Quality: If your video has sound, is it clear and free of distracting noise?
- Uniqueness and Composition: Does your footage offer something fresh or visually appealing? Is it well-composed?
The review process typically takes anywhere from a few days up to a couple of weeks. During this time, you might receive notifications or feedback if your submission needs revisions or additional information. Shutterstock aims to maintain a high standard of quality, so sometimes, videos get rejected—and that’s okay! It’s part of the learning process.
After review, you’ll receive an email letting you know whether your video has been accepted or rejected. If accepted, it will go live on the platform, and you can start earning royalties. If rejected, don’t be discouraged—use the feedback to improve your future submissions. Reviewers often highlight specific aspects that need adjustment, like lighting or framing, which can be valuable lessons for your next video.
Remember, patience is key here. The review process is an essential step to ensure your content is of the highest quality, which ultimately benefits you by increasing your chances of making sales and building a good reputation on Shutterstock.
Tips to Increase Your Chances of Acceptance
Getting your videos accepted on Shutterstock can sometimes feel challenging, especially when you’re just starting out. But don’t worry—there are some practical tips you can follow to boost your chances of approval and get your content out there faster.
1. Follow the Technical Guidelines: Make sure your videos are in the correct format (generally MP4 or MOV), have a high resolution (at least 4K or Full HD), and are properly encoded. Use good lighting, steady shots, and avoid shaky footage. Clear audio is also a big plus.
2. Keep Content Original and Relevant: Shutterstock favors unique footage that stands out. Think about trending topics, fresh perspectives, or niche subjects. Avoid overly generic or repetitive scenes—you want your video to add value.
3. Pay Attention to Composition: Use good framing, rule of thirds, and stable shots. A well-composed video looks more professional and is more likely to pass review. Don’t forget to check for distracting backgrounds or unintended objects in the shot.
4. Respect Copyright and Trademarks: Ensure your footage doesn’t include copyrighted music, logos, or recognizable private property without proper releases. If you do include recognizable people or property, make sure you have model or property releases ready.
5. Edit and Polish Your Video: Before submitting, trim any unnecessary parts, correct color issues, and stabilize shaky footage. Use editing software to enhance the overall quality. The better your video looks, the higher its chances of acceptance.
6. Review Shutterstock’s Content Guidelines: Familiarize yourself with their policies and avoid content that violates their terms. Regularly check their contributor resources for updates and tips.
| Tip | Why it Helps |
|---|---|
| Follow technical specs | Ensures your video meets platform requirements, reducing rejection risk. |
| Create original content | Stands out from the crowd and appeals to buyers looking for fresh footage. |
| Proper composition | Looks professional and enhances viewer engagement. |
| Respect copyright laws | Avoids legal issues and rejections due to copyrighted material. |
Remember, persistence pays off. The more you learn from each submission—whether it’s accepted or rejected—the better your future videos will become. Keep practicing, stay updated with Shutterstock’s guidelines, and soon you’ll be building a robust portfolio that earns you consistent income. Happy filming!
Maximizing Earnings from Your Shutterstock Video Portfolio
Once you’ve uploaded your videos and they start gaining views and downloads, it’s time to think about how to maximize your earnings. After all, the more your videos are purchased or licensed, the more you earn. Here are some tips to help you get the most out of your Shutterstock video portfolio:
Optimize Your Video Titles and Descriptions
Think of your titles and descriptions as your videos’ storefront. They should be clear, descriptive, and include relevant keywords. For example, instead of a vague title like “People in a Park,” try “Happy Family Picnic in a Green Park on a Sunny Day.” This helps buyers find your videos when they search for specific content.
Use Relevant Keywords Wisely
Keywords are crucial for discoverability. Use a mix of broad and specific keywords related to your video. Avoid keyword stuffing—focus on accuracy and relevance. Shutterstock allows up to 50 keywords per video, so make good use of this space to cover different aspects of your footage.
Stay Consistent with New Content
Regular uploads keep your portfolio active and increase your chances of being discovered. Set a schedule that works for you, whether that’s weekly or monthly. The more relevant content you have, the higher the chance of one of your videos catching the eye of a buyer.
Engage with Trends and Seasonal Content
Pay attention to current trends, seasonal events, or popular themes. Creating timely content—like holiday-themed videos or trending topics—can boost your views and sales. Keep an eye on Shutterstock’s trending sections and adapt your content accordingly.
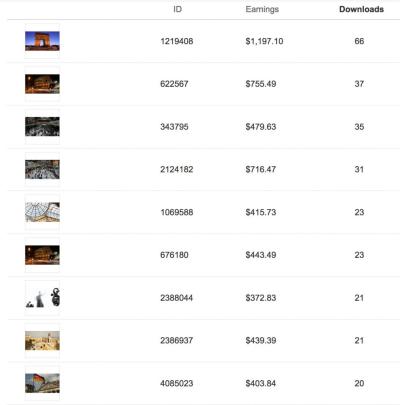
Leverage Analytics and Feedback
Use Shutterstock’s analytics tools to see which videos perform best. Take note of what types of content are in demand and consider creating similar videos. Also, listen to feedback from buyers or comments to improve your future submissions.
Offer High-Quality Footage
High-resolution, well-edited videos with good lighting and clear audio tend to attract more buyers. Investing in good equipment and editing software can make a big difference in the professionalism of your content, leading to higher sales and licensing opportunities.
Common Mistakes to Avoid When Submitting Videos
While uploading videos can be straightforward, there are common pitfalls that can hinder your success or even get your videos rejected. Here’s a rundown of mistakes to watch out for:
1. Ignoring Shutterstock’s Content Guidelines
Each platform has specific rules about what can and cannot be uploaded. Make sure your videos do not contain copyrighted music, logos, or private property without permission. Violating these rules can lead to rejection or account suspension.
2. Poor Video Quality
Blurry, shaky, or poorly lit videos won’t sell. Always review your footage before uploading. Use stabilization tools if necessary, and shoot in high resolution (at least 4K if possible). Clear visuals and crisp audio are key.
3. Incomplete or Vague Metadata
Failing to provide accurate titles, descriptions, and keywords can prevent your videos from being found. Take the time to fill out all metadata fields thoughtfully and thoroughly.
4. Uploading Duplicate Content
Uploading the same video multiple times or very similar clips can lead to rejection or account issues. Keep your portfolio diverse and original.
5. Not Respecting Model and Property Releases
If your videos include recognizable people or private property, ensure you have the proper releases signed and uploaded. Without these, your videos may be rejected or removed.
6. Overlooking Technical Specifications
Check that your videos meet Shutterstock’s technical requirements. Common issues include incorrect frame rates, aspect ratios, or file formats. Use compatible settings to avoid rejection.
7. Failing to Review Your Content
Always preview your videos after uploading. Look out for glitches, unwanted objects, or background noise. Fix issues before submitting to give your videos the best chance of approval and sales.
By steering clear of these common mistakes and following best practices, you’ll improve your chances of success on Shutterstock, boost your earnings, and build a credible, professional portfolio that buyers trust. Happy uploading!
Conclusion and Final Tips for Success
Submitting videos to Shutterstock can be a rewarding way to earn passive income, but success requires attention to detail and consistency. Remember, high-quality content that aligns with Shutterstock’s standards increases your chances of approval and sales. To maximize your success, keep the following tips in mind:
- Focus on Quality: Ensure your videos are well-lit, stable, and professionally edited. Clear audio and sharp visuals are essential for approval.
- Research Trends: Stay updated on popular themes and trending topics to create relevant content that buyers are searching for.
- Follow Guidelines: Familiarize yourself with Shutterstock’s submission requirements and copyright policies to avoid rejections.
- Organize Your Files: Maintain a systematic workflow, including proper naming conventions and metadata, to streamline the submission process.
- Consistency is Key: Regularly upload new videos to build your portfolio and increase visibility on the platform.
Additionally, consider analyzing your performance metrics to understand what types of content resonate most with buyers. Engage with the Shutterstock contributor community for tips and support, and stay persistent even if initial submissions take time to gain traction. With dedication and attention to quality, submitting videos to Shutterstock can become a lucrative and fulfilling venture.
By applying these final tips and maintaining a professional approach, you’ll enhance your chances of success and unlock the earning potential that Shutterstock offers.