Hey there! If you’ve ever worked with Elementor and noticed that your links are underlined, you’re not alone. While underlined links are a web standard, they can sometimes clash with your site’s aesthetic. Whether you’re aiming for a cleaner design or trying to maintain brand consistency, removing those pesky underlines can make a world of difference. In this post, we’ll dive into why links are typically underlined and, more importantly, how you can easily remove that underline using Elementor. Let’s get started!
Understanding Why Links are Underlined

So, you might be wondering, “Why are links underlined in the first place?” It all boils down to usability and web design principles. Here are some key reasons:
- Convention: For years, web users have been trained to recognize underlined text as clickable links. This is a visual cue that helps users navigate through web pages more effectively.
- Accessibility: Underlines help visually impaired users identify links more easily. Screen readers can also recognize these styles, contributing to an inclusive web browsing experience.
- Emphasis: Underlining often draws attention to important content, prompting users to engage with links they might have otherwise overlooked.
However, while these reasons make sense, there are situations where the standard underlining can detract from your site’s overall aesthetic. For instance, if your site’s design leans towards minimalism or if you prefer a cleaner look, underlined links might not fit in. That’s where Elementor comes in handy, allowing you to customize your design without compromising usability!
In the next sections, we’ll discuss the simple steps for removing link underlines in Elementor, so your links can blend seamlessly with your design without losing their functionality.
3. Methods to Remove Underlines from Links in Elementor

If you’re creating a stunning website using Elementor, you’re likely paying close attention to the design elements, including how your links look. While underlined links can signify that they are clickable, there are times when that style doesn’t fit with your overall aesthetic. The good news is that there are several straightforward methods to remove underlines from links in Elementor. Let’s dive into them!
1. Changing Link Style in the Elementor Editor:
Elementor makes it super easy to customize your link styles directly within the editor. Here’s how:
- Open the Elementor Editor for the page you want to edit.
- Select the text widget or the section containing the link you want to customize.
- In the left panel, go to the ‘Style’ tab.
- Under ‘Text’ settings, find the ‘Text Decoration’ option.
- Set the ‘Text Decoration’ to ‘None’.
Voila! Your link should now appear without an underline.
2. Utilizing Global Styles:
If you have multiple links across your site and want a consistent style, you can use Elementor’s Theme Styles:
- In the Elementor panel, click on the hamburger menu (three horizontal lines).
- Select ‘Site Settings’ and go to ‘Typography.’
- Locate the ‘Links’ section and set ‘Text Decoration’ to ‘None.’
This method will universally apply your changes to all links, so be sure that’s the look you want!
3. Page-Specific Options:
For situations where you only want to remove underlines from links on certain pages:
- In the Elementor Editor, select the widget containing your link.
- Go to the ‘Advanced’ tab.
- Add a unique class or ID in the ‘CSS Classes’ field.
- Then, use custom CSS to target that class or ID specifically.
This approach gives you the flexibility to customize styles on a per-page basis!
4. Using Custom CSS to Hide Underlines
Sometimes, you may need more control over your design elements, and that’s where custom CSS comes into play. Using CSS allows you to easily target any link and remove underlines across your site or on specific pages. Don’t worry if you’re not a coding expert; I’ll walk you through it!
Steps to Add Custom CSS:
- In the Elementor Editor, click on the ‘Advanced’ tab of the widget containing the link.
- Scroll down to the ‘Custom CSS’ section.
- Here, you can add your CSS code.
Sample CSS Code:
selector a { text-decoration: none;}This code tells the system, “For any link (a) inside this selector, please don’t underline it.” Easy peasy!
Applying CSS Globally:
If you wish to apply the CSS change across your entire site, consider these steps:
- Go to your WordPress dashboard.
- Navigate to Appearance > Customize > Additional CSS.
- Here, you can paste the same CSS code.
This way, every link on your site will follow your design preference!
That’s it! With these methods, you’ll be able to remove those pesky underlines from your links and give your Elementor site a sleek, polished look. Remember, every little design detail counts in creating a visually appealing website!
5. Adjusting Link Styles in Elementor Settings
If you’re looking to fine-tune how your links appear in Elementor, the settings within the Elementor interface are a great place to start. Here, you can easily manage and adjust the style of your links, including whether they are underlined or not. Let’s walk through how to customize these settings effectively.
First, open your desired page with Elementor and follow these simple steps:
- Open the Site Settings: Click on the hamburger menu (three horizontal lines) in the top left corner and select ‘Site Settings.’
- Navigate to the Global Settings: Under the Site Settings, click on ‘Typography’ to access the global typography controls.
- Link Settings: Scroll down to the ‘Links’ section. Here, you can specify the color, weight, and decoration (underline) for both normal and hover states.
- Remove Underline: In the ‘Text Decoration’ dropdown, you can simply set it to ‘none’ to remove the underline for your links.
One of the beautiful things about Elementor is the real-time preview you get. As you make these adjustments, you’ll see the effects on your page immediately. Remember, if you want these changes to apply throughout your website, make sure you’re adjusting the ‘Global’ settings instead of just the individual widget settings. This way, you maintain a consistent look across various pages and elements!
6. Using Theme Customization Options
Aside from Elementor’s own settings, your WordPress theme also offers a convenient way to manage link styles. If you want a more holistic approach to your site’s appearance, utilizing your theme’s customization options can do the trick. Depending on the theme you’re using, this could be a simple process or might involve a few more steps.
Here’s how you can use your theme’s customization settings to adjust or remove link underlines:
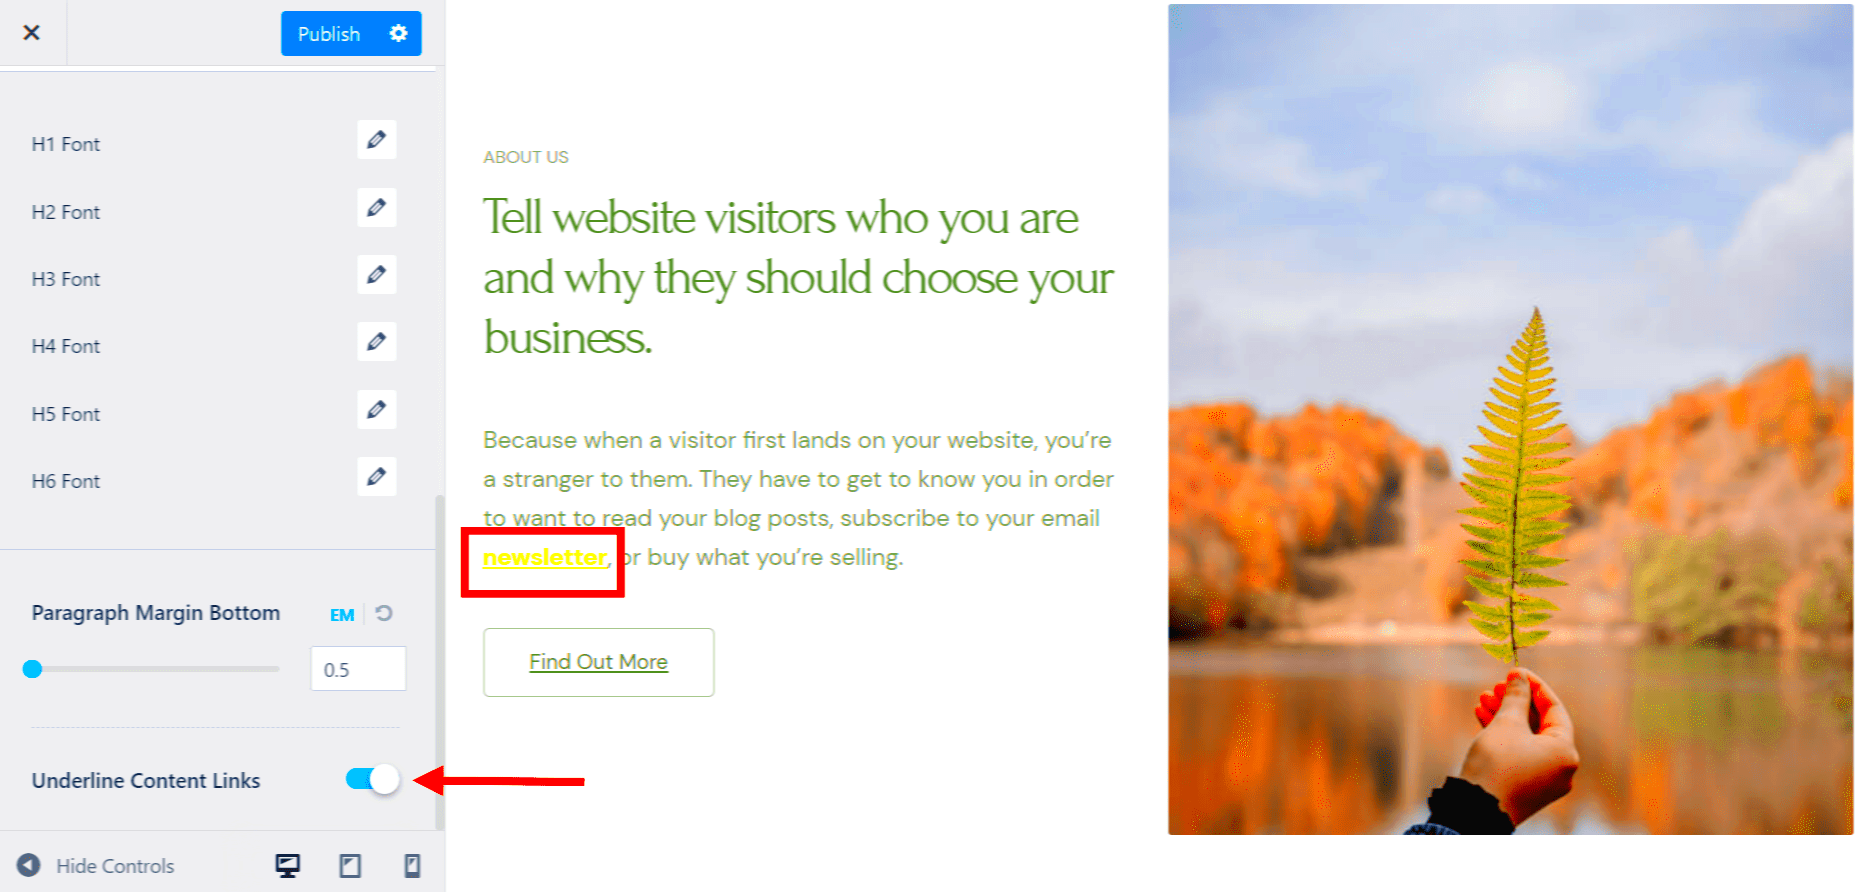
- Go to WordPress Customizer: From your WordPress dashboard, navigate to ‘Appearance’ and then select ‘Customize.’ This will open the WordPress Customizer.
- Find Typography or Link Settings: Look for settings related to typography or links. This may vary based on the theme, but many themes will have dedicated sections for managing link styles.
- Customize Links: Team the options available here to adjust your link colors, sizes, and styles. If you see a ‘Text Decoration’ option, you can set it to ‘none’ to eliminate the underline.
- Save Changes: After making adjustments, don’t forget to click the ‘Publish’ button to apply your changes site-wide.
Using the WordPress Customizer not only helps in adjusting link styles but also ensures that the design remains cohesive with other theme elements. If your theme doesn’t offer direct options to adjust link styles, you might find custom CSS options that you can utilize. Just remember to always preview your changes before making them live!
7. Testing Changes to Ensure Links are Not Underlined
Once you’ve made the necessary adjustments to stop Elementor links from being underlined, it’s crucial to test those changes. Testing ensures that your modifications work effectively and that your website’s user experience remains intact. Here’s how you can go about it:
- Preview Your Changes:
After saving your changes in Elementor, use the preview feature to see how your links look live on the page. It’s a simple yet effective way to catch any issues before publishing.
- Check Different Devices:
Testing should be done across multiple devices. Open your website on a desktop, tablet, and mobile to ensure that links are consistently styled without underlines everywhere.
- Investigate Different Browsers:
Different browsers can render CSS styles in slightly different ways. Check your site on Chrome, Firefox, Safari, and Edge to see if the links maintain the proper styling.
- Use Inspect Element:
Right-click on a link and select ‘Inspect’ to open the developer console. This allows you to see the CSS rules applied to that link, helping you confirm that your changes are intact.
- Ask for Feedback:
A fresh pair of eyes can spot things you might not. Ask a friend or colleague to review your webpage and provide feedback on the link appearance.
After you’ve gone through these testing steps, you can be more confident that your non-underlined links are functioning the way you want them to. Plus, you’ll help ensure a cleaner and more professional look for your website!
8. Conclusion
In conclusion, customizing your Elementor links to be unadorned by underlines isn’t just about aesthetics; it’s about creating a cohesive and professional web presence. By following the steps outlined in this guide, you’re not only enhancing the visual appeal but also improving user experience. Here’s a quick recap of why this matters:
- Aesthetic Appeal: Clean, unobtrusive links can contribute significantly to your site’s overall design.
- Brand Consistency: Maintaining a uniform style helps reinforce your brand image across all platforms.
- User Experience: Well-styled links can guide users smoothly throughout your website, making navigation easier and more intuitive.
Remember to utilize your website’s testing features and gather feedback from real users. By ensuring your adjustments are correctly implemented, you’ll elevate both the functionality and style of your site. So go ahead, give your links the styling they deserve, and watch your website flourish!


