
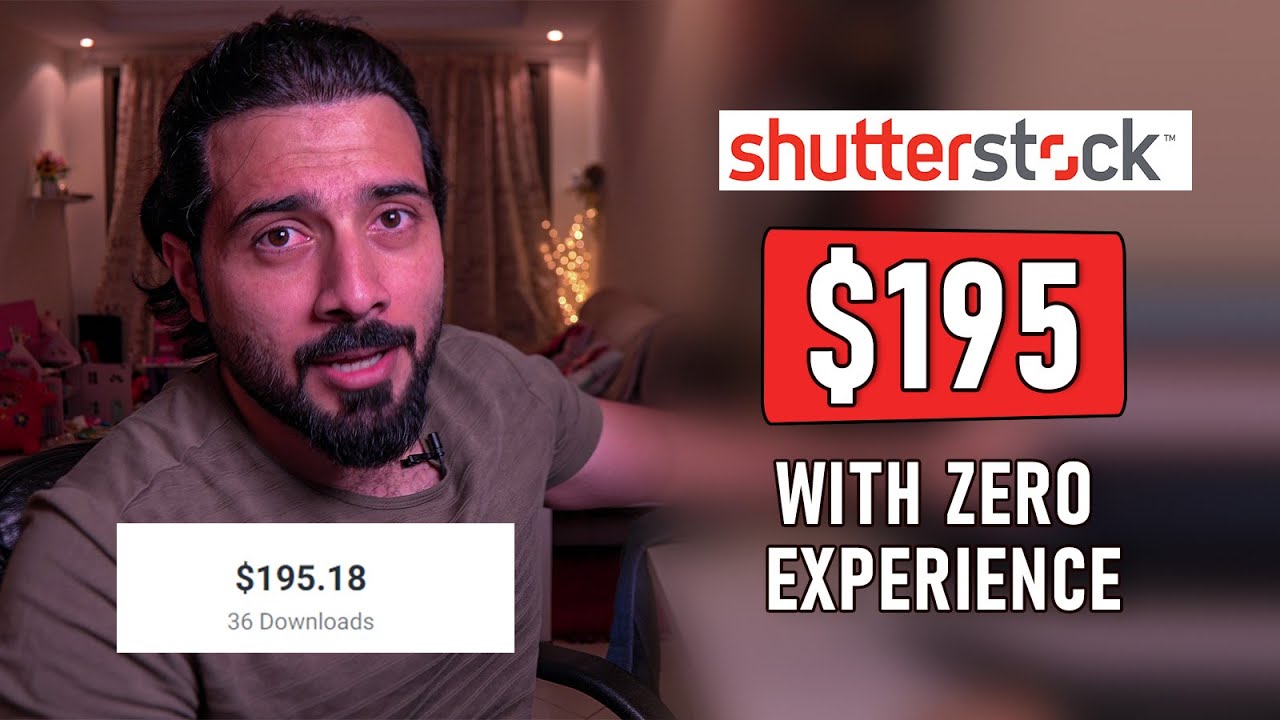
Thinking about turning your photos, illustrations, or videos into a source of income? Shutterstock is one of the biggest platforms out there for creative contributors, and the best part is, you don’t need to be a professional photographer or designer to get started. Whether you’re a hobbyist with a smartphone or someone looking to expand your creative side hustle, Shutterstock offers a welcoming environment to showcase your work. In this post, I’ll guide you through the basics of starting on
Understanding Shutterstock’s Requirements for Contributors
Before you start uploading your content, it’s important to understand what Shutterstock looks for in its contributors. The platform has a few key requirements to ensure that all images, videos, and illustrations meet quality and legal standards. Here’s a quick rundown:
- Quality Standards: Your submissions should be clear, well-lit, and high-resolution. Shutterstock prefers sharp images without noise or pixelation. For photos, a minimum of 4 megapixels is typically required, but higher resolution is better.
- Legal and Model Releases: Make sure you own the rights to the content you upload. If your images include recognizable people, you’ll need a signed model release form. Similarly, if your work features private property or trademarks, appropriate permissions are necessary.
- Content Guidelines: Shutterstock has specific rules about the type of content allowed. For example, it avoids images with offensive material, copyrighted brand logos, or any content that could be considered inappropriate or infringing.
- Technical Specifications: Files should be in supported formats (JPEG for photos, EPS or AI for vectors, MOV or MP4 for videos), and meet size and quality standards.
It’s also helpful to review Shutterstock’s Contributor Guidelines on their website. They provide detailed instructions on how to prepare your files, what to avoid, and tips for increasing your sales potential. Remember, the more you familiarize yourself with their requirements, the smoother your onboarding process will be. Don’t worry if you’re just starting out — many successful contributors began with simple, everyday photos. The key is to produce quality content that aligns with Shutterstock’s standards, and you’ll be well on your way to earning from your creative efforts!
Preparing Your Content for Upload

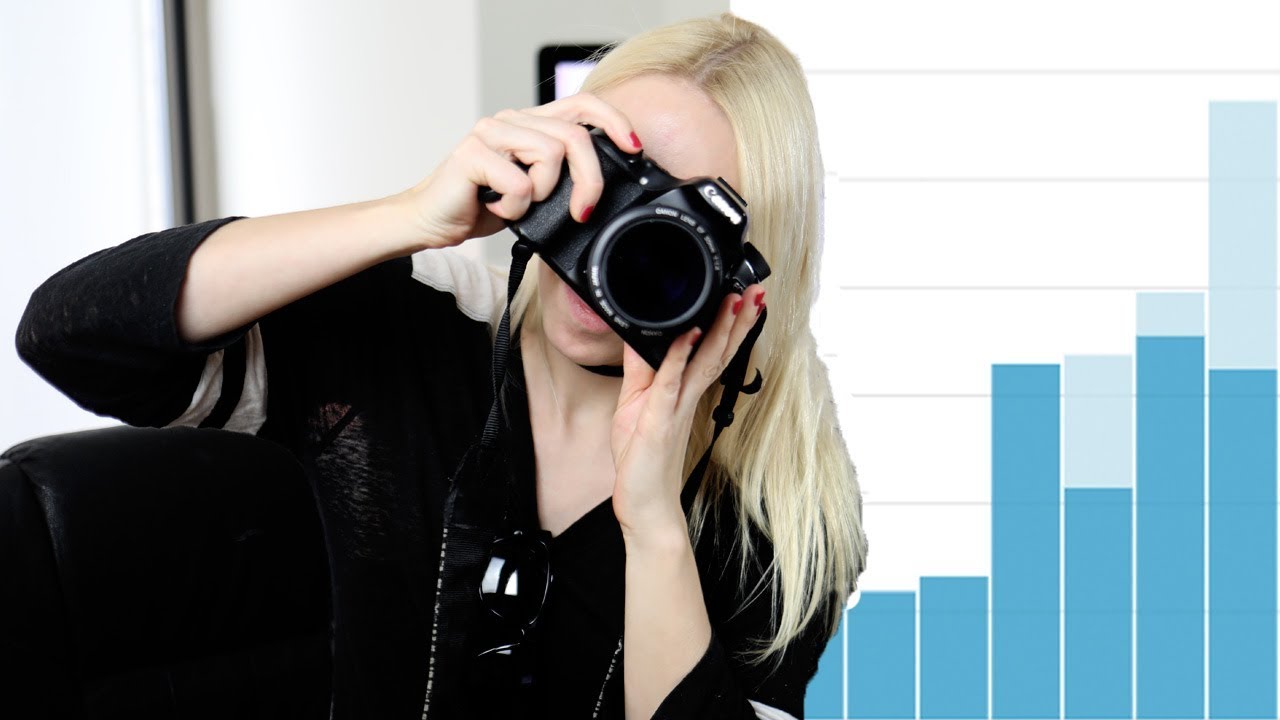
Alright, so you’ve got your camera ready and some ideas in mind—great! Now, before you jump into uploading, it’s super important to get your content ready to meet Shutterstock‘s standards. Think of this step as the foundation for your future success as a contributor. The better your images, vectors, or videos are prepared, the more likely they are to get approved and sell well.
First things first: quality is king. Shutterstock is a professional platform, so they look for high-resolution, sharp, and well-composed content. Here are some tips to prepare your content:
- Resolution & File Size: Make sure your files are high-resolution. For images, a minimum of 4 megapixels is recommended, but higher is better. Videos should be at least 1920×1080 pixels.
- File Formats: Save images as JPEG files with a high-quality setting. For videos, MP4 is the standard format.
- Lighting & Focus: Clear, well-lit photos with sharp focus tend to perform better. Avoid blurry or dark images.
- Color & Composition: Bright, vibrant colors and balanced compositions catch the eye. Use the rule of thirds or other composition techniques to make your shot stand out.
- Metadata & Keywords: Prepare descriptive and relevant keywords for each piece of content. Think about what someone might search for when looking for your work.
- Legal & Ethical Considerations: Ensure you have the rights to all content and that it doesn’t infringe on copyrights. If your content features recognizable people or private property, make sure you have the necessary model or property releases.
Additionally, take some time to organize your files. Create a folder structure on your computer like “Shutterstock Uploads” with subfolders for different categories or content types. This will save you time later and help you keep track of what you’ve uploaded or plan to upload.
Lastly, consider editing your images or videos for polish. Basic adjustments like brightness, contrast, and cropping can make a world of difference. If you’re not familiar with editing software, there are free options like GIMP for images or DaVinci Resolve for videos that can help you enhance your content easily.
Step-by-Step Guide to Creating a Shutterstock Contributor Account
Getting started on Shutterstock is pretty straightforward, but it’s important to follow each step carefully to set yourself up for success. Here’s a simple, step-by-step guide to creating your contributor account and starting your journey:
- Visit the Shutterstock Contributor Page: Go to https://submit.shutterstock.com/ and click on “Sign Up” or “Become a Contributor.”
- Fill Out Your Personal Details: Provide your full name, email address, and create a strong password. Make sure your email is active because you’ll need to verify it later.
- Agree to the Terms & Conditions: Read through Shutterstock’s contributor agreement. If you agree, check the boxes and proceed.
- Verify Your Email: Check your inbox for a verification email from Shutterstock. Click the link to verify your email address.
- Complete Your Profile: Log in to your account and fill out additional details such as your country, tax information (if applicable), and payment preferences.
- Set Up Payment Details: Enter your PayPal or bank account details to receive earnings. This is usually straightforward but double-check the information for accuracy.
- Upload Your First Content: Once your account is set up, you can start uploading your content. Shutterstock has an intuitive uploader—simply drag and drop your files or select them from your folders.
- Add Metadata: For each piece, add descriptive titles, detailed descriptions, and relevant keywords. This step is crucial because good metadata helps your content get discovered.
- Submit for Review: After uploading and tagging, submit your content for review. Shutterstock’s review team will check if your submission meets quality and content guidelines. This process might take a few days.
And that’s it! Once approved, your content will be live and available for purchase. Remember, the more high-quality, well-tagged content you upload, the more visibility you’ll gain. Keep learning, experimenting, and refining your uploads, and you’ll be on your way to earning on Shutterstock in no time.
Tips for Producing High-Quality Images and Videos
Alright, let’s talk about something super important—creating images and videos that actually catch the eye and stand out on Shutterstock. You might be thinking, “I don’t have a fancy camera or years of experience,” but don’t worry! High-quality content isn’t about having the most expensive gear. It’s about paying attention to details and following some simple guidelines.
First off, focus on good lighting. Natural light is your best friend—shoot during the day when sunlight is abundant. If you’re indoors, set up near a window or use soft, diffused artificial light to avoid harsh shadows. Remember, clear, well-lit images look more professional and appealing.
Next, keep your composition clean and balanced. Use the rule of thirds—imagine dividing your frame into nine equal parts and place your subject along these lines or at their intersections. This makes your images more engaging. Also, avoid clutter in the background unless it adds context or aesthetic value.
When it comes to resolution and focus, always shoot in the highest resolution possible. Blurry or pixelated images won’t sell. Make sure your camera is in focus, especially on your main subject. For videos, stability is key—use a tripod or stabilize your camera to avoid shaky footage.
Editing is your friend. Use free or affordable editing software like Canva, GIMP, or DaVinci Resolve to enhance your images and videos. Adjust brightness, contrast, and colors to make your content pop. But keep edits natural—overdoing it can look fake and turn buyers away.
Don’t forget about variety. Shutterstock buyers look for diverse content—think about different themes, styles, and subjects. For example, if you love taking nature shots, try capturing different seasons, weather conditions, and perspectives. This will give you a richer portfolio to attract more customers.
Lastly, stay inspired and keep practicing. The more you shoot and experiment, the better your content will become. Remember, every professional started somewhere—your consistent effort will pay off over time!
Uploading Your Content and Optimizing for Sales
Great, you’ve got some high-quality images and videos ready to go. Now, let’s get them onto Shutterstock and make sure they’re optimized for maximum visibility and sales. Uploading is straightforward, but a little strategic thinking can make a big difference.
First, organize your files. Before uploading, double-check that your content meets Shutterstock’s technical requirements: correct file formats (JPEG for images, MP4 for videos), resolution, and size. Also, rename your files clearly—use descriptive names that reflect what’s in the shot, like “sunset-over-mountains.jpg” instead of “IMG1234.jpg.”
When you upload, you’ll be prompted to add titles, descriptions, and keywords. This is your chance to tell potential buyers exactly what they’re getting. Be accurate and detailed—think about what someone searching for this type of content would type into the search bar.
| Tips for Optimizing Your Content | Why It Matters |
|---|---|
| Use relevant keywords | Helps your content show up in search results |
| Write clear, descriptive titles | Makes it easier for buyers to understand and find your work |
| Include detailed descriptions | Provides context and additional keywords for search algorithms |
| Choose the right categories | Ensures your content is grouped with similar assets, increasing visibility |
Pricing is another important aspect. Shutterstock offers standard licensing options, and your earnings depend on the type of license purchased. New contributors often start with standard licenses, so set your prices competitively but fairly. As you gain more experience and portfolio content, you can experiment with pricing strategies.
Consistently upload new content. The more quality assets you add, the higher your chances of making sales. Keep an eye on trending topics and seasonal themes to capitalize on current demands. Also, monitor which of your assets perform best and learn from that—try to produce more of what sells well.
Lastly, engage with the Shutterstock contributor community. Join forums or social media groups to get tips, feedback, and motivation. Sometimes, small tweaks—like updating keywords or re-exporting images in higher resolution—can boost your sales significantly. Remember, patience and persistence are key. The more you upload and optimize, the more your content will work for you!
Promoting Your Shutterstock Portfolio for Maximum Exposure
Once you’ve uploaded a handful of high-quality images and your portfolio starts to take shape, it’s time to get the word out and attract potential buyers. Promoting your Shutterstock portfolio might sound intimidating at first, but with a few simple strategies, you’ll be surprised how much visibility you can generate.
First off, leverage social media platforms. Share your best images on Instagram, Twitter, Facebook, or LinkedIn. Use relevant hashtags like stockphotography, shutterstock, or specific tags related to your niche. For example, if you focus on travel photos, hashtags like travelphotography or wanderlust can help you connect with the right audience. Posting regularly and engaging with followers can lead to more exposure and even potential collaborations.
Next, create a personal website or portfolio site. Platforms like Squarespace or Wix make it easy to showcase your best work. Include links to your Shutterstock profile and encourage visitors to check out your entire portfolio. This not only boosts your credibility but also gives you a platform to tell your story and share your journey as a photographer or designer.
Engage in online communities and forums. Join photography-centric groups on Reddit, Facebook, or specialized forums. Participate in discussions, share your work, and seek feedback. Being active in these communities can increase your visibility and help you learn from others. Plus, some communities have dedicated threads for sharing stock portfolios or promoting new work.
Collaborate with bloggers and content creators. Reach out to bloggers, small business owners, or content creators who might need stock images. Offering your images for free or at a discount in exchange for a shoutout or backlink can drive traffic to your portfolio. Over time, these relationships can lead to steady sales and referrals.
Consider SEO optimization. Use descriptive titles, tags, and keywords for your images on Shutterstock. When your images are properly optimized, they’re more likely to show up in search results, both within Shutterstock and on search engines like Google. Think about what your target buyers might search for and include those keywords naturally.
Stay consistent and patient. Promotion isn’t a one-time effort. Regularly update your social media, add new images, and engage with your audience. Building exposure takes time, but persistence pays off. The more active you are, the more likely your work will be seen and purchased.
Common Challenges and How to Overcome Them
Starting your journey as a stock photographer or designer on Shutterstock is exciting, but it’s not without its hurdles. Many beginners face similar challenges, so knowing how to tackle them can make your experience smoother and more enjoyable.
Challenge 1: Low Sales or No Sales at All
- Solution: Review your portfolio critically. Are your images high quality, well-lit, and in-focus? Are they relevant to current trends? Use keyword research tools to discover what buyers are searching for and tag your images accordingly. Also, promote your work actively—sometimes, visibility is the key to sales.
Challenge 2: Standing Out Among Thousands of Contributors
- Solution: Find your niche. Whether it’s minimalistic designs, nature photography, or urban street scenes, specializing helps you become known for a particular style. Consistently upload work within that niche to build recognition. Also, focus on creating unique, original images that aren’t widely available elsewhere.
Challenge 3: Rejection or Being Flagged for Copyright Issues
- Solution: Always ensure you own the rights to your images and avoid using copyrighted elements without permission. When in doubt, keep your compositions original and avoid stock imagery from other sources. Carefully read Shutterstock’s contributor guidelines to stay compliant.
Challenge 4: Keeping Up with Trends and Demands
- Solution: Stay informed about what’s popular. Follow industry blogs, Pinterest boards, and trend reports. Regularly analyze your sales data to see which images perform best. Adjust your content creation accordingly, and don’t be afraid to experiment with new themes or styles.
Challenge 5: Managing Time and Expectations
- Solution: Set realistic goals and create a schedule for uploading and promoting your work. Remember, success in stock photography is often a marathon, not a sprint. Celebrate small wins along the way and stay motivated by tracking your progress.
By anticipating these common challenges and preparing to face them head-on, you’ll build resilience and grow your Shutterstock presence more effectively. Remember, every professional contributor started where you are now—persistent effort and a willingness to learn are your best tools for success.
Additional Resources for New Shutterstock Sellers
If you’re just starting out on Shutterstock and want to boost your success, exploring additional resources can be incredibly helpful. These tools and materials will guide you through the process, improve your skills, and increase your chances of making sales.
First, consider visiting Shutterstock’s Contributor Help Center. It offers comprehensive guides on topics such as licensing, content submission tips, and account management. This is an invaluable resource for understanding platform policies and best practices.
Next, utilize online tutorials and courses. Websites like Skillshare and Udemy provide classes on photography, graphic design, and stock content creation. These can help you hone your skills and produce higher-quality submissions.
Additionally, joining online communities such as forums, Facebook groups, or Reddit communities (like r/Shutterstock) allows you to connect with experienced contributors. Sharing tips, feedback, and success stories can boost your motivation and knowledge.
| Resource Type | Examples | Benefits |
|---|---|---|
| Official Guides | Shutterstock Contributor Help Center | Platform-specific instructions and policies |
| Online Courses | Skillshare, Udemy | Skill enhancement and creative techniques |
| Community Forums | Reddit r/Shutterstock, Facebook Groups | Networking, feedback, and support |
By leveraging these resources, new Shutterstock sellers can accelerate their learning curve, improve the quality of their content, and build confidence in their selling journey. Remember, continuous learning and community engagement are key to thriving in the stock photography marketplace.