In today’s digital marketing landscape, email communication is vital for WooCommerce businesses. However, not all subscribers want to receive every email. This is where unsubscribe links come into play. An unsubscribe link is a small yet significant feature in your email strategy, allowing customers to opt-out of communications they no longer wish to receive.
Setting up an unsubscribe link in WooCommerce emails not only ensures compliance with regulations but also improves your overall email engagement. If you’re curious about how to implement this feature effectively, you’re in the right place!
Understanding the Importance of Unsubscribe Links

Unsubscribe links may seem like a simple element, but their importance goes beyond just letting users opt-out. Here are several key reasons why you should prioritize unsubscribe links in your WooCommerce emails:
- Compliance with Laws: Many countries and regions have regulations, such as the CAN-SPAM Act and GDPR, that require you to provide a way for users to opt-out of marketing communications. Failing to include an unsubscribe link can lead to hefty fines.
- User Control: By including an unsubscribe link, you offer users control over their emails. This builds trust and shows that you respect their preferences.
- Improving Engagement Rates: When users can easily unsubscribe, you’re more likely to retain those who genuinely want to hear from you. A cleaner email list results in better open and click-through rates.
- Feedback Opportunities: Some unsubscribe links can lead to a feedback form. This can offer valuable insights into why users are leaving, helping you improve your marketing strategy.
- Reduced Spam Complaints: An easy opt-out option can minimize the chances of users marking your emails as spam, which can hurt your sender reputation.
In short, having an effective unsubscribe process in place not only complies with legal requirements but enhances the customer experience. It’s a crucial step for maintaining a healthy email marketing strategy!
Step 1: Accessing Your WooCommerce Email Settings

Before you can set up an unsubscribe link in your WooCommerce emails, you’ll need to navigate to your WooCommerce email settings. It’s a straightforward process, so let’s break it down step-by-step.
1. Log into your WordPress Dashboard: This is your control center for everything related to your website. Just type in your username and password, and you’re in!
2. Locate WooCommerce: Once you’re in the dashboard, find the WooCommerce option on the left-hand side menu. Click on it to expand the panel.
3. Go to Settings: Under the WooCommerce dropdown, you will see multiple options. Click on Settings to view general settings, tabs, and various other features.
4. Navigate to the Emails tab: At the top of the settings page, there are several tabs. Click on the Emails tab. Here, you will find a list of all WooCommerce email notifications that are sent to both customers and admins.
5. Choose the specific email notification: Whether it’s the order confirmation email, shipping notification, or any other type that you want to configure, click on the Manage button next to the email you want to edit.
Once you’re in the settings for that specific email, you have the power to customize various aspects, including the content, recipients, and importantly, the footer where you’ll include the unsubscribe link. Got it? Great, now let’s move on to creating an unsubscribe page.
Step 2: Creating an Unsubscribe Page

Setting up an unsubscribe page might sound a bit daunting, but it’s actually quite simple! This page will serve as the destination for users who want to opt out of receiving your WooCommerce emails. Let’s get into it.
1. Create a New Page: Navigate to the Pages section in your WordPress dashboard. Click on Add New to create a new page specifically for unsubscribing.
2. Title and Content: Give your page a clear title, such as Unsubscribe. In the content area, be transparent about what unsubscribing means. You might write something like:
- Why they’re receiving emails from you.
- What they will miss out on if they unsubscribe.
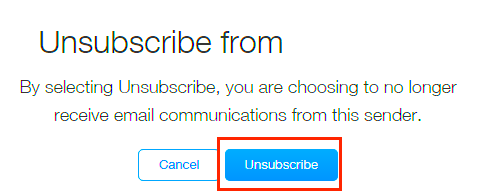
- A button or link that specifically allows them to confirm their unsubscription.
3. Using Shortcodes or Forms: Depending on your WooCommerce setup and plugins, you might want to use a shortcode or a form to facilitate the unsubscription. If you have a dedicated plugin for managing email lists, consult its documentation for the appropriate shortcode.
4. Publish the Page: Once you’ve finalized the content and any necessary settings, hit the Publish button. You’ll want this page to be accessible not just for you but for your users as well!
5. Copy the URL: After your page is live, make sure to copy the URL. You’ll need this link to insert it into your WooCommerce emails, ensuring your customers have an easy way to unsubscribe whenever they want.
Now that you’ve created the unsubscribe page, you’re one step closer to ensuring that your email practices are both effective and respectful of your customers’ preferences!
Step 3: Adding the Unsubscribe Link to WooCommerce Emails
Now that you’ve decided to add an unsubscribe link to your WooCommerce emails, it’s time to actually integrate it. Don’t worry; it’s straightforward!
Here’s how to do it:
- Access Your WooCommerce Email Settings: Start by navigating to your WordPress dashboard. From there, go to WooCommerce > Settings > Emails. This is where all the magic happens.
- Select the Email Template: You’ll see a list of all the emails WooCommerce sends out, such as new order notifications, customer invoices, and more. Click on the Edit link for the specific email type you want to modify.
- Customize the Email Content: Within the email customization options, you’ll find a section for email content. This is where you’re going to add your unsubscribe link.
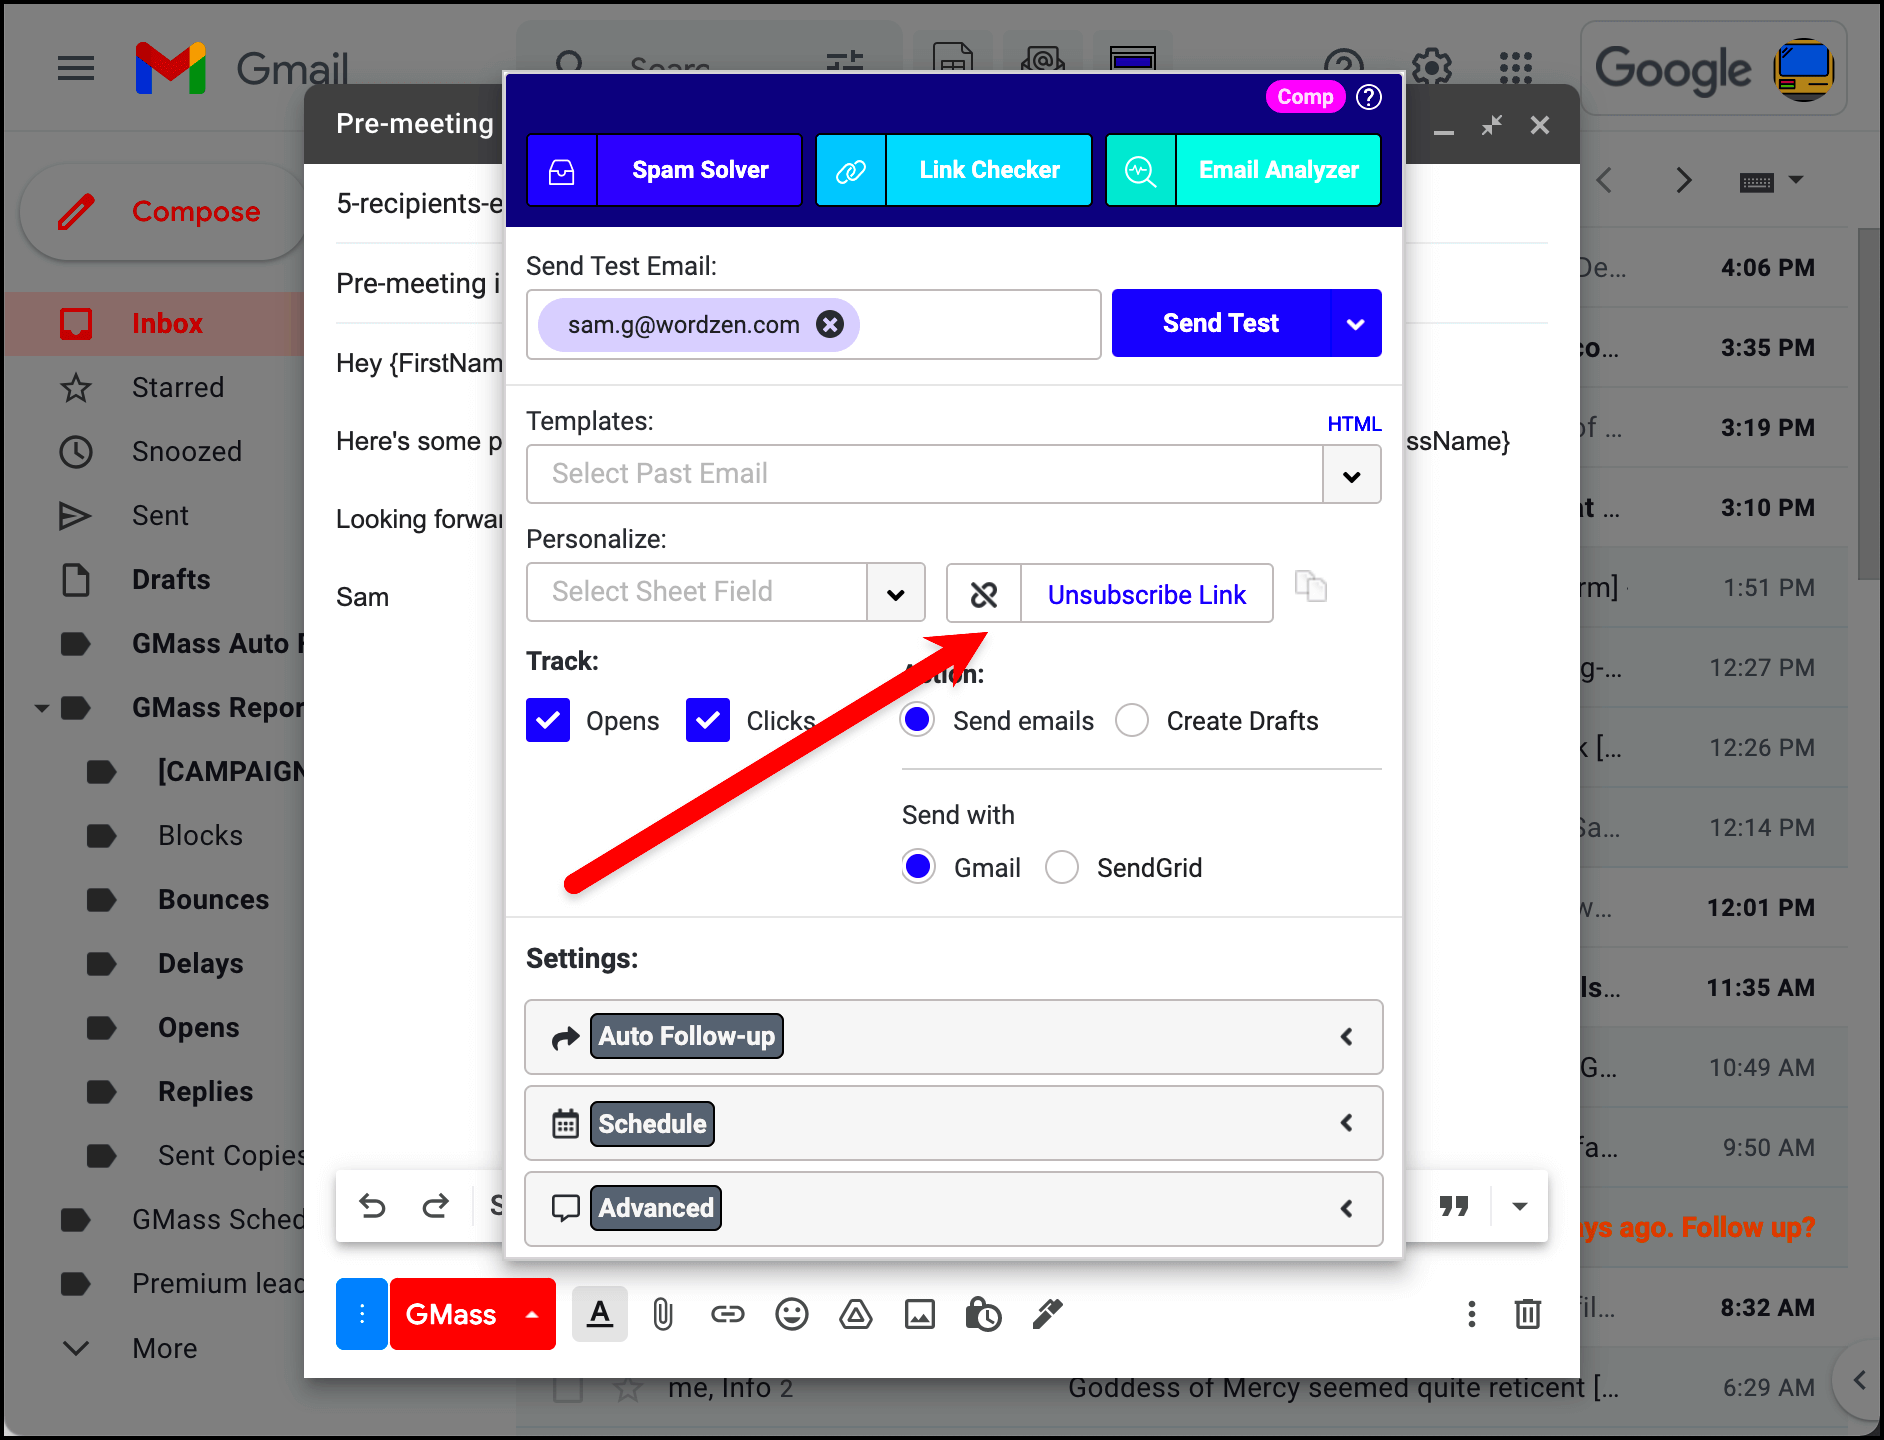
- Insert the Unsubscribe Link: You can use a simple line of text, like:
If you wish to unsubscribe, click here.Replace “YOUR_UNSUBSCRIBE_LINK” with the actual URL that handles the unsubscribe request. - Save Your Changes: Finally, don’t forget to click Save Changes to apply your new edits. It’s that simple!
By following these steps, your customers will have a smooth way to unsubscribe, leading to a better overall experience with your brand.
Step 4: Testing the Unsubscribe Link
Alright, you’re almost there! The next crucial step is to test the unsubscribe link you just set up. This ensures it works properly and provides a seamless experience for your subscribers.
Here’s how to do it:
- Send a Test Email: After you’ve added the unsubscribe link, the first thing you should do is send yourself a test email. Navigate back to the email template you edited and look for an option to send a test email.
- Check the Unsubscribe Link: Once you receive the test email, click on the unsubscribe link you included. This will redirect you to the designated page. Make sure it works as intended!
- Verify the Unsubscribe Process: After you click on the unsubscribe link, confirm that the appropriate action takes place. Are you removed from the mailing list successfully? Did you receive a confirmation message? If not, you may need to troubleshoot your unsubscribe settings.
- Adjust if Necessary: If there’s any hiccup, return to your WooCommerce settings and make the necessary adjustments. It’s all about getting it right!
- Repeat if Needed: Perhaps you want to test with a few different email types or user scenarios. Don’t hesitate to repeat this process until you’re completely satisfied.
Testing the unsubscribe link is vital. Not only does it help maintain your reputation, but it reassures your customers that their preferences are respected. Happy testing!
7. Best Practices for Managing Unsubscribe Requests
Managing unsubscribe requests may seem like a simple task, but it can have a significant impact on your business’s reputation and customer satisfaction. Here are some best practices to keep in mind:
- Make It Easy to Unsubscribe: Which might seem counterintuitive, but providing an easy-to-find unsubscribe link is crucial. If customers can’t find the link, they may label your emails as spam.
- Place the Link in a Visible Location: Ensure the unsubscribe link is placed at the bottom of your email, using clear language like “Unsubscribe” or “Opt-Out.” Avoid tiny fonts or ambiguous links.
- Confirm the Unsubscribe: After a user clicks the unsubscribe link, provide a confirmation message. This validates their action and lets them know they’ve successfully opted out.
- Offer Preferences: Instead of a straightforward unsubscribe, allow users to adjust their email preferences. Perhaps they want fewer emails, or they prefer specific topics instead of a complete opt-out.
- Conduct Exit Surveys: If possible, ask users why they’re unsubscribing. This information can help you improve your email marketing strategy going forward.
- Make It Mobile-Friendly: Many people check emails on their phones. Ensure the unsubscribe link and process are optimized for mobile devices.
- Monitor Unsubscribe Rates: Keep an eye on your unsubscribe rates regularly. A sudden spike may indicate issues that need addressing.
By following these best practices, you not only respect your customers’ choices but also foster a healthier relationship with your subscriber list. Remember, it’s better to have a smaller list of engaged users than a large one filled with uninterested recipients.
8. Conclusion: Enhancing User Experience with Unsubscribe Links
In today’s digital age, user experience is paramount, even when it involves letting someone unsubscribe from your email list. An unsubscribe link isn’t just a courtesy; it’s an essential component of ethical email marketing. By implementing it thoughtfully, you’re sending a clear message to your customers—“We respect your preferences.”
A well-placed and easy-to-use unsubscribe link can enhance the overall customer experience in several ways:
- Trust and Transparency: Customers are more likely to trust your business when they feel they have control over their information and communication preferences.
- Reduced Spam Complaints: Making it easy for users to unsubscribe can decrease the likelihood of them marking your emails as spam, which can hurt your deliverability rates.
- Improved Engagement: When customers can opt-out, it allows the remaining audience to be more engaged. Those who stay are genuinely interested in your content.
- Valuable Feedback: Using exit surveys or optional feedback forms can provide insights that can help improve future email campaigns.
In conclusion, consider unsubscribe links not just as a required feature, but as an opportunity to enhance user experience. By being transparent and proactive, you’ll cultivate a positive relationship with your audience, ultimately benefiting your brand in the long run. Remember, sometimes letting go is just as important as holding on!


