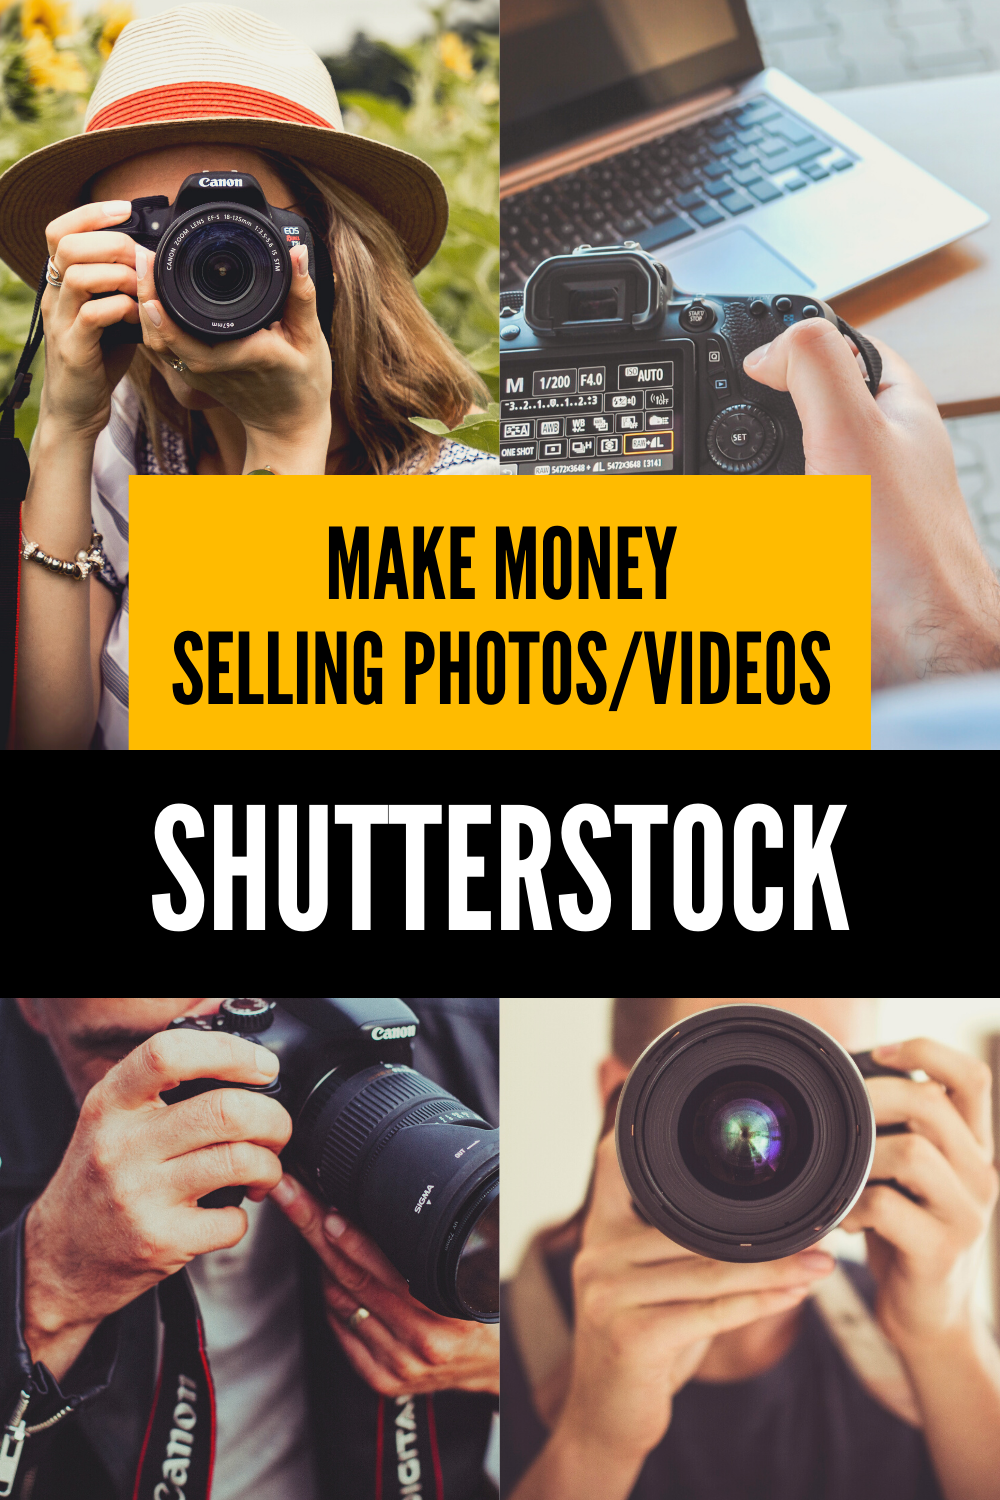
Have you ever wondered how photographers turn their passion into profit? Shutterstock is a popular platform where you can sell your photos to a global audience and earn money each time someone downloads your work. It’s a fantastic way to share your creativity and make some passive income. Whether you’re a hobbyist or a professional photographer, Shutterstock offers an accessible way to get your images seen by millions. In this post, we’ll walk through how to get started using the
Getting Started with the Shutterstock Contributor App

Ready to dive in? The first step is downloading and setting up the Shutterstock Contributor app on your mobile device. It’s available for both iOS and Android, so you can manage your submissions on the go, whether you’re at home or out capturing new shots. Here’s what you need to do:
- Download the App: Head over to the App Store or Google Play and search for “Shutterstock Contributor.” Tap install and wait for it to download.
- Create an Account: Once installed, open the app and tap on “Sign Up.” You can register using your email address or link your existing Shutterstock account if you have one. Fill in the required details and verify your email if needed.
- Set Up Your Profile: After signing in, take a moment to complete your profile. Adding your name, a profile picture, and a brief bio helps build trust with buyers and makes your portfolio look professional.
Next, familiarize yourself with the app’s main features:
- Dashboard: Your go-to place to see your earnings, upload stats, and updates from Shutterstock.
- Upload Button: Easily access the upload feature to submit your photos directly from your phone or tablet.
- Resource Center: Find guidelines, tips, and tutorials to improve your submissions and increase your chances of acceptance.
Before uploading, make sure your photos meet Shutterstock’s quality and content guidelines. The app also allows you to add relevant keywords, titles, and descriptions directly, which is crucial for making sure your images get discovered. Once you’re comfortable navigating the app, you’re all set to start submitting your best shots and turning your photography into income!
Creating a High-Quality Portfolio for Sale

Building a standout portfolio on Shutterstock is your first step toward success as a photographer looking to sell your images. Think of your portfolio as your digital storefront — it needs to showcase your best work and tell a compelling story about your style and skills. So, how do you create a portfolio that attracts buyers and gets your images approved quickly?
First and foremost, focus on quality over quantity. Shutterstock has strict standards for image quality, so only upload photos that are sharp, well-exposed, and properly composed. Avoid images with noise, blurriness, or distracting elements. Remember, buyers are looking for professional-level visuals, so your images should reflect that.
Next, diversify your portfolio. Include a mix of subjects that you’re passionate about and that have market demand. For example, if you love nature photography, add a variety of landscapes, close-ups, and seasonal shots. If you prefer lifestyle or business themes, include images that showcase people in different settings. This variety not only broadens your appeal but also increases the chances of your images being purchased.
Another crucial aspect is consistency. Develop a recognizable style or theme that makes your portfolio cohesive. Whether that’s a particular color palette, mood, or subject matter, consistency helps your portfolio stand out and builds your personal brand.
Here are some tips to ensure your portfolio is top-notch:
- Use natural lighting whenever possible — it enhances the look and feel of your images.
- Stay current with trends by browsing Shutterstock’s popular images and categories.
- Include model and property releases when needed to avoid licensing issues.
- Keep metadata accurate and descriptive — titles, keywords, and descriptions help buyers find your images.
| Tip | Why It Matters |
|---|---|
| High-Quality Images | Ensures your photos meet Shutterstock’s standards and appeal to buyers. |
| Diversification | Broadens your market reach and increases sales opportunities. |
| Consistency | Creates a recognizable style that builds your brand and trust. |
| Proper Metadata | Helps your images appear in relevant searches, boosting visibility. |
Remember, your portfolio is an evolving collection. Regularly review your images, remove those that don’t perform well or don’t meet quality standards, and add fresh content to keep your portfolio vibrant and relevant. Patience and persistence are key — the more effort you put in, the higher your chances of making sales and building a reputation as a reliable contributor.
Uploading Photos Using the Shutterstock App
Uploading your photos to Shutterstock using the app is designed to be straightforward, even if you’re new to mobile photography or stock licensing. Let’s walk through the process so you can start sharing your images with the world in just a few simple steps.
First, make sure you’ve downloaded the Shutterstock Contributor app from your device’s app store — available for both iOS and Android. Once installed, open the app and log in with your contributor account credentials. If you haven’t signed up yet, you can create an account directly through the app — it’s quick and easy.
Before you start uploading, organize your images on your device to make the process smoother. It’s best to select only your best, high-resolution photos that meet Shutterstock’s quality standards.
Step-by-Step Upload Process:
- Tap the upload icon — usually a camera or plus sign at the bottom of the app.
- Select images from your device’s gallery. You can upload multiple images at once, which saves time.
- Crop or edit images if needed. The app offers basic editing tools like cropping, rotating, and adjusting brightness or contrast to enhance your photos before submission.
- Fill out metadata. Enter descriptive titles, keywords, and categories. This step is crucial because well-optimized metadata helps your images get discovered by buyers.
- Add model or property releases if your images include recognizable people or private property. The app provides options to upload these documents directly.
- Review your uploads to ensure everything looks good. Double-check the metadata, especially keywords, to maximize your images’ visibility.
- Submit for review. Once you’re satisfied, tap the submit button. Your images will then go into Shutterstock’s review process, which can take a few days.
While your images are under review, you can continue uploading more photos or managing your portfolio through the app. You’ll receive notifications about the status of your submissions — approved, rejected, or needing edits.
Some tips for smooth uploading:
- Use high-resolution images — Shutterstock recommends images of at least 4 megapixels.
- Ensure your images are in JPEG format with sRGB color profile.
- Keep metadata accurate and relevant — avoid keyword stuffing or irrelevant tags.
- Be patient during review. If your images are rejected, review Shutterstock’s guidelines and resubmit after making necessary adjustments.
The Shutterstock app makes the entire process portable and convenient, so you can upload your best shots straight from your phone no matter where you are. With a bit of practice, uploading becomes quick and seamless, helping you grow your portfolio faster and start earning from your photography efforts.
Optimizing Your Photos for Better Visibility and Sales

So, you’ve uploaded some stunning photos to Shutterstock through the app—awesome! But here’s the thing: just uploading isn’t enough. To really boost your chances of making sales and getting your work noticed, you need to optimize your images properly. Think of it as giving your photos a little extra shine so they stand out in a crowded marketplace.
First, let’s talk about the importance of keywords. When someone searches for images, they rely heavily on keywords to find what they’re looking for. So, be descriptive! Use relevant keywords that accurately describe your photo’s content, mood, colors, and context. For example, if you uploaded a picture of a beach sunset, include keywords like “beach,” “sunset,” “ocean,” “sea,” “relaxation,” “vacation,” and so on.
Next, pay attention to your titles and descriptions. Clear, concise, and engaging titles can make a big difference. Instead of something vague like “image1,” try “Golden Sunset over Calm Ocean Waves.” Your descriptions should expand on the keywords and provide additional context—this helps Shutterstock’s search algorithms understand what your image is about.
Here are some tips for optimizing your photos:
- Use accurate keywords: Don’t stuff irrelevant tags; be precise and honest.
- Include variations: Think about different ways people might search for your image and include those variations.
- Choose the right categories: Assign your photo to the most relevant categories to increase visibility.
- Upload high-quality images: Make sure your photos are sharp, well-lit, and free of noise or artifacts. Shutterstock favors high-resolution images with good composition.
- Consistent uploading: Regular uploads keep your portfolio active, which can help with visibility in the marketplace.
Finally, don’t forget about your image’s overall presentation. Cropping your photos to improve composition, removing distractions, and making sure they look professional will make your portfolio more appealing to buyers. Remember, people want to buy images that look polished and ready for use.
Understanding Shutterstock’s Submission Guidelines and Requirements
Before you start uploading tons of photos, it’s crucial to understand Shutterstock’s submission guidelines. They have specific rules to ensure all images meet quality standards and legal requirements. Missing these can lead to rejected submissions or even account issues, so it’s worth getting familiar with what’s expected.
Here’s a quick rundown of the key guidelines:
| Requirement | Details |
|---|---|
| Image Quality | Images must be sharp, in focus, and free of noise, artifacts, or pixelation. Use high-resolution files (minimum 4 MP, ideally 12 MP or higher). |
| File Format | JPEG files are required, saved at maximum quality (no compression artifacts). |
| Legal Releases | For recognizable people, private property, or trademarks, you need proper model releases or property releases. Unsigned releases can lead to rejection or legal issues. |
| Content Restrictions | No images containing illegal activities, hate speech, or offensive content. Also, avoid images that infringe on copyrights or trademarks. |
| Technical Specs | Ensure your images are properly exposed, well-composed, and free of borders or watermarks. Avoid heavily filtered or heavily edited images that distort reality. |
Another important point is to review Shutterstock’s content guidelines regularly, as they may update policies or add new restrictions. This helps you stay compliant and avoid unnecessary rejection delays.
When submitting, double-check your metadata—keywords, titles, descriptions—to make sure they’re accurate and helpful. Remember, the better your submission aligns with Shutterstock’s standards, the higher your chances of approval and sales.
In summary, understanding and adhering to Shutterstock’s guidelines not only helps get your photos approved faster but also ensures they’re positioned optimally for visibility. It’s all about quality, legality, and presenting your images professionally. Keep these tips in mind, and you’ll be well on your way to building a successful portfolio on the platform!
Managing Your Sales and Earnings on the App
Once you start uploading your photos and making sales on Shutterstock, it’s important to keep track of your earnings and understand how your sales are performing. Luckily, the Shutterstock Contributor app makes this super easy and convenient. It’s like having your own little dashboard right in your pocket!
When you open the app, you’ll find a dedicated section for Sales & Earnings. Here, you can see a snapshot of your recent sales, total earnings, and even your current payout balance. It’s a quick way to stay updated without having to log into your desktop account every time.
Some key features to look out for include:
- Sales Breakdown: View which images sold the most and how much each sale contributed to your overall earnings.
- Monthly Reports: Track your progress month by month to see trends and identify what’s working best.
- Payment History: Keep an eye on your payout history, including dates and amounts, to stay organized.
Managing your sales also means monitoring your portfolio’s performance. The app offers stats on individual images, such as views, downloads, and earnings, so you can see what types of photos resonate most with buyers. If you notice certain themes or styles performing well, you might want to focus more on those areas in your future uploads.
Another helpful feature is setting up your payout preferences. You can choose how often you want to get paid—monthly, quarterly, or upon reaching a minimum threshold. This flexibility lets you manage your income flow in a way that suits your financial planning.
Remember, staying engaged and reviewing your sales data regularly helps you make smarter decisions. Whether it’s tweaking your keywords, updating your portfolio, or experimenting with new styles, understanding your earnings on the app puts you in the driver’s seat of your photography business.
Tips for Increasing Sales and Growing Your Photography Business
Growing your photography business on Shutterstock isn’t just about uploading pretty pictures; it’s about strategic planning, continuous improvement, and understanding what buyers want. Here are some practical tips to boost your sales and take your contributor journey to the next level:
1. Consistently Upload Fresh Content
Regularly adding new photos keeps your portfolio active and appealing to buyers searching for the latest trends. Think of your portfolio as a living library—fresh content attracts more views and downloads.
2. Diversify Your Portfolio
Don’t put all your eggs in one basket. Explore different niches, styles, and subjects. Whether it’s business, lifestyle, nature, or technology, diversifying helps reach a broader audience and increases your chances of making sales.
3. Optimize Your Keywords and Titles
Keywords are like the map that guides buyers to your images. Use relevant, descriptive, and popular keywords, and craft clear titles that accurately reflect your photos. Think about what someone would search for when looking for an image like yours.
4. Study Top-Selling Photos
Take some time to browse Shutterstock’s top-selling images in your niche. Notice the styles, subjects, and compositions that tend to perform well. Use this inspiration to refine your own work and keyword strategies.
5. Engage with the Community
Join forums, social media groups, or Shutterstock’s contributor community. Sharing experiences, tips, and feedback can open doors to new ideas and opportunities for growth.
6. Use Analytics to Your Advantage
The app provides valuable insights into which images perform best. Use this data to identify patterns—are certain themes more popular? Are your recent uploads getting traction? Adjust your strategy accordingly.
7. Promote Your Work Outside Shutterstock
Share your best images on social media, personal websites, or blogs. Building an external audience can drive more traffic to your Shutterstock profile and lead to more sales.
8. Keep Improving Your Skills
Photography is an ever-evolving craft. Invest in learning new techniques, editing styles, or equipment. The better your photos, the more likely they are to stand out and sell.
Remember, patience and persistence are key. Growing your photography business on Shutterstock takes time, but with consistent effort and smart strategies, you’ll see your sales and reputation flourish over time. Happy shooting!
Common Troubleshooting and Support Resources
Feeling stuck or facing issues while trying to sell your photos on Shutterstock through the app? Don’t worry—you’re not alone, and there are plenty of resources to help you get back on track. Sometimes, technical glitches or account hiccups can be frustrating, but most problems have straightforward solutions.
Here are some common issues and how to troubleshoot them:
Upload Problems
- File Size or Format Errors: Make sure your photos meet Shutterstock’s requirements—JPEG format, sRGB color profile, and a minimum of 4 MP resolution. If your upload keeps failing, check the file size and format.
- Slow Uploads: A slow internet connection can cause uploads to time out. Try connecting to a faster Wi-Fi network or reducing the file size slightly.
Account Access Issues
- Login Problems: If you can’t log in, verify your credentials or use the ‘Forgot Password?’ feature. Ensure your app is updated to the latest version.
- Approval Delays: Sometimes, your images might be pending review longer than usual. Be patient—review times can vary, but if it’s taking too long, contact Shutterstock support.
How to Access Support Resources
Shutterstock provides several ways to get help:
- In-App Help Center: Tap the menu or settings icon in the app, then navigate to the Help or Support section. Here, you’ll find FAQs and troubleshooting guides.
- Online Support Center: Visit https://submit.shutterstock.com/ for detailed FAQs, tutorials, and contact forms.
- Contact Support: If issues persist, submit a ticket or email Shutterstock support directly. Be sure to include details like error messages, device info, and a description of the problem for faster assistance.
Community and Forums
Sometimes, other photographers or sellers have faced similar issues. Check out online forums or social media groups dedicated to Shutterstock contributors—chances are, someone has a solution or tips to share.
Remember, troubleshooting can sometimes take a bit of patience. Keep your app updated, double-check your device settings, and don’t hesitate to reach out to support when needed. They’re there to help you succeed in your photo selling journey!
Conclusion and Final Tips for Success on Shutterstock
Congratulations! You’ve learned the ins and outs of selling photos on Shutterstock using their app. While the process might seem overwhelming at first, with patience and persistence, you can turn your photography hobby into a steady income stream.
To wrap things up, here are some final tips to boost your success:
Consistently Upload Quality Content
- Prioritize high-resolution, well-lit images with clear focus.
- Stay current with trending topics and seasonal themes.
- Follow Shutterstock’s content guidelines to ensure your images are accepted.
Optimize Your Metadata
- Use Descriptive Titles and Keywords: Think about what buyers might search for and include relevant tags.
- Be Specific: Accurate keywords help your images appear in the right searches, increasing sales potential.
Be Patient and Persistent
- It can take time for your images to be reviewed and approved.
- Regularly upload new content to keep your portfolio fresh and engaging.
- Review your sales analytics to understand what resonates with buyers.
Engage with the Community
- Join forums, social media groups, or webinars related to stock photography.
- Share tips, ask questions, and learn from experienced contributors.
Stay Informed and Keep Learning
Stock photography trends evolve, and Shutterstock often updates its policies. Keep an eye on their official blog, newsletters, and support pages for the latest news and best practices.
Remember, selling photos on Shutterstock is a journey. With consistent effort, quality work, and a bit of patience, you can turn your passion for photography into a rewarding side hustle or even a full-time gig. Happy shooting and selling!