If you’re a photographer or digital artist looking to turn your passion into profit, Shutterstock might just be the platform for you. It’s one of the world’s leading stock photo sites, offering a massive audience eager to purchase high-quality images. The best part? You can sell your photos without watermark clutter—once approved, your images are displayed clean and professional, ready for licensing. Whether you’re a seasoned pro or just starting out, understanding how the process works is key to making the most of your work. So, let’s dive into how you can start selling your images on Shutterstock without those pesky watermarks!
Understanding Shutterstock’s Submission and Licensing Process

Getting your images onto Shutterstock isn’t just about uploading pretty pictures. It involves a clear process designed to protect both creators and buyers, ensuring everyone gets what they need. First, you need to create an account and submit your images for review. Shutterstock has specific guidelines about image quality, originality, and relevance—so make sure your photos are sharp, well-lit, and unique.
Once your images pass the review, they go live on the platform. Here’s what happens next:
- Licensing Options: Shutterstock offers two main types of licenses: Standard and Enhanced. The Standard license covers most uses, like websites, blogs, and social media, while the Enhanced license is for more extensive uses, such as large prints or commercial products.
- Pricing and Royalties: As a contributor, you earn a percentage of each sale, which varies based on your contributor level and the type of license purchased. Typically, royalties range from 15% to 40% of the sale price.
- Watermark-Free Images: When your images are approved and purchased, the buyer receives a high-resolution, watermark-free version. This means your work is showcased professionally, and you get paid for its license—no watermarks to distract or confuse.
It’s also important to understand Shutterstock’s review process and content guidelines to ensure your images remain compliant and available for sale. By familiarizing yourself with these steps, you’ll be better prepared to upload, license, and earn from your images—without the clutter of watermarks, but with all the protection and professionalism that Shutterstock provides.
Preparing Your Images for Uploads Without Watermarks
So, you’re ready to upload your stunning images to Shutterstock without watermarks? Great choice! But before you hit that upload button, there are some essential steps to prepare your photos properly. Think of it as giving your images a little makeover to ensure they shine and meet Shutterstock‘s strict standards.
First things first, make sure your images are in the right format and resolution. Shutterstock recommends uploading images in JPEG format with a minimum of 4 megapixels, which usually means at least 2400 x 1600 pixels. Larger, high-resolution images tend to perform better and look more professional.
Next, check your image quality. Use photo editing software to enhance the overall appearance. Adjust brightness, contrast, and sharpness to make your images pop. Remove any distracting elements or imperfections—dust spots, scratches, or blemishes—so your photos look clean and polished.
Another important step is to resize and crop your images appropriately. Keep the main subject centered and avoid unnecessary empty space. For landscape photos, a standard aspect ratio of 3:2 or 4:3 works well. For portraits, consider a 5:7 or 4:5 ratio. Proper cropping can make your images more appealing and easier for buyers to use.
When it comes to color, make sure your images are well-balanced and vibrant but not oversaturated. Use editing tools to correct color casts or dull tones. Remember, natural-looking images tend to sell better than overly manipulated ones.
Finally, save your files with descriptive filenames that include relevant keywords. Instead of “IMG_1234.jpg,” opt for something like “sunset-over-mountains.jpg.” This helps your images get discovered in Shutterstock’s search results and improves your chances of making a sale.
By taking these preparatory steps, you’ll set your images up for success in the marketplace. Clean, high-quality, and well-optimized photos are more likely to attract buyers and generate revenue without the need for watermarks.
Tips for Creating High-Quality and Marketable Photos
Creating images that sell on Shutterstock is both an art and a science. It’s not just about capturing a pretty picture; it’s about understanding what buyers are looking for and how to produce photos that stand out. Here are some friendly tips to help you create high-quality, marketable images that have a better shot at making sales.
Know Your Audience: Think about who might want to buy your images. Are they marketers looking for business photos? Bloggers seeking lifestyle shots? Tailor your photography style accordingly. Research popular categories on Shutterstock to see what’s trending.
Focus on Composition: Good composition makes a huge difference. Use the rule of thirds, leading lines, and framing techniques to create balanced and engaging images. Don’t be afraid to experiment with angles and perspectives to add interest.
Lighting Is Key: Natural light is often your best friend. Shoot during the golden hour—early morning or late afternoon—for warm, soft lighting. If shooting indoors, use diffused light sources to avoid harsh shadows. Proper lighting ensures your images look professional and appealing.
Subject Matter Matters: Strive for clarity and relevance. Clear, focused subjects tend to perform better. Avoid cluttered backgrounds or overly busy scenes. If you’re capturing people, ensure expressions look genuine and relatable.
Stay Current with Trends: Keep an eye on current design and content trends. For example, minimalism, sustainability, and diversity are popular themes. Incorporate these themes into your photos to increase their marketability.
Capture a Variety of Shots: Don’t settle for just one angle or shot. Take multiple photos of the same scene from different perspectives, with different compositions, and in various lighting conditions. This gives buyers more options and increases your chances of making a sale.
Keep It Authentic: Authentic, candid photos resonate more with viewers. Avoid overly staged or cheesy setups. Genuine moments and natural expressions tend to perform better in the marketplace.
By combining technical skills with creativity and market awareness, you can produce images that not only look fantastic but also sell well on Shutterstock. Remember, the key is to stay consistent, keep learning, and always aim to deliver value through your photography.
Uploading Your Images to Shutterstock Successfully
So, you’ve got your stunning images ready to go, and now it’s time to upload them to Shutterstock. But how do you do it smoothly and ensure your images make the cut? Let’s walk through the process together.
First things first, make sure your images meet Shutterstock’s technical requirements. Typically, they prefer high-resolution files, at least 4 megapixels, and in formats like JPEG or TIFF. Keep your images sharp, well-lit, and free of any watermarks or logos—since we’re talking about selling without watermarks, ensure your images are clean and professional-looking.
Next, log in to your Shutterstock Contributor account. If you don’t have one yet, signing up is quick and free. Once you’re in, click on the “Upload” button. You’ll see options to upload multiple images at once, which is a huge time-saver when you have a batch ready.
When selecting files, choose only your best work—quality over quantity is the way to go. After uploading, Shutterstock will process your images, so give it a few moments. You might see a progress bar or status updates indicating whether your files are ready for review.
Now, before submitting, double-check the following:
- Image Quality: Are they sharp, well-exposed, and correctly cropped?
- File Format: Are they in JPEG or TIFF format?
- Metadata: Have you added titles, descriptions, and tags? (We’ll cover this in detail in the next section!)
Once everything looks good, hit the “Submit for Review” button. Shutterstock’s review team will then evaluate your images based on quality, relevance, and originality. This process can take anywhere from a few hours to a few days, so don’t worry if you don’t see your images live immediately.
Pro tip: Keep an eye on your email and contributor dashboard for feedback or requests for revisions. Sometimes, Shutterstock may ask you to improve certain aspects or provide additional metadata.
Remember, patience and attention to detail are key. The more you upload high-quality, properly prepared images, the better your chances of acceptance and making sales. And don’t forget—keeping your portfolio fresh and diverse helps attract more buyers over time.
Optimizing Image Titles, Descriptions, and Tags for Better Visibility
Now that your images are uploaded and approved, it’s time to make sure they’re easy to find. Think of your metadata—titles, descriptions, and tags—as the labels that help buyers discover your images in a crowded marketplace. Let’s explore some tips to optimize your metadata for maximum visibility.
1. Use Clear and Descriptive Titles: Your title should accurately describe the main subject of the image. For example, instead of “Beautiful Scene,” go for “Sunset Over Mountain Range with Colorful Sky.” Keep it concise but informative. Avoid keyword stuffing; clarity is key.
2. Write Detailed and Relevant Descriptions: This is your chance to tell a story or provide context. Mention the location, mood, or potential uses. For example: “A vibrant sunset casting warm orange and pink hues over the rugged mountain landscape, perfect for travel, nature, or outdoor advertising projects.” Well-crafted descriptions help Shutterstock’s algorithm understand your image better and improve its searchability.
3. Select Appropriate Tags: Tags are the keywords that help categorize your images. Think about what a buyer might search for. Use a mix of broad and specific tags. For example, for a cityscape photo, you might include: city, urban, skyline, night, lights, architecture, downtown.
Here’s a quick checklist for effective tagging:
- Include relevant keywords that describe the main elements.
- Use synonyms and related terms to broaden reach.
- Avoid irrelevant or overly generic tags that don’t add value.
- Research trending keywords in your niche to stay current.
4. Keep SEO in Mind: Think about search engine optimization. Incorporate keywords naturally into your titles and descriptions. This increases the chances of your images appearing in search results both on Shutterstock and external search engines.
Finally, review your metadata before submitting. Well-optimized titles, descriptions, and tags can significantly boost your images’ visibility, leading to more downloads and sales. Remember, the goal is to help buyers find your images easily, so make their search experience as smooth as possible!
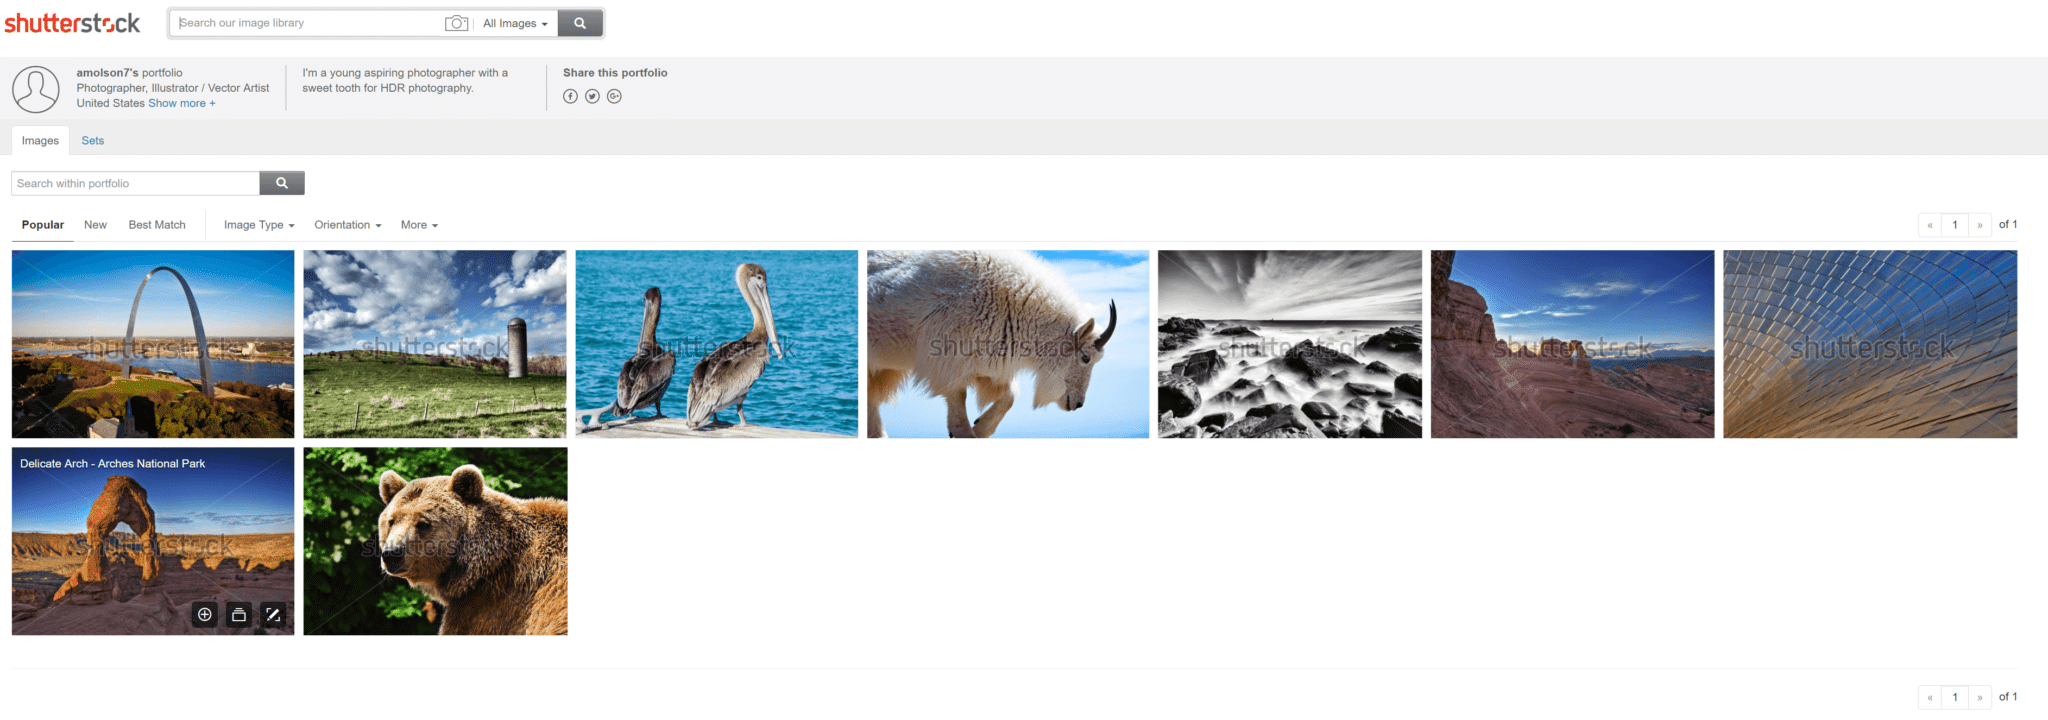
Managing Your Shutterstock Portfolio and Tracking Earnings
Once you start uploading your images to Shutterstock, the journey doesn’t end there. Managing your portfolio effectively is key to growing your presence and maximizing your earnings. Think of your portfolio as your digital storefront; the more organized and appealing it is, the more likely clients will find and purchase your work.
First, regularly review your portfolio. Keep an eye on which images are performing well and which aren’t. Shutterstock provides analytics that show you views, downloads, and earnings for each image. Use this data to understand what types of images resonate with buyers. For example, if your nature photos are consistently popular, consider focusing more on that niche.
Organize your images into categories or collections. This makes it easier to manage your uploads and quickly locate specific images when you want to update or promote them. Also, consider updating your portfolio periodically. Remove outdated or low-performing images and replace them with fresh content to keep your portfolio vibrant and attractive.
Tracking your earnings is equally important. Shutterstock’s dashboard provides a clear view of your cumulative earnings, recent payouts, and the performance of individual images. Setting goals—like earning a certain amount each month—can motivate you to produce high-quality content consistently.
Here are some tips for effective portfolio management and tracking:
- Consistently upload new images to keep your portfolio fresh and engaging.
- Analyze your data to understand what sells best and tailor your content accordingly.
- Organize your images into collections for easy management.
- Set earnings goals to stay motivated and measure your progress.
- Monitor your payout schedule to plan your finances.
Remember, managing your portfolio isn’t a one-time task. Treat it like a living collection—constantly refining, updating, and optimizing. Over time, this approach can lead to increased visibility, more downloads, and ultimately, higher earnings. Happy uploading!
Legal and Copyright Considerations When Selling Images
Before you start selling your images on Shutterstock, it’s crucial to understand the legal and copyright considerations involved. Protecting your work and respecting others’ rights not only keeps you out of legal trouble but also helps build trust with clients and collaborators.
First, always ensure that you own the rights to the images you upload. If you took the photos yourself, you’re generally in the clear—just make sure they haven’t been copied from someone else. If you’re using elements like models, trademarks, or copyrighted objects, you need proper releases and permissions.
For images featuring recognizable people, a model release is essential. This document grants you permission to use their likeness commercially. Without it, Shutterstock might reject your submission, and you could face legal issues if the image is used without consent.
Similarly, if your images include private property or trademarks, you may need a property release. This is especially important for recognizable logos, artwork, or private locations. Failing to obtain these releases can lead to legal disputes or takedowns.
Always respect intellectual property rights. Do not upload images that contain copyrighted elements unless you have permission or the rights to use them. This includes artwork, branded products, or other protected materials. Violating copyright laws can result in your account being suspended or permanently banned.
It’s also wise to familiarize yourself with Shutterstock’s Terms of Service and licensing agreements. They specify how your images can be used and what rights you retain or transfer when someone purchases a license.
Here’s a quick checklist to keep you on the right side of the law:
| Legal Consideration | What You Need |
|---|---|
| Ownership of images | You must hold the rights or licenses for all uploaded images. |
| Model releases | Obtain signed releases from recognizable people in your photos. |
| Property releases | Secure permission for private property, trademarks, or artwork. |
| Copyrighted elements | Ensure you have permission or create original content. |
| Respect licensing terms | Adhere to Shutterstock’s licensing policies and restrictions. |
By paying close attention to these legal and copyright considerations, you can confidently sell your images without fear of infringement. This not only protects you but also enhances your reputation as a professional contributor. Remember, when in doubt, consult a legal expert familiar with intellectual property laws to keep your photography journey smooth and successful.
Conclusion and Best Practices for Selling Images Watermark-Free on Shutterstock
Successfully selling your images on Shutterstock without watermarks requires a combination of quality, consistency, and professionalism. Remember, the goal is to build trust with buyers by offering high-resolution, original, and well-optimized images that meet Shutterstock’s standards. Ensuring your portfolio is diverse and relevant can significantly increase your chances of making sales. Additionally, understanding and adhering to Shutterstock’s contributor guidelines is essential to avoid rejections and maintain a steady income stream.
Here are some best practices to maximize your success:
- Maintain High Quality: Upload sharp, well-lit, and properly edited images that appeal to a broad audience.
- Keyword Effectively: Use accurate and descriptive keywords to improve discoverability of your images.
- Stay Consistent: Regularly upload new content to keep your portfolio fresh and relevant.
- Research Trends: Keep an eye on current market trends and popular themes to tailor your submissions accordingly.
- Respect Copyrights: Only upload images you own or have rights to, avoiding any legal issues.
By following these best practices, you enhance your chances of earning passive income through Shutterstock without watermarks, establishing a reputable presence as a contributor. Patience and persistence are key—continuous improvement and adherence to platform guidelines will pave the way to success in the competitive stock photography market.