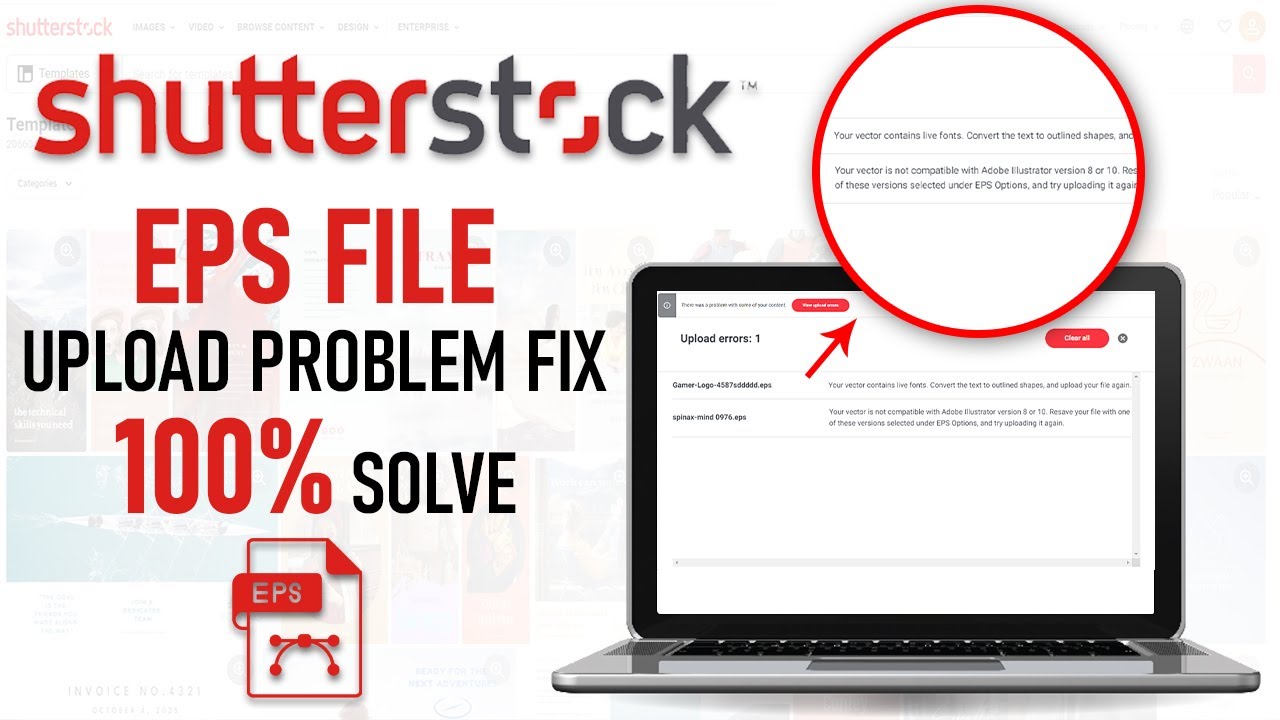
If you’re diving into the world of stock photography with Shutterstock, you’ll quickly learn that submitting high-quality, correctly formatted files is key to getting your work approved and earning. One common file type artists use is EPS (Encapsulated PostScript), which is perfect for vector graphics and illustrations because it maintains quality no matter the size. But before you hit “submit,” it’s crucial to understand Shutterstock‘s specific requirements for EPS files. These guidelines ensure your artwork looks professional and is compatible with their platform, reducing the chances of rejection and speeding up the review process. Let’s walk through what you need to know to prepare your EPS files like a pro!
Preparing Your Artwork for EPS Export
Getting your artwork ready for EPS export might seem straightforward, but there are a few important steps to ensure your files meet Shutterstock’s standards and look fantastic once uploaded.
1. Use Vector Graphics Whenever Possible
Shutterstock prefers vector artwork for EPS submissions because they scale infinitely without losing quality. If you’re working in programs like Adobe Illustrator, CorelDRAW, or Affinity Designer, make sure your artwork is vector-based. Raster images (like photos or pixel-based designs) should be avoided in EPS files for submissions unless explicitly allowed.
2. Clean Up Your Artwork
- Remove any unnecessary elements, stray points, or hidden layers that might clutter your design.
- Ensure all fonts are converted to outlines to prevent font issues during submission.
- Check for overlapping objects or unwanted artifacts that could affect the final appearance.
3. Set the Correct Color Mode
Always set your color mode to CMYK or RGB depending on your artwork and Shutterstock’s requirements. For most digital submissions, RGB is preferred, but confirm by reviewing Shutterstock’s latest guidelines. Proper color mode ensures colors display accurately on the platform.
4. Maintain a Consistent Artboard Size
Choose an artboard size that matches your artwork’s dimensions. Keep your design within the required resolution or dimensions specified by Shutterstock. This helps prevent resizing issues after export.
5. Save a Backup
Before exporting, save a copy of your working file in its native format (like .ai or .cdr). This way, you can make edits later without losing quality or details.
6. Export Carefully
When you’re ready, go to the export or save as option in your software. Choose the EPS format, and in the export settings:
- Ensure Include Document Thumbnails is checked for easier previewing.
- Embed any linked images or fonts, if applicable.
- Choose EPS 10 or later versions to maintain compatibility.
By following these steps, you’ll be well on your way to creating EPS files that not only meet Shutterstock’s standards but also showcase your artwork in the best light possible. Remember, a little extra preparation goes a long way in making your submissions stand out and get approved faster!
Step-by-Step Guide to Saving an EPS File for Shutterstock
Getting your artwork ready for Shutterstock can feel a bit daunting at first, but once you know the steps, it’s pretty straightforward. Let’s walk through the process of saving an EPS file correctly so your submission is smooth sailing!
Step 1: Finish Your Artwork
Before you save anything, make sure your artwork is complete. Check for any missing elements, clean up stray points, and ensure colors are as you want them. Remember, Shutterstock prefers vector files that are sharp and clear.
Step 2: Clean Up Your File
- Remove unnecessary layers or hidden objects.
- Flatten transparencies if possible, or ensure they are compatible with EPS format.
- Convert text to outlines to avoid font issues.
Step 3: Choose the Correct Save Location
Pick a folder where you’ll easily find your file. Name your file with a clear, descriptive name that reflects the artwork. Use underscores or hyphens instead of spaces for better compatibility (e.g., creative_abstract_design.eps).
Step 4: Save As EPS Format
In your design software (like Adobe Illustrator), go to File > Save As…. From the dropdown menu, select EPS (.EPS). This is crucial for Shutterstock because EPS is a widely accepted vector format.
Step 5: Configure EPS Export Settings
When the save dialog box appears, you’ll see several options. Here’s what to keep in mind:
- Version: Choose an EPS version compatible with Shutterstock’s guidelines, typically EPS10 or later.
- Preview: Select a preview format like TIFF or None, depending on your needs.
- Transparency: If your artwork has transparent elements, ensure you select the appropriate transparency options. Shutterstock prefers flattened images, so consider flattening transparencies before saving.
- Fonts: Choose to convert fonts to outlines to avoid font licensing issues.
- ICC Profile: Include color management profile if your software offers it, to maintain color accuracy.
Review these settings carefully before hitting Save.
Step 6: Verify the Saved EPS File
Once saved, reopen the EPS file in your software to double-check everything looks correct. Make sure all elements are intact, colors are accurate, and no unexpected changes occurred.
And there you go! Following these steps helps ensure your EPS files are submission-ready for Shutterstock, reducing the chances of rejection or delays. Now, let’s talk about some common pitfalls to watch out for.
Common Mistakes to Avoid When Saving EPS Files for Shutterstock
Saving your artwork as an EPS file might seem straightforward, but there are some common mistakes that can trip you up. Avoiding these will make sure your submission process goes smoothly and your images look professional.
1. Forgetting to Convert Text to Outlines
Leaving text as editable fonts can cause issues if the font isn’t available on Shutterstock’s end. Always convert all text to outlines or paths before saving. This ensures your text appears exactly as intended, regardless of font licenses or missing fonts.
2. Not Flattening Transparencies
Transparency effects like shadows or glows can sometimes cause problems in certain EPS versions. Shutterstock prefers flattened files without complex transparency effects. If your artwork has transparency, flatten it before saving, or use software features to simplify transparency settings.
3. Using Unsupported EPS Versions
Older EPS versions might not display correctly or could cause compatibility issues. Always select a recent EPS version, such as EPS10 or above, to ensure compatibility with Shutterstock’s upload system.
4. Including Unnecessary Elements or Layers
Extra hidden layers or stray points can clutter your file and cause rejection. Clean up your file thoroughly—delete unnecessary layers, hidden objects, and stray points to keep it tidy and professional.
5. Ignoring Color Profiles
Colors can look different on various screens or when printed. Embedding an ICC color profile helps maintain color consistency. Always include color profiles unless Shutterstock specifies otherwise.
6. Not Checking the Final EPS File
Always reopen your saved EPS file after exporting to verify everything appears as expected. Look for missing elements, incorrect colors, or any unintended changes. This extra step can save you from re-submission delays.
By being mindful of these common errors, you’ll improve the quality of your EPS files and increase your chances of a successful Shutterstock submission. Remember, a little extra attention during saving can go a long way in making your artwork stand out!
Tips for Ensuring Your EPS Files Meet Shutterstock Standards
Uploading your artwork to Shutterstock can be exciting, but making sure your EPS files meet their standards is crucial to avoid rejection or delays. Here are some practical tips to help you prepare your EPS files so they’re ready for prime time:
- Use the Correct Color Mode: Shutterstock prefers artwork in RGB color mode. If your EPS is in CMYK, convert it before submitting. RGB ensures your colors display correctly online and in various digital formats.
- Embed Fonts and Convert Text to Outlines: To prevent font issues, embed your fonts within the EPS or convert all text to outlines. This step ensures your typography appears exactly as intended, regardless of the viewer’s system.
- Maintain a Transparent Background: For logos or illustrations that require transparency, ensure your EPS file has a transparent background. Avoid unnecessary backgrounds or clipping masks that might cause issues during submission.
- Check for Unnecessary Elements: Clean up your file by removing hidden layers, unused objects, or stray points. A tidy file reduces the risk of errors and makes it easier for Shutterstock reviewers to assess your work.
- Use Compatible Tools: Save or export your EPS files using Adobe Illustrator or other professional vector editors that follow industry standards. Avoid using outdated or incompatible software that might produce non-standard EPS files.
- Validate Your EPS File: Before uploading, open your EPS in different viewers or vector editors to make sure it displays correctly. You can also try opening it in a different program to catch any issues early.
Following these tips helps ensure your EPS files align with Shutterstock’s technical requirements, increasing your chances of acceptance and making the review process smoother. Remember, quality and compliance are key to building a successful portfolio on the platform!
Conclusion and Final Checks Before Submission
Congratulations! You’ve prepared your EPS file with care, following all the necessary guidelines. Before you hit that upload button, it’s smart to do a final round of checks to make sure everything is perfect. Here’s a quick checklist to guide you:
- Review Your Artwork: Take a fresh look at your vector file. Confirm that all elements are correctly aligned, colors are accurate, and there are no unintended artifacts or stray points.
- Verify File Compatibility: Open your EPS in different programs—like Adobe Illustrator, a free vector viewer, or even a raster editor—to ensure it displays as expected.
- Ensure Proper Naming: Name your file descriptively and avoid special characters or spaces. Clear, professional naming makes organization easier and looks more polished.
- Check Resolution and Size: Even though EPS files are vector-based, if you include raster elements, make sure they’re at the appropriate resolution (usually 300 DPI) and within Shutterstock’s size limits.
- Confirm Metadata and Licensing: Prepare relevant keywords, descriptions, and licensing information. Clear metadata helps your artwork get discovered and correctly categorized.
- Follow Submission Guidelines: Review Shutterstock’s latest submission standards—file size, color mode, transparency, etc.—to ensure full compliance.
Once you’re confident everything checks out, save your final version and proceed with the upload. Remember, taking a little extra time for these final checks can save you from potential rejection or the need for resubmission. Your hard work deserves to be perfectly presented!


