If you’ve ever downloaded a video from Shutterstock and wished you could remove that pesky logo, you’re not alone. Many creators and hobbyists want their videos to look professional and clean, free from watermarks or branding. While Shutterstock‘s logos are there to protect their content, sometimes they can get in the way of your final product. Fortunately, there are ways to remove these logos, whether for personal projects or professional presentations. In this guide, we’ll walk you through the process step-by-step, sharing tips and tools to help you achieve a polished, logo-free video that truly shines.
Understanding Shutterstock Licensing and Logo Placement
Before diving into the technical side of removing logos, it’s important to understand how Shutterstock‘s licensing and logo placement work. Shutterstock offers different types of licenses, primarily Standard and Extended, which determine how you can use their videos. These licenses typically include the right to use the footage in various projects, but they often come with restrictions—especially regarding modifications like removing watermarks or logos.
Most Shutterstock videos come with a visible logo or watermark placed in a corner or overlayed on the content. These logos serve as a copyright notice and a way to protect the creator’s work until you purchase the appropriate license. The placement and size of the logo can vary depending on the video, but it’s usually designed to be noticeable enough to deter unauthorized use.
It’s crucial to remember that removing a Shutterstock logo without proper licensing can violate copyright laws and Shutterstock‘s terms of service. If you plan to use the video commercially or publicly, make sure you’ve obtained the necessary license to do so. For personal projects or learning purposes, removing the logo might be okay, but always double-check the licensing agreement to stay compliant.
Understanding the purpose of the logo helps you appreciate why it’s there and guides your approach to removing it responsibly. Whether you’re editing for personal use, creating a demo reel, or preparing content for a client, respecting licensing rules is the first step before you start editing.
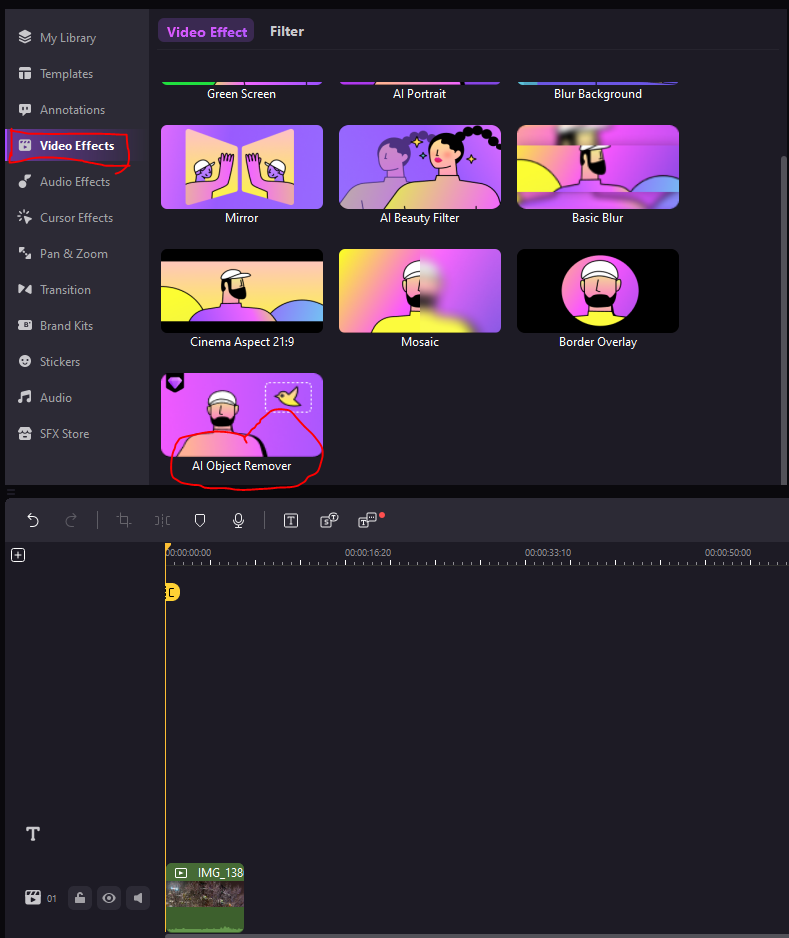
Methods for Removing the Shutterstock Logo from Videos
So, you’ve got a fantastic video, but that pesky Shutterstock logo keeps popping up in the corner. Don’t worry — you’re not alone, and there are several ways to tackle this. Depending on your skill level, budget, and the tools you have at hand, different methods might work better for you.
Let’s explore some common approaches:
- Cropping the Video: This is the simplest method. You crop out the part of the video where the logo appears. However, it can sometimes cut out important content or change the framing of your shot.
- Blurring or Masking: Using video editing tools, you can blur the logo area or overlay a shape or image to cover it up. This keeps the original framing intact but might not look seamless if not done carefully.
- Replacing the Logo with a Transparent Overlay: Some advanced editors allow you to overlay a transparent or patterned graphic to hide the logo, blending it into the background.
- Using Frame-by-Frame Editing: For precise removal, especially in complex scenes, you can manually remove or cover the logo frame by frame. This is time-consuming but yields the most natural results.
While these methods can be effective, they each have their pros and cons. Cropping is quick but may sacrifice part of your content. Blurring can look natural if done well but requires some skill. Frame-by-frame editing offers precision but demands patience and experience. Next, we’ll dive into how you can use video editing software to get the job done professionally.
Using Video Editing Software to Eliminate Logos

Now, if you’re serious about removing the Shutterstock logo and want a cleaner, more professional look, using dedicated video editing software is your best bet. There are a variety of tools out there, ranging from beginner-friendly to professional-grade. Let’s look at some popular options and how they can help you get rid of that logo:
Popular Video Editing Tools
| Software | Ease of Use | Key Features | Price Range |
|---|---|---|---|
| Adobe Premiere Pro | Intermediate to Advanced | Masking, tracking, advanced effects, frame-by-frame editing | Subscription-based, around $20/month |
| DaVinci Resolve | Intermediate to Advanced | Powerful color grading, masking, object removal | Free version available; Studio version costs about $295 |
| HitFilm Express | Beginner to Intermediate | Special effects, masking, compositing tools | Free with optional paid upgrades |
| iMovie (Mac users) | Beginner | Basic editing, cropping, overlays | Free on Mac |
Step-by-Step Process Using Video Editing Software
- Import Your Video: Start by loading your footage into the editor.
- Create an Overlay or Mask: Use masking tools to cover the logo area. You can either blur it out or place a graphic, such as a sticker or logo of your own.
- Track the Logo: If the logo moves or the camera shifts, use tracking features to keep the mask aligned throughout the scene.
- Refine the Edges: Make sure the mask blends seamlessly with the background. Adjust feathering or softness to avoid harsh edges.
- Preview and Fine-Tune: Watch your video closely. Make any necessary tweaks to ensure the logo is fully covered without affecting other parts of the footage.
- Export Your Video: Once you’re happy with the result, export the video in your desired format.
While these steps might sound simple, mastering masking and tracking can take some practice. If you’re new to video editing, consider watching tutorials specific to your chosen software. Remember, patience is key — the more time you invest in perfecting the edit, the better your final video will look.
In the next section, we’ll share some tips and best practices to ensure your logo removal process is smooth and yields professional results. Stay tuned!
Best Practices to Avoid Logo Watermarks in Future Downloads
So, you’ve learned how to remove the Shutterstock logo from your videos, but wouldn’t it be much better to avoid dealing with watermarks altogether? The good news is, with a few simple best practices, you can ensure that your future downloads are watermark-free and ready to go without extra editing.
First and foremost, always opt for the correct licensing option when downloading stock videos. Shutterstock offers different plans—like Standard and Enhanced licenses—and choosing the right one ensures you get access to videos without watermarks. Usually, these licenses include watermark-free downloads, so double-check your selected plan before hitting the download button.
Next, consider using the official Shutterstock platform to download your videos. This might sound obvious, but sometimes people turn to third-party sources or unofficial sites, which often provide watermarked versions or compromised files. Sticking to the official website guarantees the quality and licensing integrity of your downloads.
Another tip is to keep an eye on your account details. Make sure your account is up-to-date and that your subscription or purchase plan is active and valid. Sometimes, expired plans can limit your access to watermark-free content, so regular account checks can save you headaches later.
Finally, if you’re working on a project that’s going to be published publicly, consider purchasing the appropriate license upfront. While free trials or lower-tier plans might offer watermarked clips, fully licensed versions come without watermarks and give you legal peace of mind.
Summary of Best Practices:
| Tip | Why It Matters |
|---|---|
| Select the correct license | Ensures access to watermark-free videos |
| Download from official platform | Guarantees quality and licensing compliance |
| Maintain active account and plan | Prevents issues with access or licensing |
| Purchase appropriate license for public use | Legal protection and watermark-free content |
By following these best practices, you’ll save yourself time and effort in future projects, and you’ll be sure that your videos are professional and legally compliant without the need for post-download editing to remove watermarks.
Legal Considerations When Removing Logos from Stock Videos
Before you get too excited about removing a logo watermark, it’s crucial to understand the legal landscape. Stock footage licensing isn’t just about paying for the content; it’s also about respecting the rights and restrictions set by the content provider. Removing logos or watermarks without proper licensing can lead to serious legal trouble.
Most stock video platforms, including Shutterstock, include specific licensing terms that specify what you can and cannot do with the content. Typically, when you purchase or license a video, you gain the right to use it within certain boundaries, but removing watermarks or logos to create a new, watermark-free version often violates the licensing agreement unless explicitly permitted.
In many cases, the watermark is a clear indicator that the video is a preview or lower-tier version. Removing it to use the video publicly, commercially, or in any way that implies ownership can be considered copyright infringement. This might lead to legal action, fines, or other penalties.
Key Legal Points to Keep in Mind:
- Always review the licensing agreement associated with your footage. Look for clauses about watermark removal or modifications.
- Watermarks are intended to protect the intellectual property rights of the creator and platform. Removing them without permission undermines those rights.
- If you need a watermark-free video for commercial use, purchase the appropriate license that explicitly allows for modifications or has a license that includes the rights to remove watermarks.
- Fair use does not typically apply to removing watermarks for commercial purposes or to misrepresent the source of the content.
- Consult legal counsel if you’re unsure about your rights and obligations regarding stock footage licensing.
Remember, respecting copyright laws and licensing agreements isn’t just about avoiding legal trouble — it’s about supporting the creators who produce the content you rely on. When in doubt, always opt for licensed, watermark-free videos from reputable sources to ensure your projects are both high-quality and compliant.
Conclusion and Tips for a Professional Look
Removing the Shutterstock logo from your videos is a crucial step in enhancing their professionalism and ensuring your content stands out. While the process may seem complex at first, following the right techniques and tools can make the task much more manageable. Remember, the key to a seamless, polished final product lies in attention to detail and patience throughout the editing process.
Here are some essential tips to help you achieve a professional look:
- Use High-Quality Editing Software: Invest in reliable video editing tools like Adobe Premiere Pro, Final Cut Pro, or DaVinci Resolve, which offer advanced features for logo removal and background editing.
- Utilize Masking and Clone Tools: These features help in blending the area where the logo was removed with the surrounding content, making the edit less noticeable.
- Maintain Consistent Lighting and Color: Ensure that the edited section matches the overall video’s tone to avoid visual discrepancies.
- Be Patient and Precise: Take your time during editing to avoid rushed mistakes that can detract from the video’s professionalism.
- Apply Final Touches: Use color correction, noise reduction, and sharpening filters to refine the overall quality of your video.
| Tip | Benefit |
|---|---|
| High-Quality Software | More precise and seamless edits |
| Masking & Clone Tools | Hide removal traces effectively |
| Consistent Color & Lighting | Maintains visual harmony |
By implementing these tips, you can ensure your videos look polished, professional, and free from distracting logos, elevating the overall quality of your content and making it more engaging for your audience.